Chromebooks come in all sorts of budgets. You got pocket-friendly devices like the Lenovo Chromebook 3 or the Lenovo Duet, mid-range machines like the Acer Chromebook Spin 713, and absolute high-end beasts like the Asus Chromebook CX9 the HP Elite c1030 Chromebook. No matter the price bracket your Chromebooks falls in, it’s essential to keep it running optimally if you want to stick with your Chromebook until it reaches its end of life.
A couple of measures factor in when you start thinking that way. For starters, keeping tabs on your RAM utilization is one of the foremost ways of making your Chromebook’s performance stay optimal. Other than that, one more important facet to tend to is the health of your hard disk to check whether this essential component of your Chromebook is working right or not.
Therefore, this guide will cover how to check the hard disk health on a Chromebook, so you can acknowledge whether your device is in perfect shape or not. Let’s get started right away.
- Related read: How to know the RAM size you need for your Chromebook.
Checking the hard disk health on a Chromebook
Checking the hard disk health on a Chromebook is pretty simple. However, it could’ve been easier if the developers had added a storage status test in the native Chrome OS “Diagnostics” application. The latter can run a wide variety of diagnostic tests for Chromebooks, thereby affirming users whether the core system components are working all right or not.
As for the hard disk health, we have to turn to Crosh—the Linux-based Chrome OS developer shell that can implement a comprehensive variety of tasks on a Chromebook. It works similar to how the Command Prompt operates on a Windows PC, but it’s worth noting that Crosh is much more limited.
We’ll use the developer shell to run a hard drive health diagnostic test to analyze our storage peripheral and confirm whether anything isn’t working correctly. While you won’t be able to get an exact number on how healthy the hard disk is on your Chrome OS, you will be able to verify, on the other hand, that your Chromebook’s storage is in perfect condition.
The following steps will illustrate how exactly you’ll get this done.
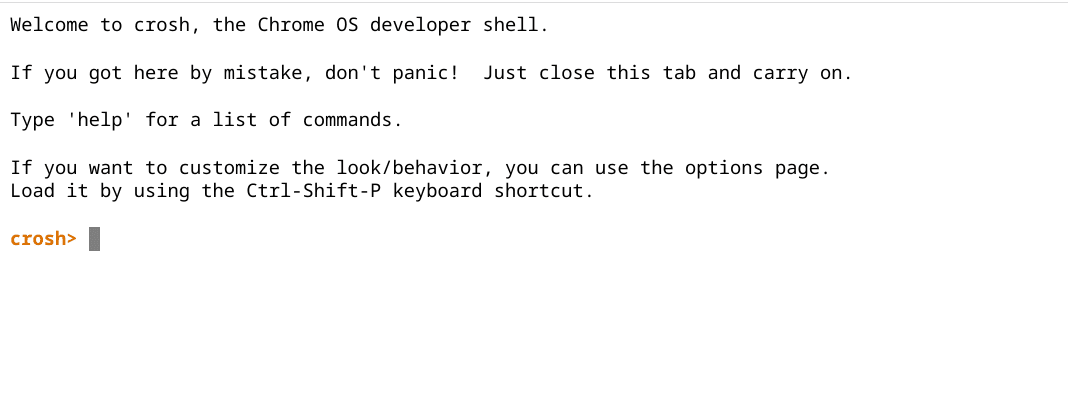
1. The first step is to open the Chrome OS developer shell, or Crosh, as it’s better iterated on your Chromebook. This can be done by pressing the “Ctrl,” “Alt,” and “T” shortcut key combination inside the Google Chrome browser. Once done, a window will launch, and it’ll be the working interface of Crosh.

The Chrome OS developer shell in Chromebook
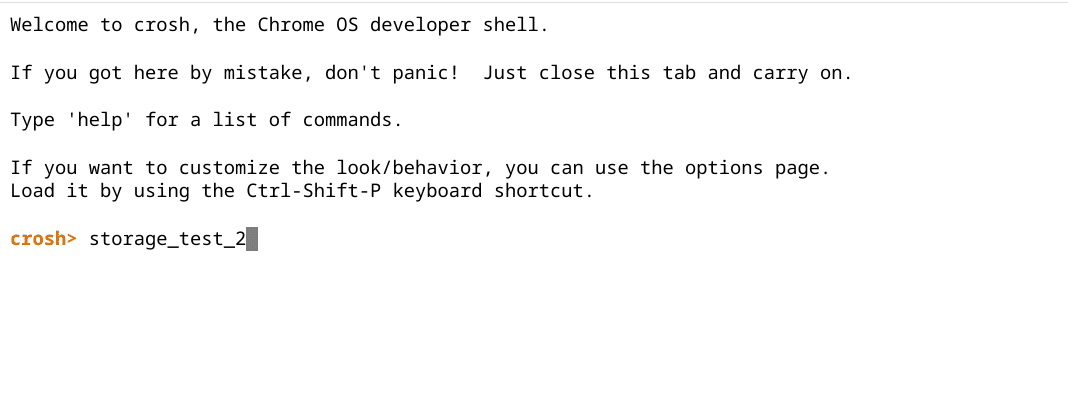
2. Once you have Crosh on the ready, you now have to enter one out of two commands, depending on the type of device you have. If your Chromebook uses an eMMC flash drive storage, you’ll enter the following into the Chrome OS developer shell.
storage_test_2
However, if your Chromebook comprises an SSD or an NVMe storage, try entering the following command into Crosh.
storage_test_1

Entering the second storage test command in Crosh
3. After entering the relevant storage test command in Crosh, press the “Enter” key to begin the read-only process. Wait it out until the operation finalizes. It will take a couple of minutes, given how extensive this diagnostic test is.

Storage test commenced
4. When the storage test process finishes, you’ll be shown the results of the diagnostic intervention. If any bad blocks are found in your hard drive, you’ll be prompted that way. If not, the Chrome OS developer shell will state that 0 bad blocks were found while the test was running.

Storage test results
That’s about it for checking the hard disk health on a Chromebook! This is the closest measure you can take to determine whether your device’s storage is working optimally or if there’s something in the peripheral that’s causing performance lagging.
- Tip: If your Chromebook is lagging or isn’t working as it should, you can benefit from the best ways to speed up your Chromebook. The root cause in this scenario might not relate to the Chromebook’s hard drive.
Bonus section: How to run a memory test on Chrome OS
The hard drive and the internal memory of any device are two components that go hand in hand. While you’re checking the hard drive health of your Chromebook, it might be equally worth it to determine how well-kept your internal memory is as well. This can be done quite effortlessly in not only one but two different methods. Let’s go over both of them below.
Using Crosh to test your Chromebook’s memory
You already know what Crosh is and how you can open it up, so let us cut down to the business end of this subsection. Use the following command in the terminal and press the “Enter” key to proceed.
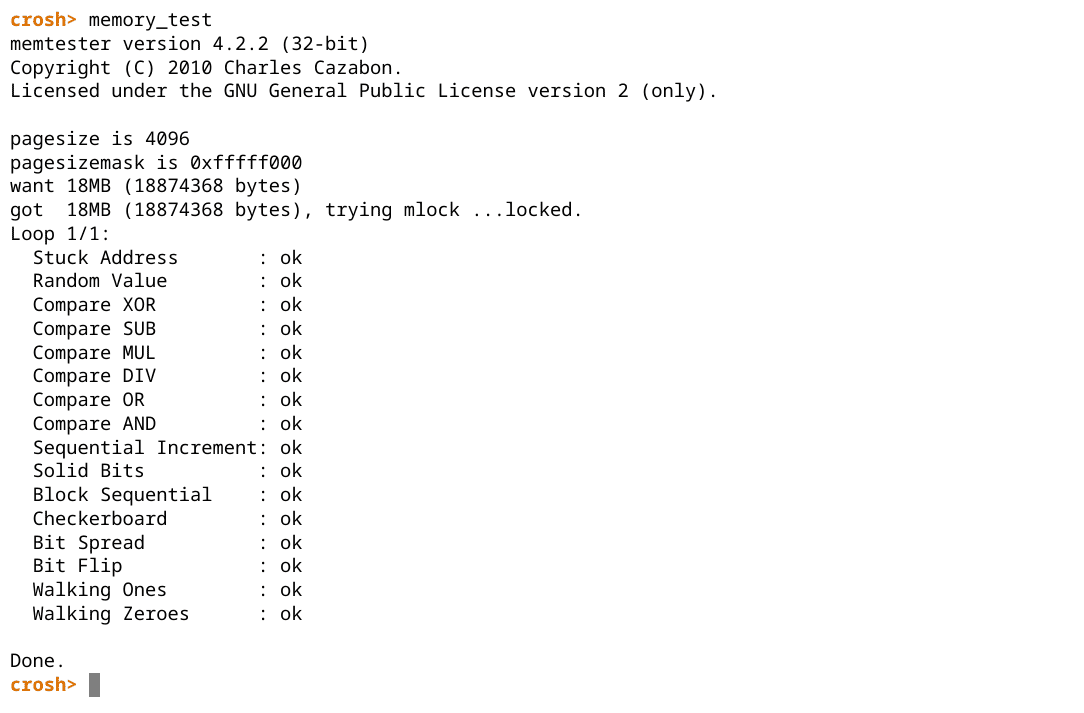
memory_test
Once the command is successfully incorporated, the Chrome OS developer shell will start running a diagnostic test on the Chromebook’s available memory. This will take no more than a mere moment, so sit tight.

Running a memory test in Crosh
Once the diagnostic test finishes, you’ll be shown multiple components of your internal memory and their status alongside their names. This is a pretty quick way of running a memory test and confirming whether this essential system constituent is in perfect condition.
Using the Diagnostics app to check your Chromebook’s memory
The native Chrome OS Diagnostics application made landfall on the operating system in the wake of Chrome OS 90. It helps us perform several system-related tests to ensure the optimal working of the device as a whole.
Relatively painlessly, this app also lets us employ an internal memory-centric test and allows us to get to the bottom of this crucial system component.
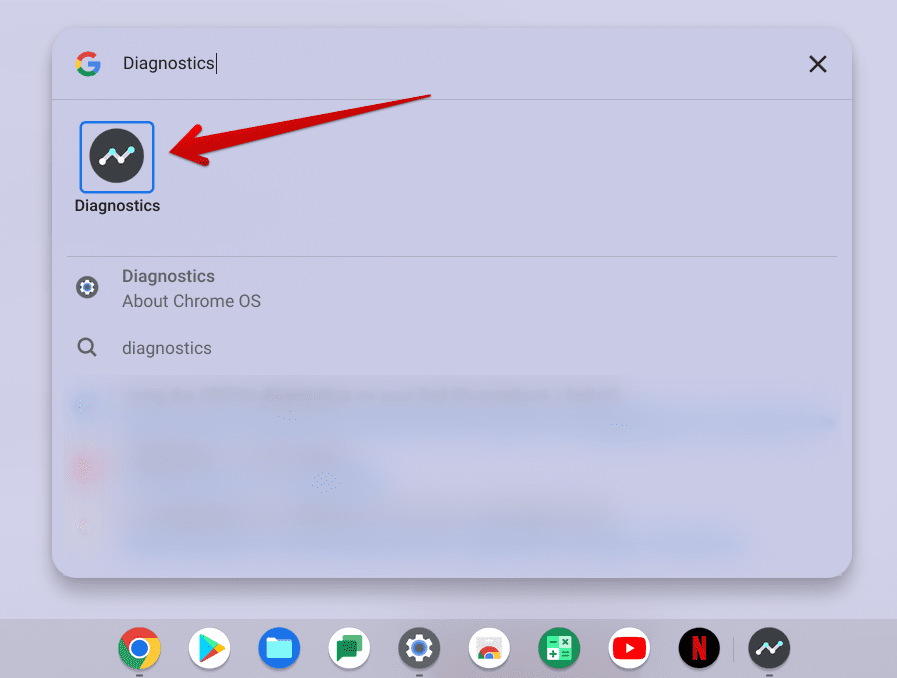
Fire up the Diagnostics app on your Chromebook by searching for it in the Launcher section to get started with this. As soon as it pops up on the screen, click on the application icon to launch it straight away.

Opening the Diagnostics app
As soon as you launch the app on your screen, scroll down within the software’s interface and find the “Memory” option. There’s going to be a “Run Memory test” there. Click on it to begin the process.

Running the Memory test
You should have the results right in a moment. If everything goes all right during the test, you’ll be shown a likewise outcome. If not, the Diagnostics application will state what exactly went wrong.

Memory test finished
That’s about it for this guide! We genuinely hope that you find the written helpful information for your cause.
Conclusion
Chromebooks have become terrific in maintaining their stability and performance throughout their end-of-life period. The operating system has been built upon speed, stability, and security principles. However, nothing of the latter means that you shouldn’t take care of your device as you spent your years with it.
It’s necessary to be wary of your Chromebook’s health in various facets, such as the battery, memory, and hard drive. In this guide, we’ve focused on the storage health of a Chromebook and how you can check it through the Chrome OS developer shell. We’ve also added a bonus section for analyzing the internal memory of your Chromebook.
Do let us know if the write-up helped you out! Chrome Ready wishes you good luck!
- Don’t forget to read: 5 conventional ways to save storage space on Chromebooks.
