The ChromeOS Camera app might appear to be strictly barebones from the outside, but there’s more to it than meets the eye initially. This particular facet of your Chromebook has been subject to constant improvement over time and has been tweaked to a reasonable standard.
In this guide, we’ll go over everything you need to know about using your Chromebook’s built-in Camera app, so you won’t have to turn to other external apps, ideally, to take care of your photo-snapping needs. Make sure to read until the end for the best results.
The ChromeOS Camera feature explained
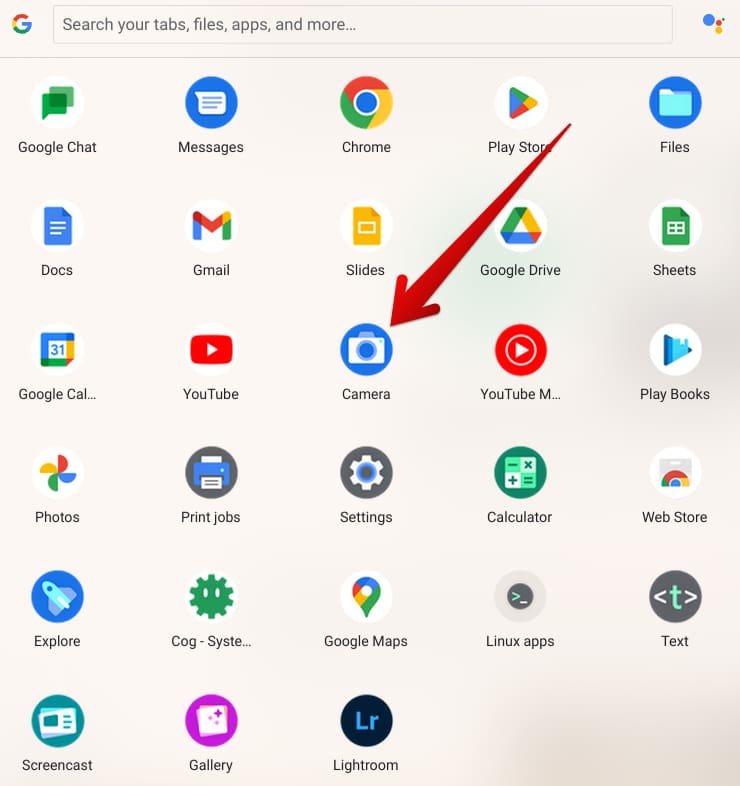
The ChromeOS Camera app
Chromebooks have a dedicated application for taking pictures, recording videos, and even scanning documents. However, the native ChromeOS Camera app hasn’t been all that advanced since forever. As mentioned earlier, Google has continually developed the program to offer heightened functionality with time.
In December 2021, the Chromebook’s camera received a new upgrade that instilled a “Scan” feature, thereby negating the need for an external scanner in the grand scheme of things. Moreover, ChromeOS 100 brought a GIF-making functionality to the ChromeOS Camera app, further refining the application’s quality.
In this manner, Chromebooks have always remained up-to-date and steady-going from the side of Google, and the in-built Camera functionality has stayed to be no different. You can easily access the app from the launcher area by first pressing the “Search” key on the keyboard and then typing in “Camera” to get the feature to surface on the screen.
Oh, and don’t forget that if you want easier access to any of your favorite Chrome OS apps, double-tap on the trackpad while hovering over the desired app and tap on “Pin to shelf” for the best results. This is one of the tips that also flow nicely for seniors exploring Chromebooks.
Now, for the uninitiated, it bears noticing that Chromebooks come in multiple form factors. There are standard devices like the Lenovo Chromebook 3 with a normal build, whereas units like the Acer Chromebook Spin 713 allow you to rotate them back to transition to a tablet form.
In addition to these two types of Chromebooks, there are detachable devices to factor in, such as the Lenovo Duet 5 Chromebook and the Asus Chromebook Detachable CM3. These Chromebooks come with two cameras instead of a single camera unit—one on the front and one on the rear.
These tablet Chromebooks, therefore, package the whole experience in a singular combo. They exhibit high-class versatility and fulfill a variety of use cases, whether someone wishes to enjoy Netflix or benefit from seamless portability on the fly with the absurdly low weight values of such devices.
Chromebooks like these have another feature in the Camera app that lets you switch to and fro between the front and back camera easily. Social media apps such as Snapchat and Instagram show more potential to be utilized in a way closer to their mobile counterparts.
Let us now dive into the practicality of the matter and talk about the effective utilization of the ChromeOS Camera app in the section ahead.
Using the Camera app on a Chromebook
Getting the Camera up and running on your Chromebook is nothing more than child’s play. Pull up the launcher space and look for the app in question to get started. As the search results appear, tap “Camera,” and the program will begin immediately.
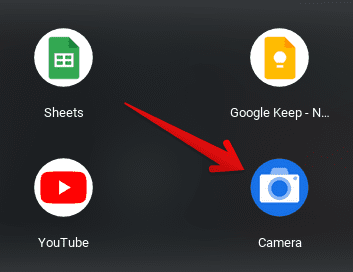
Launching the ChromeOS Camera app
After launching Camera, you’ll observe that the app comprises multiple on-screen buttons and tools. It can get a bit challenging to absorb all of the program’s features in one go, so we’ll walk you through every relevant functionality of the ChromeOS Camera step by step ahead.
How to take photos with the Camera app
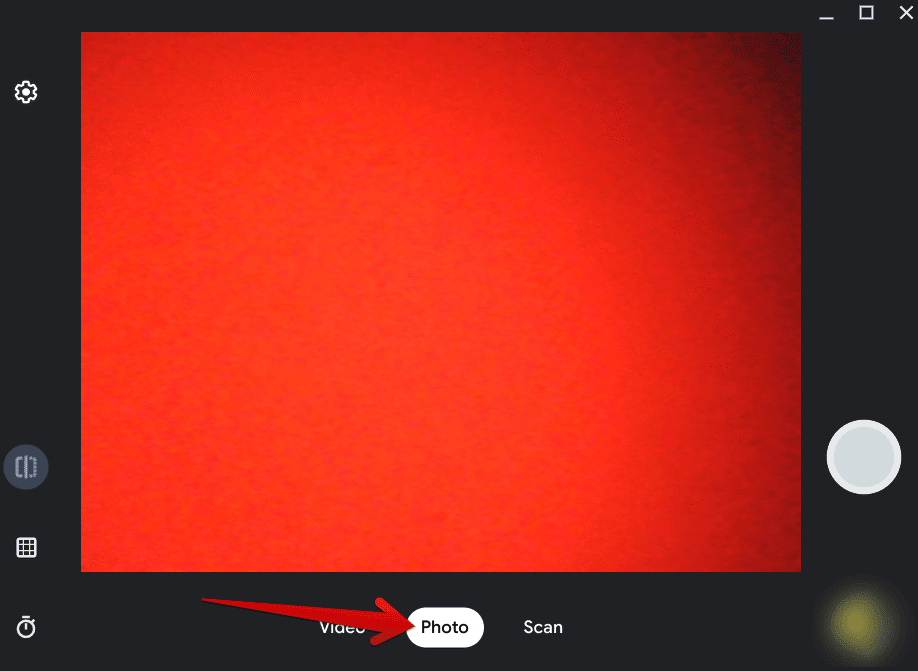
The Photo mode in Camera
First, the “Photo” mode is one of your Chromebook camera’s primary features that lets you snap photos on the go with just the tap of a button, which is the white-outlined circular button on the right side of the Camera app’s UI. If your device’s camera has a privacy shutter, like the Asus Chromebook CX9, slide it off before continuing.
You can also press the spacebar on your Chromebook to take photos in the blink of an eye. To further accommodate your photo snapping with the ChromeOS Camera app, the “Timer” feature on the left side of the interface can be toggled to facilitate you. Tap on it to reveal timer options and choose from 3 and 10 seconds of duration.
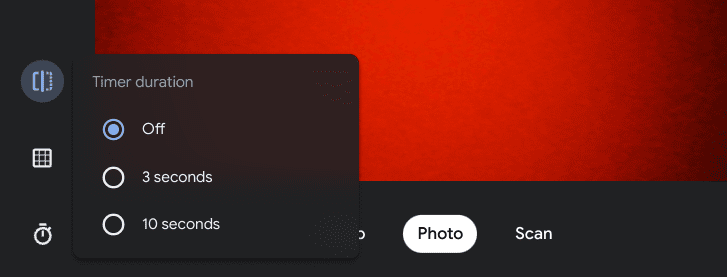
The “Timer” feature in the Camera app
If you have a Chromebook with two cameras, tap on the “Switch camera” button right below the “Timer” feature. You can also mirror the Camera app preview by clicking the relevant button for that functionality. That way, your photos will appear in reverse. It’s a nifty trick to check out, nonetheless.
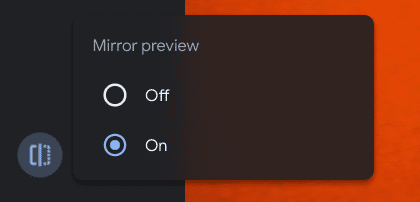
Mirror preview
Last but not least, and this is pretty important for Chromebooks with back cameras, the “Grid” functionality creates grid lines on the screen to fine-tune your captures from here on out. You can choose from the available ratios of 3 x 3 and 4 x 4. There’s also the “Golden ratio” option, which is a unique blend of different grid line ratios.
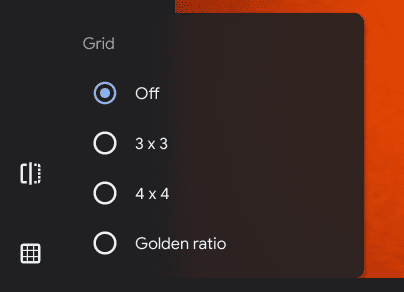
Grid
This is all that the “Photo” mode in the Camera app can offer on a fundamental level. Let’s move forward by discussing the tool’s video-recording capability.
How to record videos and create GIFs with the Camera app
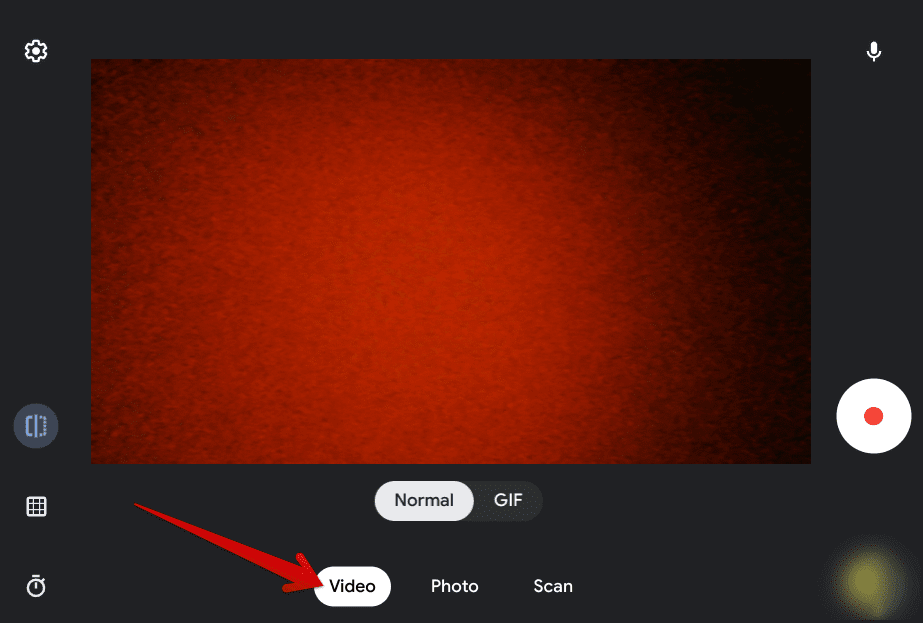
The Video mode in Camera
Recording videos with the help of the built-in Camera app on a Chromebook is as easy as flipping a switch, quite literally. To access the video mode, tap on the relevant button, which is right beside “Photo,” and that’ll do the trick. The system will take a moment to transition to the new mode, so you can finally start getting into video creation with the Camera app.
Again, the controls here are similar to what you have with the “Photo” mode. Use the typical red-dotted “Start recording” button or the spacebar. You’ll find that the video mode in the Chromebook Camera app features a toggle for mic input. That way, you can record your videos with or without the mic.
Next up, there’s the other specialty of the video mode that you can enjoy and get the best out of: “GIF.” When ChromeOS 100 dropped, striking one complete century of consistent operating system updates, the developed added GIF creation as an extended feature to the native ChromeOS camera app.
Tap on it and utilize the spacebar to start making GIFs quickly. You can create as long as 5-second GIFs with the functionality at hand. And when you’re done, you can retake GIFs, share them with your contacts, or save the GIF to your Chromebook’s local storage.
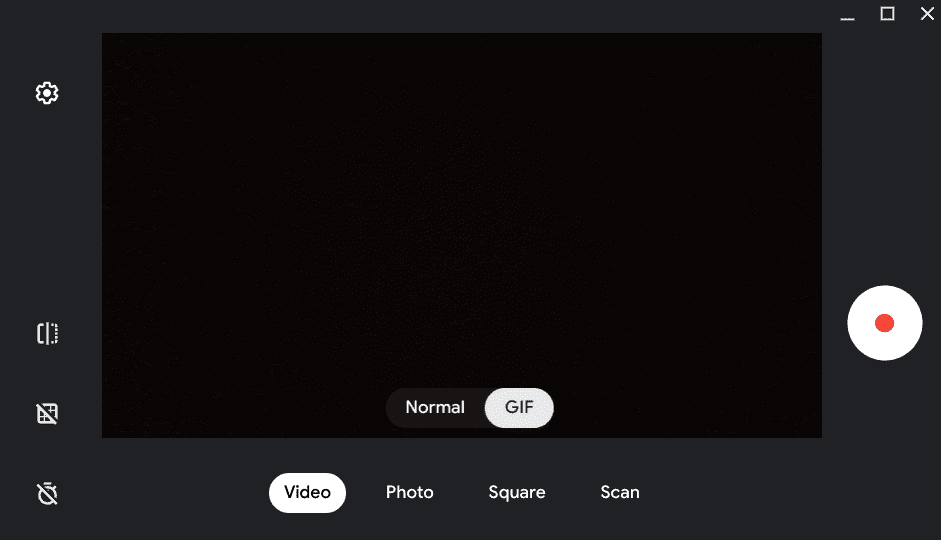
Creating a GIF with the Camera app
Now just like the “Photo” mode, recording videos come with the same level of extended handy tools, involving “Grid,” “Mirror preview,” and “Timer.” Feel free to employ them whenever the situation is fitting enough. These three utilities are for both standard videos and GIFs as well.
How to scan documents and QR codes with the Camera app
Taking photos and recording videos have always been a part of the ChromeOS Camera app, but what’s relatively new to talk about here is the “Scan” feature that has seemingly unlocked additional capability of your Chromebook. We must admit that this is a major convenience that the developers have incorporated in ChromeOS. Talk about saving time day in and day out.
Switch to the “Scan” mode for documents and QR codes. Starting with the former, use the spacebar while holding a document to your device’s camera to alert the Chromebook to scan the entity. The system advises to “place all edges of the document within the frame” to get the best out of the “Scan” tool in the native Camera app.
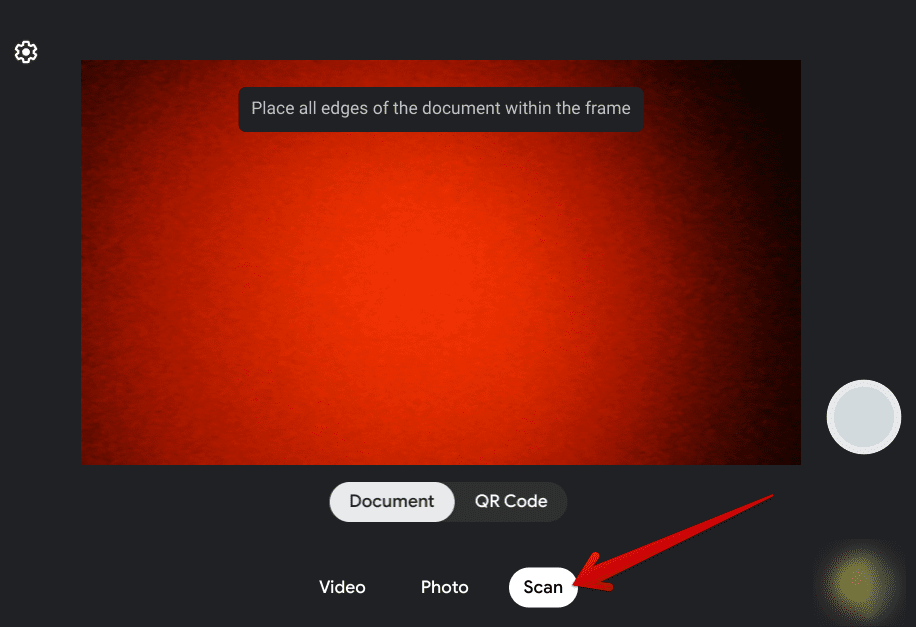
The “Scan” mode in Camera
Finally, you’ve got the “QR Code” tab in there, which can streamline things even more for you and let you scan codes from the comfort of your Chromebook. Tap on the button and place the code within the subsequently appearing frame for the app to analyze the proceeding properly.
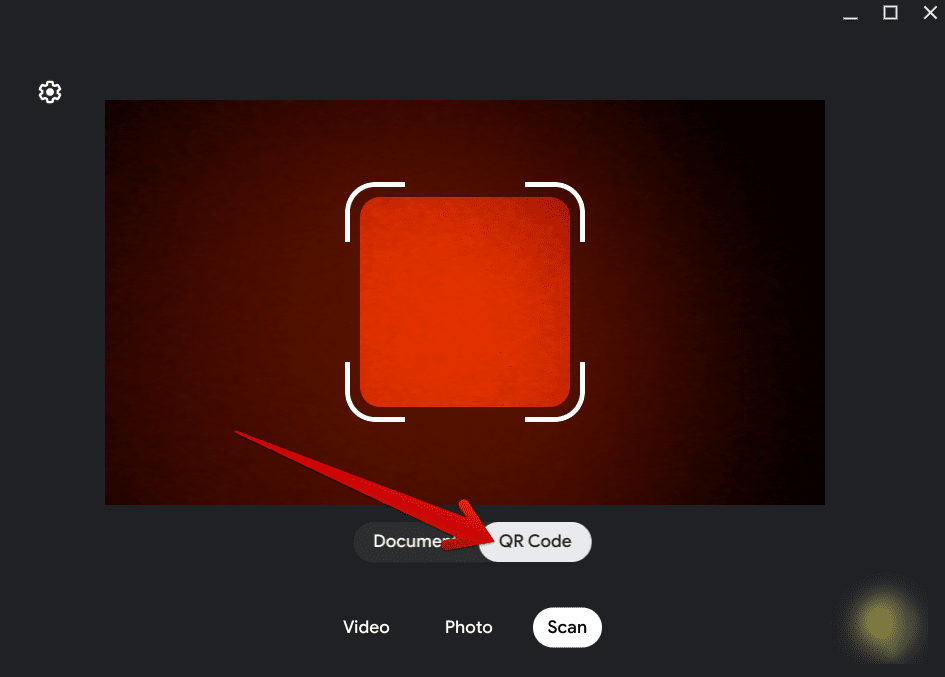
Selecting the QR Code option
There are no additional features to go along with the “Scan” mode in the built-in Camera app of your Chromebook. In hindsight, there’s no need for it anyway.
How to access your photos and videos taken from the Camera app
You must be wondering: Where are all my photos and videos after using the Camera app? The answer is the “Gallery” app, accessible from the right within the Camera by clicking the button in the lower-right corner. The button depicts the last photo or video you took or recorded, so it should be easy to locate.
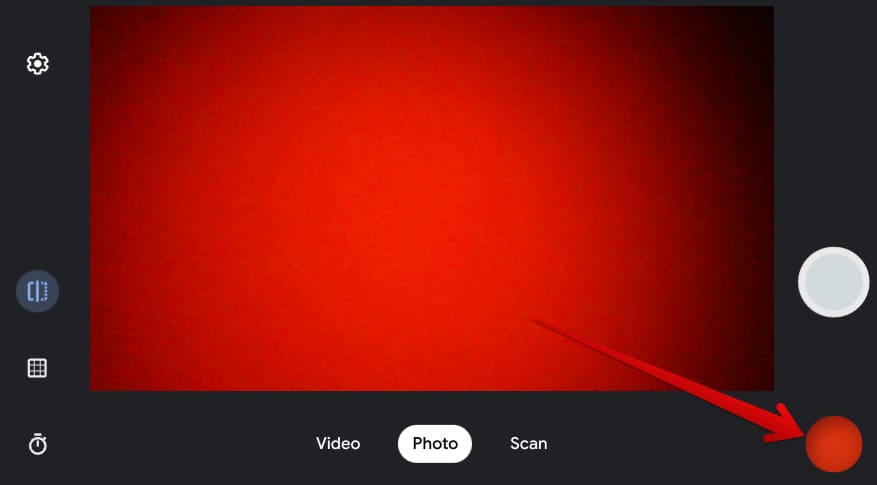
Accessing your Camera content
You will be able to launch the “Gallery” app after completing the previous step and therefore be able to access all of the photos, videos, and GIFs created by using the in-built Chromebook Camera program. Alternatively, the “Camera” folder in the “Files” app is another approachable way of achieving the task at hand.
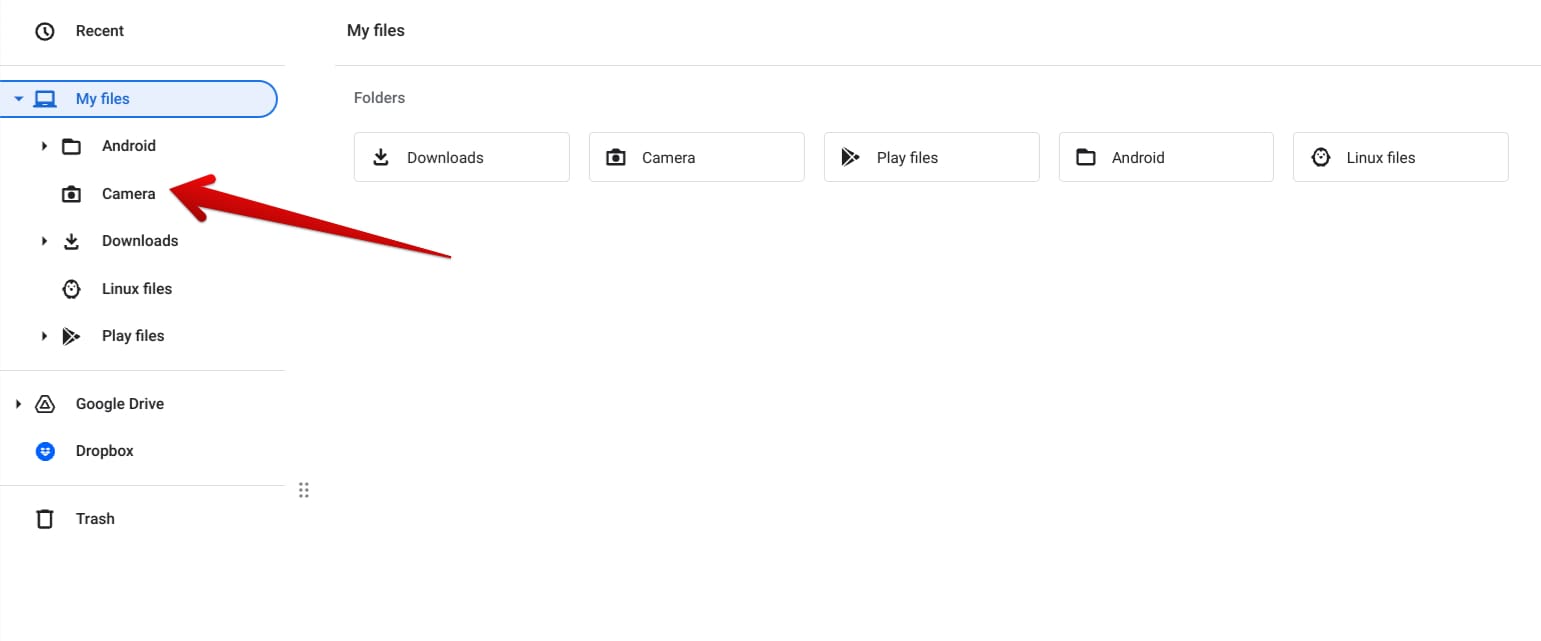
Clicking the “Camera” folder
Additional Camera app features to look into
Before we top the article off, you should know that both the “Photo” and “Video” modes in the Chromebook camera app have an optional “Settings” section to check out. It concerns the resolution with which a photo is taken or a video is recorded and the aspect ratio for photo-snapping. Each mode has its settings, so you must access them individually.
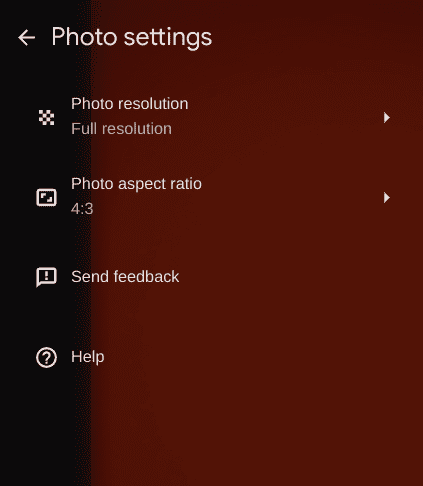
Photo settings in the ChromeOS camera app
Depending on the make and model of your Chromebook, both the “Photo resolution” and “Photo aspect ratio” options can vary in terms of adjustable settings. Some Chromebooks may offer a higher quality camera experience than others, so there’s no precise answer as to what to go for here.
Simply select the highest available quality for “Photo resolution” for top-quality photos. In addition, the photo’s aspect ratio is another subjective choice. Experiment with the different options and determine the one that works the best for you.
The same goes for “Video settings,” accessible from the same section in the ChromeOS Camera app. Tap on the relevant button to access the feature’s settings panel. There won’t be any aspect ratio selection here, just “Video resolution,” which will also differ depending on your device’s camera specifications.
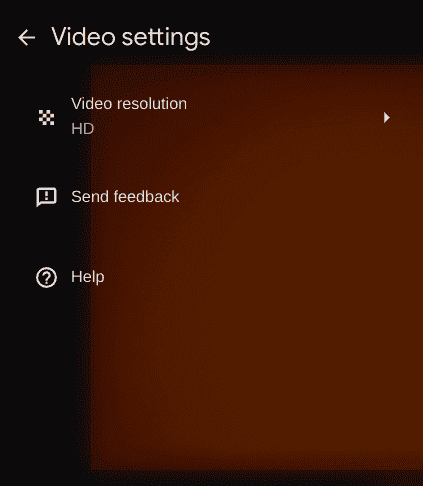
Video settings in the ChromeOS camera app
Next, you might have noticed a “Send feedback” option too that you can get into. It’s all about relaying your thoughts to the developers and pitching a possible feature addition to the Camera application. Lastly, a “Help” button is incorporated into the application to link seemingly lost users to a Google support page.
Conclusion
Chromebooks are not what they used to be a decade ago. As time has progressed, so has the intricate capacity of ChromeOS to enter various spaces and subsequently make a name for itself among them. For starters, most schools in the US have picked up Chromebooks as their primary choice of mobile computing device.
And that hasn’t been possible without a swath of updates and upgrades that have made headway toward Chromebooks. The ChromeOS Camera app is among the tools that have been improved over the years, as you can comprehend from the guide above.
