In the realm of Android, there exist emulators that can shape the way we experience games on our devices. If you’re not aware already, an emulator is a software that can mimic or copy the functioning of one operating system while the software itself runs in another. For those who wish to play the best Android games on Windows or Macbook laptops, there’s only one name that the masses usually jump to BlueStacks.
There’s no denying how substantially BlueStacks has evolved from where it first started its initial ventures. Today, this tip-top emulator features a breadth of functionality, state-of-the-art emulation features, and a lot more that we’re sure you’ll grow to appreciate. If you already know about the full potential of BlueStacks and have been meaning to download the software on ChromeOS, look no further than the contents of this guide.
Similar to how we covered the installation of Friday Night Funkin’ on Chromebook, the following tutorial will show you all the different ways of downloading and using BlueStacks on ChromeOS. Let’s dive right in with no further ado.
- Recommended by Chrome Ready: How to install GIMP on Chromebook.
Most prominent features of BlueStacks
The following is our round-up of the best features that BlueStacks has to offer its users daily.
Optimized Android app environment
BlueStacks is known to run Android games and applications in a highly optimized environment. The release date of this software traces itself back to 2011, so this is a pretty tried-and-tested software improved with multiple tweaks over time. That is to say, the developers have geared BlueStacks to work better than ever, and in 2022, this program is simply the number one emulator people are regularly using.
The best Android games on BlueStacks run like butter, considering that you have a device with adequate hardware. Unlike most other emulators that play Android games, this one is a class apart, setting itself out from the competition and offering a full-blown Android emulation experience.
Simple and fresh user interface
BlueStacks takes pride in using a clean and fresh user interface that’s exempt from complications and overly demanding graphical processes. Instead, everything is arranged in a definite manner, and it’s pretty easy to find what you’re looking for in exactness. You’ll love navigating the storefront, installing games of your choice, and running them in an entirely optimized environment.
Consistently updated
BlueStacks remains consistently updated, and this is what comes across as one of its biggest strengths. The developers are hard at work keeping the software alive and well-grounded, so we can appreciate the thoughtfulness of the creators of BlueStacks that pumps the latter full of functionality.
Low consumption of resources
The software in question is easy on system resources, so you don’t require something like the Asus Chromebook CX9 or the HP Elite c1030 Chromebook to run this Android emulator for days. Even a Chromebook with moderate specifications like the Lenovo Chromebook Duet is capable enough of housing the full potency of BlueStacks. As opposed to other emulators, your system won’t get bogged down.
One of the many benefits of using BlueStacks as your primary Android emulation source. No one wants software with a high catalog of games to play, but it is worthless when it cuts down to system performance, optimization, and usability. Luckily, BlueStacks doesn’t fail to tick off all the prerequisites of what makes an emulator great.
Customizable GUI
Many of BlueStacks’ graphical elements are customizable, bringing forth a touch of non-pareil flexibility for end-users. You can arrange your games in folders, so you know where you’ve sorted them and make changes to the tabbed displays for better usability. This is on top of all the customization oriented for the theme of the major BlueStacks application.
Sizable community
BlueStacks is one of the most veteran Android application emulators in the business. As iterated earlier, it traces its release back to 2011. Ever since then, the overall community of BlueStacks has only seen growth, given the stature of all the services it offers aspiring users without breaking a sweat. From what we can tell, the BlueStacks community’s moderators are overly friendly and do their best to help newbies.
Therefore, you’re not just signing up for a vast catalog of games by choosing BlueStacks. In addition, the polite people over at the community forums of this company leave no stone unturned in making a terrific impression on new users.
Installing BlueStacks on ChromeOS
BlueStacks can be installed on Chromebooks in a wide variety of ways. You can always opt for other routes if one option doesn’t work out. This is utterly appreciated, given that some people may not be able to install BlueStacks on their first go. Let’s break these different methods down and talk about them in-depth in the following subtitles.
Using BlueStacks through rollApp

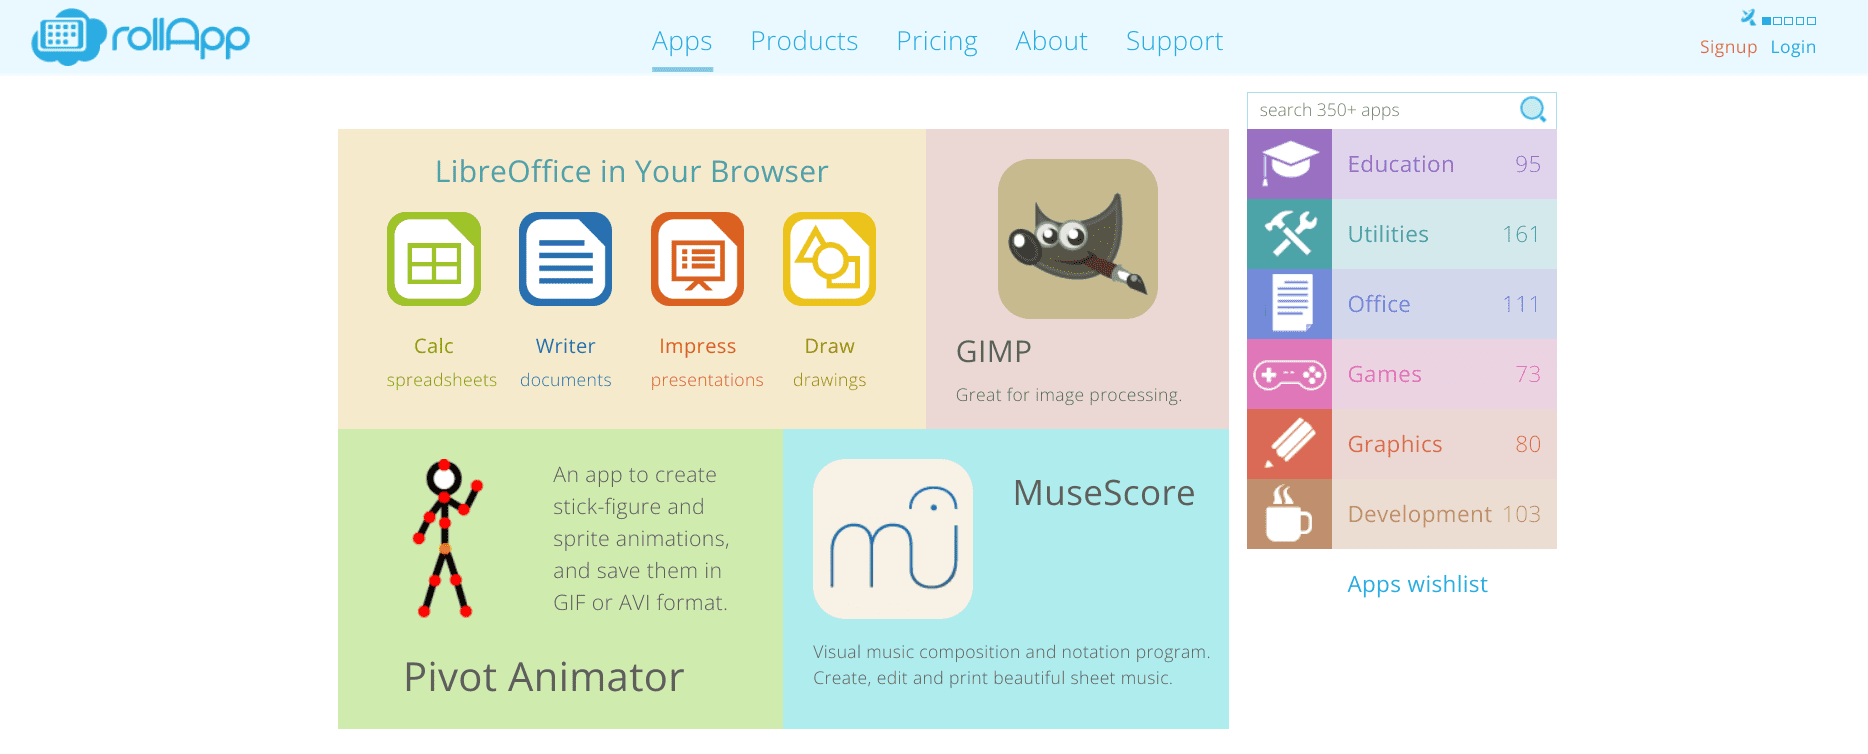
rollApp on ChromeOS
rollApp is a third-party program that somehow revolutionizes the whole concept we have for running programs on a desktop PC. This software allows it to download, install, and use existing applications on new devices. All those programs, such as the one in question, that are native to a specific operating system can be migrated over to other platforms with the help of rollApp.
That means BlueStacks can be used on ChromeOS painlessly with the help of this application that we’re trying to tell you about. However, remember that the software isn’t free and comes at a fair price. There are two different subscription plans that you can purchase to unlock rollApp’s unbounded potential. These include Premium and Premium Group.
The latter comes for about $8.33 monthly, while Premium Group has a price tag of $8 per user. If you’re an individual who doesn’t have anything to do with corporate businesses or professional workspaces, we recommend using the Premium subscription offer. The latter does a great job of offering potential users manifold functionality, such as extended system resources for additional performance, the ability to play several apps at once, and much more.
Get started with rollApp by visiting their official website. Once you’re there, you’ll have to sign up for an account to continue ahead. The registration process will be nothing but uncomplicated to go forth with, so make sure you don’t spend an awful lot of time configuring the initial stages. You’ll be taken to the main “apps” section of the rollApp user interface as soon as you’re done.
From there, search for BlueStacks, and you’ll quickly be able to fire up the application on your end. Note: Some Chromebooks might not be supported, and the BlueStacks application won’t show for you if that is the case. You have to confirm whether the software is compatible with your specific device or not, and this will be only possible after you sign up and look for the BlueStacks app yourself.

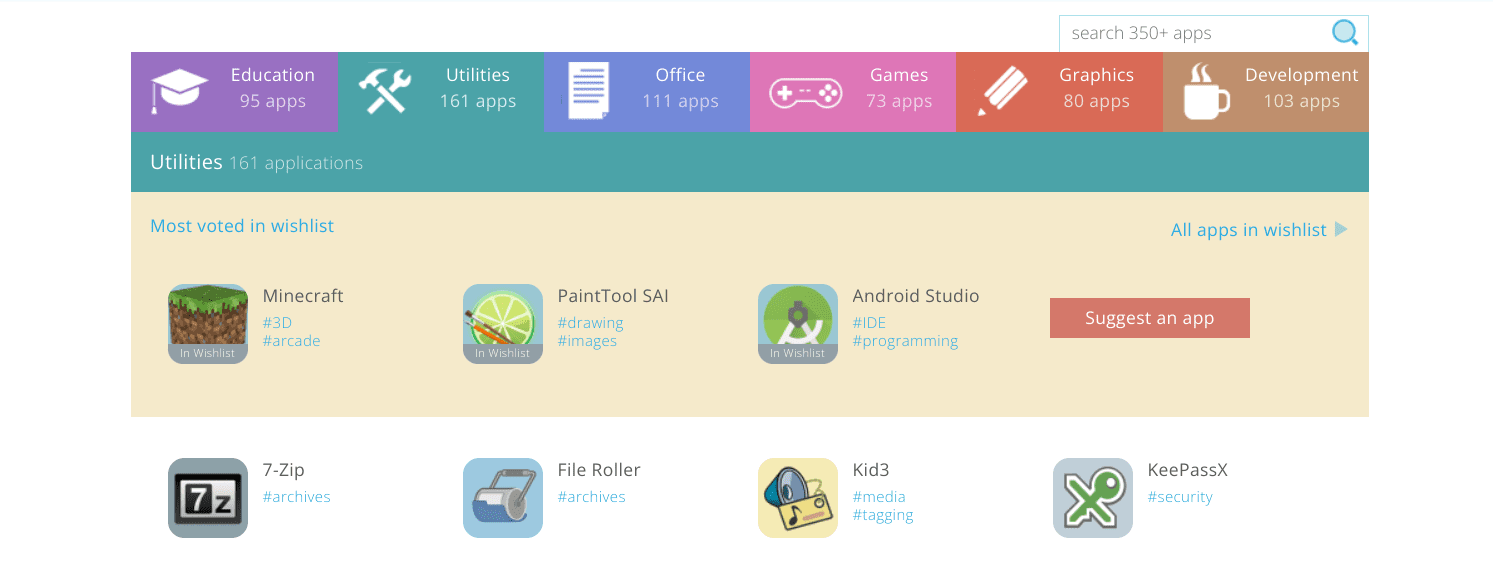
rollApp games catalog
A free version of rollApp can be used to start up BlueStacks, but it’s incredibly sized down and isn’t feature-filled at all. Still, it does get the job done, so we highly recommend trying it out and seeing if the free variant makes the cut. If not, the higher subscription tiers are always available at your disposal.
Downloading BlueStacks from the Chrome Web Store
Another method that can be used to download and install BlueStacks on ChromeOS is paved away by the Chrome Web Store—home to the best Google Chrome extensions in 2022. This platform is dedicated to revamping the Chrome browser with many add-ons geared toward offering a specific functionality.
As for BlueStacks, the program’s developers have also put up a listing for this program on the Chrome Web Store. This makes it easy for concerned users to download and use the software without going through any extra steps like the one in the previous section. Check out the following instructions for a step-by-step guide to grabbing BlueStacks painlessly.
1. The first step is to visit the official BlueStacks app page on the Chrome Web Store. As soon as you’re there, click on the vividly apparent “Add to Chrome” button to continue to the next step.

Adding BlueStacks to Chrome
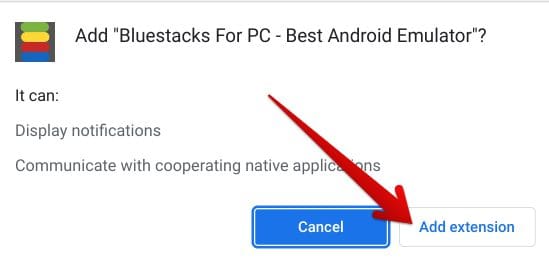
2. After clicking on “Add to Chrome,” you will observe a prompt appearing from the top of the page, asking you to confirm your selection. Select “Add extension,” and you’ll easily be able to get to the next step.

Confirming the installation
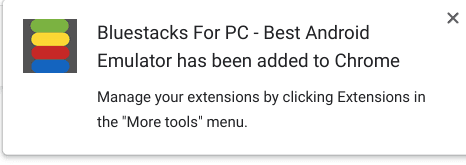
3. BlueStacks will be added to your Chromebook in a moment now. You will also receive a confirmation prompt in the top-right corner of the Chrome browser’s interface window, affirming that the software has been installed on the device.

BlueStacks added to the Chromebook
That’s about it for installing BlueStacks on ChromeOS! You’ve managed to grab the application from the Chrome Web Store and can now use it painlessly for days. To enjoy Android games and applications on your Chromebook, you must download the relevant APKs and double-tap them when they are on your system.
You should be seeing an option called “Open BlueStacks.” Upon successfully launching said APK with BlueStacks, you’ll be able to play the title on ChromeOS without breaking a sweat. It’s truly as easy as that.
Conclusion
Not only does this slick operating system, with the help of the Linux Terminal, let you run processes like OpenShot Video Editor or WordPress, but the integration with Google Play has made it possible to enjoy the world of Android applications on Chromebooks easily, not to mention the prevalence of other similarly robust platforms on Chrome OS.
In this guide, we’ve talked about the installation of BlueStacks in two ways—the world’s best Android emulator on PC. If you’re an Android gaming enthusiast, there’s no reason you shouldn’t give this terrific software a go on your Chromebook. It’s loaded to the brim with features, such as low system resource consumption and a vast game catalog.
Give it a shot on your end, and let us know if BlueStacks was fruitful for you. Comment below whether you think this guide has been helpful for your cause. Chrome Ready wishes you good luck!
- Similar read: How to play Nintendo DS Games on Chromebook.
