As far as the best photo editors out on the internet go, GIMP has a special place in the heart of Linux users. This is a full-fledged image editor with various basic and advanced tools. Given the open-source nature of the software, it doesn’t cost anything to download and install. It even has an expansive community where artists and editors can interact with each other.
If you’re in a similar profession and own a Chromebook, you might wonder if GIMP is even installable on Chrome OS. The answer to that is a definite yes. It’s certainly possible to get GIMP on these minimally adorned devices, and in this article, we’re going to show you how. Keep on reading for an all-you-need-to-know guide on installing GIMP on a Chromebook.
Best features of GIMP for Chromebook
The following is our round-up of the best features that GIMP boasts daily.
Free and open-source
GIMP is quite possibly one of the best free and open-source photo editors out in the game that come pretty close to Adobe Photoshop in a sense. We’ll talk about the types of features and tools it comprises in the next section, but for what it’s worth right here, GIMP is a full-blown photo editor that’s even better than many paid software.
The word GIMP is short for GNU Image Manipulation Program. However, the program can’t be used for drawing as it is more geared toward photo retouching and manipulation. However, you can still immerse yourself into free drawing, basically drawing over a photo during editing.
The comprehensive variety of tip-top tools
There is a never-ending list of tools in the excellent working interface of GIMP that both basic and advanced users can utilize to make the best out of their creations. From color-centric utilities like color chooser, RGB color spaces, color blending, and much more, prepare to dive into a world of functionality with GIMP behind the steering wheel.
Brushes, Pencil, and more: Moreover, some other go-to tools involve several types of paintbrushes, pencils, airbrushes, ink appliances, and color gradients. There’s also a cloning feature in GIMP that can help you replicate pixels with the help of a brush, not to mention a smudging functionality that can stain select areas in your photo.
Photo touchup tools: GIMP is loaded with features that you can duly appreciate. We found it quite full-fledged for basic photo touch-ups and editing, so we think this software deserves much love, given its free-of-cost model.
Layers: One last piece of functionality that has us even more impressed is multi-faceted layering in GIMP. You can compile your edits in layers, refer to them consistently, and comprehensively assemble the whole project.
Professional-grade
The tools prevalent in the working interface of GIMP are nothing but high-quality, promising an outright premium editing experience once you start getting the hang of them. So feel free to restore creative composites and take your imagination to the skies above when you delve into retouching images like never before.
You can transform images into literal art pieces by flexibly employing several power tools and features. It’s even possible to design graphical design elements, including icons, mockups, and various other facets of a user interface.
Wide assortment of plug-ins and profound integration
GIMP shows active support for a wide assortment of plug-ins created by the same community that lives and breathes this commendable photo editing software. What this does, in return, is pave the way for utter customizability to prevail. You can integrate the program with other scripts and programming languages like Python, Perl, and Scheme to make it more feature-filled.
In addition, feel free to place GIMP in a dedicated workspace where other tip-top software like Scribus, Inkspace, and SwatchBooker can also join in and triple your productivity, all under the same shelter. All three programs mentioned above are also free—just like GIMP—and allow you to manifest first-rate color reproduction.
Extensive file format support
One of GIMP’s most glaring features is how extensive its file support can be. This software’s default file format to export and import retouched photos is XCF, but there is an added collection of many more file types. These include BMP, GIF, TIFF, TGA, XPM, MNG, PCX, PS, PSD, and even PDF, not to mention tons of others.
Installing GIMP on ChromeOS
The process of installing GIMP on Chrome OS is nothing but straightforward. The only pre-requisite you have to be wary of is installing Linux on your device. There’s an in-built Linux container on every modern-day Chromebook that can be enabled so users can harness the functionality of a Linux development environment. Doing so makes it possible to enjoy the best Linux apps on Chrome OS, including GIMP.
- Check out this detailed guide on enabling the in-built Linux container on your Chromebook before getting started. The forthcoming steps require the Linux container to be downloaded and ready before users can install GIMP.
It also bears noting that Chromebooks made before 2018 may or may not support the Linux feature. If you haven’t tried Linux on your device yet, and it is also reasonably dated, check out this guide to confirm whether your Chromebook supports Linux.
Now that we’re all well aware of what needs to be done before commencing the installation of GIMP on Chrome OS, let’s get right down to the business end of this tutorial. The following steps are going to take it from here.
1. The first step is to open the Linux Terminal on your Chromebook.
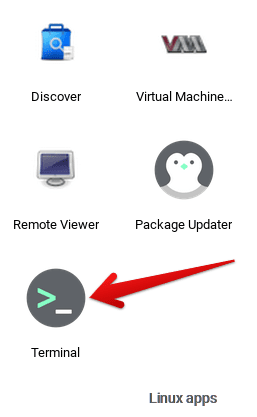
Opening the Linux Terminal
2. When the Linux Terminal is up and running, type in the following command to ensure no update is in line for the software. This will help straighten things out in the steps to come.
sudo apt-get update

Updating the Linux Terminal
3. You’ll enter the following command to begin the installation of GIMP on your Chromebook. Please copy and paste it into the Terminal, and it’ll all be set.
sudo apt-get install gimp
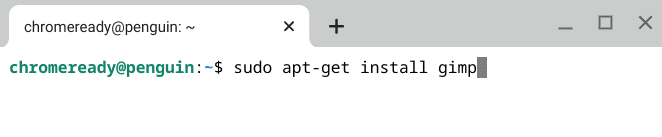
Installing GIMP on Chrome OS
4. Press the “Enter” key once again to confirm your decision and begin to download the files necessary for setting up GIMP.

Confirming the installation
5. That’s about it as far as the installation part is concerned. You can now hover over to your Chromebook Launcher and find the GIMP application installed within the “Linux apps” folder. The app icon should look similar to the one in the screenshot below.
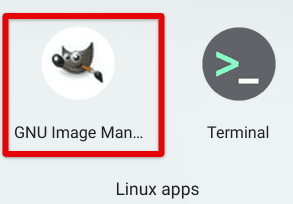
GIMP installed
You’ve successfully installed GIMP on your Chromebook now—time to launch the famed software and take it for a spin.
How to use GIMP on a Chromebook
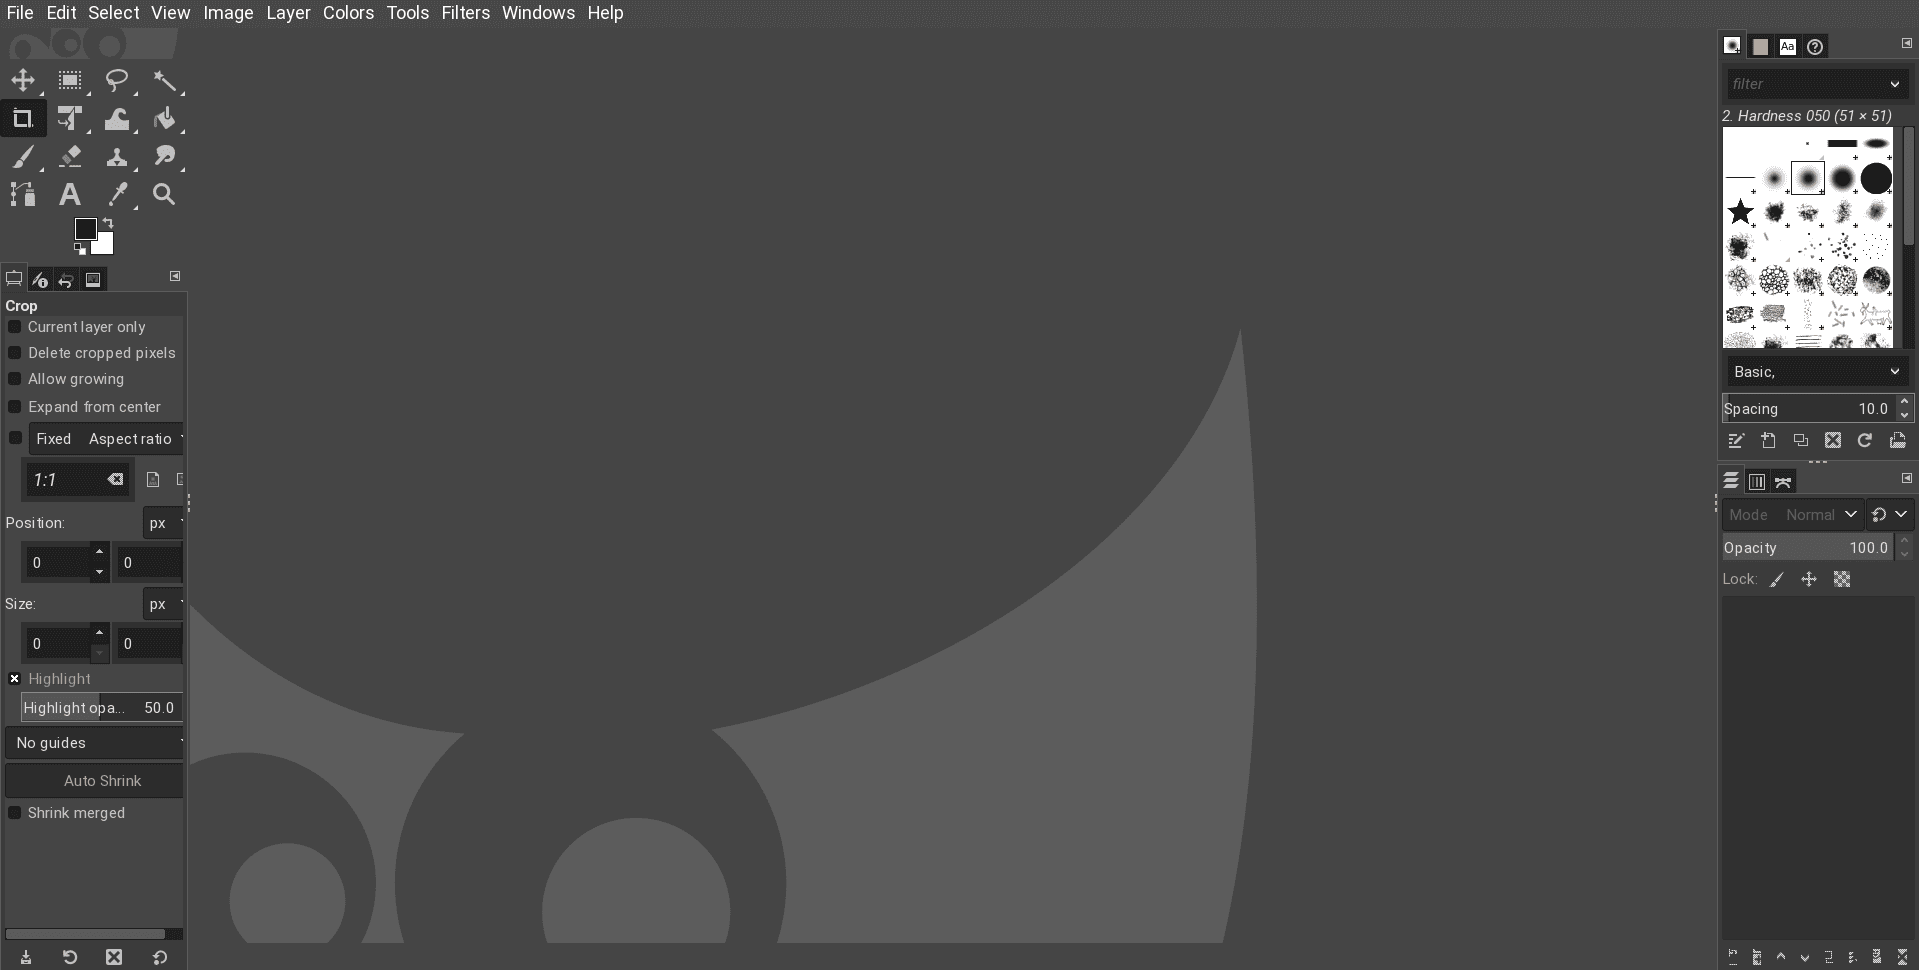
GIMP interface
Despite all its collective functionality, we will say that this GIMP working interface is a bit convoluted. This will make it hard for new users to acknowledge what’s happening and how to get started. However, fear not. There are plenty of sources online and dedicated YouTube videos that will teach you how to become a GIMP expert in no time, not to mention the active community of this photo editor willing to help new users out.
To get started with uploading a photo for editing within GIMP’s interface, you first need to move the relevant files to the “Linux files” folder in the “Files” system application. That will help you sort things out and make it possible to open the photo that you want to edit in GIMP. Next, click on the “File” button in the toolbar at the top to bring up a list of more options.
Next, choose “Open” and select the required file from the “Linux files” folder, which the name of your Linux username will denote. For instance, on our end, the Linux container username is “chromeready.” After picking the relevant photo, you can immediately start the editing process.
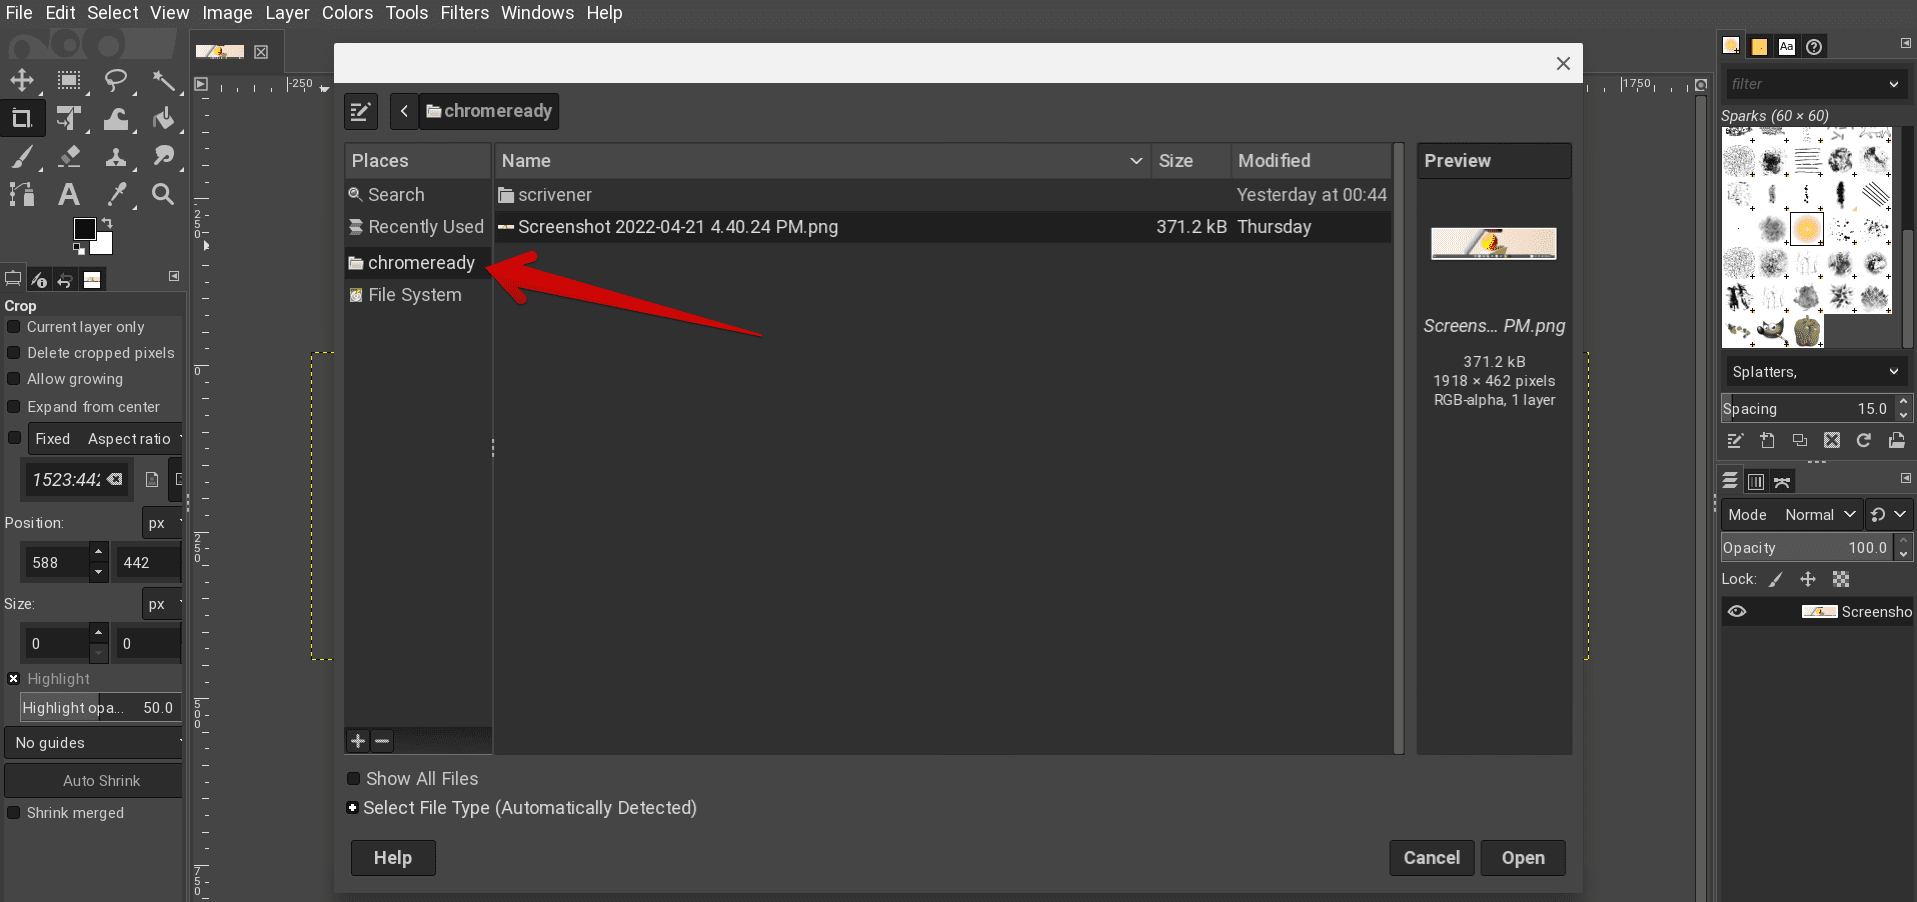
Selecting the correct folder in GIMP
You now have GIMP’s whole toolset available at your disposal. You’ll see a swath of basic editing options to the left, like Move Tool, Rectangle Select Tool, Free Select Tool, Crop Tool, Bucket Fill Tool, and others. However, on the right-hand side, it’ll be easy to see all the various types of brushes that GIMP comprises and allows users to work with on the fly.
Feel free to experiment with all the different offerings of this high-quality photo editor and work your way to becoming an expert. Now that you know the installation method and GIMP’s best features, the sky is the only limiting factor preventing you from unlocking your true potential.
Uninstalling GIMP from Chromebook
There are two ways to uninstall a program. For a more thorough and controlled uninstallation, I recommend using the command-line method.
Command-line method
- Open the Terminal: You can access the Linux terminal by opening the app drawer (clicking on the circle icon in the lower-left corner) and searching for “Terminal”. Click on the Terminal icon to open it.
- Uninstall Command: In the terminal, type the command to uninstall GIMP. This usually involves a package manager command, such as
sudo apt-get remove gimpif you used APT to install GIMP. - Confirm the Uninstallation: You might be prompted to confirm the uninstallation process. Do so by typing
Yand pressing Enter. - Clean Up: After uninstalling, it’s a good idea to run
sudo apt-get autoremoveto remove any unused dependencies that were installed alongside GIMP.
GUI method
- Access Linux Apps: Open your Chromebook’s app drawer by clicking on the Launcher in the lower-left corner of the screen (circle icon) or by pressing the Search key on the keyboard, then find and open the “Linux apps” folder or simply look for the GIMP app icon.
- Right-click on the App: If you see the GIMP icon directly in the Linux apps folder or in the app drawer, right-click on it (or use a two-finger tap on the trackpad).

Uninstall GIMP from Chromebook
- Uninstall Option: Look for an option in the context menu that appears which might be labeled “Uninstall” or “Remove”. Click on this option.
- Confirm Uninstallation: If prompted, confirm that you want to uninstall GIMP by clicking on a confirmation button that might say “Uninstall”, “Remove”, or “Yes”.

Conclusion
GNU Image Manipulation Program, better known as GIMP, is a top-end photo editing software that makes short work of the absence of Adobe Photoshop on Chrome OS. However, that prospect, too, is getting outdated as time progresses. It’s terrific for experienced users but a little scary at first for newcomers.
The key here is researching and learning the ins and outs of this software and gradually becoming a specialist in the domain. This guide talked about installing GIMP on a Chromebook using easy-to-follow instructions and illustrative screenshots.
Therefore, you shouldn’t have to look elsewhere for this purpose now that you know all required to get GIMP on Chrome OS. Please let us know in the comments section if you have the software to work on your end. Chrome Ready wishes you good luck!
- Contrary to GIMP, the editing potential is Openshot Video Editor for all things video clips. Please find out how to get it on your Chromebook in this detailed guide.
2 comments
So, what do I do if the school doesn’t let me turn on Linux?
IT WORKED!!! Thank you!