Audiophiles such as ourselves are always on the lookout for good music. It’s something that always keeps us in the loop of the music industry and allows our Spotify playlist to become bigger and better. However, we often face a predicament where an absolute banger track is playing, and we haven’t heard it before. Right there and then, a sudden urge takes over, compelling us to find out what this electrifying song is called.
The traditional method, in this case, would be to go and ask the person who’s responsible for playing this song, but that would require some semblance of social interaction skills. For those who are proud introverts and don’t want any of that, maybe give Shazam a try, especially if you own a Chromebook. This specialized application will help you find randomly play music like never before. So, without any further ado, let’s dive right in and talk about how to use Shazam on a Chromebook.
What is Shazam?
At its very core, Shazam is an application that takes up the hefty task of recognizing music just with the help of an excerpt, which is a small portion of the music that’s being played. Shazam. The app operates by employing the microphone’s functionality of the device on which it is installed.
If we’re to discuss the technical portion of how exactly Shazam works, then it might be worth knowing that the popular app uses audio fingerprints to detect songs as they’re being played. The application boasts a vast database that contains millions of audio fingerprints.
These are then cross-matched with the ones being detected on the music played. While we won’t get too deep into the technicality of Shazam’s working mechanism, such as its usage of a full-blown spectrogram, it’s worth knowing the basics, at least.
Upon making the application listen to a song sample somewhere around 5-10 seconds long. It’ll start the detection process. As soon as it finds a likely result, it’ll provide feedback to the user with the song’s name, the artist who wrote or sang it, and even the lyrics, which is nothing but a bonus.
Now that you know what Shazam is and what kind of working mechanism it packs, let’s take a moment to discuss its most commendable features below.
Shazam’s best features
Integration with Apple Music and YouTube
Shazam works right out the gate with both Apple Music and YouTube. Not only will it detect music for you on the fly, but it will also let you add your finds to your Apple Music library if you’re using the application on an iOS device. This feature may seem irrelevant to Chrome OS users, but what is relevant is how it works with YouTube from right within the application.
Note that we’re not talking about YouTube Music, a separate entity on its own and can be read about in-depth here. Instead, Shazam goes the extra mile of finding the YouTube video—if any—of the song you’ve just identified through the application. You’ll be able to swipe right to the “Video” section and discover the track’s YouTube video within seconds. Again, this is something that takes you closer to the core music experience and allows you to live out the song in its full glory.
Dark theme
Similar to most other applications in a modern-day device, Shazam falls under the covers of the night when it’s time for it to do so. You can expect the magical application to don a dark theme as soon as you prompt it or render your Chromebook into Dark mode. This adds a nice flavor to the overall setting of Shazam, making it blend in with the rest of your operating system effortlessly.
Magical working
One of the most well-admired features of Shazam is nothing but its core functionality. The way it detects every song you play to it is exceptional and magical by every stretch of the imagination. We’ve been personally using it to cater to our own music needs, and never have we ever experienced the app letting us down.
It works almost continuously, and that’s the best thing about it. The app will need at least 5 seconds of the song’s playtime, and that will prove to be enough in most cases. However, for those tracks that have become relatively obscure and have their release date tracing more than 10-15 years back, Shazam will take 10 seconds at best.
Time-synced lyrics feature
Another highly convenient feature of Shazam is how it presents time-synced lyrics as soon as the song is identified. You might not be too convinced here, probably thinking to yourself, “So what if it displays the lyrics of the song? I can get that from elsewhere too.” Fair point, but can you get it with time-syncing as well?
The best part of Shazam’s lyrics displaying feature is that they will appear in sync with the song played in the background and continue from there on out, making sure you don’t miss a single word. This is one of the superb functionalities that Shazam has to boast for itself.
Popular song charts
Shazam can also be used as an application to get your fix of the best songs. You don’t always have to launch it whenever you need a track identified. It employs a charts system that details the most popular songs in your region or global scale. The app tends to call it “Shazam charts” and is purely focused on making you keep up with recent music trends and everything of the like.
Shareability functions
Suppose you’re one of those individuals who love to socialize and cannot just resist sharing their recent discoveries on popular social media plug-ins like Snapchat. In that case, it might interest you to know that Shazam employs multiple sharing features. It’s a one-click affair to share your recent discoveries and saved songs to Instagram, Facebook, Twitter, and even WhatsApp.
How to use Shazam on Chromebook
It turns out that Shazam can be used on a Chromebook in three different ways. We’re going to outline both of them in this guide so you can be flexible with your options.
Option #1. Using Shazam’s browser-based version
Shazam sports as a web player that can effortlessly be used through your Chromebook’s web browser. To get started, all that you need to do is visit this direct link, and you’ll be golden. No account registration, no sign-in required.
Once you’re there, however, you will need to allow the website to access your microphone. Without it, Shazam cannot function. Again, you’ll be prompted to enable Shazam mic access, so follow the on-screen instruction and get that over with.
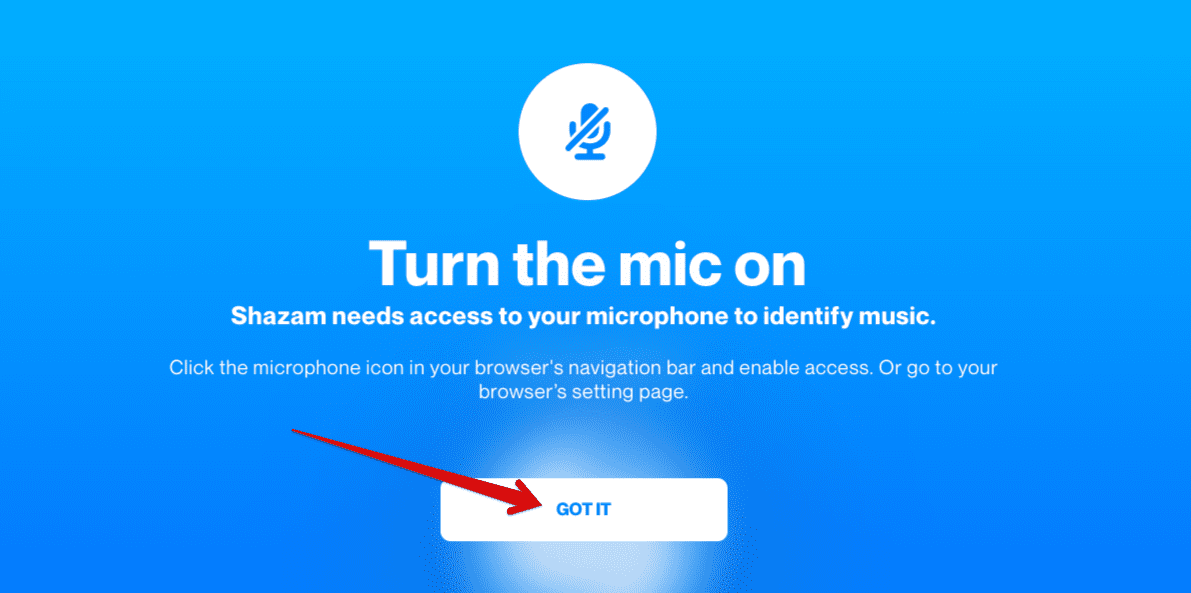
Turning the mic on
Once you’ve turned the mic on, you can click on Shazam’s icon in the center to trigger the music search. It won’t take any longer than 5-10 seconds to find the music you’re looking for. Make sure that your Chromebook is near the music source and it can technically “hear” the audio being played for the best results.
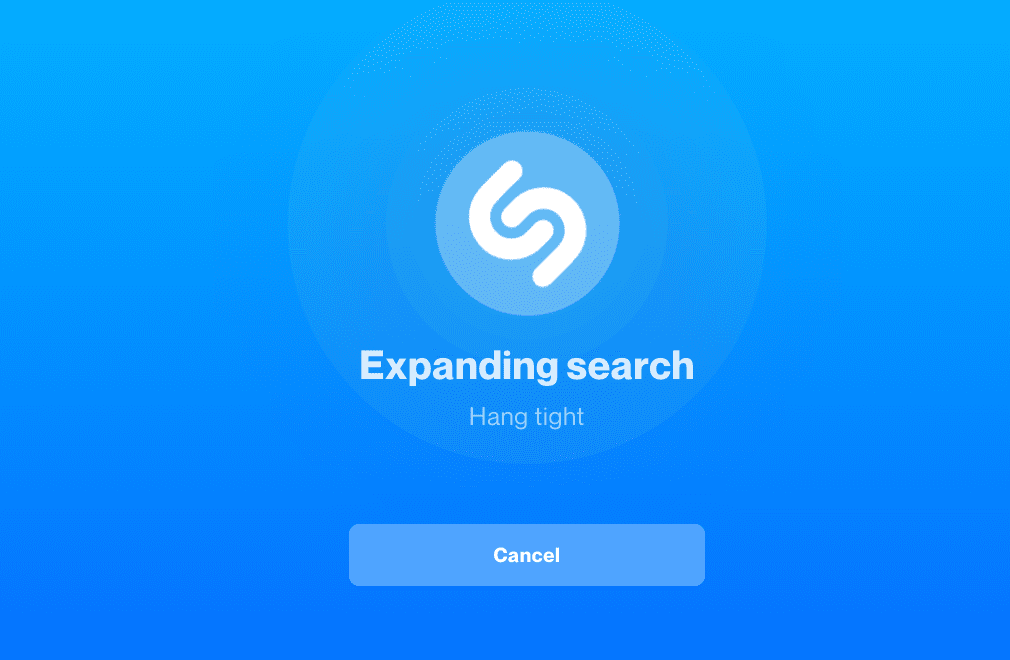
Shazam in action
After it detects the music, it’ll start loading another page that will be seen to the discovered audio track. Here, you’ll find time-synced lyrics, a YouTube video, and just about every other piece of important information regarding the music.
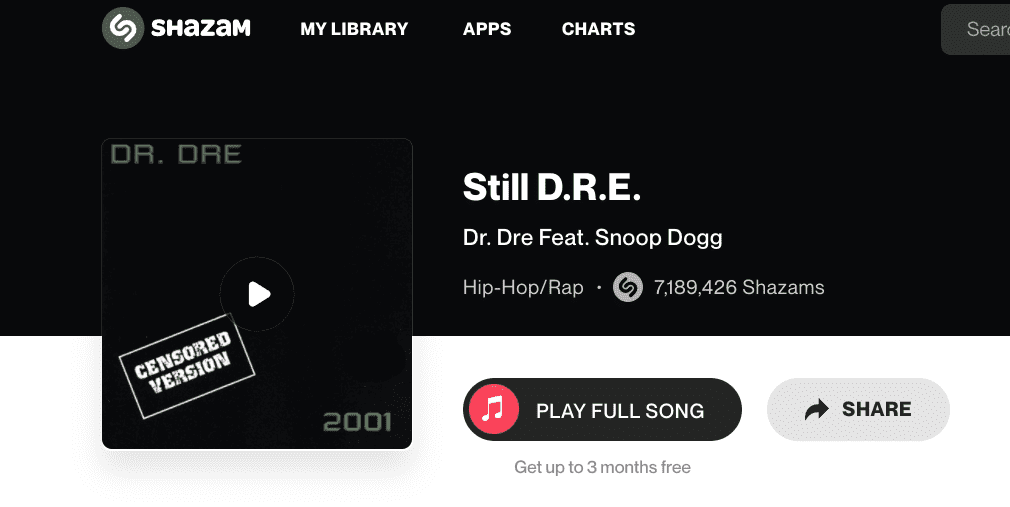
Music found
That was the first method of using Shazam on a Chromebook. Read on to find the second one.
Option #2. Using Shazam as a Chrome Web Store extension
The multi-faceted services of Shazam can be utilized in the form of a Chrome Web Store extension. One of the major benefits of using Shazam this way is that you can discover and identify music from right within the Chrome browser on any opened tab effortlessly.
There is no need to whip out your phone now and launch the Shazam application on it if you come across a cheeky audio track and want to know where it’s coming from. Another advantage you’ll get by having Shazam as an extension on your Chromebook is full Apple Music integration.
If you own a subscription to the service, you’ll love how Shazam integrates with Apple Music and allows you to play full tracks in your internet browser. Furthermore, if you sign in with your account on Shazam, your search history will be synced across all your Shazam applications, may it be on your smartphone or your Chromebook.
Lastly, you’ll also get lyrics to the discovered music or track if you choose to. This paves the way to utter convenience, especially when you’re watching something on Netflix or YouTube and an unknown yet amusing track comes on suddenly. The Shazam extension can help you out in that regard, so let’s dive right into its installation without any further delay.
The following steps are going to take it from here.
- The first step is to click on this direct link and head to the official Shazam extension page on the Chrome Web Store. As soon as you’re there, click on the vividly apparent “Add to Chrome” button to proceed.

Adding Shazam to Chrome
2. After that, you’ll receive a prompt from the top of the screen asking you to confirm the installation. Click on “Add extension” to begin downloading Shazam for the Chrome browser.
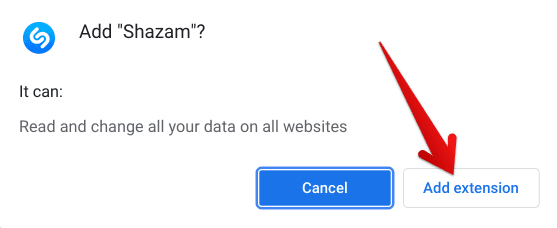
Confirming the installation
3. After the download and installation are complete, you’ll be notified that Shazam has been added to Chrome. You’re now free to launch the tip-top extension and try out its working.
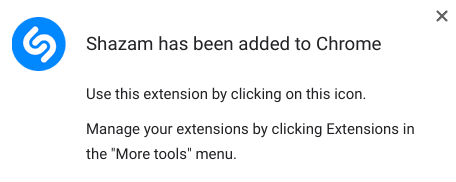
Shazam added to Chrome
That’s about it for installing Shazam as a Chrome Web Store extension. You can now click on the extension icon in your extension toolbar to fire it up. Once done, you’ll recognize the familiar Shazam interface as before from the first installation method.
All you have to do now is click on the large “Shazam” icon to start identifying the music that’s playing in your opened Chrome tab. Of course, the prerequisite here is to have some media playing to detect it and subsequently recognize the playing track.
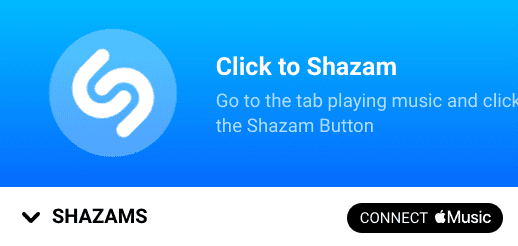
Shazam Chrome extension interface
That’s about it for the second method! Next, let’s move on to the third option you have for installing and using Shazam on your Chromebook.
Option #3. Installing Shazam as a Google Play Store app
Shazam can also be used on Chrome OS as a Google Play Store application. Before proceeding with this method, please ensure that your particular device can run Google Play and Linux. Most modern-day Chromebooks come in-built with the latter two features, but if you’re sporting a dated model and haven’t used the Play Store on it before, you should double-check the compatibility using this detailed guide.
With the initial disclaimer out of the way, let’s move on to the installation steps of Shazam on Chromebook.
1. The first step is to fire up the Google Play Store after enabling it. You’ll find Google Play in the Launcher section or pinned to the shelf.
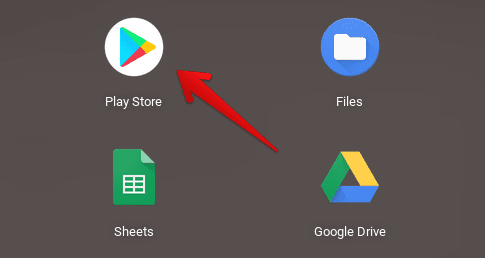
Opening the “Google Play Store”
2. Once done, search for the “Shazam” app by typing in the application’s name in Play Store’s search bar. Press the “Enter” key when you are done.

Searching for Shazam
3. Completing the last step will take you directly to the official Shazam app page. Click on the “Install” button there to continue.

Installing Shazam
4. The installed app will appear in the Launcher section. Go there to find and launch Shazam.
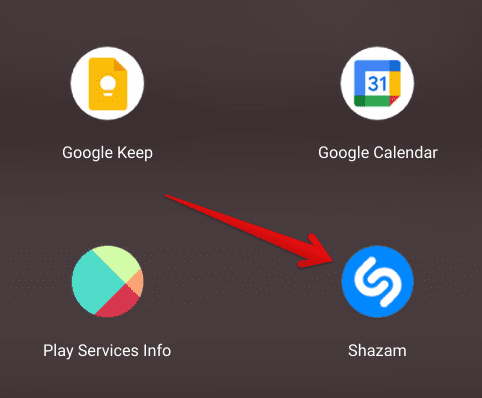
Shazam installed
Congratulations on successfully installing Shazam on your Chromebook! It’s time to take it for a spin and see how it operates on Chrome OS.
Shazam working
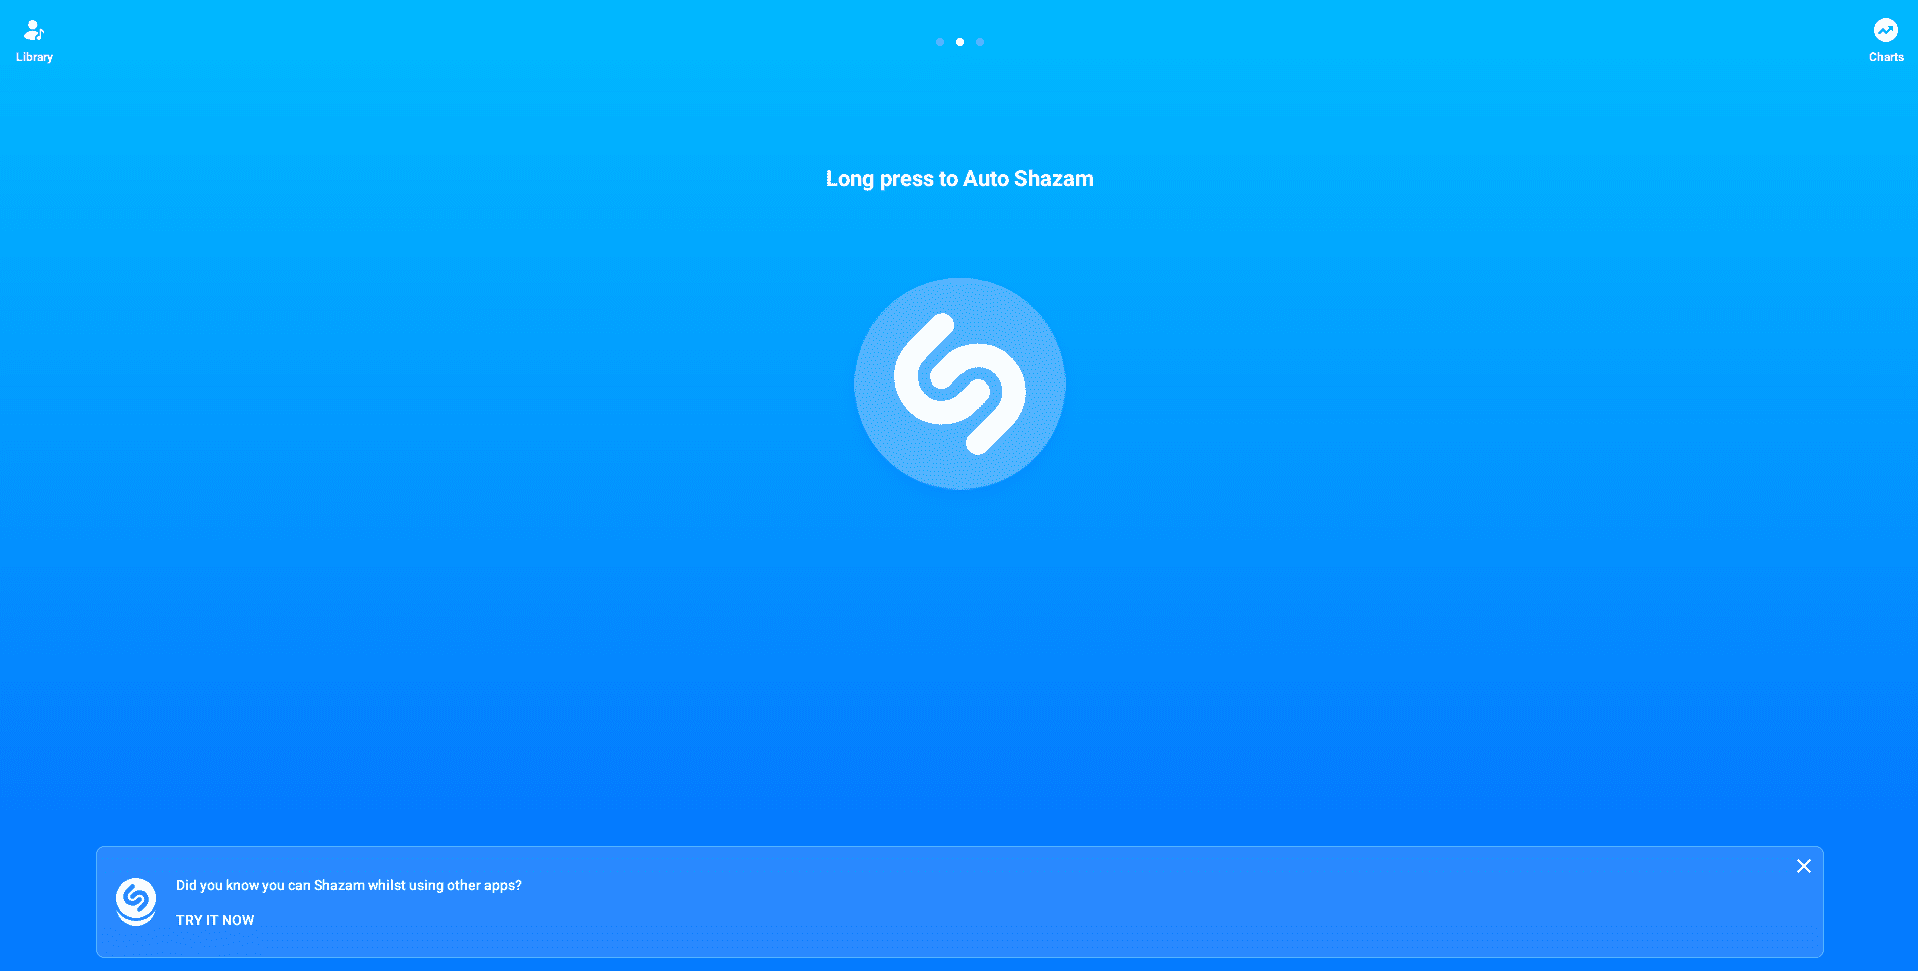
Shazam interface
As soon as you launch Shazam on your Chromebook, you’ll see the main interface appearing, looking similar to the one shown in the screenshot above. The application follows a one-tap working functionality. All you have to do to get Shazam working is tap on the app icon prevalent in the middle of the screen. Upon tapping on it for the first time, you’ll be asked to grant specific permission to the app. After that, Shazam will be required to use your microphone to hear the music.
This is nothing but harmless, so allow the app to use this feature of your device to get to the main part. Once you’ve given the allowance, you’ll see the application working in full flight, working hard to identify the music being played in the background. It’ll be no more than 10 seconds until Shazam returns to you with favorable results. Once it does, you’ll see that it just won’t be the name of the song you’ve been meaning to find that it pulls up.
It’ll go extremely in-depth, for that matter, and dole out a swath of information regarding the track. However, before we get into that, let’s quickly go over a prompt that can appear during your first find. Shazam will ask you to enable your device’s location settings so the app can keep track of the place you’re identifying music in. We leave this up to you to decide – you can either keep it disabled or turn location services on to use this feature.
To come back on the feature at hand, the following is a screenshot of what we see after Shazam finishes identifying specific music. It managed to find the music we were looking for, but it also gathered the best songs related to its singer. In addition, you can watch the YouTube video of the song you’ve looked up from right within the Shazam interface.
At the end of the page, you’ll also find the album, the label, the release date of the song, and the time you “Shazamed” it.
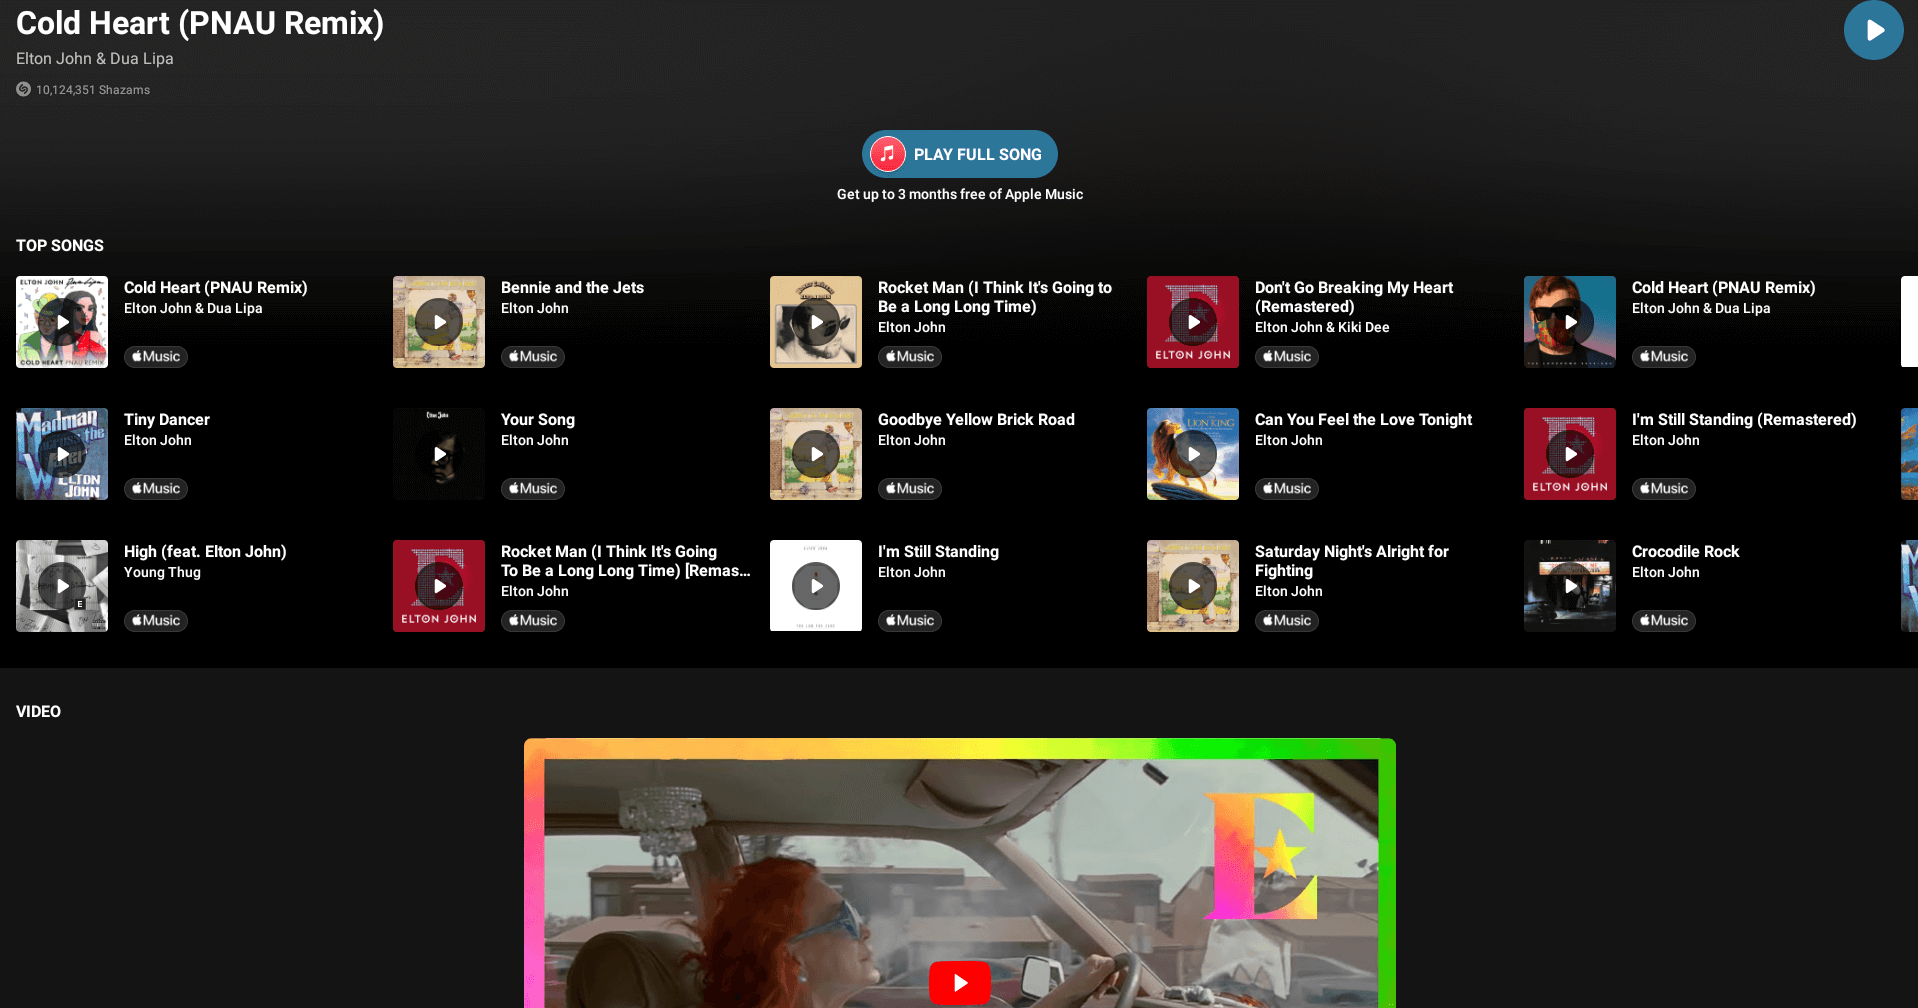
Track information by Shazam
That’s all there is to it regarding the working of Shazam as a Google Play Store app. We’ve now concluded the article.
Conclusion
Shazam has been a monument of utmost convenience in the music industry, allowing millions of people worldwide to discover new music on the fly. It works like a charm on Chromebooks, as we’ve shown you in this article, and boasts a large number of features for a tip-top user experience.
We hope that this guide has been genuinely helpful to you. If the first method of using Shazam doesn’t suit you, there are always the Play Store and the Chrome Web Store method out and about and readily available. You’re free to try both of them on your device and decide this matter for yourself. For now, we wish you good luck!
- Shazam and Spotify go hand in hand, being the giants of the industry. Find out how to use Spotify on your Chromebook here.
