Have you been meaning to discover how to install Arduino on Chromebook? The process might seem unlikely if you’ve just started using these sleek devices, but let us tell you here and now that many individuals out there are sporting the Arduino IDE on their Chromebook. How they’re doing that will be the focus of this guide.
The times where Chromebooks were referred to as mere “web browsers” have been stowed away to the past. Today, ChromeOS has evolved to an exceptionally reasonable extent where programs like WordPress, Kali Linux, Wine, and even the iMessage service are installable and usable on the operating system.
For now, though, let’s talk about all things Arduino and gauge the various ways you can get it up and running on your end. In the meantime, do check out these 10 best USB flash drives to hook up with your Chromebook.
- Recommended read: How to 3D print using Chromebooks.
What is Arduino?
Arduino itself is a company name that specializes in building unique microcontroller processors and kits for catering to various devices. All proceedings of Arduino are manufactured to be open-source — both from the perspective of hardware and software, so if you’re a developer yourself, you can painlessly contribute to the project’s source code.
Arduino is famous for two reasons: One is their manufacture of Arduino boards, while the other is a computer program called Arduino IDE or Arduino software. What concerns us here in this article is the latter, a dedicated application serving its purpose as a high-quality text editor.
To shed some light on the former, which are Arduino boards, the company takes pride in developing niche microcontrollers built to perform user-related tasks for you. They’re lightweight, easily accessible, and highly compliant with what you ask them to do—sending a message to someone or flipping on an LED.
If you’re concerned about hooking up your Chromebook with the Arduino IDE, then you’re probably in possession of an Arduino board. Otherwise, integrating the latter with a computer program can get complicated and often incompatible with other software. The Arduino software for Arduino boards is a match made in heaven, thereby perfect for each other.
One of the major reasons people instead opt for Arduino products rather than look into their counterparts revolves around affordability. Arduino boards are some of the cheapest you’ll find out there. For starters, this high-quality, entry-level Arduino UNO REV3 costs just one and a half dollars short of $30 on Amazon.
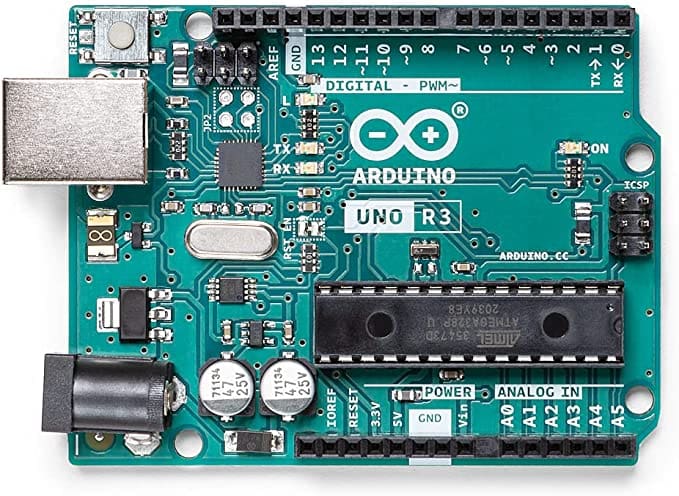
An Arduino UNO REV 3 board
In addition, the software’s side—Arduino IDE—is clear, simple, and secure, all of which are substantial traits contributing toward a quality user experience with Arduino products. Moreover, you’ve got cross-platform functionality with this combo of hardware and software, similar to how a tool like TeamViewer manages to do its job.
Anyhow, now that you have a brief concept of the technology backing up Arduino and what these products are capable of, let us waste no sliver of time any further and get right into the installation of Arduino IDE on ChromeOS. The procedure is de facto more straightforward than it initially seems to be.
- Related read: How to install GNOME Software Center on ChromeOS.
Installing Arduino IDE on ChromeOS
Arduino IDE on a Chromebook can be used or installed in several ways, so audiences of different preferences can choose the method that appeals to them the most. We will be breaking down each of these pathways one by one, so you can acknowledge all of your available options and choose the right one accordingly.
Let’s get started right away.
Option #1. Using the Chrome Web Store to download the Arduino IDE extension
The first two options work in tandem with each other, but it’s our job nonetheless to present them here in this guide so that you can grasp the whole notion better. The Chrome Web Store, similar to Google Play, features a wealthy sea of extensions and applications that one can download and improve their Google Chrome browser and, subsequently, Chromebook with.
Out of all the top Google Chrome extensions for ChromeOS, there’s one app out there that can potentially hook you up with a high-quality Independent Development Environment (IDE). That is none other than the Arduino software in question. Without any further ado, let’s turn to the steps pertaining to Arduino IDE’s Chrome browser extension installation.
1. The first step is to visit the official Arduino Create for Education extension on the Chrome Web Store. As soon as you’re there, click on the vividly apparent “Add to Chrome” button to get to the next step.

Clicking on “Add to Chrome”
2. After clicking on “Add to Chrome,” you will next be required to confirm the prompt appearing at the top of the page by this step. Click “Add app,” and you’ll be done here.
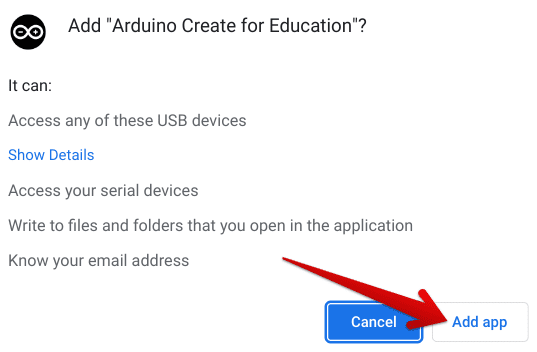
Adding the “Arduino Create for Education” app to Chrome
3. That’s all there is to installing Arduino IDE from the Chrome Web Store. You may as well now turn to the launcher section of the ChromeOS interface to find the utility installed there. This is how the Arduino Create for Education app icon appears on a Chromebook.
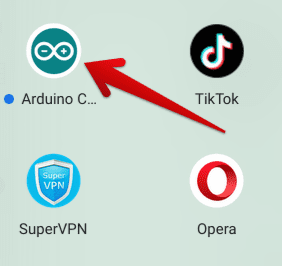
Arduino Create for Education extension installed
Option #2. Using the web-based version of Arduino IDE
The second option of using Arduino on a Chromebook revolves around using Arduino IDE’s web-based version. Ad hoc, we will continue from where we left off in the previous step. As soon as the extension installs on your end, click on its icon to launch the web editor of Arduino IDE straight away. Doing so should nudge you in the right direction.
If you haven’t familiarized yourself with Arduino before, you must sign up and register for the application. Thankfully, various sign-in options are prevalent on the log-in screen, including Facebook, Google, Apple, and even GitHub. Being a Chromebook user, we believe going with “Google” is likely the best option.
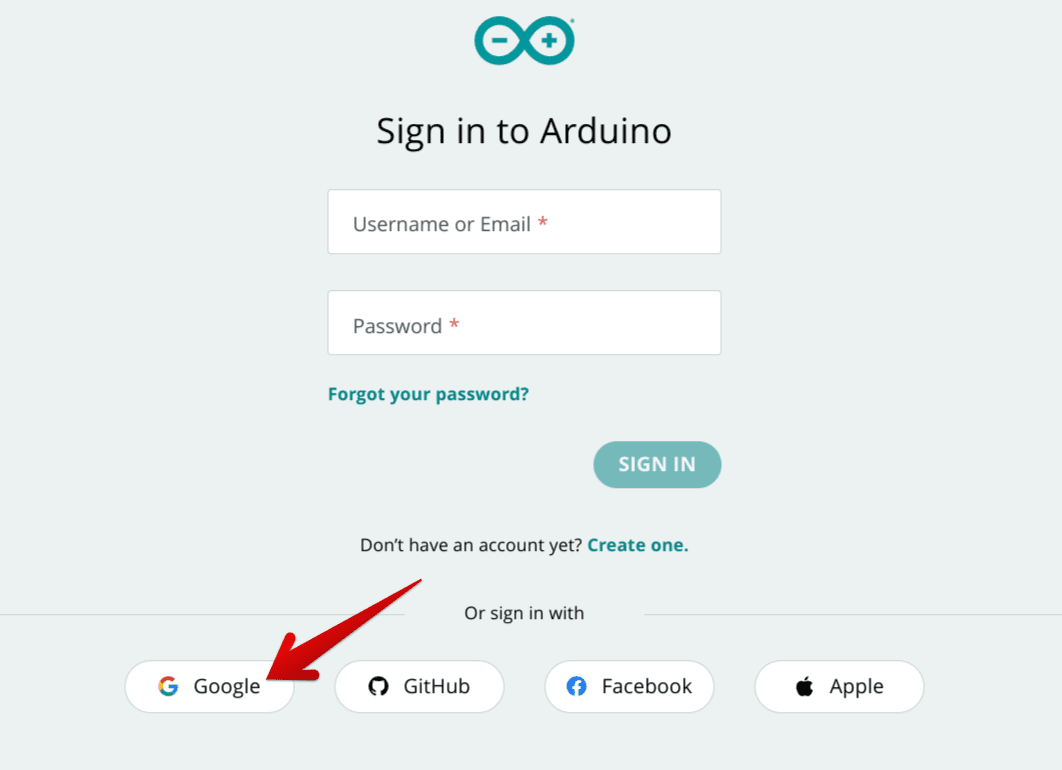
Signing in with Google on Arduino
Signing in with your Google account isn’t enough. It’s still required to sign up on Arduino using other information, such as username, and complying with the terms and conditions of Arduino’s privacy policy. Choose a fitting username and click on “Create Account” when you’re done to continue.
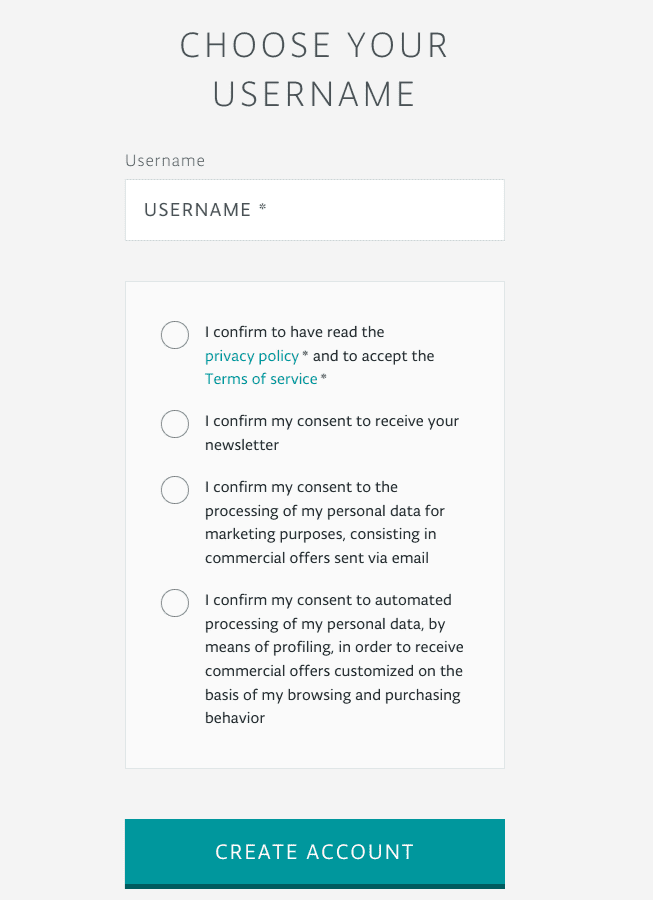
Creating an account on Arduino
You will be taken straight to the Arduino Cloud editor’s user interface right after you complete the sign-up process. Here, since you’re a first-time user, the cloud-based editor interface will offer you a tutorial in terms of getting started. Feel free to click on “Yes” if you’d like to get familiar with the Arduino IDE.
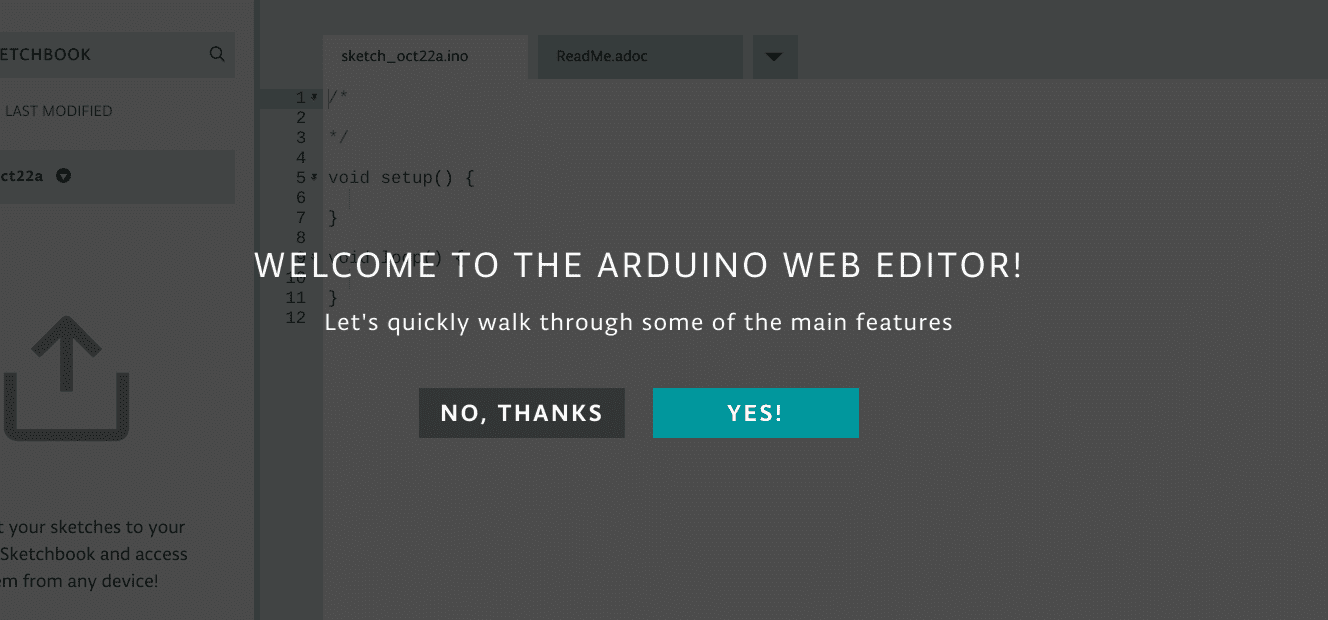
The Arduino web editor tutorial
Luckily, the nicely curated tutorial of the in-browser Arduino IDE makes things easier for new users to grasp and understand. It walks one through the innards of the Arduino software in such a clear manner that even the most casual of users will have an undemanding time getting the ball rolling with the program in question.
The user interface of the Arduino Editor is laid out vividly across its dedicated web page. The cherry on top is the tutorial that makes you comprehend the starter elements right from the get-go. Once you’re done sifting through the initial tutorial, you will be asked if you want to instantly import your sketchbook to Arduino to begin your work.
The following is what the Arduino Editor looks like on your Chromebook. Do note how the user interface is unchallenging to understand right at very first glance, making the whole affair look seamlessly workable for thousands of people across the spectrum.
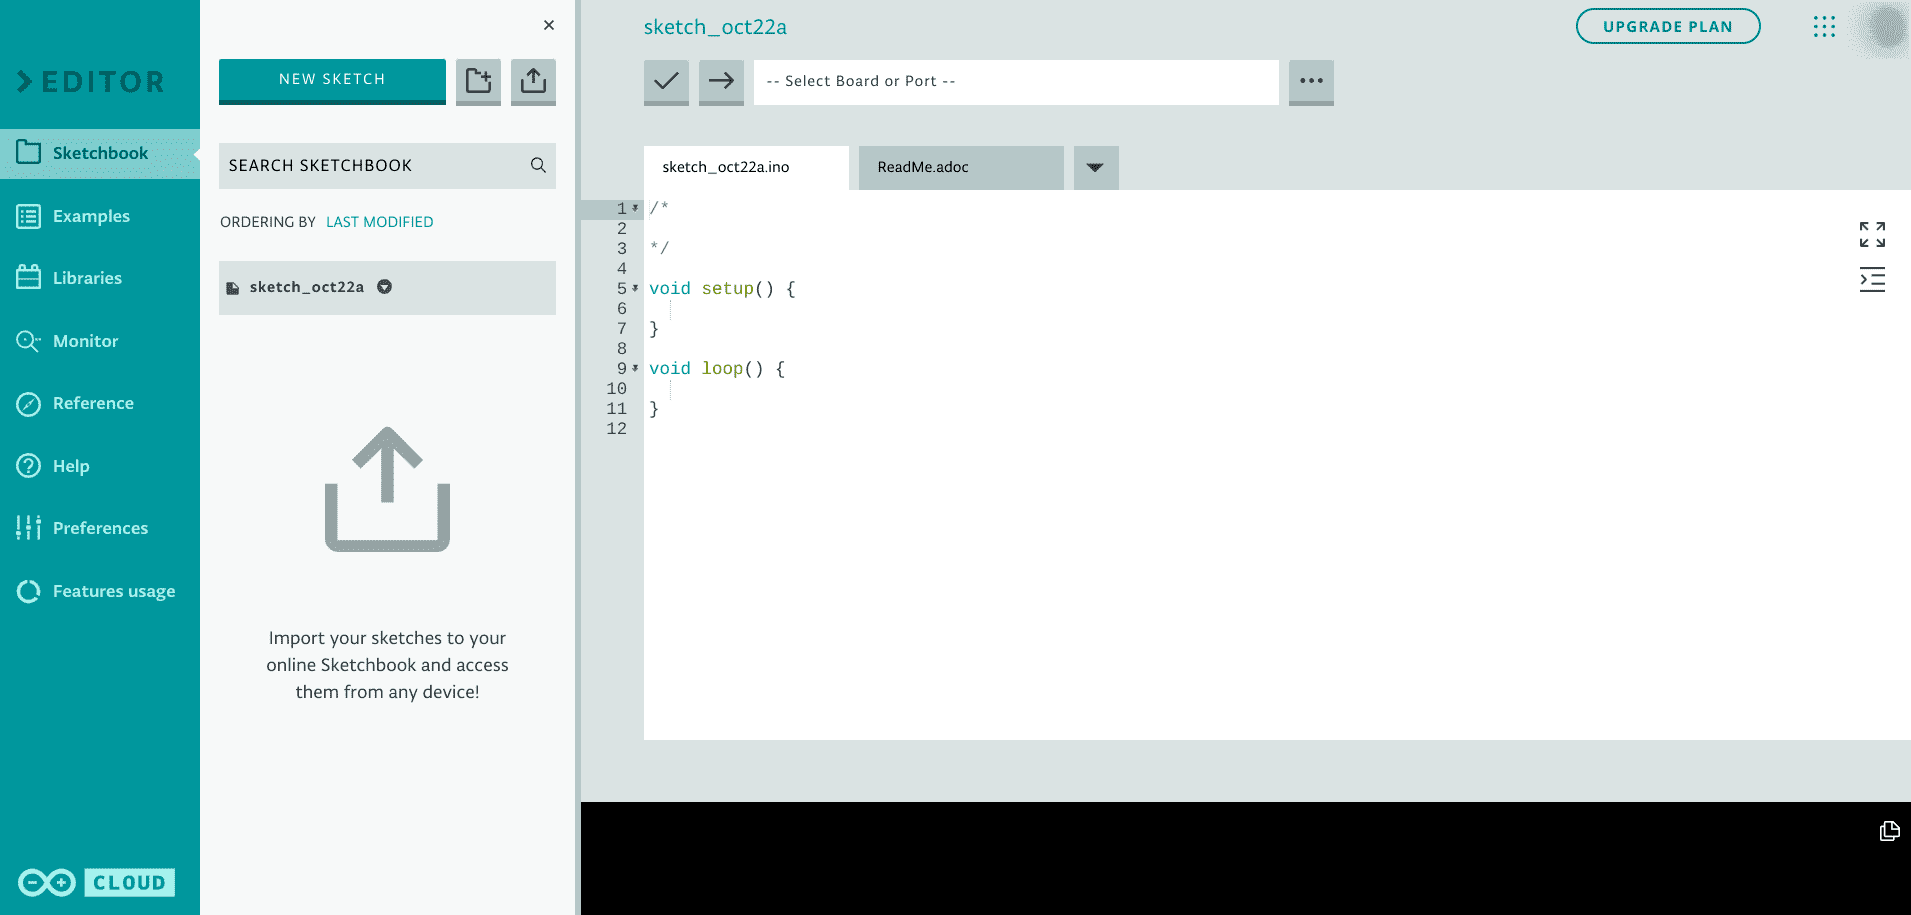
The Arduino Editor on ChromeOS
Option #3. Downloading the Arduino Editor as a PWA
This next option is line is in direct continuation with the previously available option of installing Arduino on a Chromebook. ChromeOS has been receiving a swath of updates over the past five years. In light of that, the developers have made Progressive Web Apps (PWAs) more common across this operating system.
Applications such as Reddit, Microsoft Office, and even Cursive can all be downloaded as a PWA on ChromeOS, allowing users to experience these programs faster and more lightweight manner than ever before. The best part is that the Arduino Editor has also been compatible with being downloaded as a PWA.
All you have to do is click on the “Install” button that sits in the address bar of the Arduino Editor web page, and you’ll be able to proceed here painlessly. Check out the screenshot below for a better idea of where to find the “Install” button.

Installing the Arduino Editor PWA
After completing the previous step, you will be shown a confirmation prompt. Confirm the installation of the Arduino Cloud Editor from there, and you’ll have the PWA installed on your Chromebook in more than a moment. Time to get into the Arduino software in a never-before-experienced way and enjoy a better semblance of software performance.
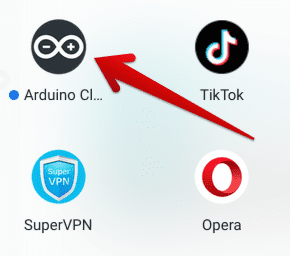
Arduino Cloud Editor PWA installed on ChromeOS
- In the screenshot above, you can observe TikTok and Opera installed on our Chromebook. Tap the interlinked guides to learn how to get them for your device.
Option #4. Using the in-built Linux terminal to install Arduino
Last, how can a top-tier program like Arduino IDE be exempt from the confines of the in-built Crostini Linux terminal? Chromebooks have been sporting the functionality of Linux as early as 2016 when only a handful of Chromebooks that could run Android and Linux apps were prevalent then.
Now, however, all modern-day Chromebooks have this functionality right off the bat. It’s easy to set up and install and works just as intended, so there’s no reason you shouldn’t be doing all the different things you can do with Linux installed on your Chromebook.
It turns out that the Linux terminal can even install Arduino IDE for you, provided that you input the proper commands. We’ll show you the ropes to getting this done using the steps ahead. Do replicate them verbatim until the end for the best results.
1. The first step is to fire up the Linux terminal on your Chromebook. You can use the “Search” key on your keyboard to look for the app or launch it from the shelf if you have it pinned there.
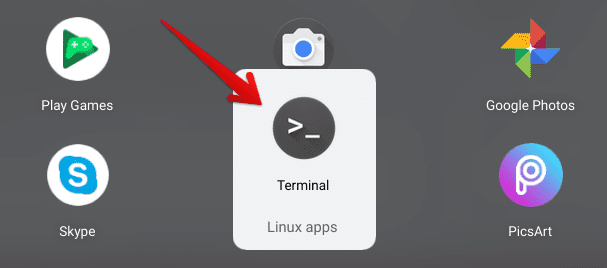
Opening the Linux Terminal
2. As soon as the terminal opens up, your first task will be to ensure it’s fully updated. Type in the following command to get your version of Linux up to speed.
sudo apt-get update

Updating the Linux Terminal
3. After ensuring that your Linux terminal is on the latest available version, you will proceed toward installing Arduino IDE, which should be wrapped up in a bunch of steps. To get started, head to the official Arduino website and choose the relevant version of the file that you’d like to install.
In this case, we recommend scrolling down and opting for the Legacy IDE (1.8X) version. It comes with all the latest features and should keep your Chromebook’s Linux from running into any potential errors. Now, you won’t be downloading anything in this step. Simply right-click on the correct Linux file, depending on your Chromebook’s mode, and copy its link.
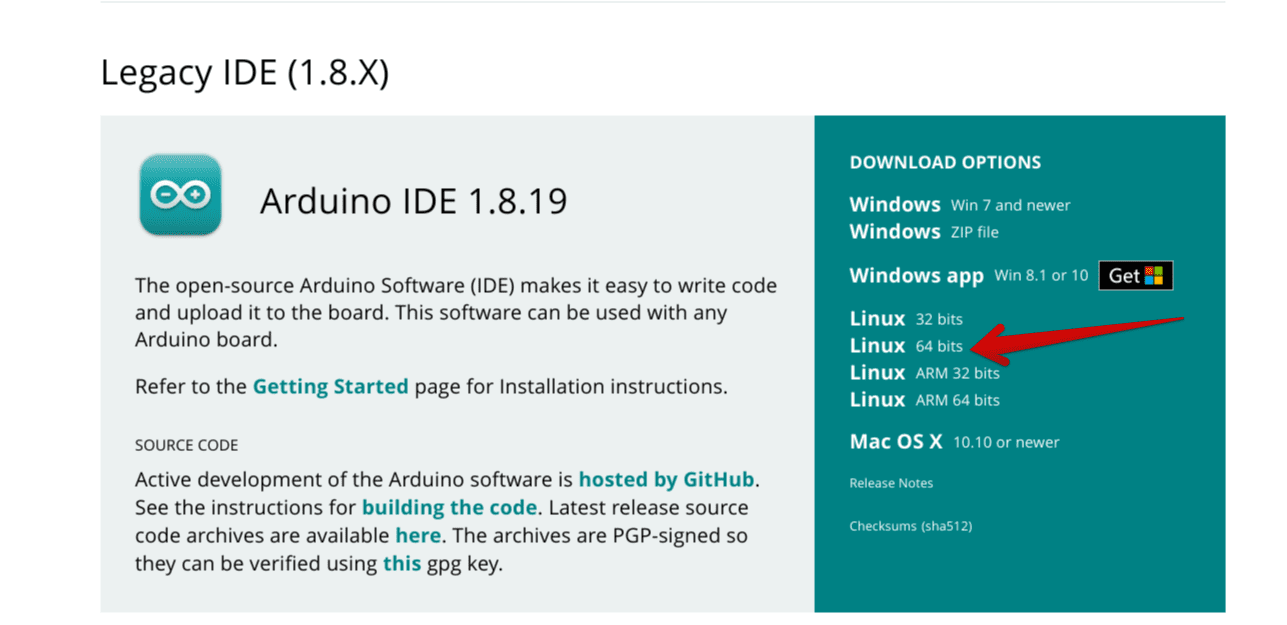
Copying the link address of the Arduino IDE 64-bit Linux file
4. After copying the link address of the correct Arduino IDE file type, fire up the Linux terminal again. You will need to use the “wget” command followed by pasting the link address of the Arduino IDE Linux file. In doing so, your command-line interface should strive to have the following inserted in there.
The download process should begin as soon as you paste the command correctly and press the “Enter” key. Since the file size isn’t too hefty, the procedure should conclude in fewer than a few seconds. Once done, continue reading from the next step.
wget https://downloads.arduino.cc/arduino-1.8.19-linux64.tar.xz?_gl=1*yqe3pg*_ga*MjA0MzMzOTEwMC4xNjY2NDE3NzEy*_ga_NEXN8H46L5*MTY2NjQyODkyOC4yLjEuMTY2NjQyOTA3NS4wLjAuMA..

Downloading the Arduino IDE Linux file
5. Now, since you’ve downloaded the Arduino IDE Linux file in a format that the terminal cannot access directly, we will need to get a hold of a dedicated tool that will allow us to make the data in question available for the Linux terminal. For this purpose, the following command will come in handy for us.
sudo apt-get install xz-utils

Installing the relevant tool
6. After completing the previous step, your Linux terminal will be better capable of handling what is to come. Before we can get into that, we will need to use the “ls” command to list the contents of the directory Linux focuses on. Doing so will allow us to work with the file moving forward since we need its version and name in accurate terms for the purpose.
ls

Listing the contents of the Linux directory
7. Using the “ls” command should do the trick for you. To continue, use the “sudo tar -C /opt -xf” command and pair it with the exact file name of the Arduino IDE file present in your Linux directory. A simple copy-and-paste technique will do just fine here. Please note that after the “-xf” term, you will need to use the information relevant to your cause.
Doing so will finally allow the Linux terminal to access the Arduino IDE file on your Chromebook.
sudo tar -C /opt -xf 'arduino-1.8.19-linux64.tar.xz?_gl=1*1dqnszz*_ga*MjA0MzMzOTEwMC4xNjY2NDE3NzEy*_ga_NEXN8H46L5*MTY2NjQyODkyOC4yLjEuMTY2NjQyOTA3NS4wLjAuMA..'

Unzipping the relevant file
8. Don’t be surprised if you get no response from the side of the terminal after completing the previous step. If that happens, know that you’re heading in the right direction. You next need to venture into the files of the installed software, so you can make the relevant changes to it and set it up for a nice and clean installation.
For this purpose, the following command is going to come in handy. Please note that the version number of the Arduino IDE will be the same as you installed on the device using one of the earlier steps. Assess what you grabbed from the official Arduino website and enter that into the command below accordingly.
cd /opt/arduino.1.8.19
Advancing the installation
9. Once you tap into the file folder of the Arduino IDE, you need to use two commands from here on out: “pwd” and “sudo ./install.sh.” Upon successfully implementing both commands in tandem, the installation for the Arduino IDE will finally begin, and you should have the application ready on your end in a couple of minutes.
Here’s what the software looks like when launched on a Chromebook. We must admit that the tool feels optimized and smooth to the touch to use on ChromeOS. Aspiring developers can turn to something like Arduino moving forward.
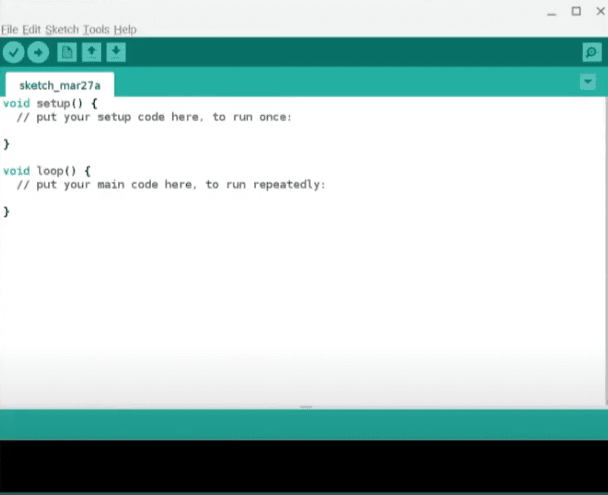
Arduino IDE installed on ChromeOS
You’ve finally done it! After four carefully thought-out methods of installing Arduino on a Chromebook, we can comfortably conclude the article. Following the techniques above is bound to get you up and running with the Arduino software on ChromeOS.
Conclusion
Chromebooks have been blessed with a constant array of features ever since their initial inception back in 2011. Today, our available purchasing options range from high-end Chromebooks to budget-friendly ones that pack affordability and quality equally. Combine that with the integration of the Google Play Store, and you’ve got a winning recipe.
In this guide, we’ve looked at the Arduino IDE on ChromeOS, what it is, and how you can install it on your device. We’ve covered multiple ways of installing the Independent Development Environment on a Chromebook, so feel free to replicate the one that suits your preferences the most.
As always, Chrome Ready wishes you good luck!
