Just got yourself into Chrome OS and are now looking to learn how to edit photos on Chromebooks? You’ve landed on the right web page. There isn’t one but several different ways of reinvigorating your snaps and pictures on Chrome OS, and this article will aim to tell you about them all. Keep reading for an in-depth guide loaded to the brim with helpful information.
- More from Chrome Ready: How to create and share albums in Google Photos.
People would have scoffed if one asked for achieving demanding processes on a Chromebook a decade or so ago, such as running Adobe Photoshop. Fortunately, that is not the case anymore. Chrome OS has evolved comprehensively and is now capable of many things. To give you a hint of this operating system’s capability, a handful of top-tier Chromebooks are running Steam as we speak—one of the most popular game launchers in the world.
As for the potential of photo editing, we’ve already mentioned that Chromebooks now support a cloud version of Adobe Photoshop, and this is something that needs no introduction. Keep on reading for a complete tutorial on all the different ways you can edit photos on a Chromebook. Let’s dive right in.
The best ways to edit photos on a Chromebook
The following is our cherry-picked collection of how you can edit your photos on Chrome OS. Be sure to read until the end for the best results.
1. Get started with the in-built Chrome OS photo editor
Chrome OS is a reasonably feature-rich operating system that comprises a basic level of functionality for most processes. One in there lets you edit your photos to a basic extent, such as cropping, rotating, scaling, and lighting filters. It’s pretty quick and effective if you require light editing and nothing too advanced. To get started, follow the steps listed ahead, and you’ll soon understand the basic functioning of the Chrome OS in-built editor.
1. The first step is to open the “Files” app on your Chromebook. This is where all of your device’s contents are stored, including photos, videos, music files, and other items of interest.
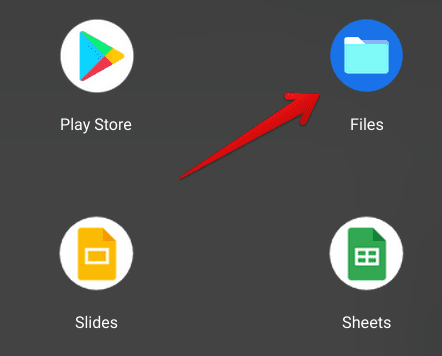
Opening the “Files” system app
2. Once you’re inside the Files section, look for the photo you wish to edit. If you downloaded it from the internet, click on the “Downloads” area in the sidebar and double-click on the photo once you’ve located it. That is bound to get you to the next step.
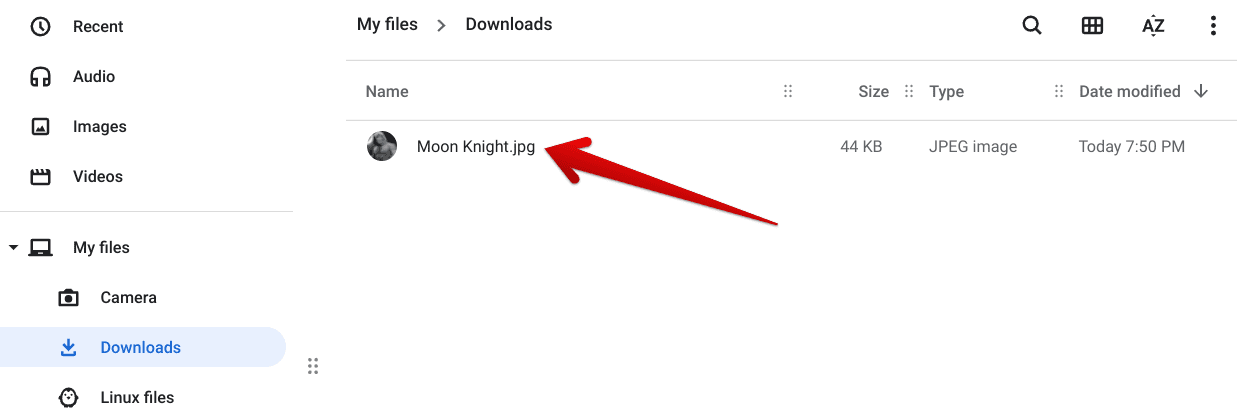
Opening the photo for editing
3. After double-clicking on the photo that you want to edit, the snap will open inside the Chrome OS “Gallery” and allow you to edit it to your heart’s content. Feel free to crop or rotate your photo or size it down to your preferred aspect ratio. You can also slap some enticing filters to your picture and make it stand out. Lastly, there’s an option to annotate your photos, denoted by an icon that looks like a curvy line.
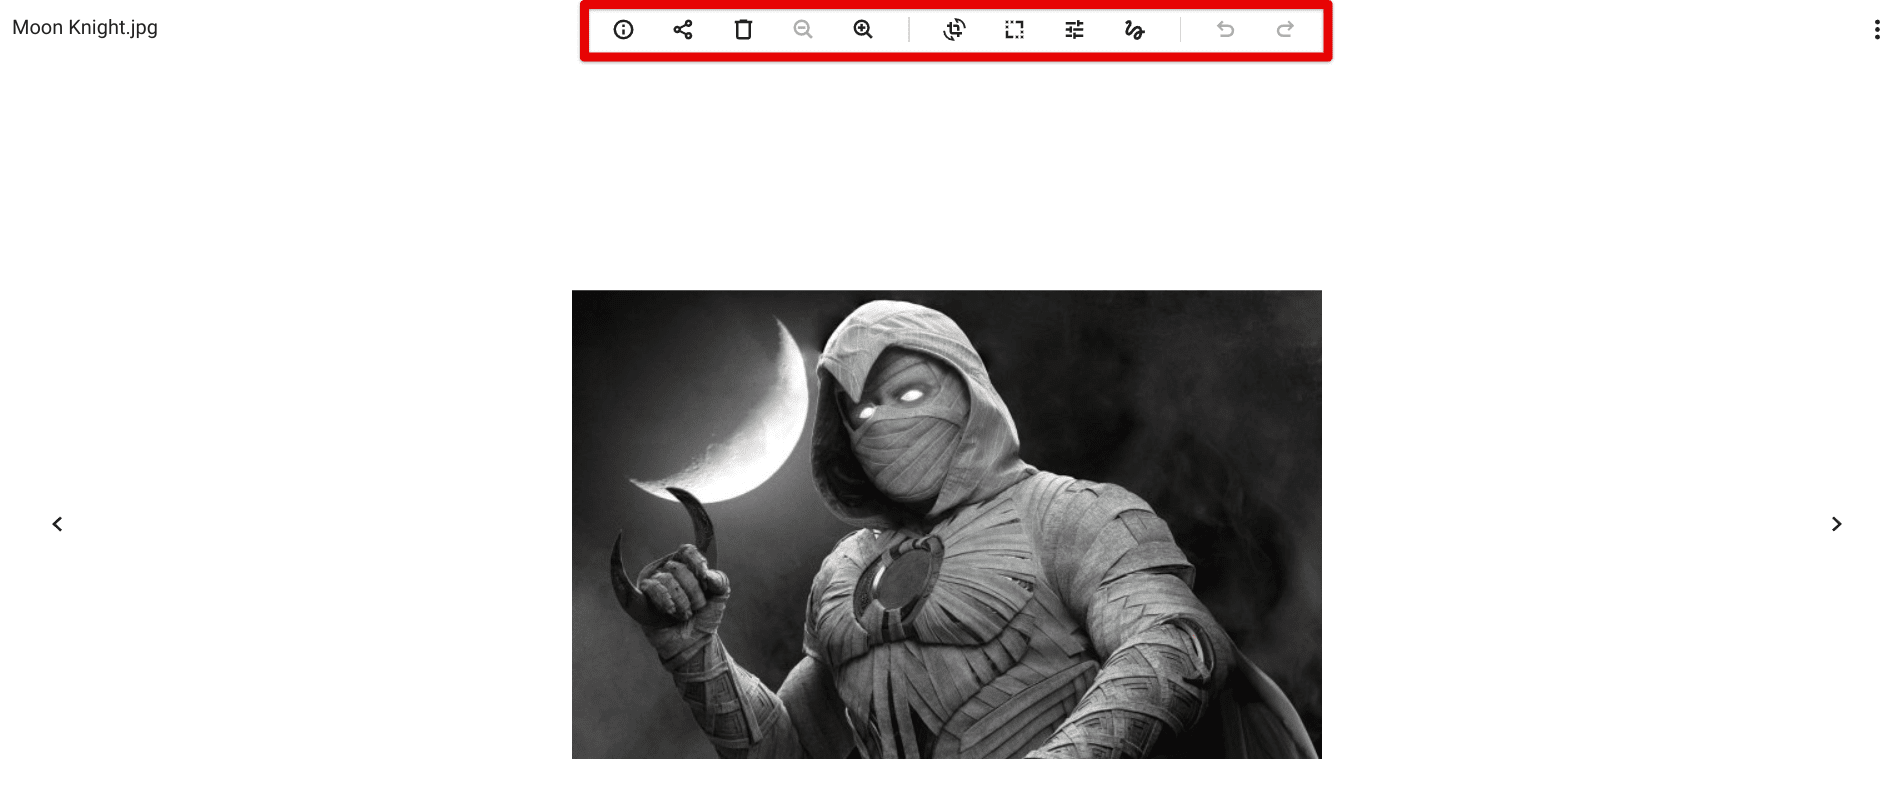
Set of tools in the in-built Chrome OS photo editor
4. After you’re done tweaking your photo, click on “Save” to finalize the process. Working with the in-built Chrome OS photo editor is fast, simple, and nothing but straightforward. We recommend giving it a shot before moving onto the more complex end of this spectrum.
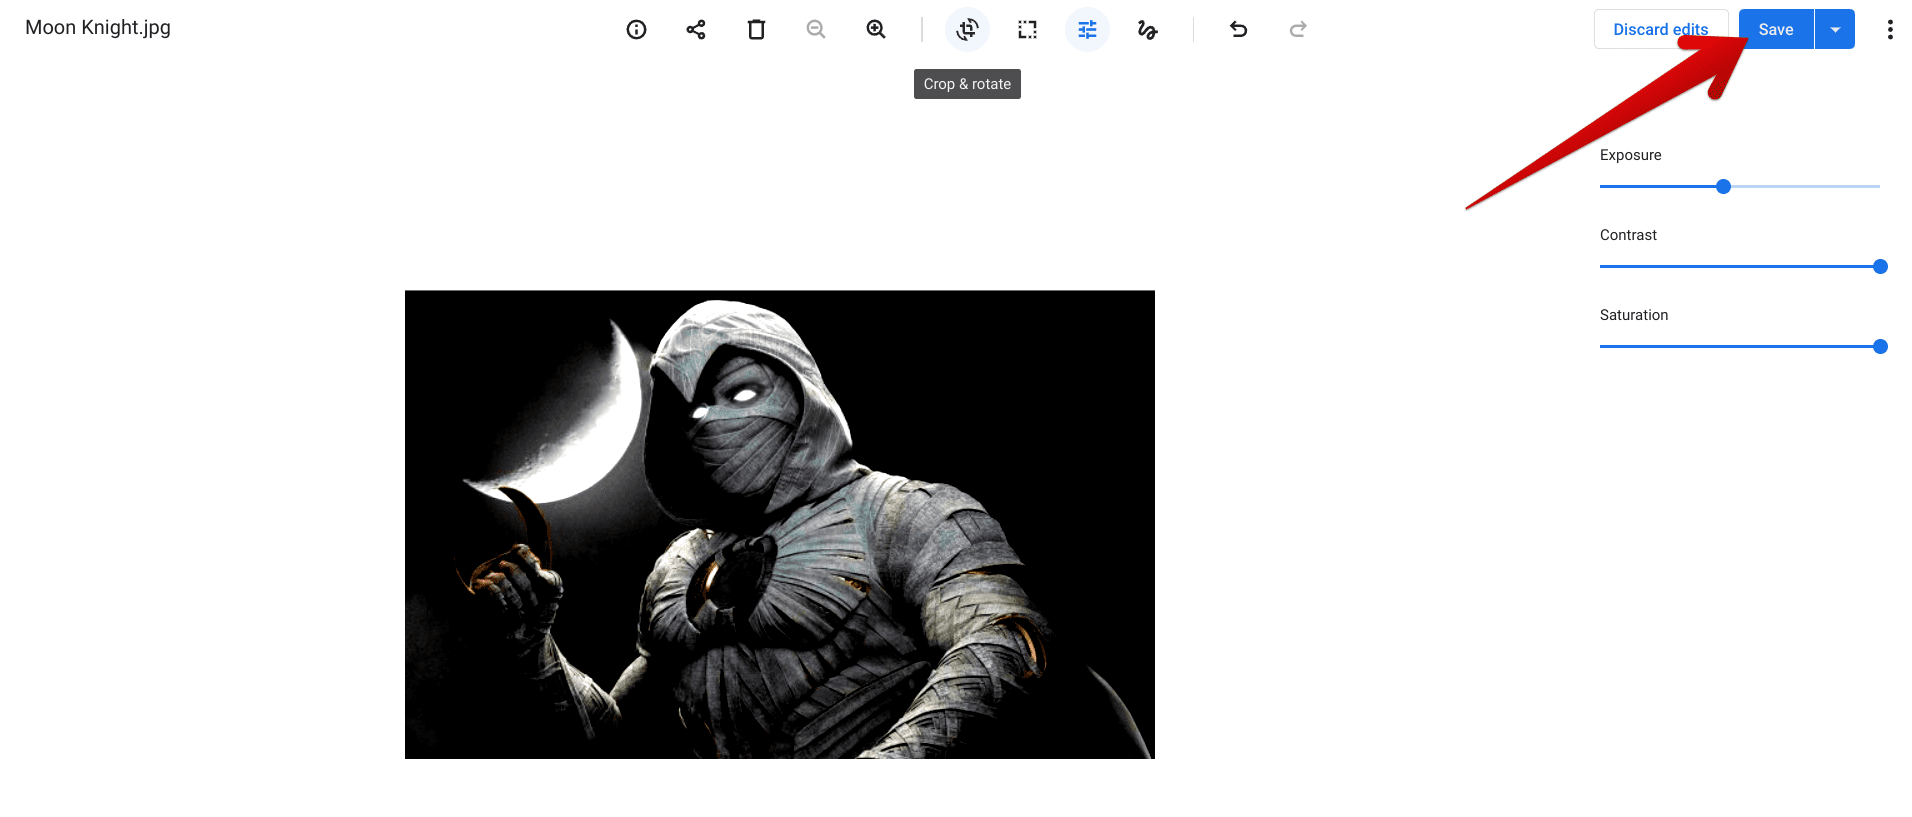
Saving the edited photo in Chrome OS
That’s about it for this first method. Let’s get on with the second one and make sure your options stay flexible.
2. Try GIMP on your Chromebook
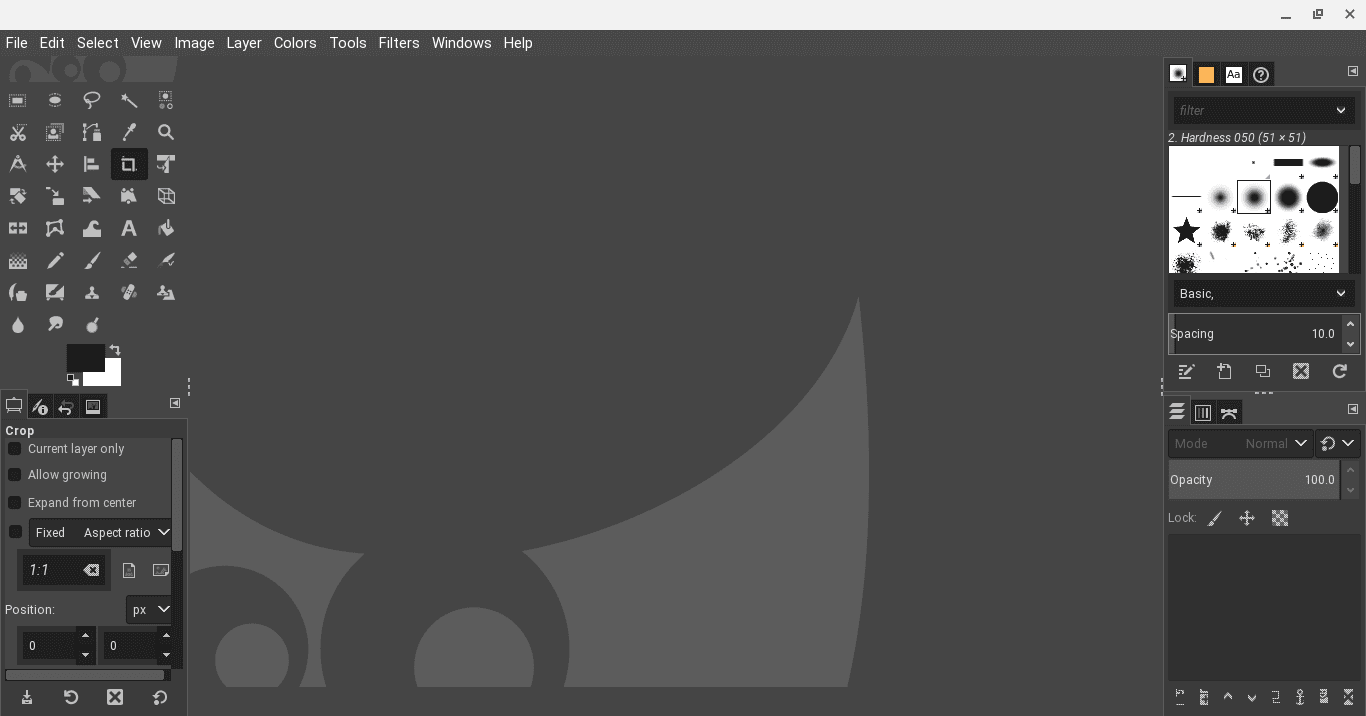
GIMP on Chrome OS
The second entry on this list pertains to GIMP—a high-quality Linux photo editor that can be installed on Chrome OS. This is one of the best Linux applications if you own a Chromebook bar none. Power users who are adept in photo editing will appreciate all the set of tools and features that GIMP boasts on a day-to-day basis.
The built-in Linux container of Chromebooks handles the software well and brings forth an optimized application where users can tweak, retouch, and adjust photos as per their preferences. We’ve managed to scribble down a complete guide on installing GIMP on a Chromebook, so please refer to that if you’re after step-by-step instructions throughout the process.
As for the software itself, GIMP is short for GNU Image Manipulation Program and is dripping in features from top to bottom. It sports extensive file format support, plug-ins to enhance your user experience, and integration with other workspace-oriented software like Inkspace, SwatchBooker, and Scribus.
In addition, the application’s user interface is pretty mediocre in understanding. We wouldn’t say that it’s pretty much painless, given the professional-grade nature of the software in question, but if photo editing sparks your interest, you’ll get acquainted with GIMP in no time. We look forward to hearing from you in the comments section regarding your thoughts on this tip-top editor on your Chromebook.
3. Use the cloud version of Adobe Photoshop
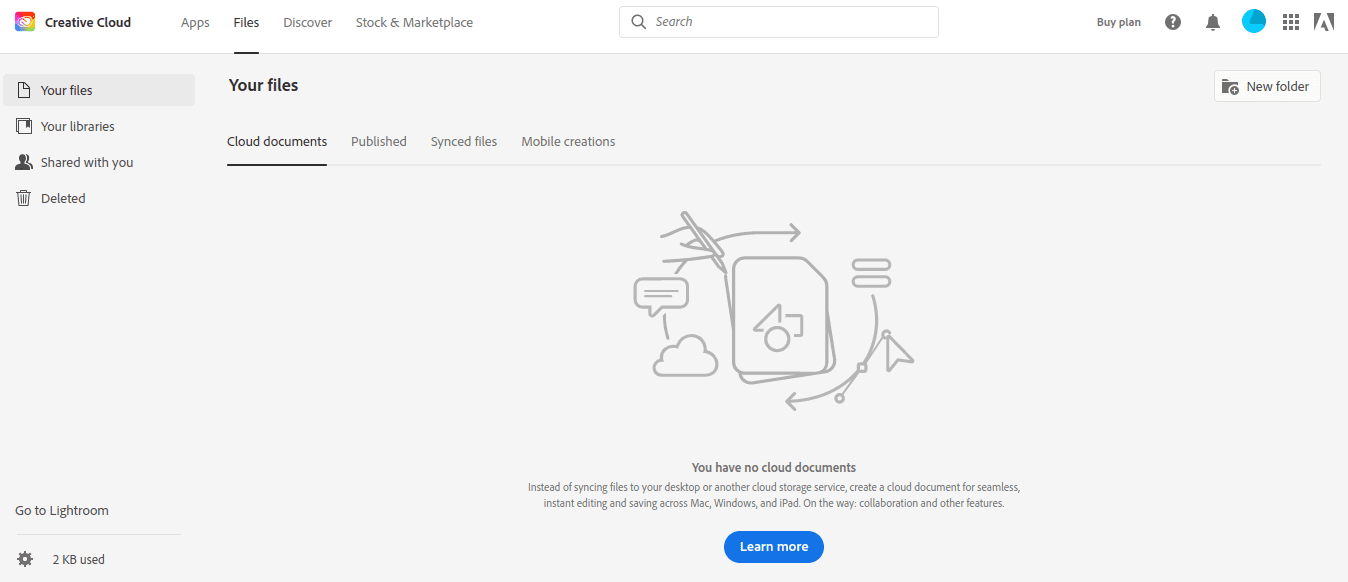
Creative Cloud interface (Adobe Photoshop)
Adobe Photoshop making landfall on Chrome may seem like a stretch, but it’s certainly nothing out of the truth. Adobe announced back in October 2021 that web-based versions of Photoshop and Illustrator will become a part of Creative Cloud, the software giant’s suite of photography applications. Therefore, having its base set up on the cloud, Adobe Photoshop is a pretty quick option for you to start using right away.
All the basic tools that users are familiar with in Adobe Photoshop migrate over to the browser-oriented version of the program. However, you will need to purchase any of the paid subscriptions of Creative Cloud to experience powerful Photoshop features truly. As a quick side note, the most budget-friendly tier of Adobe CC costs about $10, so a pretty fair deal, in our opinion.
One major gripe with the cloud version of Photoshop is that you cannot edit a new photo in it. You’ll only be able to load the Photoshop user interface and proceed with the edits on an already present file in your library. If not, you’ll have to convert your files into a format that’s editable by Photoshop.
Once you’ve done that, it’s time to view a Photoshop file that you’ve now got in your library. When that PS file is being viewed, you can click on the “Open in Photoshop on the web beta” button at the top of the screen. After that, the file should open up in the Adobe Photoshop web-based editor. It’s only smooth sailing from there on out.
- Check out the official Creative Cloud website and catch Photoshop in action yourself.
4. Test Gravit Designer next
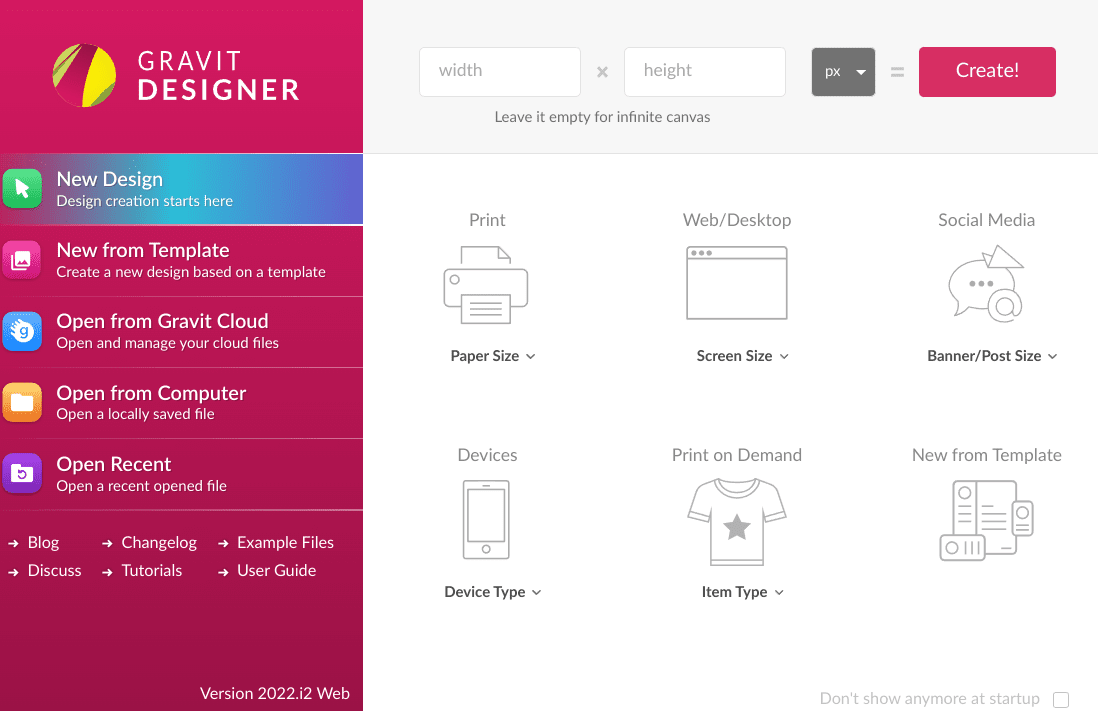
Gravit Designer on Chrome OS
Gravit Designer is another worthwhile entry on this list that can get you quick and seamless access to photo editing on Chrome OS. Although this program is touted to be premium, and the developers recommend purchasing the professional version of the photo editor, the basic variant is free and highly effective to a reasonable extent. First off, the user interface of Gravit is loaded to the brim with features.
We must warn you—only a person who has been around photo editors and similar software will be able to understand the elegant user interface of Gravit Designer at first glance. We’re talking about an advanced editor here that does not hesitate to pack extra functionality and provide power users that profound momentum to get going with their projects. Each element visible inside the app’s interface is outlined and can be understood by hovering the cursor over it.
This option is based on the web, so you won’t have to go through any hefty installations or download times. Sign in to your Google account on the platform and get started with editing your locally stored images. We highly recommend Gravit Designer if Adobe Photoshop, GIMP, or the basic Chrome OS photo editor does not cut it for you.
- Get to the official website of Gravit Designer and begin your editing journey today.
5. Get a taste of Canva
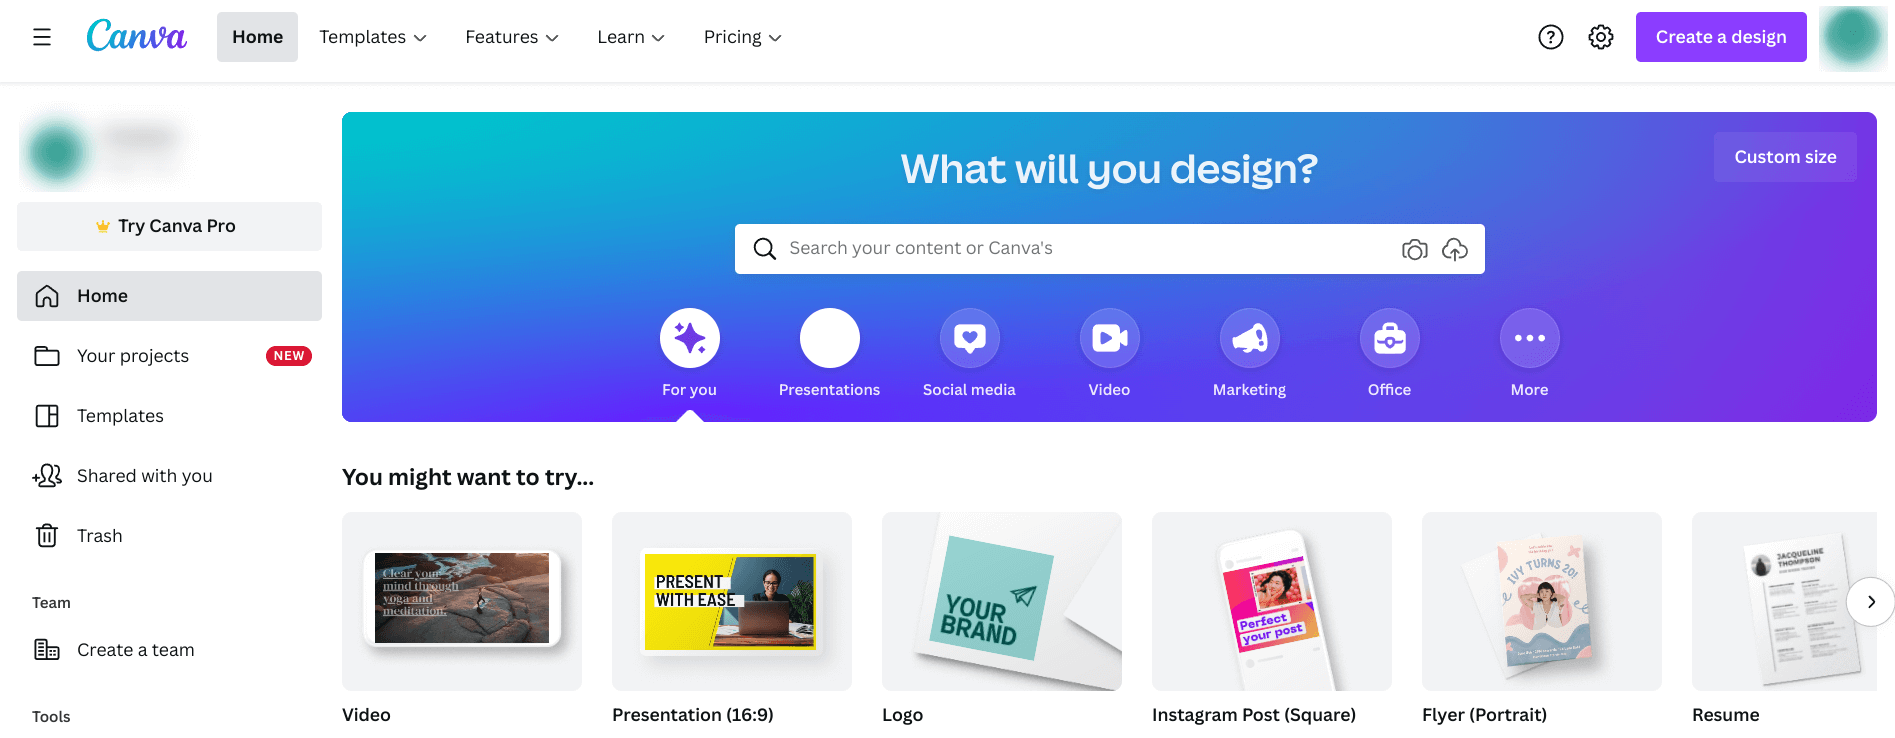
Canva on Chrome OS
If you’re a graphic designer, a photo editing expert, or someone who likes creating logos, wallpapers, and art for fun, it’s hard to miss a name as famous as Canva. This free-to-use software based on the web lets users develop wallpapers, flyers, Instagram posts, certificates, posters, brochures, Facebook posts, letters, and more. Since Canva is neck and neck with the cloud, all your progress gets saved automatically, and you don’t even have to worry about data loss.
Moreover, it has a separate section for editing photos apart from creating ones, opening up a world of functionality for aspiring users. Feel free to choose from the many different fonts or text types present inside Canva or experiment with hundreds of various elemental additions to your photos. The sky is the limit when this high-tier photo editor is in the question, so try it out whenever you can for a fresh experience.
6. Download Picsart from the Google Play Store
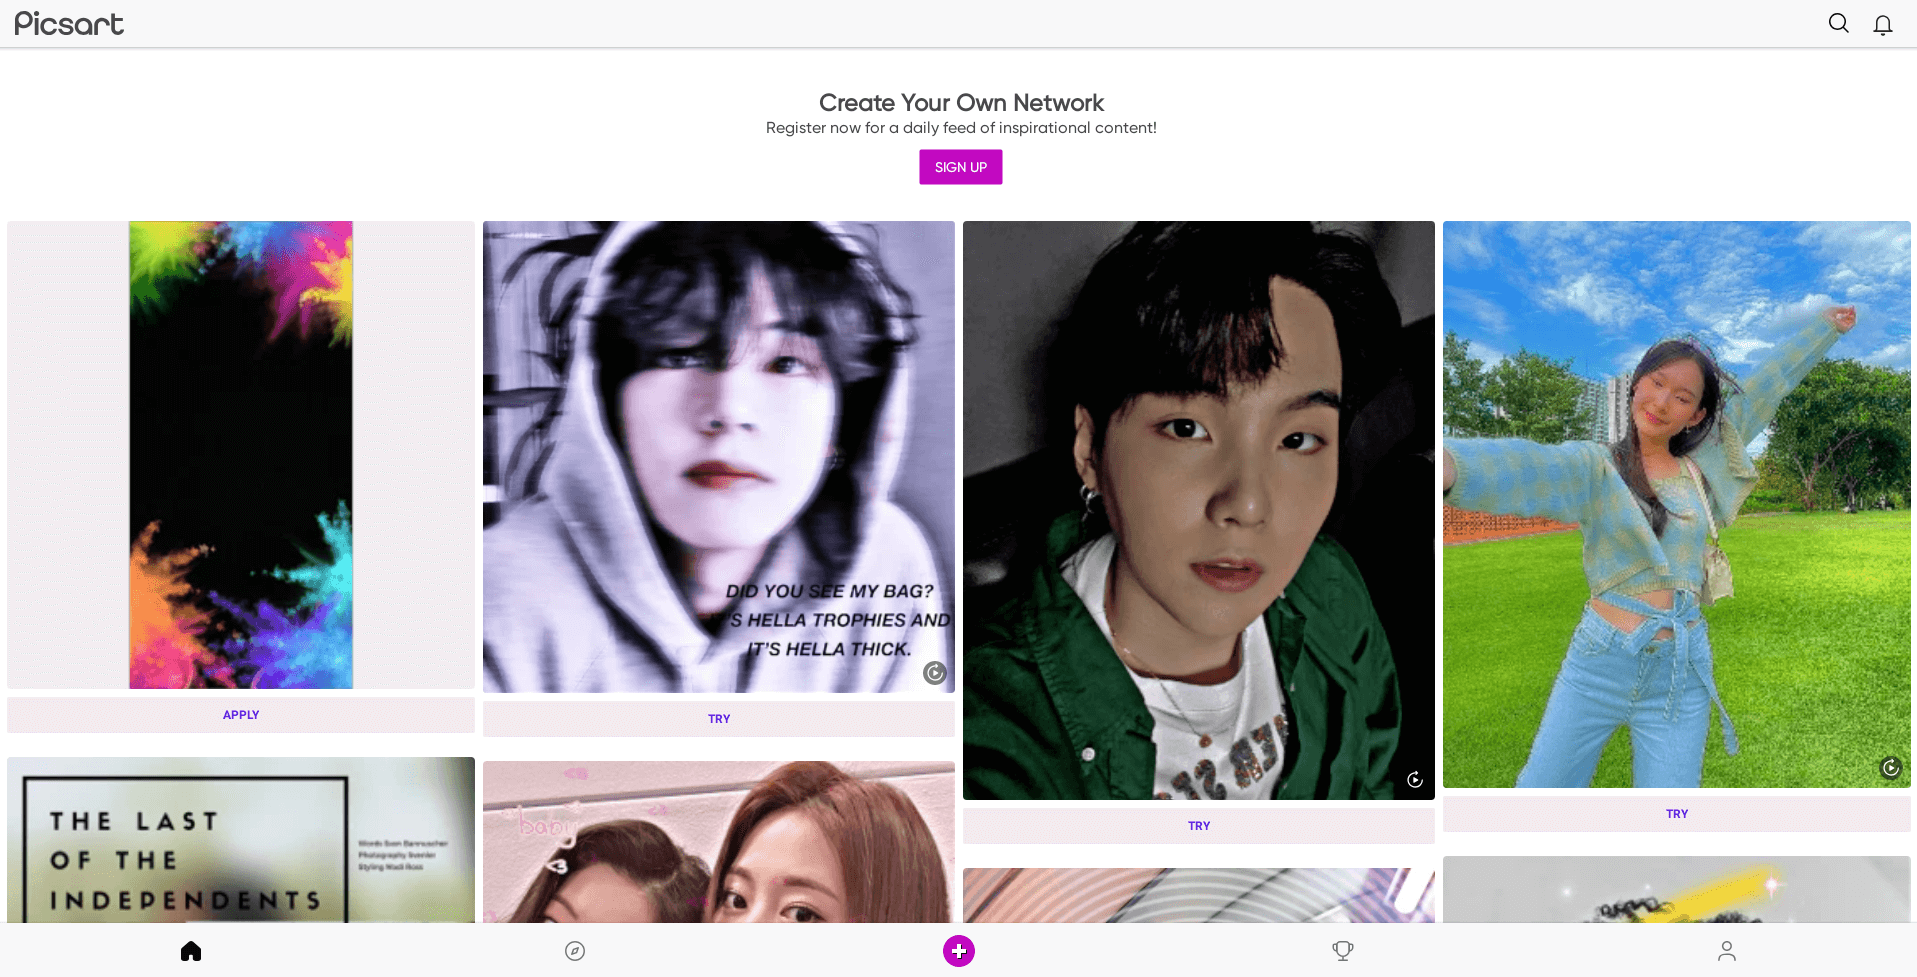
Picsart on Chrome OS
We will top this article off with another doozy of a photo editor—Picsart. Similar to how GIMP stands in its stride, Picsart is one of the top-rated Google Play Store applications that empower Chrome OS. It’s fully optimized to work on Chromebooks with full-screen support and zero delayed inputs.
Moreover, the application has amass more than 500 million downloads on the Google Play Store, so it’s undoubtedly quite popular. Picsart will get you going with video editing on your Chromebook like a boss. It brings many features to try out, including both basic and advanced and works just as intended on Chrome OS.
Grab Picsart Photo and Video Editor directly from the Google Play Store.
Conclusion
Chrome OS can function as a high-quality photo editor if the situation requires it. We’ve outlined multiple ways to illustrate this previous statement of ours to boot, so you shouldn’t be left confused about how to edit photos on a Chromebook.
Our favorite picks of the whole bunch include Canva, GIMP, and the basic Chromebook photo editor for its simplicity and effectiveness. These options work like a charm on Chrome OS, and we cannot wait for you to try them all out. Comment down below on how your experience goes, and keep in touch.
- Before you go: The 10 best photo editors for Chromebooks.
