Tkinter is the common Graphical User Interface (GUI) library for Python. Python and Tkinter provide the user or developer with an easy and fast way to create graphical user applications. Out of all the graphical methods, Tkinter is widely used, making it a charm to developers.
Like a user creates any other application using the python code, Tkinter also applies the same methodology. If you are a Python guru, we believe you are familiar with importing modules. The same applies when using the Tkinter application.
This article guide is tailored to illustrate installing and using the Tkinter application on a Chromebook. Do you have a Chromebook and would love to learn how to install and use the Tkinter application? Then this article is meant for you. Continue reading to learn more.
Installing Tkinter on Chromebook
First, it is essential to know that Chromebooks do not directly support the Tkinter application. Hence to install it, we need to have Ubuntu installed on our Chromebook. Don’t beat yourself up if you don’t know how to install Ubuntu on a Chromebook, as it shall be covered in this article tutorial.
For the sake of this article guide, we shall be using Crouton to install Ubuntu on our Chromebook. Crouton is a Chromium Operating System Chroot environment that eases the installation process of Linux distributions such as Ubuntu and Debian on any Chromebook. This method works regardless of the Chromebook Model or Architecture you are using. With the aid of Crouton, you can continue using your Chrome OS, but you also get the added advantage of switching between Chrome OS and Ubuntu without rebooting.
Installing Ubuntu on Chromebook
Crostini is another tool offered by Google that can perform the same tasks as Crouton. However, the primary reason why we selected Crouton over Crostini is that Crouton will offer much broader device compatibility hence enabling direct hardware access. Besides, Crouton contains zero speed penalty as it runs natively compared to Crostini.
On the contrary, Crostini is much more secure, meaning you will not enable developer mode as you would do for Crouton, which is not an official project; hence, you need to enable developer mode to install Ubuntu.
Before proceeding to the installation phase, back up your data. Google will help you backup your browser extensions, documents, files, and passwords. Also, ensure you create a Chrome OS restore the image with a Chromebook Recovery Utility. Finally, ensure you have an SD card or flash drive with a minimum of 4GB capacity.
Once all the prerequisites are in place, proceed and follow the prompts provided herein:
Switch to developer mode
As you already know, installing Ubuntu requires switching from normal mode to developer mode. Depending on the Chromebook model, switching to developer mode might change. To enable developer mode check out this article guide.
Note: Once you enable developer mode, you will need to press Ctrl + D every time you boot your Chromebook to continue. Once you have successfully switched to developer mode, move to step 2 below:
Downloading Crouton
Click this link to go to the Crouton GitHub official project page and click on the “goo.gl” link, usually situated at the top right side of the website. Next, download the latest version of Crouton. Reliant on your internet speed, the download process might take quite a while. Once it is done, proceed to the installation process.
Installing Ubuntu
- To install Ubuntu on our Chromebook, we first need to launch the Crosh terminal by pressing Ctrl + Alt + T on your keyboard. Then, a terminal like the one shown below will be displayed.

crosh terminal
- Now type the command below and execute it on the Crosh terminal
shell
Output:

run the shell command
- Install the Crouton executable by running the code below:
sudo install -Dt /usr/local/bin -m 755 ~/Downloads/crouton
Output:

Prep the installer
- To check the Crouton, help text, input the command below:
sudo crouton
Output:
Now Crouton has been successfully installed. Next, it is time to learn how to install Ubuntu 16.04 plus the Xfce desktop. Xfce is a lightweight desktop that uses significantly fewer system resources.
Run the command below to install Ubuntu 16.04 on your Chromebook:
sudo crouton -e -t extension,keyboard,audio,xfce
Output:
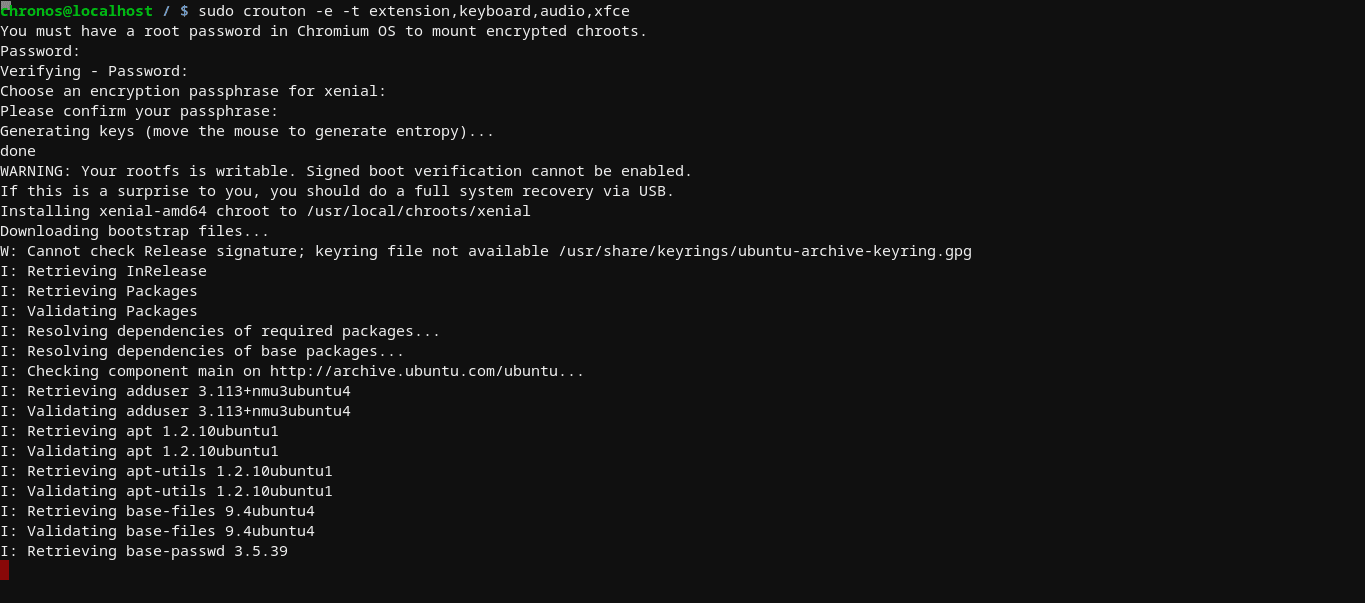
run the command above to install Ubuntu
Code breakdown:
- The -e command adds encryption
- The -t syntax specifies what needs to be installed.
- The extension syntax facilitates clipboard synchronization plus URL handling between Linux and Chrome OS. This command requires a Chrome extension known as the Crouton Integration.
- The keyboard syntax provides support for Chromebook’s keyboard special keys.
- The audio syntax provided audio playback support via Chromium’s audio system.
- Finally, Xfce installs the Xfce desktop environment.
Starting Ubuntu installed on a Chromebook
Follow the steps below to start Ubuntu on a Chromebook:
- First, launch the Crosh terminal using the Ctrl + Alt + T combination.
Next, type:shell
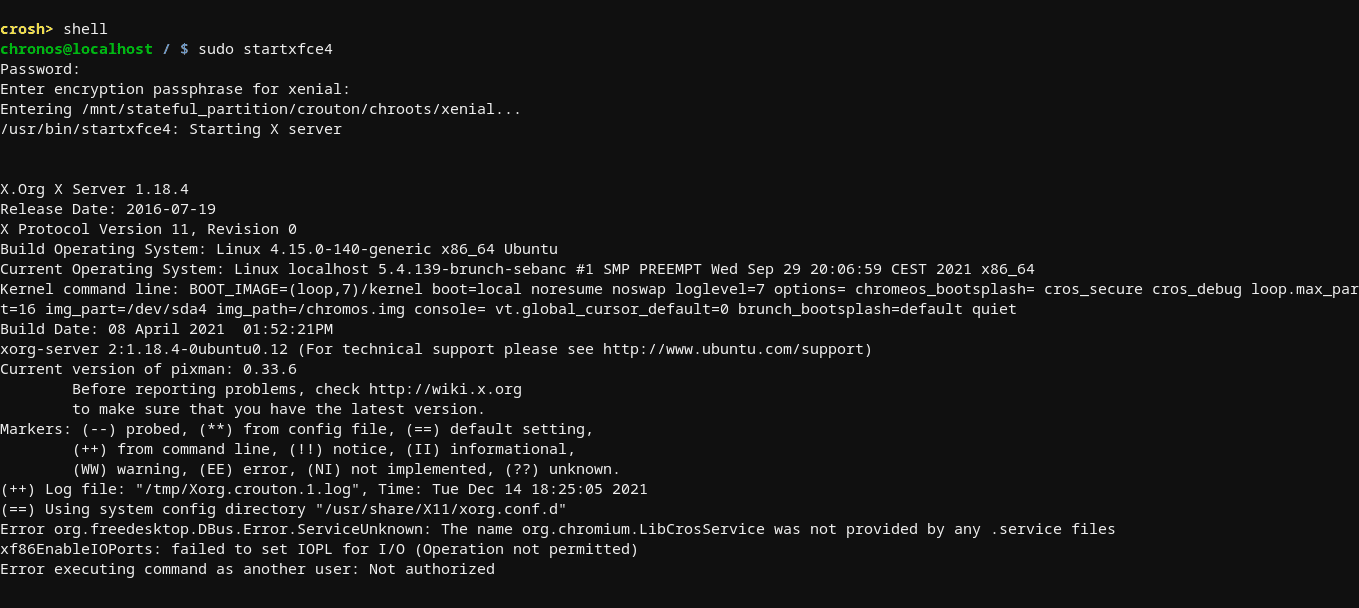
sudo startxfce4

Start Ubuntu on Chromebook
- You will be prompted to enter the encryption password. After entering the password, Ubuntu will start.
Note: The command in step 1 starts any desktop environments installed. For instance, if you installed KDE, you will need to use the command below:
sudo startkde
Switching between your parent’s Chrome OS and Ubuntu is very easy. Just use the Ctrl + Alt + Shift + Back and Ctrl + Alt +Shift + Forward.
The above commands will help you switch between Chrome OS and Ubuntu without exiting your newly installed Ubuntu operating system.
Now that we have installed Ubuntu, we can learn how to install and use Tkinter.
Installing Python on our newly installed Ubuntu OS
First, before installing Tkinter, we need to ensure Python is installed on Ubuntu. Launch your terminal application and type the command below:
python
If Python has been installed, you will see an output similar to the one displayed below:
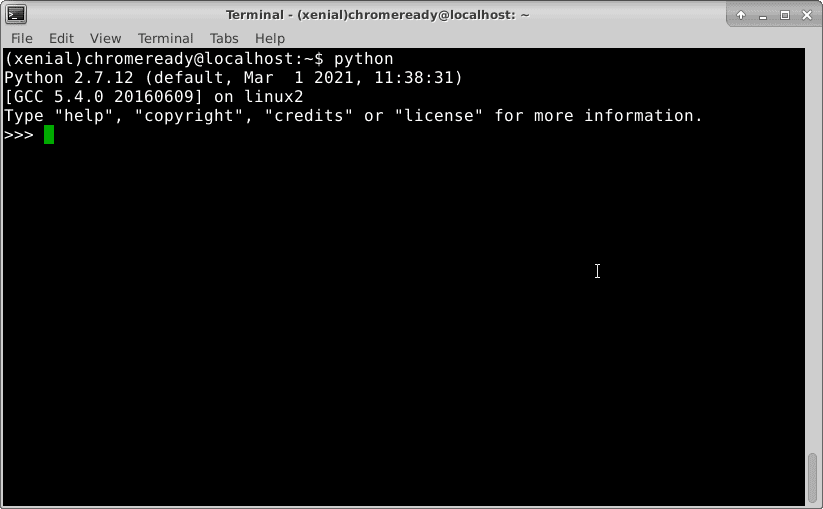
run python command
However, if you don’t have it installed, run the command below:
sudo apt-get install python
Note: the command above will install Python on your Ubuntu operating system. However, in cases where you want a specific version of Python, such as Python 3 or Python 2, you will have to specify the python version like in the syntax shown below:
sudo apt-get install python3
Once we ascertain that Python is installed our newly installed Ubuntu operating system, it is time to proceed and install Tkinter.
Installing Tkinter on Chrome OS
To install Tkinter, use the command below:
sudo apt-get install python-tk
If you are using python3, use the code syntax below:
sudo apt-get install python3-tk
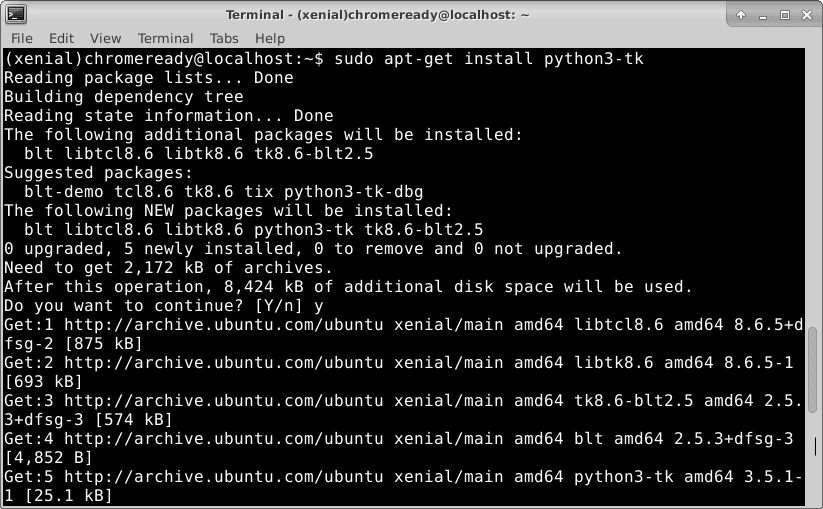
install Tkinter
Once the above commands have finished executing, try entering into the python shell using the commands below. Remember, this is one way of ascertaining that Tkinter has been successfully installed onto our operating system.
python

python3 //for python3 users
If everything were installed successfully as planned, you would get a prompt similar to the one shown below:
Output

run python command
How to use Tkinter
Once you get the prompt above, it is proof that Tkinter has been installed, and you can proceed and learn how to use it.
The first thing to learn is importing the Tkinter module.
Note: this is essential as it also helps the developer understand whether or not the module was installed correctly.
Also, is it vital to consider how the Tkinter module is imported for python2 and python3. Both defer; hence refer to the guide below:
Python2 – Tkinter
Python3 – tkinter
In python2, the noun Tkinter is written in capital letters, while in python3, it is written in small letters.
Now depending on the python version you are using, execute the command below:
import Tkinter
Output:
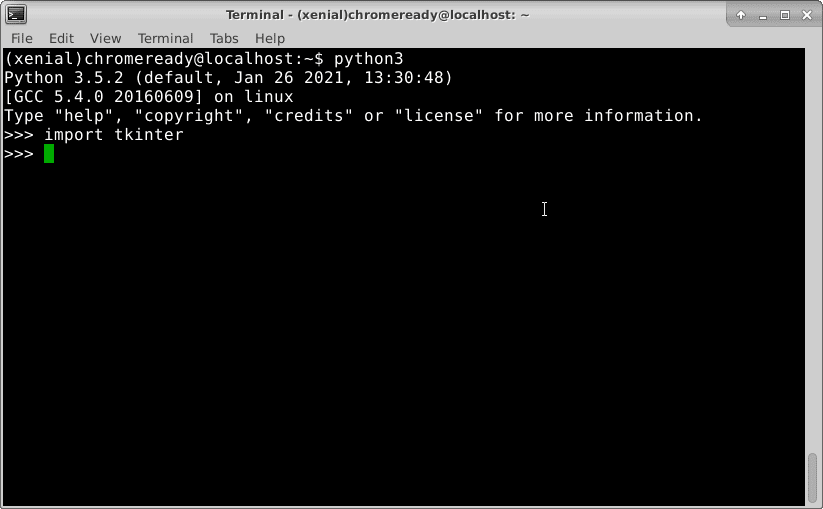
python3 import Tkinter
To check that everything is okay, create a blank window using Tkinter as shown below:
Tkinter.Tk()
Output:

blank Tkinter windows
Conclusion
We believe this in-depth guide helped you understand how to use Tkinter on a Chromebook. If you are a Python/ Tkinter guru, we hope you enjoy coding using your Chromebook. In case of any difficulties, reach out via the comments section for help.
