Chrome OS has proved its worth on several occasions now, such as beating macOS in the latter half of 2020 and being the only operating system that has never caught ransomware, ever. In addition, it just goes without saying that Chromebooks are the devices of choice for the utmost speed, stability, and security.
From garnering the capacity to run Nintendo DS games to installing desktop-grade Linux applications, Chrome OS has come a long way from where it first began. To further cast a lens on a Chromebook’s far-flung functionality, you can also 3D print on Chrome OS using a wide variety of possibilities, with many of them being made possible through the built-in Linux feature.
To run 3D printers on any desktop, may it be a Windows PC or a Macbook, you need to have a slicer software. Slicers operate by sending G-code instructions to your 3D printer that the unit understands and follows to function properly. They also allow you to tweak a bevy of parameters to take your 3D printed models to the next level. Having a slicer software is second to 3D printing successfully, and for this purpose, there’s no better slicer to approach other than Ultimaker Cura.
Cura is one of the best slicers out there that’s popular for its ease of use and simple user interface. It’s compatible with almost every 3D printer out there and receives regular updates from making the user experience even better. Cura is a must-have for 3D printing enthusiasts and experts alike. If you’re a proud Chromebook owner and a 3D printer user and want to know how to install this high-end software, we have you covered at Chrome Ready. In this article, we will discuss the salient features of Ultimaker Cura and write a thorough tutorial on how to install it on Chrome OS using two different methods. Without any further ado, then, let’s jump right in.
Ultimaker Cura features
Top-of-the-line slicing features
Ultimaker Cura has a knack for being one of the most advanced slicer software out there. Not only do its developers continue to make it stay up to speed with the world’s advancement, but they also do so by keeping it all simple, so no beginner or casual 3D printer user is turned off in the first impression. At its core, Ultimaker Cura is a powerful, open-source slicer software that encompasses years of hard in-house development and contributions from the talented 3D printing community. It has a highly specialized “Custom mode” that offers more than 400 settings to adjust, giving you unmatched flexibility and versatility if you’re an experienced maker. You can save your projects to Cura’s digital library and even create a backup for your particular settings, materials, and downloaded plug-ins.
Unrivaled workflow
A slicer software for 3D printing has non-pareil importance and not just for 3D printing, but for how everything flows along with it. Ultimaker Cura isn’t just a slicer; it’s a thorough software that’s designed to suit your workflow by providing several convenient features. For starters, it integrates profoundly with other Ultimaker products if you intend to use them, and there’s also CAD plugin integration with popular platforms, such as Autodesk Inventor, SolidWorks, and Siemens NX. If you have any of those programs on your Windows PC and you’re an avid designer, you can transfer all relevant data directly to Cura, so it’s accessible on your Chromebook. Moreover, it isn’t just the STL format that’s compatible with this slicer. Other file types that Cura readily supports include OBJ, X3D, 3MF, BMP, GIF, JPG, and PNG.
Uncomplicated interface
One of Ultimaker Cura’s most profound strengths lies in the slicer’s simple-to-operate user interface that’s exempt from complexities. First off, it’s totally free to use and is open-source, meaning that anyone can modify the source code to add their own features and functionality. All it takes to get 3D printing with Cura is preparing the 3D model within mere minutes, but that’s only if you choose to go with the recommended settings. You can quickly choose the speed and quality settings as per your preference and get to printing in a jiffy.
Ultimaker Marketplace
Ultimaker Cura has its own platform where 3D printing users can enjoy a collection of plug-ins called Ultimaker Marketplace. Here, users can revamp their slicer experience by installing additional software for their 3D printer that can either fit the use case of your specific model or unlock more parameters for you to adjust. Ultimaker Marketplace is one of the much-touted features of Cura that not many other slicers can boast of for their own.
Pre-configured print profiles
3D printing is a fairly experienced domain, but it still has its fair share of rookies and newcomers, as with every other field. To accommodate such enthusiasts, Cura has pre-configured print profiles that deal with all the complexities on their own and make it possible to create high-quality prints. All this without you ever having to involve yourself too deeply within the knowledge base of 3D printing, although we do recommend doing that if you intend to make 3D printing a hobby of yours.
Multiple printer management
If you own multiple 3D printers, Cura has solutions to cater to your needs. The slicer allows you to add several 3D printers and manage them comfortably. You will be able to save your settings for each 3D printer individually, along with the choice of filament and other preferences. Using this feature, you can also update the firmware of your machines from within the interface of Cura directly.
Installing Ultimaker Cura on Chrome OS
Option #1. Using the Cura AppImage
The steps given below involve using the Cura AppImage and the Linux Terminal for the matter at hand. So go through them meticulously to successfully install Cura on Chrome OS.
1) The first step is to open up the Linux Terminal on your device. You can do that through the Launcher area of the Chromebook. If you’re unsure how to do that or haven’t set up Linux already, check out this article that explains the whole process in detail.
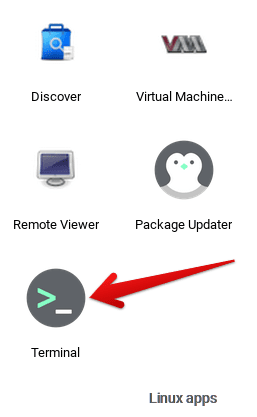
Opening the Linux Terminal
2) Once you have the Terminal up and running, it’s time to grab the AppImage of Ultimaker Cura from the developer’s official website. When you’re there, click on the “Download for free” area to continue.
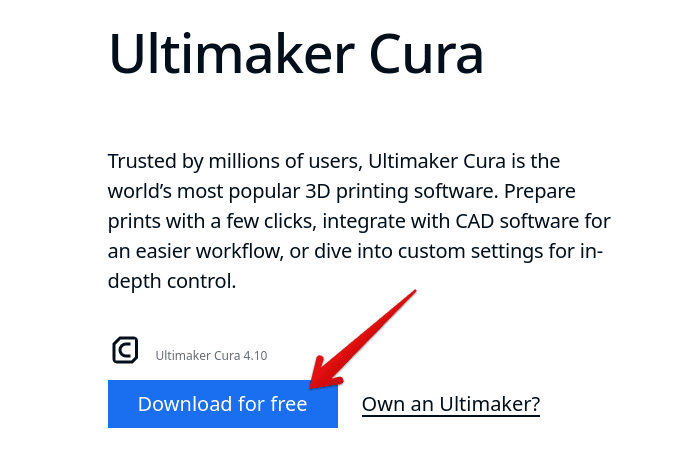
Clicking on the “Download for free” button for Cura
3) Right after that, you will be required to choose the operating system of your choice, so we’re going to shoot for Linux in this case. Do that as shown in the screenshot below to begin downloading the Cura AppImage. It may or may not take long, depending on the speed of your internet connection.
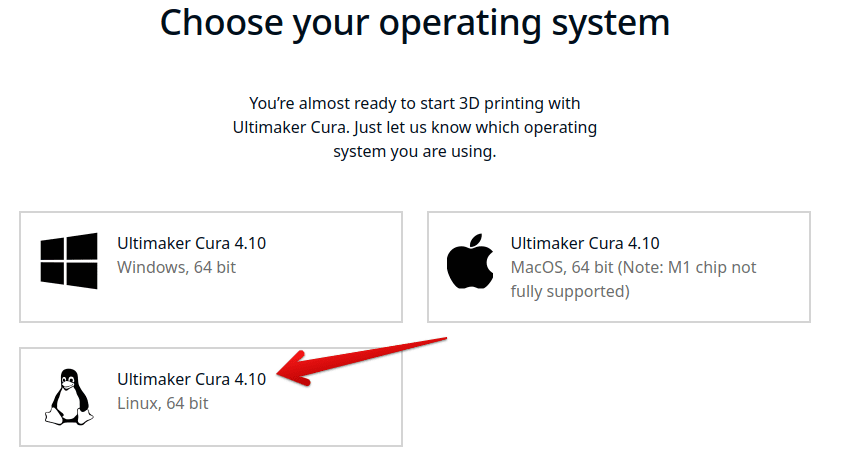
Downloading the Cura AppImage for Linux
4) As soon as the Cura AppImage downloads on your Chromebook, you’ll give it a look in your “Files” system application. What we mean is that you will have to rename the Cura AppImage to a more straightforward title. This will lend us ease and convenience when working with the AppImage later on in the Cura installation process. A good way to rename the downloaded file is to do so according to the version you’ve downloaded. The latest stable release for Cura right now is 4.10.0, so the next step is to rename your file to “Cura4.10.0.AppImage.” After doing that, you will move the file to the “Linux files” folder present to the left of the “Files” application.
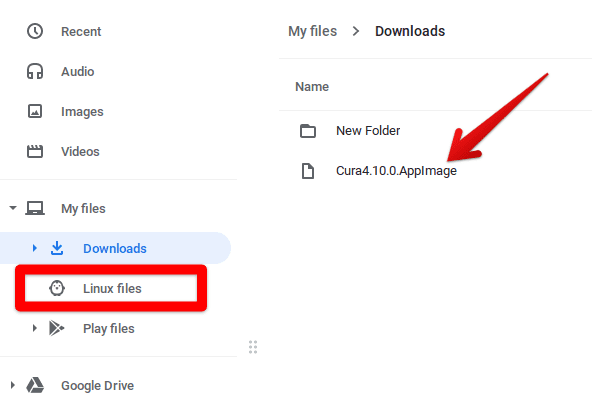
Renaming the AppImage and moving it to the “Linux files” folder
5) After you’ve moved the Cura AppImage to the “Linux files” folder, we’ll hop back on our Linux Terminal and use the following command to begin the installation of Cura. Note that the latter part of the command is the same as the name of your AppImage. This step is to enable modifications for Linux to the Cura AppImage.
chmod a+x Cura4.10.0.AppImage

Enabling modifications to the AppImage for Linux
6) As soon as you press the “Enter” key, you will see your username popping up back on your Terminal window. This indicates that the command you’ve entered was successful. Next, all that’s left is to run the following command to execute the Cura AppImage and install the slicer software on your Chromebook.
./Cura4.10.0.AppImage

Executing the Cura AppImage
7) Right after that, the installation process will begin for the Cura slicer, and it’s going to take a few minutes. When you see your username on the Terminal window again, and you also don’t notice any error messages, it’s a good sign that Cura has been installed on your Chromebook. Once it does, it will launch automatically, so you don’t have to worry about finding it anywhere.
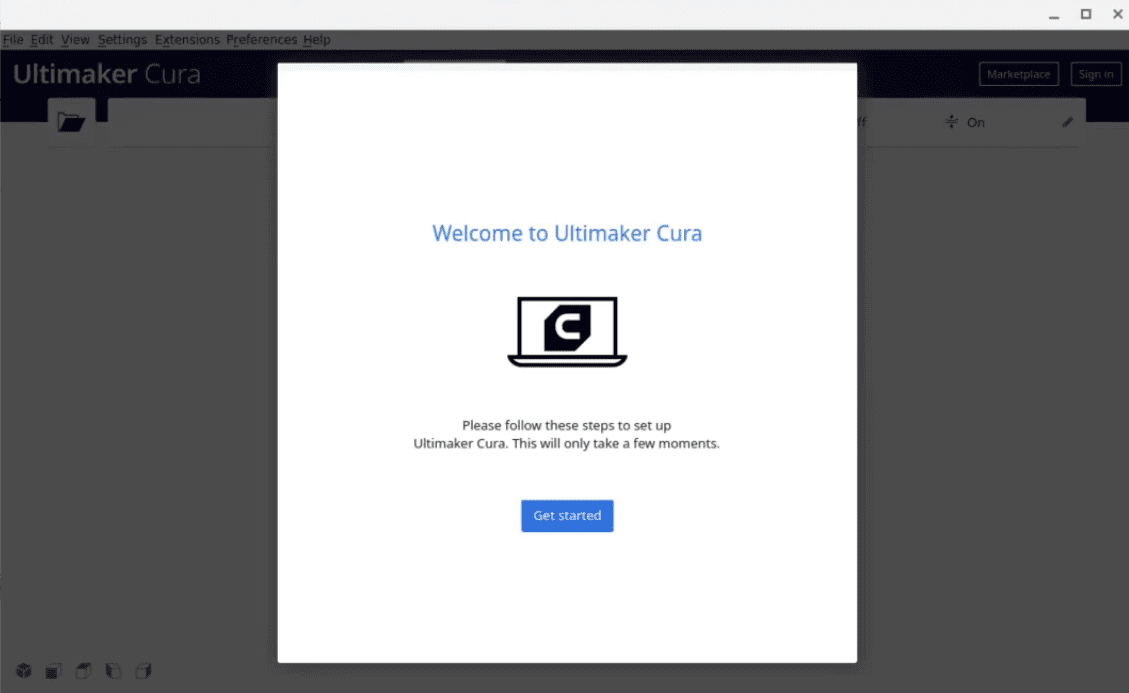
Ultimaker Cura Launched on Chrome OS
Option #2. Using dedicated Linux store for installing Cura
Indeed, the second option is a lot simpler but involves a hefty workaround that you have to go through first. In another one of our articles that you can check out here, we uncovered a method of installing a dedicated Linux app store that can streamline installing Linux applications on Chromebook. We highly recommend installing the app store first since this method of installing Cura has that prerequisite.
If you already have a Linux app store installed on your Chromebook, following the steps given below should be no problem for you.
1) Open the Linux app store through your “Linux apps” folder to begin.
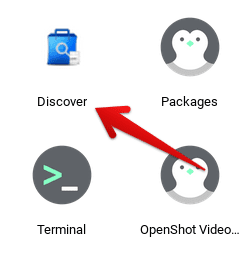
Launching the Linux app store
2) Next, use the store interface’s search bar and type in “Cura.”
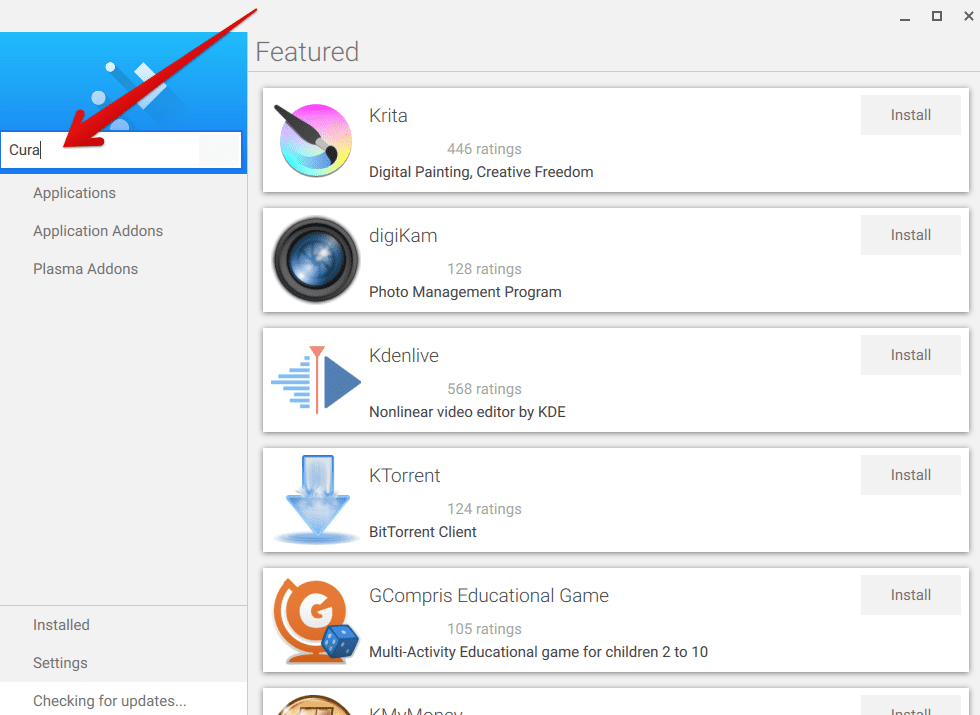
Searching for Cura in the Linux app store
3) After pressing the “Enter” key, you will see the search results pop up. Cura will be at the top of the page, and there’s going to be an “Install” button beside it too. Click on it to begin the download and wait until the installation concludes.

Installing Cura
4) When you’re prompted that the installation has finished, check your Chromebook Launcher for the Cura application. It should be inside the “Linux apps” folder.
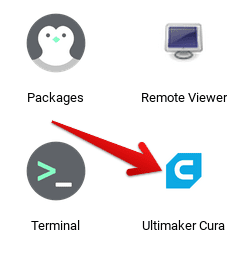
Ultimaker Cura installed on Chrome OS
That’s about it for the second method! It’s definitely recommended if you’re after the easier way of getting Ultimaker Cura on your Chromebook. However, some people report that they cannot get the Linux apps store to work on their device, so the first option will have you sorted if you find no luck with this method.
Ultimaker Cura working
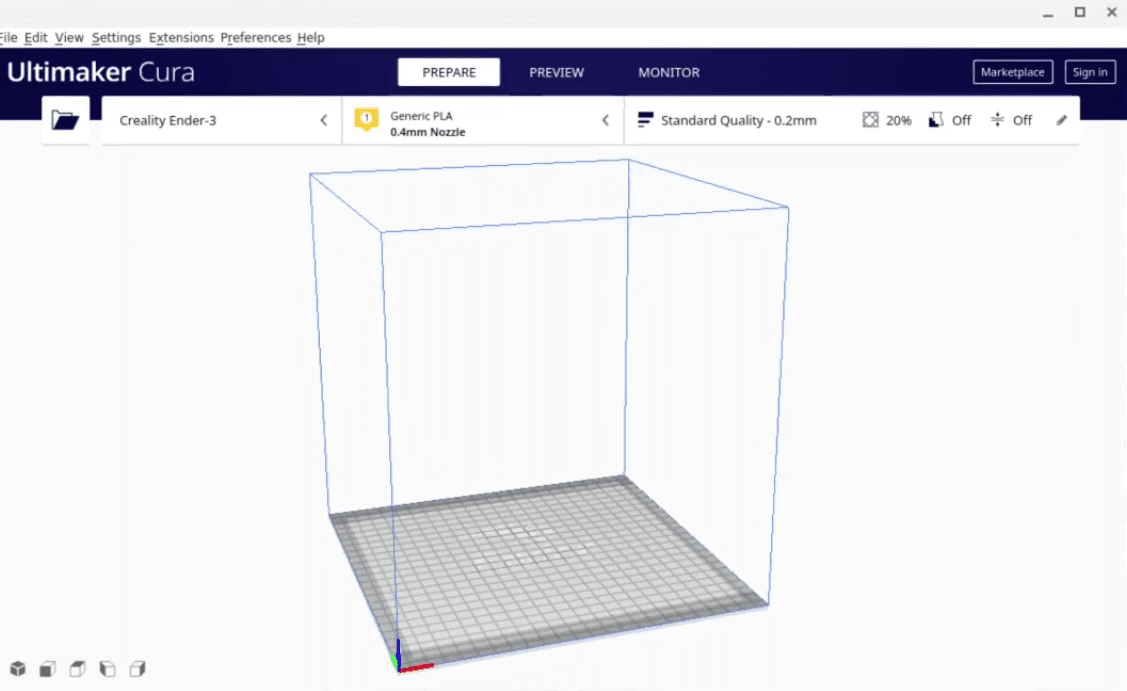
Ultimaker Cura on Chrome OS
Ultimaker Cura is a through-and-through slicer software that works like a charm on Chrome OS, especially if you have at your disposal a fine specimen like the ASUS Chromebook CX5. Now, obviously, being a desktop-grade program, you will need all the horsepower you can get for smooth and near-optimal performance in Cura. When the application first launches on your device, you will need to go through its extensive initial setup to grips with 3D printing. You will need to set your starting preferences and select your 3D printer, whether a networked or a non-networked unit. If you choose to connect a networked 3D printer, you need to turn on your printer and connect to it using your Wi-Fi. If that isn’t available at the moment or you’d like to connect the printer to Cura later, you can choose the non-networked option for now.
After that, you’ll be thrown into the uncomplicated and intricately embellished interface of Ultimaker Cura. Right beside the area where your 3D printer is mentioned, there will be a button that you can use to import your model to Cura. After the design loads, you’ll see it placed on the print platform, where you will be able to reposition, scale, rotate, or reorient your part to your heart’s content. Finally, on the top-right corner of the interface window, you’ll see an option called “Marketplace.”
Here’s one of Ultimaker Cura’s noteworthy features that we talked about earlier in the article. In the Marketplace section, you can view and download a bevy of plug-ins to ameliorate your 3D printing experience. Somewhere along those lines, there’s also a specialized plug-in called “Settings Guide” that unlocks a detailed explanation for every slicer setting in Cura. There’s a lot more to explore in this software if you’re willing to give it the attention and time it deserves. 3D printing is an expansive field that can get exceedingly complex at times, so it’s best advised to equip yourself with the right knowledge before any printing-related calamity.
How to uninstall Ultimaker Cura on Your Chromebook
If for any reason, you’d like to get rid of Ultimaker Cura from your system or would like to uninstall it so you could install it again sometime shortly, you can do that easily through the Linux Terminal. Type in the following command to uninstall Cura.
sudo apt-get remove ./Cura4.10.0.AppImage

Uninstalling Ultimaker Cura
This will automatically uninstall Ultimaker Cura from your Chromebook so that you can reinstall it again later.
Alternatively, if you happen to install Cura from the Linux app store, you can easily repeat the steps discussed above to get to the app page in the app store, only to find a “Remove” button there instead of the “Install” one. Click on it to uninstall Cura – it’s as undemanding as that.
Conclusion
Chrome OS has the potential expanding new horizons as the days go by. Today, it boasts the functionality of Linux within itself, making Chromebooks better than ever. Features like these have started to blur the lines between this slick operating system and something more endowed, such as Windows and macOS. You can operate your 3D printer with a Chromebook using the Ultimaker Cura slicer software that can be easily installed through the all-powerful Linux. Therefore, in this article, we’ve shown you how to do exactly that in just one but two ways. We highly recommend following the listed steps carefully to ensure no errors come your way when going through the process. Chrome Ready wishes you happy printing!

6 comments
Once I’ve installed it the first time, is there a way to create an app icon to reopen in the future rather than go through all the steps again?
If it installed correctly, it will be listed in the Linux Apps folder of your App Launcher.
I’m having the same problem, anyone got any useful advice?
It looks like the KDE / plasma Discover store is stuck on an old version of Cura (4.8 – current version is 4.13.1); unsure if the Gnome Software Center would have the most current version or not, but for anybody following this guide, keep that in mind if you’re planning to use the KDE store.
It’s not in my Linux Apps folder or anywhere that i can find. Do I have to continually reinstall it to use it or how do I fix this.
I could use a little guidance new to the printing world
the app dont let me save the project