Google’s Chromebooks are becoming more popular for their ease of management, portability, affordable, reliable cloud-based system, and much more. These fantastic devices run the Chrome OS, which is a lightweight operating system based on Linux. It features a full Chrome browser and a simple Desktop Environment. With recent developments and updates, Chromebooks can now support Android and Linux applications.
Before purchasing a Chromebook, you might want to have a thrill of the Chrome OS and what it has to offer. Lucky for you, there are several virtualization software that you can use to test various Operating systems on your current PC as virtual machines.
How to get Chrome OS
Here’s the thing: The Google Chrome OS isn’t available for installing on existing hardware such as Virtual environment or laptops and full desktops. The full version of Chrome OS comes preinstalled in Chromebooks.
However, like the Google Chrome browser, Chrome OS is based on the Chromium OS. Chromium is a free and opensource project from Google. Other projects based on Chromium include Microsoft edge, Chromium browser, and Opera. Therefore, the Chromium OS has most features available in Chrome OS other than those added by Google, like support for Android applications.
From experience, we would recommend using the Neverware CloudReady. Neverware takes the Chromium project code and modifies it to bring forth CloudReady OS. CloudReady is an operating system similar to the Chrome OS but can run on existing hardware other than Chromebooks. In simple terms, CloudReady turns your ordinary PC into a Chromebook.
Neverware also adds some more enterprise features to CloudReady, thus selling it a solution to those who want to run ChromeOS on existing hardware. Lucky for us, they also have a free version of CloudReady similar to Chrome OS that can run on Virtualization software such as VMware or VirtualBox.
Download CloudReady Virtual machine
To get started, you first need to have Virtualization software installed. You can use VMware or Virtualbox. In this post, we will use Virtualbox since it free and open-source. On the other hand, VMware is a commercial platform but gives users a 30-day free trial period.
Once you have VirtualBox running on your system, open Neverware’s CloudReady virtual machine images page and download the CloudReady OVA file. An OVA file is a virtual appliance you can import in your Virtualization software to run the specific system. In our case, we have downloaded the CloudReady OVA file.
Installing CloudReady on VirtualBox
Follow the steps below to install CloudReady on VirtualBox.
Step 1. Launch VirtualBox.
Step 2. Click on the File menu and select the import appliance option.
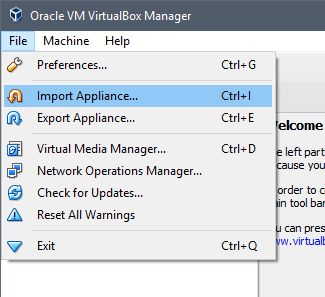
Import appliance
Step 3. A window will open, and you can navigate to where you have downloaded the CloudReady OVA file.
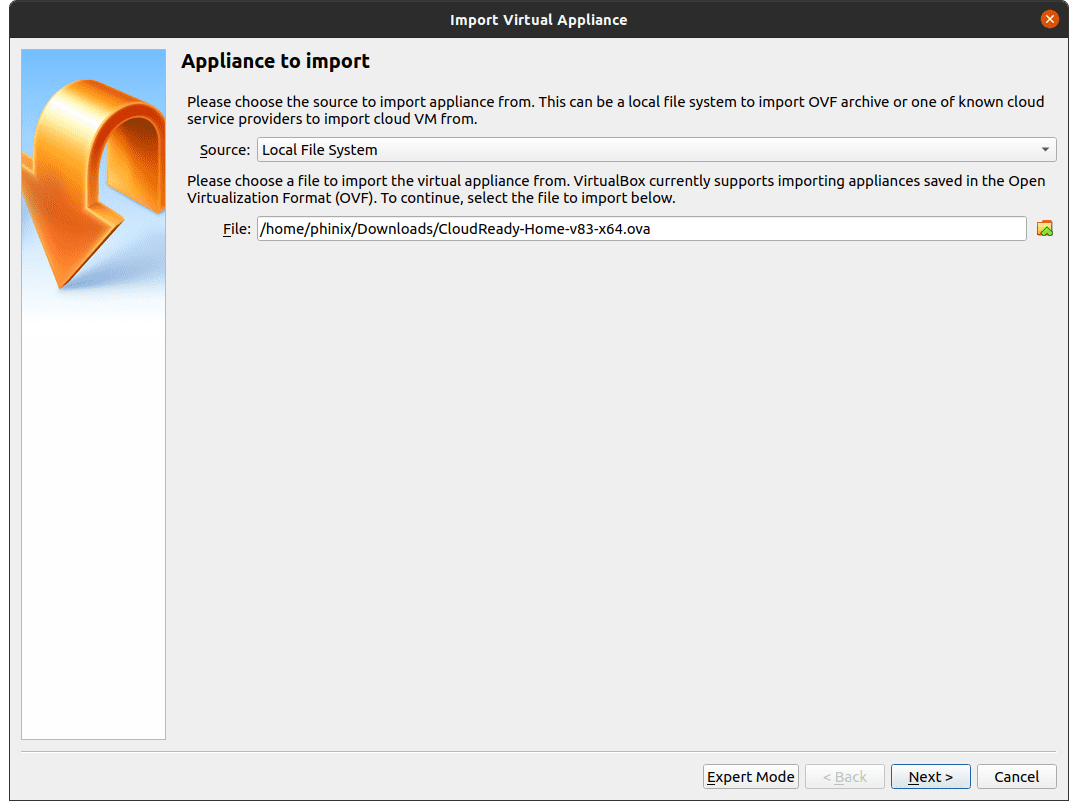
Appliance to Import
Step 4. Click Next, then click Import. The import process will start, and you can monitor it in the progress bar below.

Import appliance progress
Step 5. Once the importation process is complete, we will need to do some configuration before booting it up. Click on the virtual appliance and select the Settings option.
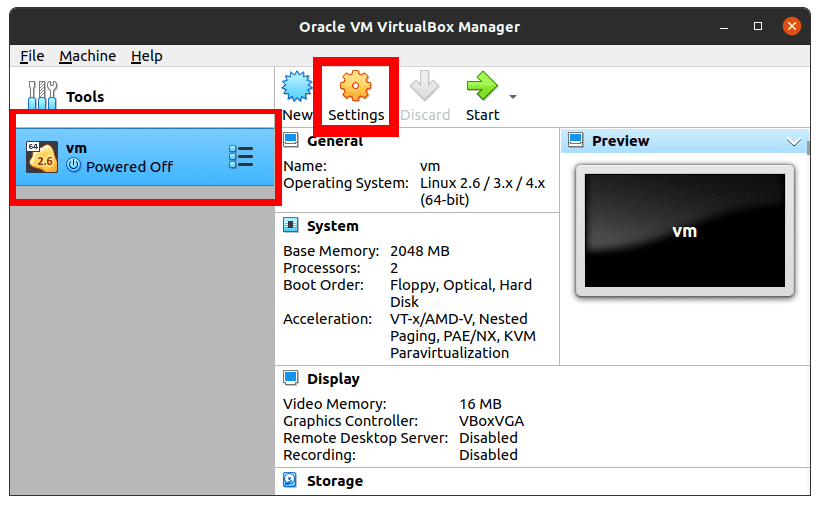
Virtual Appliance
Step 6. A window will open with several options. In our case here, we will focus on the system and the Network tabs.
Click on the System tab. Here you can see the amount of memory assigned to your Virtual appliance. Ensure it is enough, but remember not to exhaust the host operating system. For example, I have 6GB of RAM on my computer. I have assigned 2GB (2048mb) to the virtual appliance, leaving my system with 4GB to utilize.
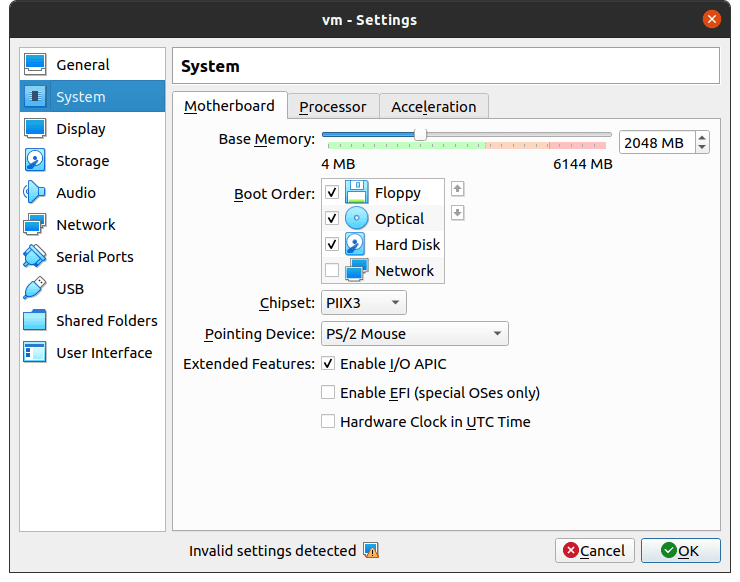
Allocate memory
Once done, move to the Network tab. Click on Adapter 1 and ensure you check the Enable Network Adapter tab. On the Attached to the drop-down menu, select the NAT option. Proceed to the Advanced tab. On the Adapter Type, choose Intel PRO/1000MT Server. Click OK at the bottom to apply the changes.
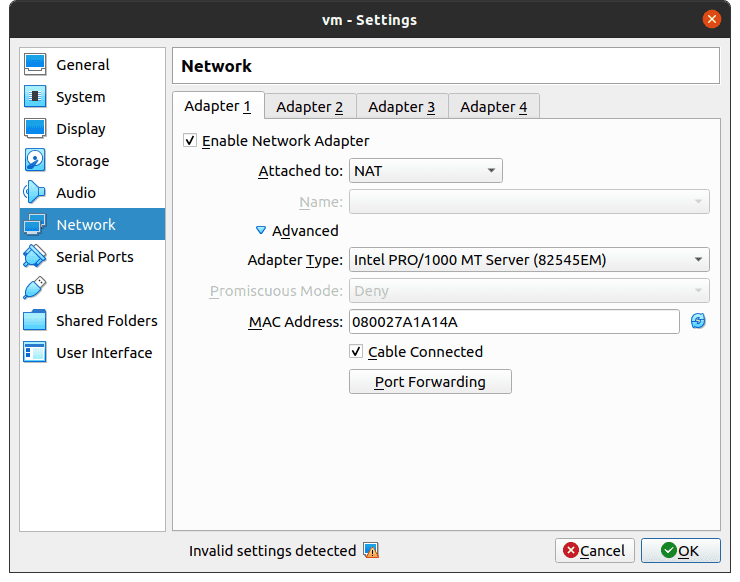
Network configurations
Step 7. Now that we have done all the necessary configurations, we can proceed to boot the CloudReady OS. Select your Virtual appliance and click the Start button.
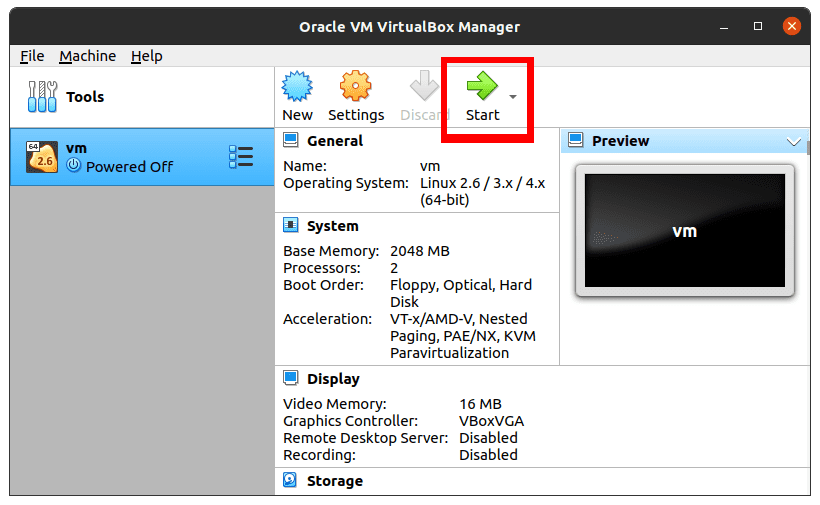
Start CloudReady Virtual Appliance
CloudReady OS will stat booting on VirtualBox. After a few seconds, you should see the CloudReady splash screen fill the VirtualBox window.

Start CloudReady
Step 8. The CloudReady Welcome screen will open after some time. At the top-right corner, you will see the CloudReady OS version and ID. You can also select the default Language on this window. Once done, click on the Let’s Go button.
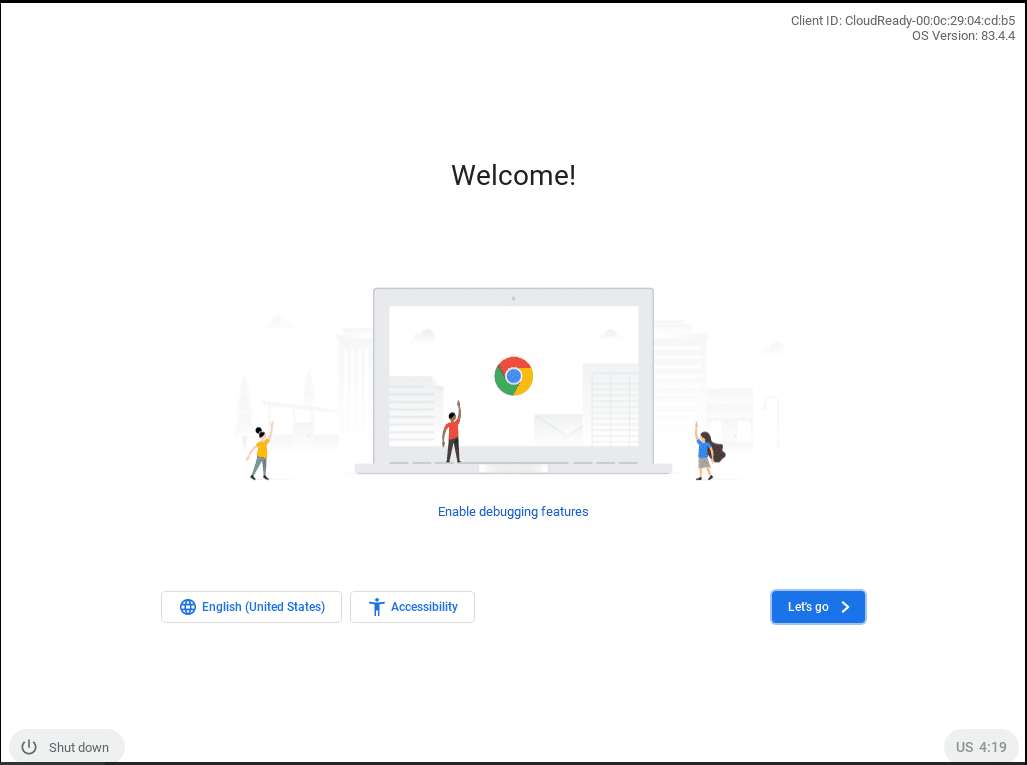
CloudReady Welcome
Step 9. The next screen will have information about your Network connection. Since we used a NAT adapter, the CloudReady will simulate an ethernet connection to your Host internet connection. Please ensure you have an active internet connection since we will require to sign in to your email account.
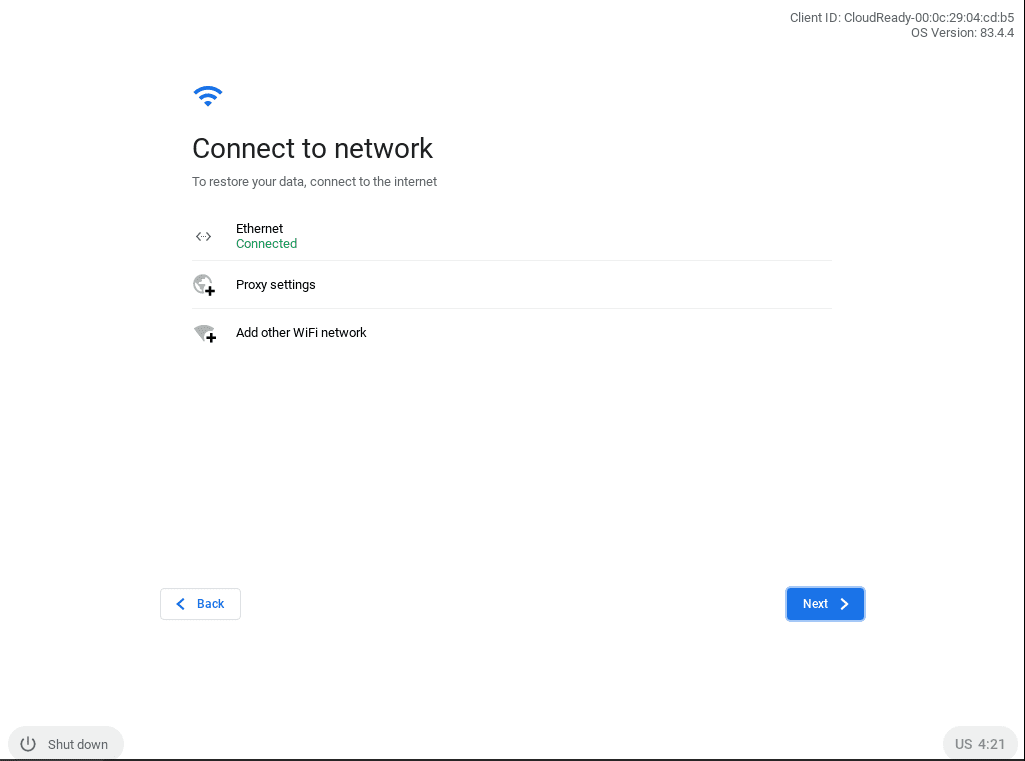
Connect to Network
Step 10. The next window will give you an option to send data anonymously to Neverware. Most of the information collected is about the hardware running the CloudReady OS. That is as stated on the Anonymous Data Collection page. You can check the checkbox at the bottom if you agree to send your data. Click Continue.
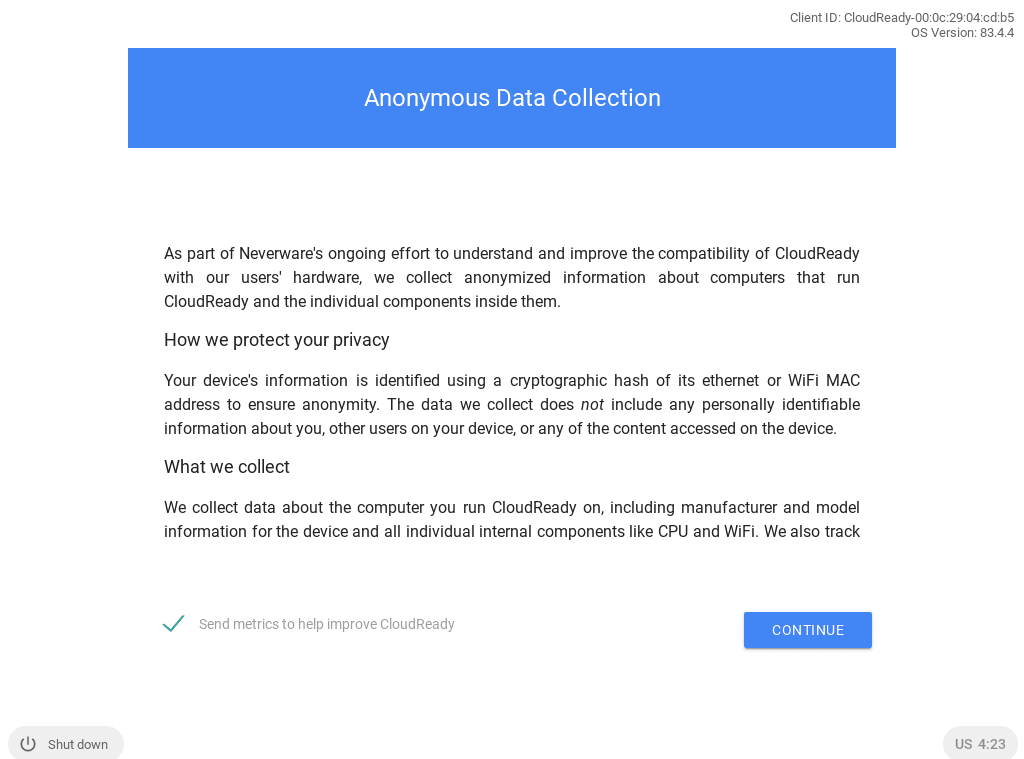
Data Collection
Step 11. On the next screen, enter your Gmail account to sign in to your Chromebook. Click Next and enter your Password.
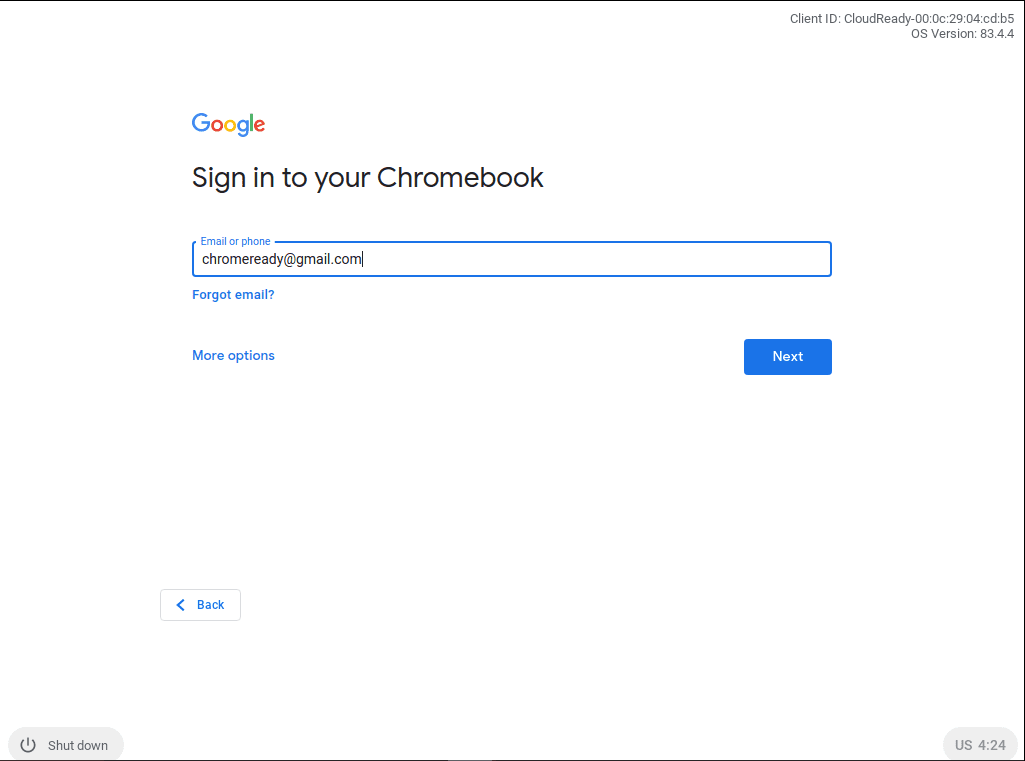
Sign in
Step 12. If the credentials entered are correct, a window will open with the message All Set, and you can start using CloudReady. Click on the Get started button below.
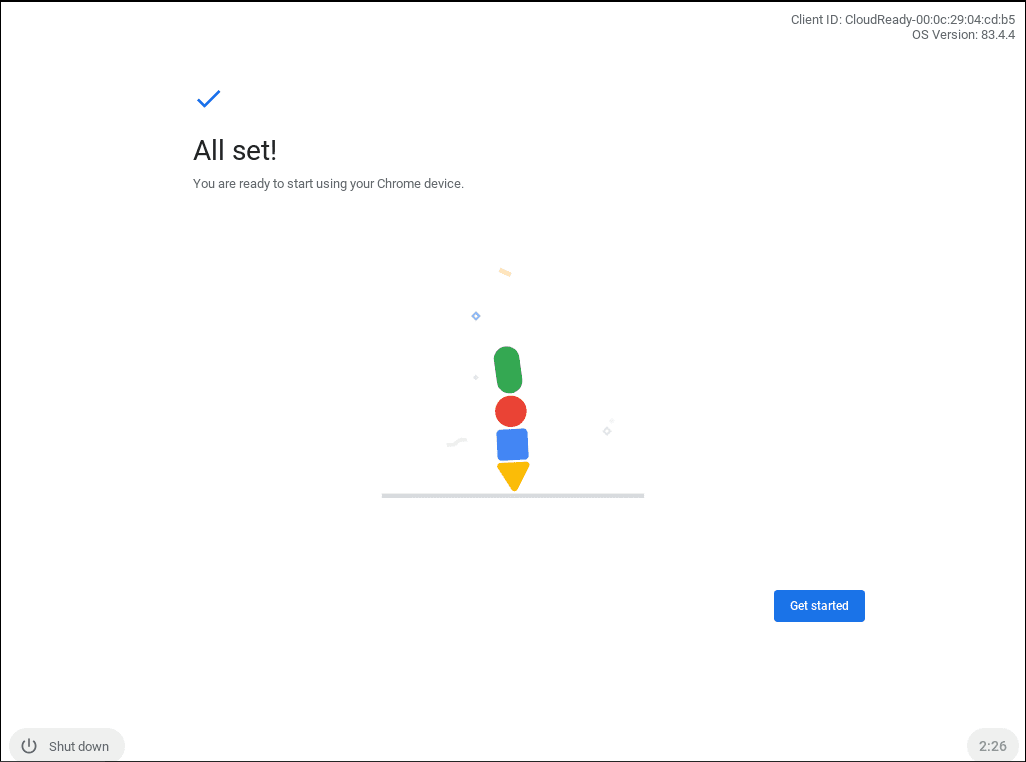
All Set
The CloudReady Desktop will open, and you will see a window pop-up thanking you for using CloudReady. You can close the window.
CloudReady is now installed on your VirtualBox. If you have worked with a Chromebook before, you will realize all the procedures we carried out are similar to those found in a Chromebook when signing up for the first time.
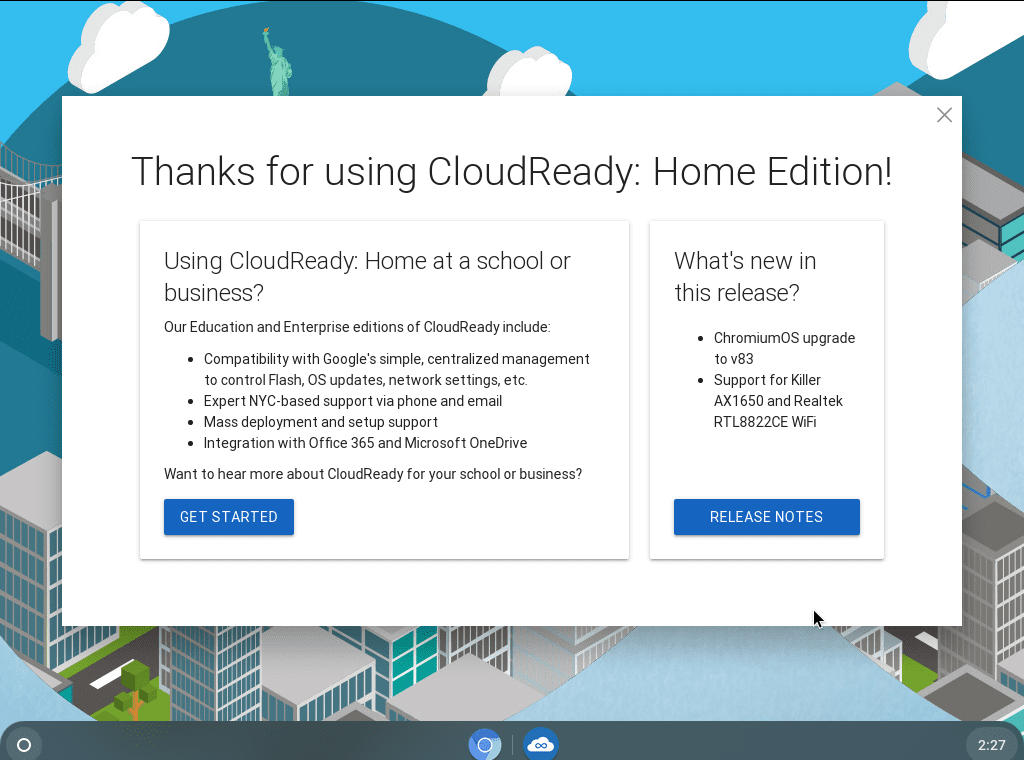
CloudReady Desktop window
Navigating CloudReady
CloudReady is similar to the Chromebook, just that it lacks some Google applications like the play store. The Desktop Environment is utterly identical to that of Chrome OS. It has a taskbar at the bottom with an open-source Chromium browser, a start button on the far left, and a notifications panel icon at the far right. The only difference with Chrome OS is that the latter uses the Google Chrome browser and has some additional Google apps like Google docs and play store.
One of the first things you would do after installing CloudReady is to check your current version. Click on the Start button and type Settings at the search bar. Click on the Settings icon that will appear. That will open the Settings window. Click on the About CloudReady tab to see the OS version. If you were on a Chromebook, you would follow the same process to know the Chrome OS version running on your device.
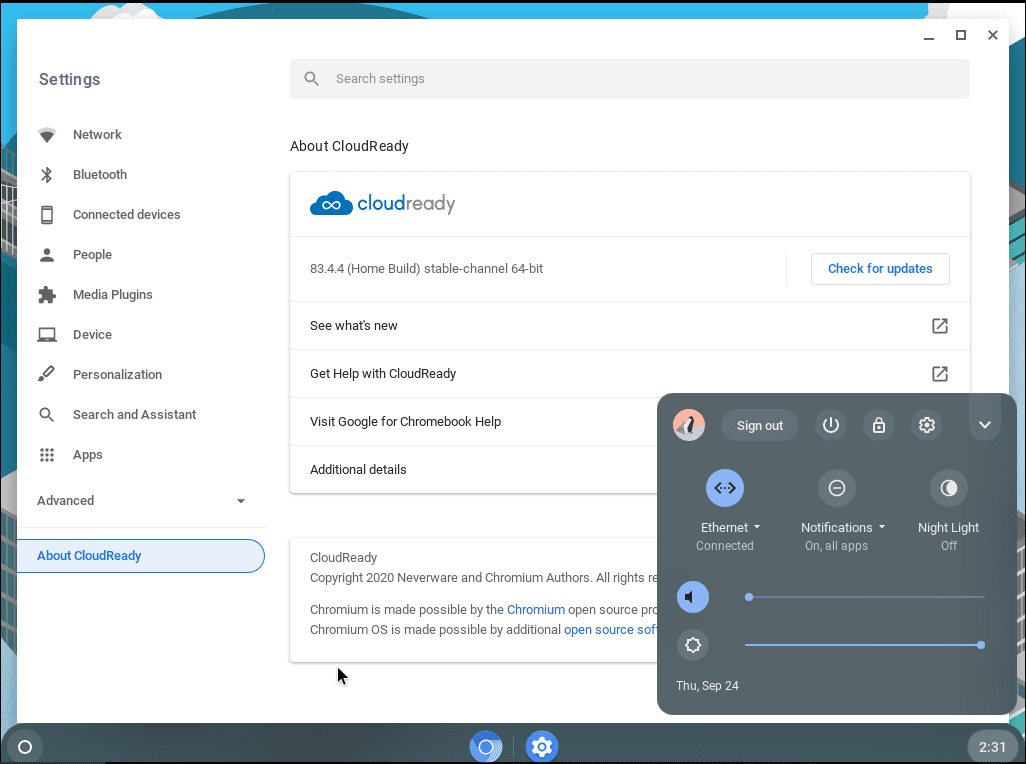
Check OS version
Conclusion
That is a complete guide on how to run CloudReady on your PC using VirtualBox. However, if you want to have the full thrill of using Chrome OS, I suggest you get yourself a Chromebook. You can check our post on The Best Chromebooks to Buy Under $300 in 2020. If you have any problem during the installation process, please feel free to leave a comment below.


3 comments
hi thks for ur tutorial. i follow yr exact steps and imported latest CloudReady 64bit ova file into virtual box portable
it launch and after the virtual box logo. hangs with dark screen entering the cloudready stage.
i check the vbox log file but there is no error found. any clue to this error ?
where to download an overview of the virtual machine
The link to the OVA file is broken