In 2023, the vast majority of the global population is digitally connected. Statista says more than 5.18 billion people are using the internet as of April 2023. This means both good and bad things because as social as we’ve all become, the worldwide rise of cybercriminals and hacker groups has also become a cause of concern.
That is where password managers, such as Bitwarden, come in, ensuring a robust, safe user experience on browsers such as Google Chrome while taking measures to protect our online presence diligently. In this guide, we’ll go through the ins and outs of the Bitwarden application and how you can install it on a Chromebook.
With no further ado, let’s get started.
Bitwarden’s best features
The following is our cherry-picked list of the best tools and features that Bitwarden offers. These functionalities are currently being enjoyed by millions of users across the globe, given how enormous the fanbase of Bitwarden seemingly is.
Free-to-use
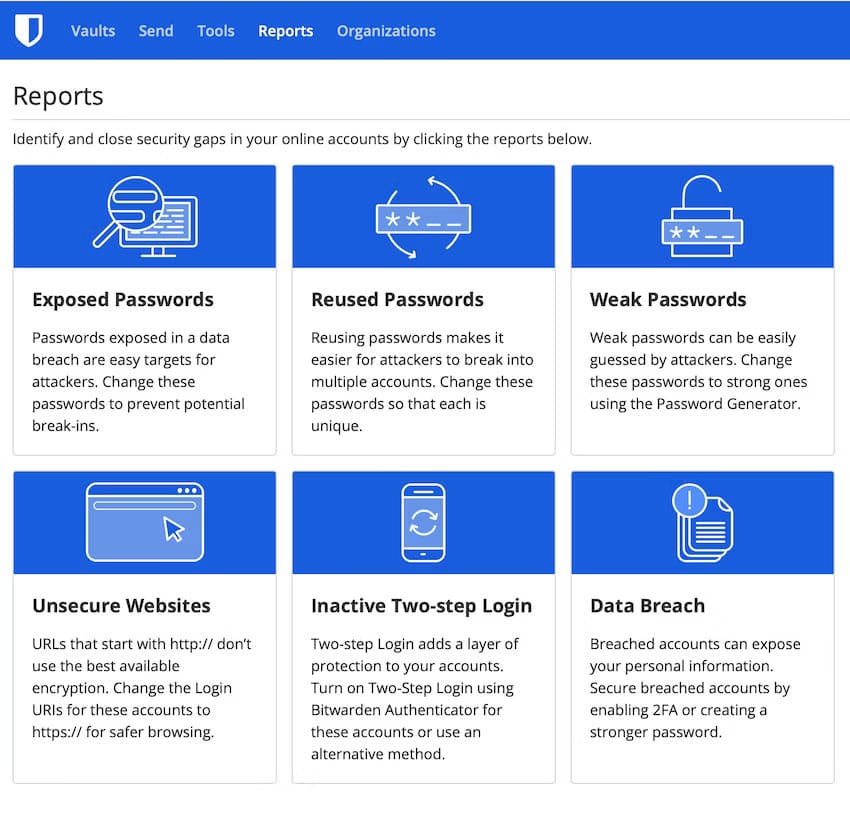
Additional Tools on the Bitwarden app
Bitwarden is what’s classified as a “freemium” program. This portmanteau mixes the words “free” and “premium” together to indicate that the application’s services are free to use, but if one wishes to take advantage of some of the expert-level features, a fee must be paid.
Outside of that, though, most of Bitwarden’s significant services are free of cost and do not warrant a purchase. That makes the software stand out among its counterparts, including LastPass on ChromeOS. On top of the free-to-use part, Bitwarden keeps things exceptionally secure. You’ll understand how in the coming subsections.
Intuitive interface
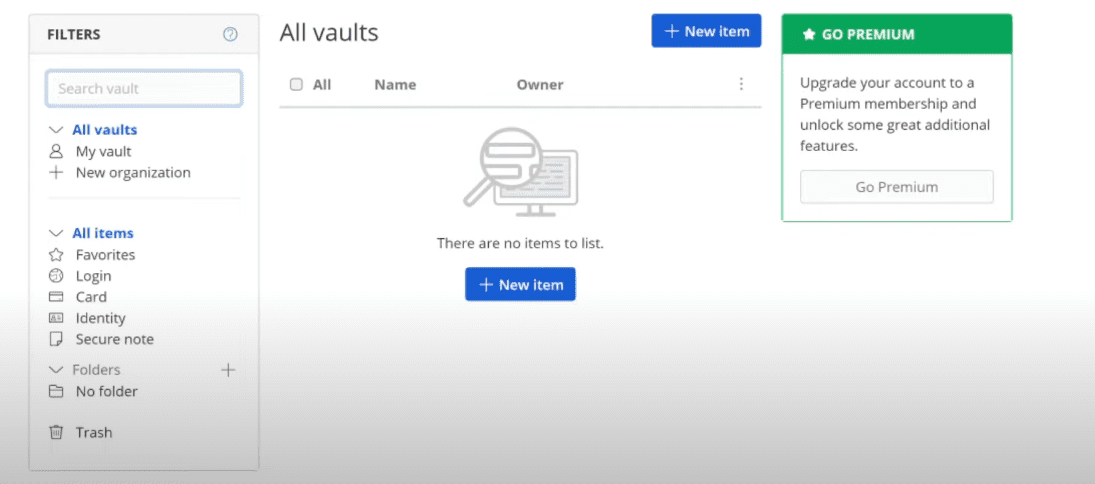
Bitwarden’s UI
Right off the bat, Bitwarden doesn’t take long to create a great first impression in the user’s heart. The Android app works like a charm on Chromebooks, and the interface window can be resized on non-tablet Chromebooks for painless usability. The various buttons across the UI are large-sized and sport a terrific layout.
It even sports a “share” feature that allows you to transfer encrypted information from one platform to another, including files and plaintext. The process remains secure, and there’s no third party involved here.
Strong password generation
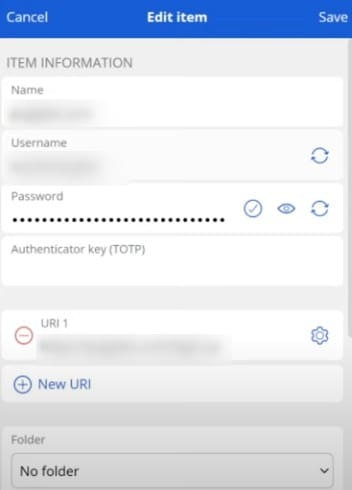
Password generation in Bitwarden (Chrome extension version)
One of the most prominent features of Bitwarden Password Manager is its password generation which conjoins a range of random characters together and curates them for users for different logins. Bitwarden employs strong, unique, randomized passwords that are practically uncrackable.
Moreover, after some time, Bitwarden automatically suggests you change your password to prevent it from becoming stale and becoming vulnerable in the face of cybercriminals. When that time comes, another intensely complicated password will be generated for you on the fly.
High-level security
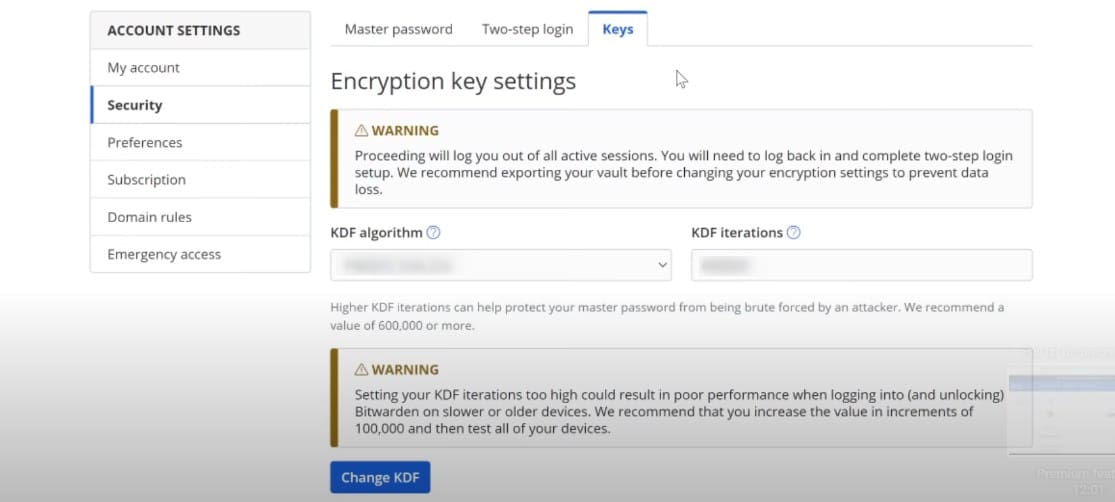
Encryption in Bitwarden
Thanks to the high-end encryption model that Bitwarden incorporates for your password in the name of AES-256 bit, salted hashtag, and PBKDF2, SHA-256, there’s little to no chance for any outsider to penetrate this fortress. The standard that Bitwarden has established is world-class, and it’s just one of the reasons why so many cling to the application for years on end.
Translation functionality

The “Settings” section in Bitwarden
Not situated in the United States, and English isn’t your first language either? No problem. Bitwarden supports over 40 languages, including German, Spanish, Russian, Italian, French, and Chinese. Fire up the application worry-free, and don’t worry about the language barrier catching up to you.
Cross-platform
Bitwarden is a multi-platform application that works on a variety of different systems. It exists on the Chrome browser and can be installed as an Android application. After you create an account with the company, remember your credentials, and you’ll be all set, no matter the platform you wish to use.
Therefore, if you ever decide to use Bitwarden on a device other than your Chromebook, such as a Macbook, an iPhone, or a Surface Duo, enter your login details, and that’ll be the end.
Installing Bitwarden on ChromeOS
Now that you’re aware of some of the fundamentals of Bitwarden, this section will cover the installation of the famed password manager on ChromeOS. Make sure to follow along with the instructions diligently for the best results.
Option #1. Using the Bitwarden Android app
Bitwarden can be installed on your Chromebook as an Android app, but before we begin, you should check whether your device supports the Google Play functionality in the first place. Usually, Chromebooks manufactured before 2018 may not be compatible with Android apps.
If you haven’t used the feature on your Chromebook before, it’s best that you make a confirmation before proceeding. Therefore, once you’ve determined that the Play Store is up and running on your end, move forward with the steps outlined ahead.
1. The first step is to fire up the Google Play Store on your Chromebook. Do this from the launcher area by pressing the “Search” key painlessly.
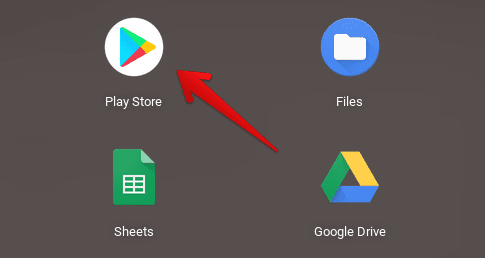
Opening the “Google Play Store”
2. Use the in-app search bar to look for the “Bitwarden Password Manager” app. Press the “Enter” key when you’re done typing to get to the next step.

Bitwarden Password Manager on ChromeOS
3. When you’ve arrived at the official app page of Bitwarden, click the vividly apparent “Install” button there to begin the download. It should be a piece of cake.

Installing the Bitwarden ChromeOS app
4. Once the Bitwarden application has been installed on your Chromebook, the final step is to check the launcher area. You’ll find it at the top, below your recently opened apps.
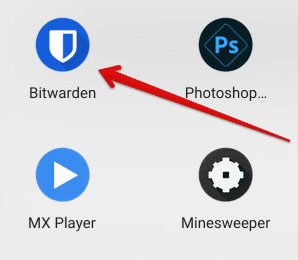
Bitwarden installed on ChromeOS
That’s about it! You’ve now installed Bitwarden on your Chromebook. Before we get on with its usage part, let’s talk about the other way of installing the application on ChromeOS.
Option #2. Installing the Bitwarden Chrome extension
Bitwarden also exists as a Chrome Web Store extension, where you can download it on the Chrome browser and enjoy seamless password management from there on out. Throughout its existence on the popular add-on platform for Chrome, Bitwarden has acquired immense popularity.
It has garnered millions of users and thousands of reviews holding the extension in positive words. To get started, head to the official add-on page of the software and click the “Add to Chrome” button there.

Adding Bitwarden to Chrome
A prompt will then appear at the top of the screen, asking whether you genuinely wish to proceed with the installation. To this, choose the “Add extension” button, and you’ll be ready.
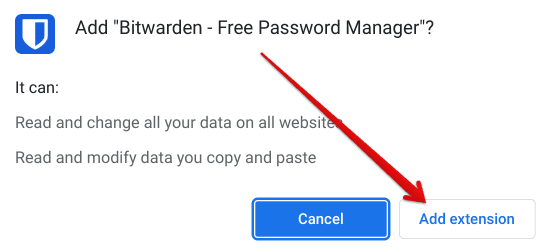
Confirming the installation of the Bitwarden extension
Now that you’ve installed the Bitwarden extension, feel free to pin it to the frontlines from the extension toolbar so that you can access it more easily.
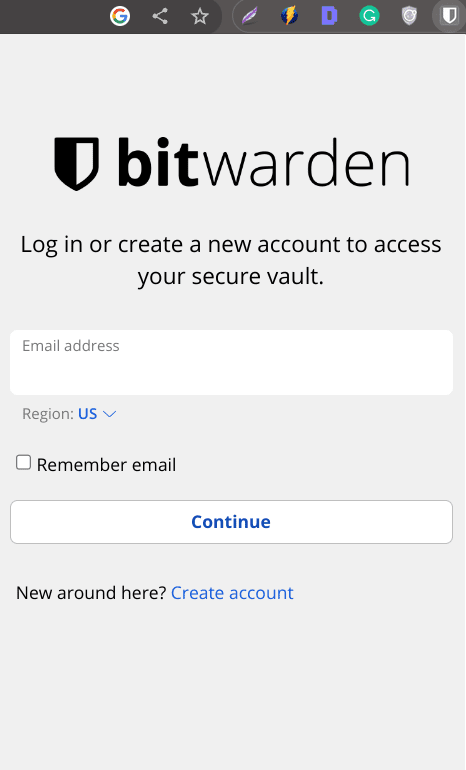
Bitwarden installed
Let’s continue using the Bitwarden application since we’re all wrapped up with the program’s installation on ChromeOS.
How to use Bitwarden on a Chromebook
As you may have gained a hint by now, Bitwarden doesn’t operate without the user logging into an existing account or creating a new one, and that’s because of obvious reasons. Your personal security and password safety is tied to your account. Without one, there’d be no point in employing Bitwarden’s service.
If you haven’t already made one, you must sign up for an account. The moment you launch the Play Store app, this is the first thing that the program will tell you to do, referring you to the Chrome browser as well for a quick back and forth to complete the registration successfully.
- P.S: Bitwarden’s security measures have been made capable to such an extent that it even offers to authenticate the password you’re setting for your new Bitwarden account by running it for any involvement in data breaches.
Once that is all taken care of and you’re finally into the application’s user interface, feel free to utilize Bitwarden’s feature set. The operation begins with what the program refers to as the “Vault.” Your notes (preserved securely), logins, credit or debit card information, and profiles are kept here.
Moreover, this is where you can create folders for yourself, not to mention organize your valuable data into collections, so the whole of it is easier to approach. To add a new login, click on the “+” button and proceed toward manually filling up the credentials. At this point, a pop-up will also entice you to enable the autofill feature.
Speaking of which, after having your initial run-in with Bitwarden, head over to the app’s “Settings” portion to discover a wealth of other options to tweak and optimize. That way, you’ll be able to extract the best possible user experience out of Bitwarden for the years to come.
Conclusion
Chromebooks are rarely disappointed when it boils down to their overall security, considering how practically robust these devices are and their established protective standard. Google has openly claimed that ChromeOS has never been hit with ransomware in its entire service life, which paints a good picture for Chromebooks.
With that said, you still shouldn’t look the other way toward making your online life more convenient, and Bitwarden seems the exact type of thing you should try out on your end, given how it makes password arrangement easy and painless. In the comments section, let us know if you found this guide helpful.
As always, Chrome Ready wishes you good luck!
