When it comes down to a diversity of different video formats, it can often be challenging to find the right type of player that can support all video file types. Such is the case with the MKV format, which is considerably lesser known than its MP4 counterpart.
If you have a Chromebook and are struggling with playing MKV files on it, this detailed guide can help you. We’ll be going over two easy-to-follow methods to help you find your way with MKV files on ChromeOS without delving into anything complicated.
- Recommended read: The 5 best video players for Chromebook.
What to know before getting started
Before getting into the forthcoming third-party options, it’s essential to know that Chromebooks are compatible with MKV files right out of the gate. In most cases, you will be able to watch MKV files on ChromeOS with the help of the operating system’s default media player since it also supports MKV files alongside MP4, AVI, M4A, OGG, OGA, and others.
Therefore, you shouldn’t be facing an issue trying to run an MKV file on ChromeOS. Head to the “Files” system utility, find the MKV file, and double-click on it to launch the video on your Chromebook’s “Gallery” app. It’s as simple as that.
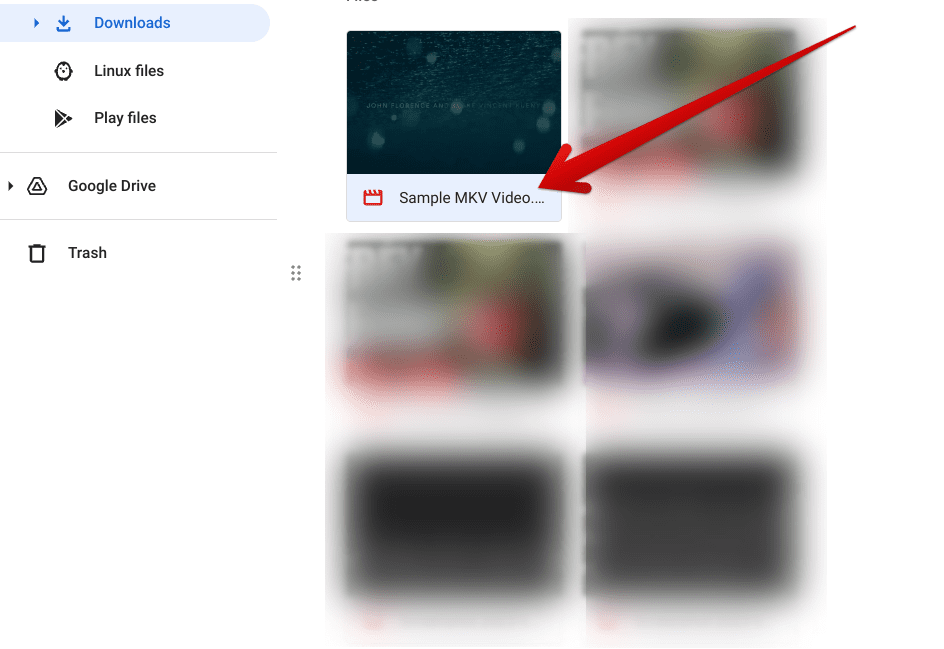
Playing an MKV file on ChromeOS
If the latter doesn’t work for some reason, and you’d like more control over your MKV videos, the following section will help you. We’ll enlist two third-party options to facilitate you in playing MKV files on a Chromebook and go through their working mechanism.
Watching MKV files on ChromeOS
An MKV file is a distinct type of video format that may not be as well known as other popular video file types, such as MP4.
However, thanks to the integration of the Google Play Store and the arrival of Linux apps on ChromeOS, Chromebooks can do much more than these devices could do a decade ago.
And this includes being able to work with MKV files across the board. We’re now going to detail two methods you can use to work with MKV files on a Chromebook. It’s advisable to try both techniques and determine which one suits your preferences the most.
Option #1. Use VLC Media Player
VLC Media Player has established a world-renowned name, making it possible to run a comprehensive array of different media formats without breaking a sweat. It’s fast, easy to use, and installs quickly as well. Although there is a Play Store version of VLC Media Player, we’ll be furthering things with the Linux variant of the application.
The latter comes across as more optimized for Chromebooks with minimal performance issues, sporting a budget-range Chromebook or a high-end beast like the recently released Acer Chromebook 516 GE. As iterated earlier, installing the software is a piece of cake as well. Let’s make haste with it using the steps given below.
- It bears noticing that the Linux feature on ChromeOS does not come enabled by default. You need to install and configure Linux first. In addition, some Chromebooks manufactured before 2018 may not support Linux apps, so be wary of this factor before you continue.
1. The first step is to open the Linux terminal app on your Chromebook.
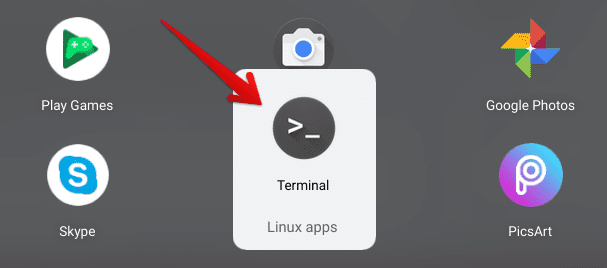
Opening the Linux Terminal
2. Opening the Linux terminal should lead you to launch a command-line interface window. As good practice, you should now check Linux for updates and upgrades. Type in the following command and press the “Enter” key to continue.
sudo apt-get update && sudo apt-get dist-upgrade
Updating and upgrading Linux on ChromeOS
3. After updating and upgrading the Linux terminal app, you can avoid running into potential issues during the VLC Media Player installation process. Speaking of which, use the following command to begin downloading VLC.
As soon as you enter the command, a confirmation message will appear, asking you whether you’d like to proceed with the installation. Press the “Enter” key here, and you’ll be ready.
sudo apt-get install vlc
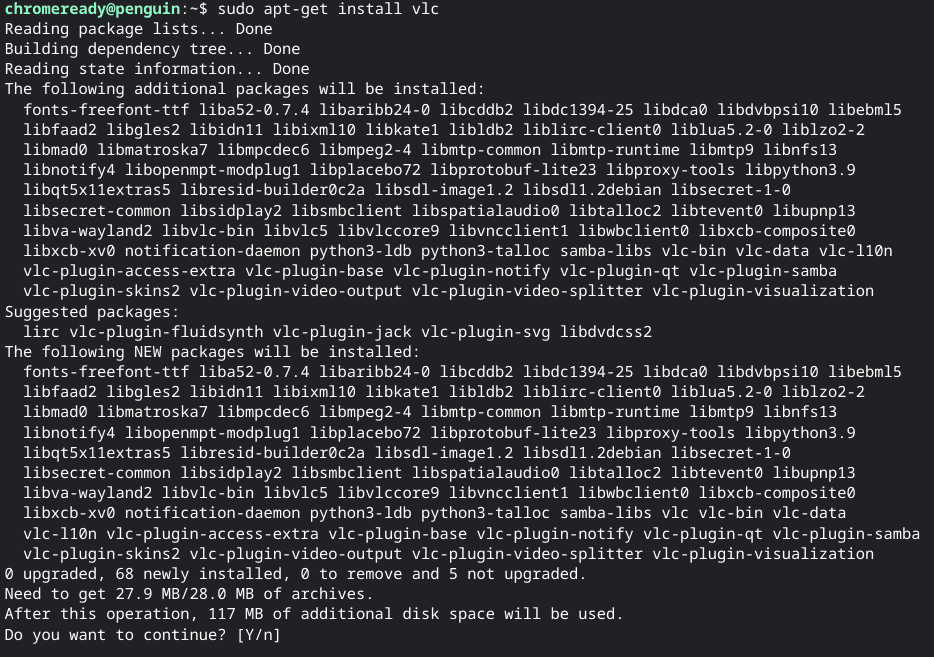
Installing VLC Media Player
4. You should now be able to see the VLC Media Player application installed on your Chromebook. Head to your Chromebook launcher’s “Linux apps” folder and find the program.
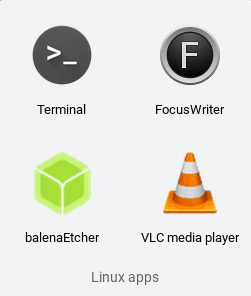
VLC Player Installed
That’s about it as far as installing VLC on your Chromebook is concerned. Next, launch the application and take it for a spin to see how well it handles MKV files.
Before you can start watching MKV files on ChromeOS, you need to take care of something. Unlike Google Play Store, Linux software cannot access directories outside your “Linux files” folder in your “Files app.” For them to access any file on your Chromebook’s storage, you need to move all relevant files to the “Linux files” folder.
This can be done relatively quickly from the “Files” system app. Copy the file wherever it is and paste it into the said folder. After that, the file will start appearing for all pertinent Linux files. To clear the procedure up with the help of an example, we’re moving the Ultimaker Cura AppImage to Linux files in the screenshot below.
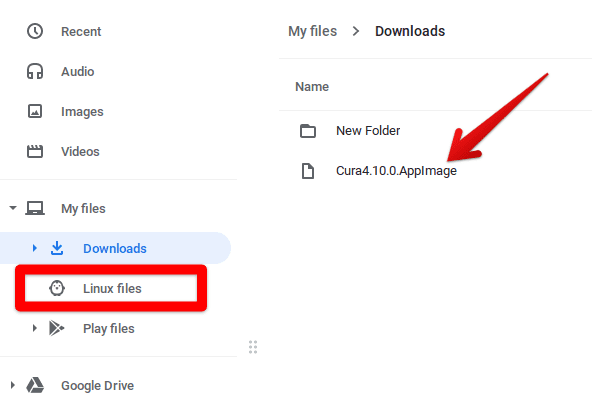
Renaming the AppImage and moving it to the “Linux files” folder
You should now head over to the VLC Media Player app and click on the “Media” button in the toolbar at the top, followed by clicking on “Open File.” Alternatively, press “Ctrl” and “O” to bring up your Chromebook’s local storage. From there, select the MKV file that you wish to watch on your Chromebook.
- Tip: The folder with the same name as your Linux username should contain all of the files you’ve moved to the “Linux files” folder.
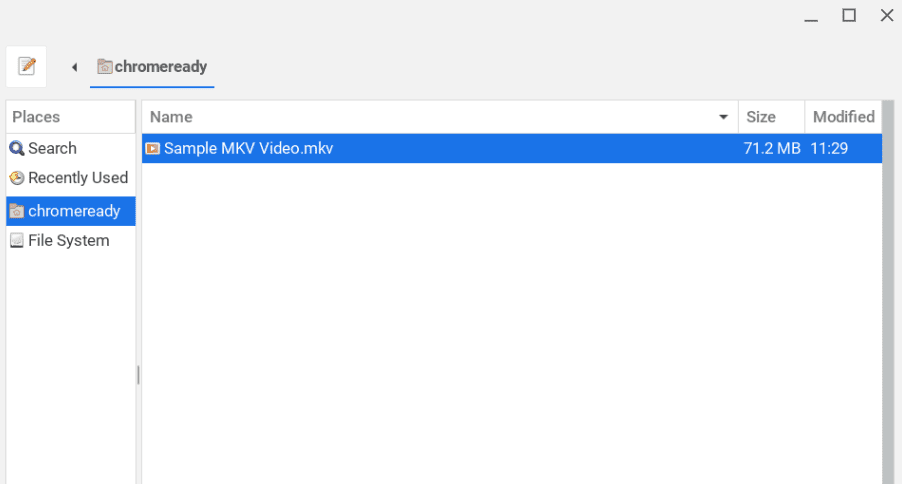
Selecting the MKV file
Another way is to right-click on the folder where the MKV file is saved on your ChromeOS and select “Share with Linux.”
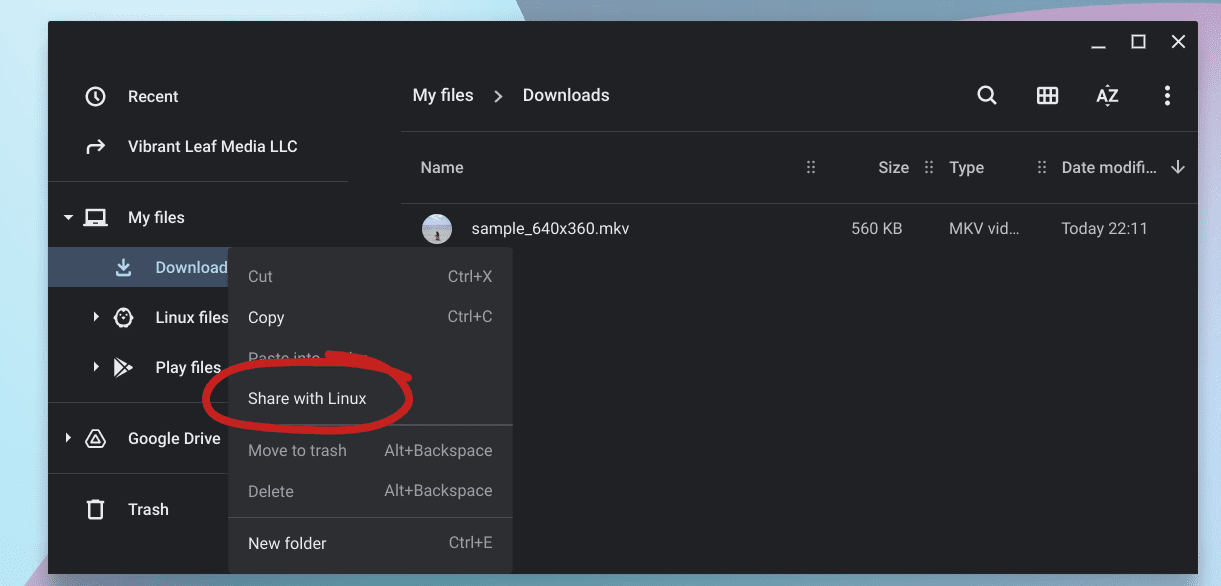
Share the “Downloads” folder in ChromeOS with Linux
After opening the relevant MKV file, you’ll see the video playing automatically. It’s as easy as that when utilizing VLC to watch MKV files on ChromeOS.
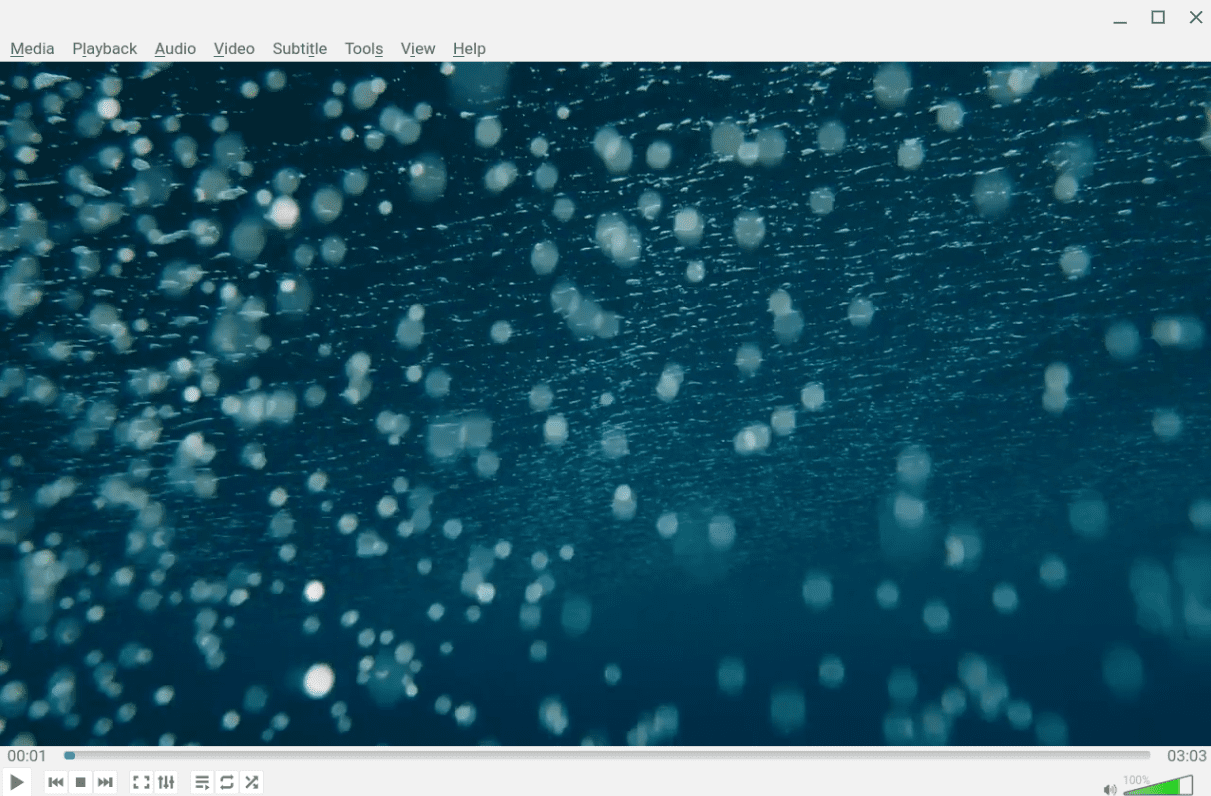
Watching an MKV file on a Chromebook
Let’s move forward with another option available at the disposal of ChromeOS users for running MKV files flawlessly.
Option #2. Get MX Player from the Google Play Store
MX Player is a high-quality multi-media player that can be downloaded from the Google Play Store, allowing users to work with an exceptionally polished Android app. Features such as GPU acceleration, a multi-core decoding user interface, and supported touch controls are all part of this video player’s extensive skill set.
We’ve converted the installation and usage of MX Player on ChromeOS is another one of our in-depth guides, so it’s worth referring to that for a step-by-step installation tutorial. Once you’ve installed MX Player, launch the application on your Chromebook and select the folder in which your MKV file is present.
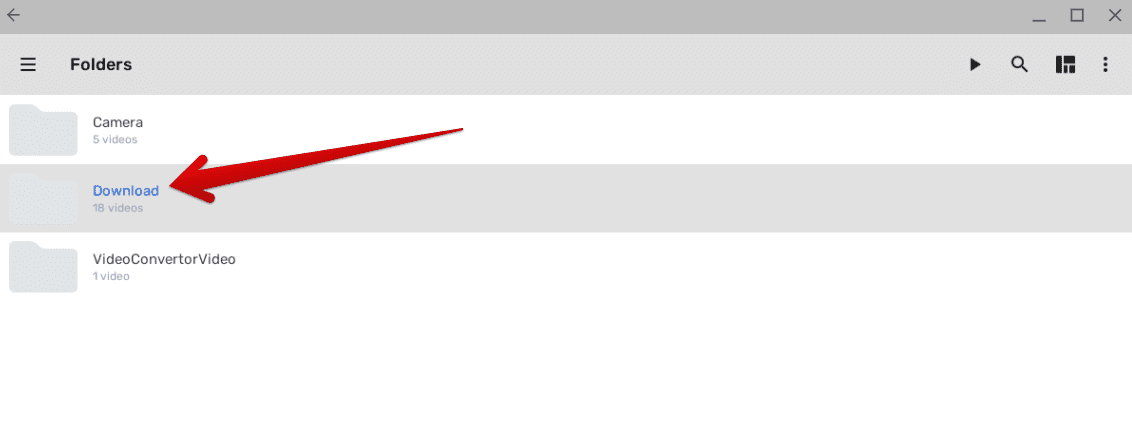
Selecting the relevant folder in MX Player
You should now see a list of different files on your end, depending on the content comprised by the folder you just clicked on. Choose any MKV file from this list to move ahead.
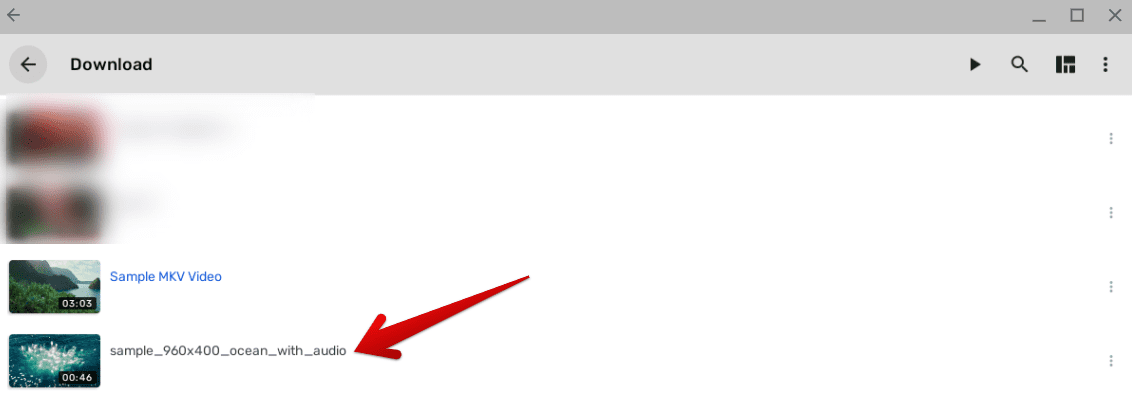
Choosing an MKV file
The MX Player streamer will appear on the screen, allowing you to fully indulge in the MKV file while allowing you access to additional controls, such as changing the screen fill type, choosing the decoder, and tweaking the components of the playlist.
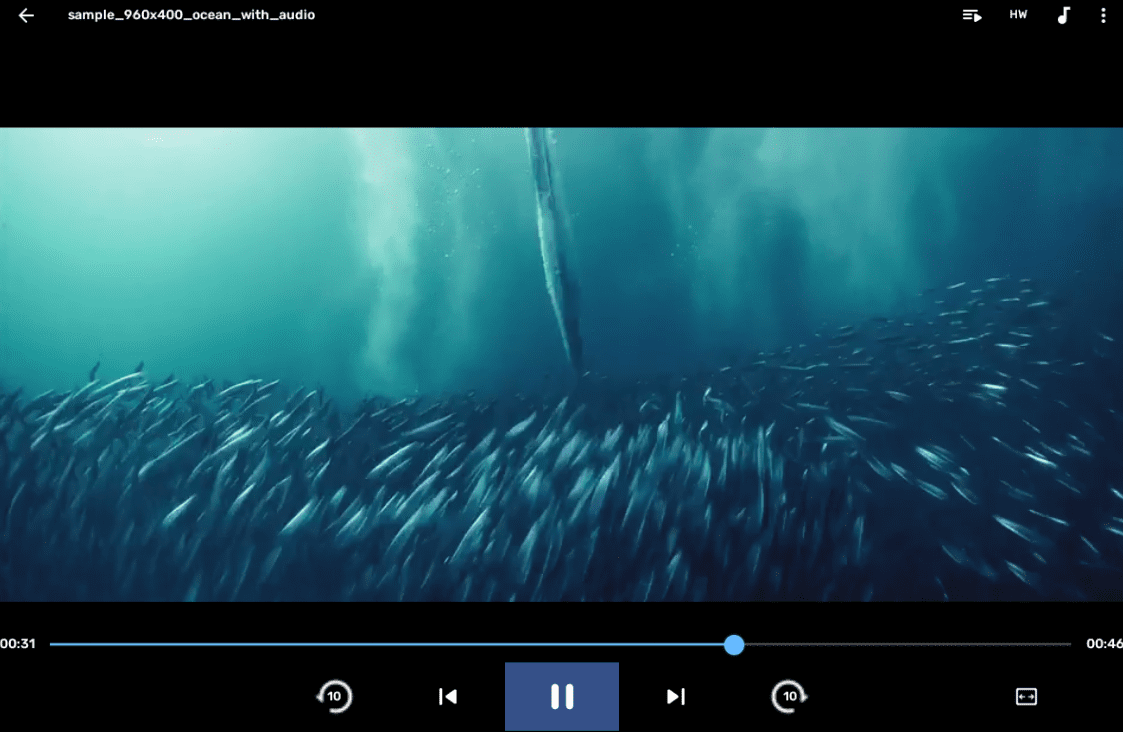
MKV file running in the MX Player
That’s all there is to know about running MKV files on a Chromebook. However, before we top things off, it’s worth pointing you toward another working solution you may choose to keep by your side.
An alternative approach
If you don’t prefer working with MKV files at all, there is a way to ensure you don’t see the sight of those files ever again on your Chromebook. HandBrake is a top-shelf video transcoder that packs enough functionality to resolve your video conversion issues on the fly, including your Chromebook’s working capacity to handle MKV files.
For a detailed account of how to install and use HandBrake on a Chromebook, check out the interlinked guide for the best results. Using the tutorial above, you’ll easily convert your MKV files into a more approachable video format, say MP4.
Conclusion
MKV files might seem like a daunting task to work with on ChromeOS, but don’t let your initial impressions fool you. As we’ve proved in the guide above, Chromebooks are more than capable of handling MKV files.
You have two options to pursue in this regard; whether you choose to opt for VLC Media Player or MX Player—the decision rests in your hands. We prefer VLC for its easy installation and user-friendly graphical interface.
Do let us know in the comments below whether this write-up resolved your query. As always, Chrome Ready wishes you good luck!
- Before you go: The 10 best Roblox Squid Game experiences.
