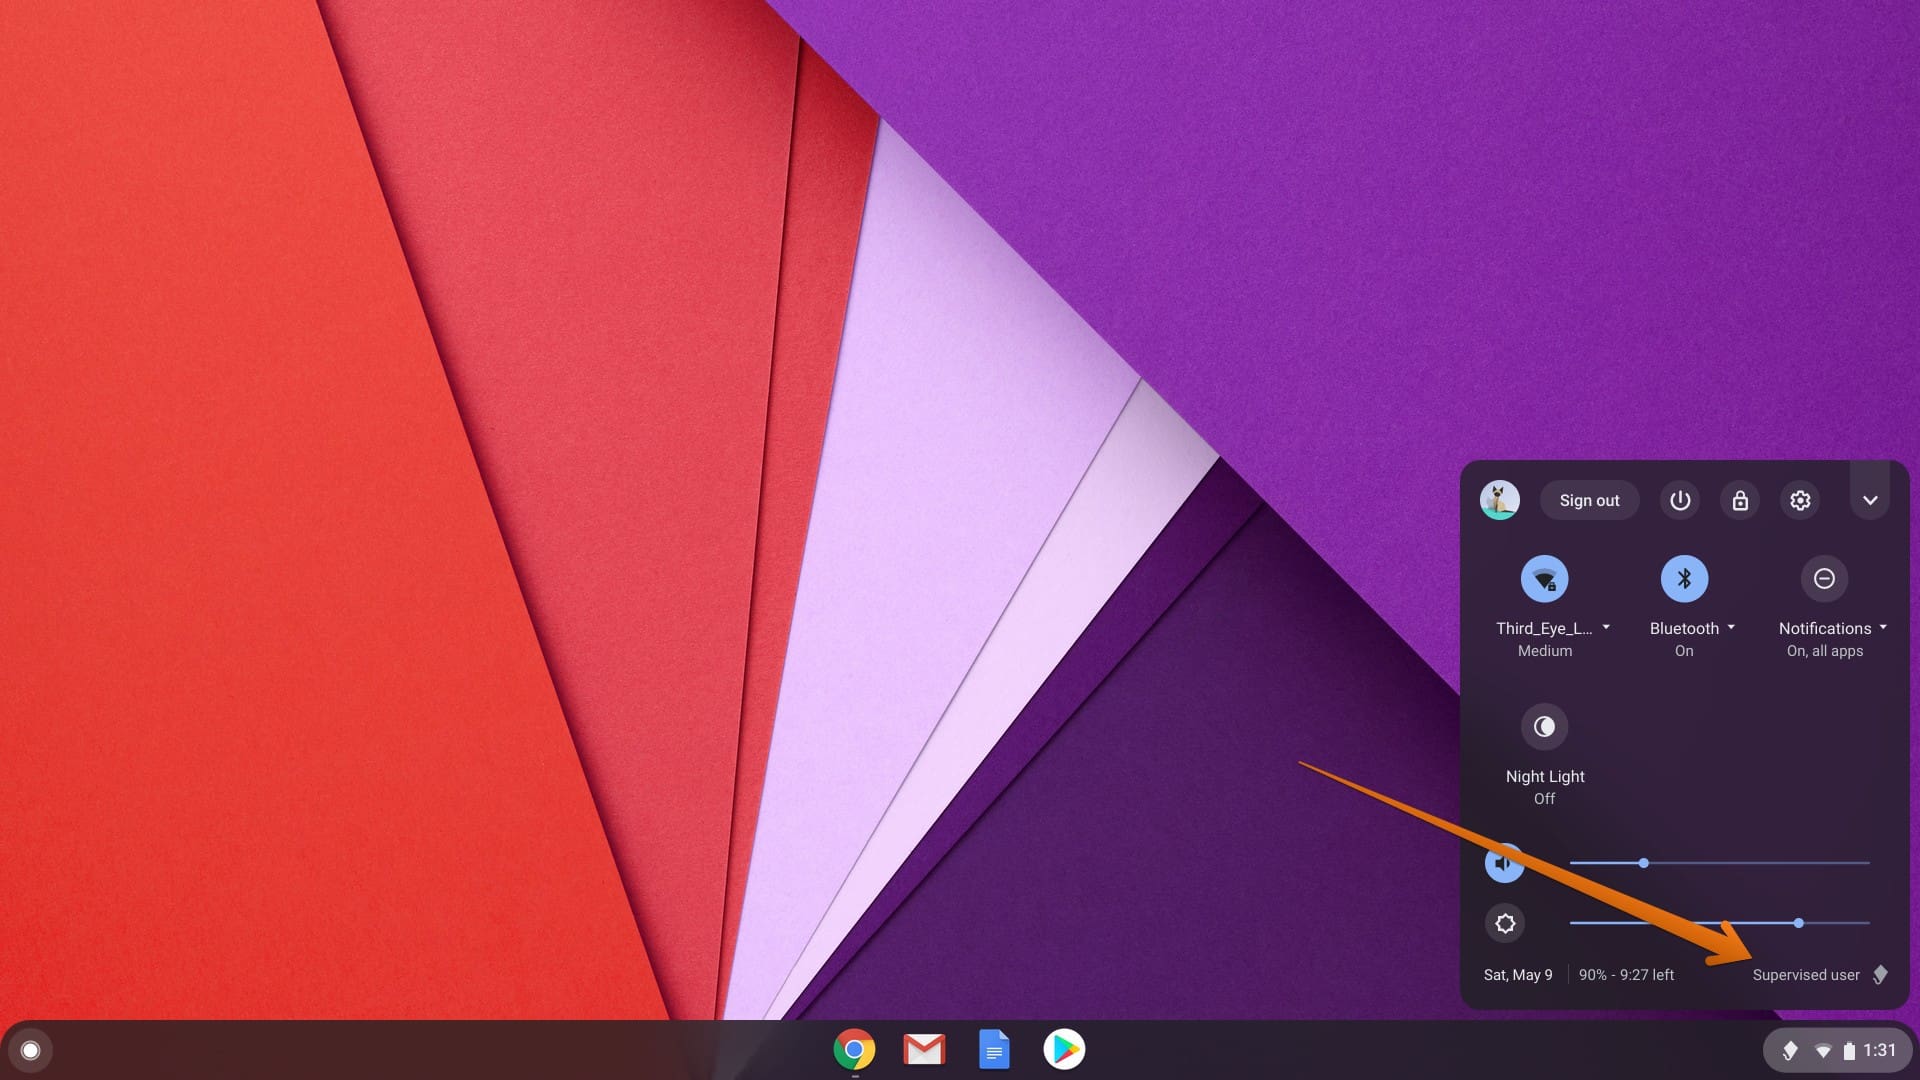
Before jumping on to the tutorial, let me quickly brief you on what you can do with the Parental Control settings as a parent or a supervisor.
- Parents can manage children’s access to websites on a URL basis.
- Kids can’t use apps and extensions in Chrome.
- Kids can’t use the Chrome browser in Incognito mode.
- You can set Chrome to block sexually explicit and sites that are not suitable for children.
- Kids need to take your permission to install the apps from Google Play.
- You can set Screen time on a weekday basis and also set the sleep time when your kids will not be allowed to log in to the Chromebook
Unfortunately, setting up Parental Controls on a Chromebook is not as straightforward as it should have been. I will make it simpler for you, and the process I’m going to use doesn’t involve using your Android phone. You can do everything on your Chromebook, provided your Chromebook has access to Google Play and Chrome OS version is 71 or above. If your Chromebook is older, chances are it doesn’t have Android app access. In such a case, you need to use your Android phone to install the “Family Link” app, which we will discuss in this article.
How to setup Parental Control on a Chromebook
I. Setting your Kid’s Google account
1) The first step is to create Google accounts for the kid for which you want to apply the Parental control setting. Head over to Google accounts and create one.
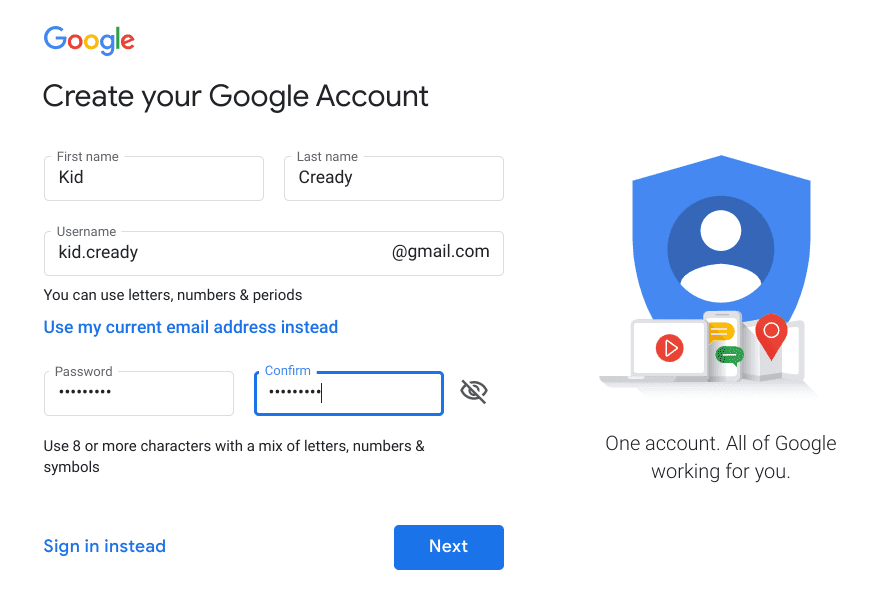
Create a Google Account
2) Google will automatically recognize that it is a Kid’s account based on the age you enter. When it sees that the account is below 13 (or the applicable age in your country), it will prompt you to enter the parent’s account credentials. This way, the kid’s account gets linked to the parent’s or the supervisor’s account.
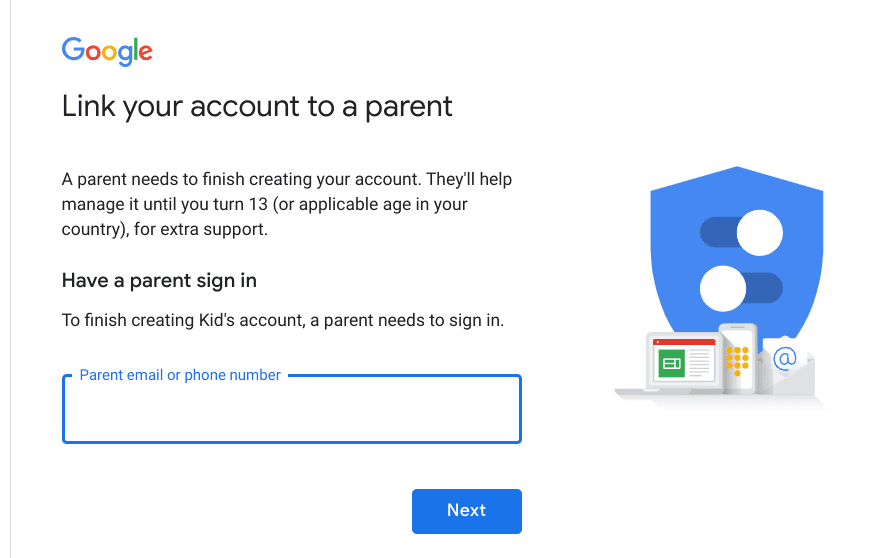
Parent sign in
3) Note that at this point, the Kid’s Google Account is similar to yours and that they can use it to access Google’s products and services. They can sign in to Android, iPads, iPhones, browsers & unsupervised platforms without your permission. Since that’s not what you want, we will be setting up “Family Link,” which ensures that the device asks for permission every time the Kid signs in. For now, click “I agree.”
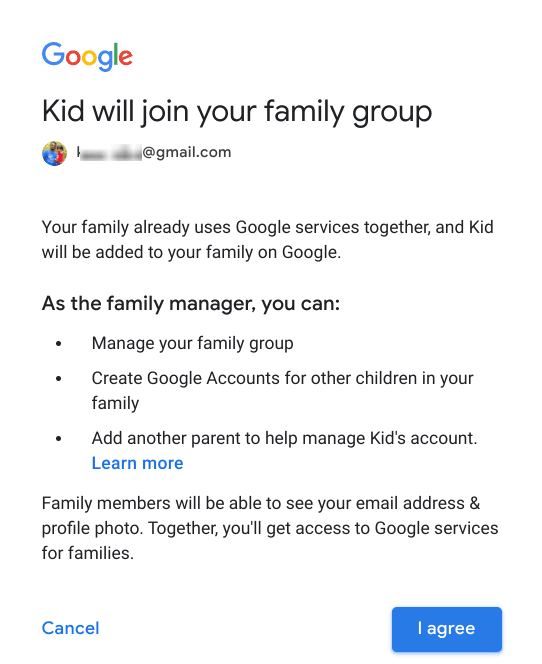
Family group
4) Proceed with accepting the Google terms, and your kid’s account should be ready.
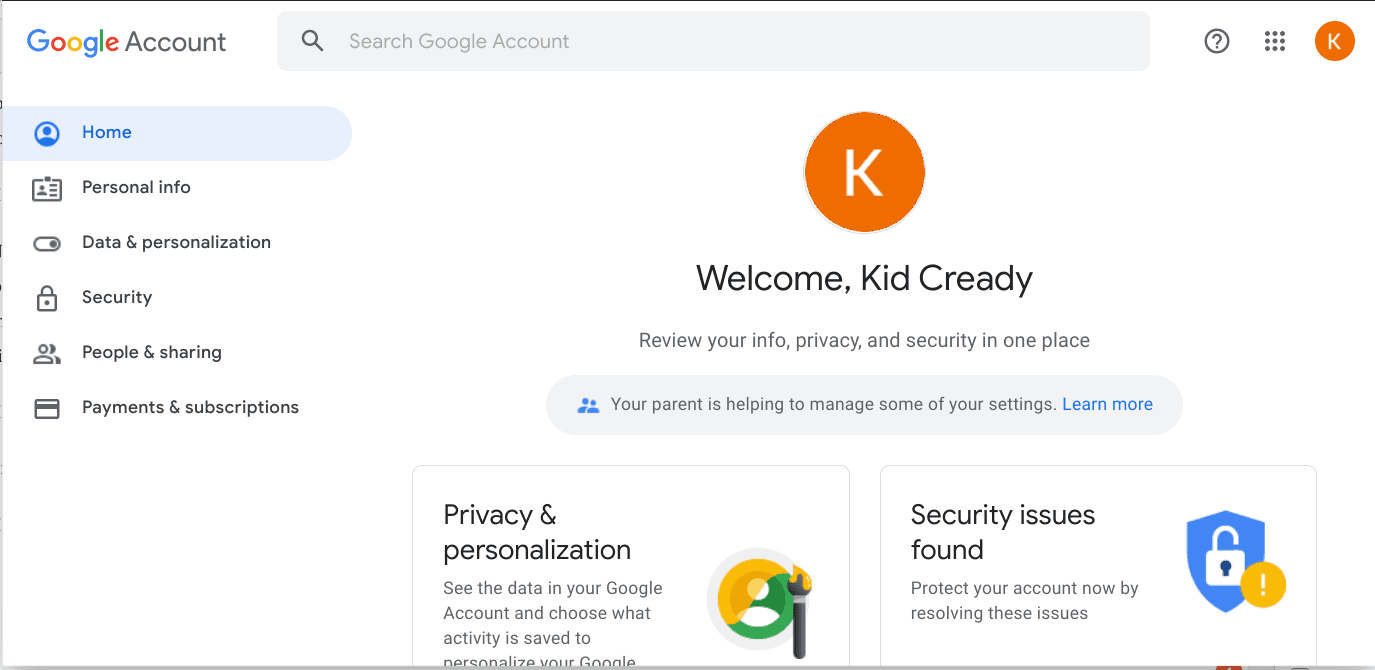
Kid Account Created
II. Installing Google Family Link for parents
Now it’s time to install Google Family Link for parents on your Chromebook. If your Chromebook can’t access the Play store, you can do the steps below on an Android phone too.
Install Google Family Link for parents
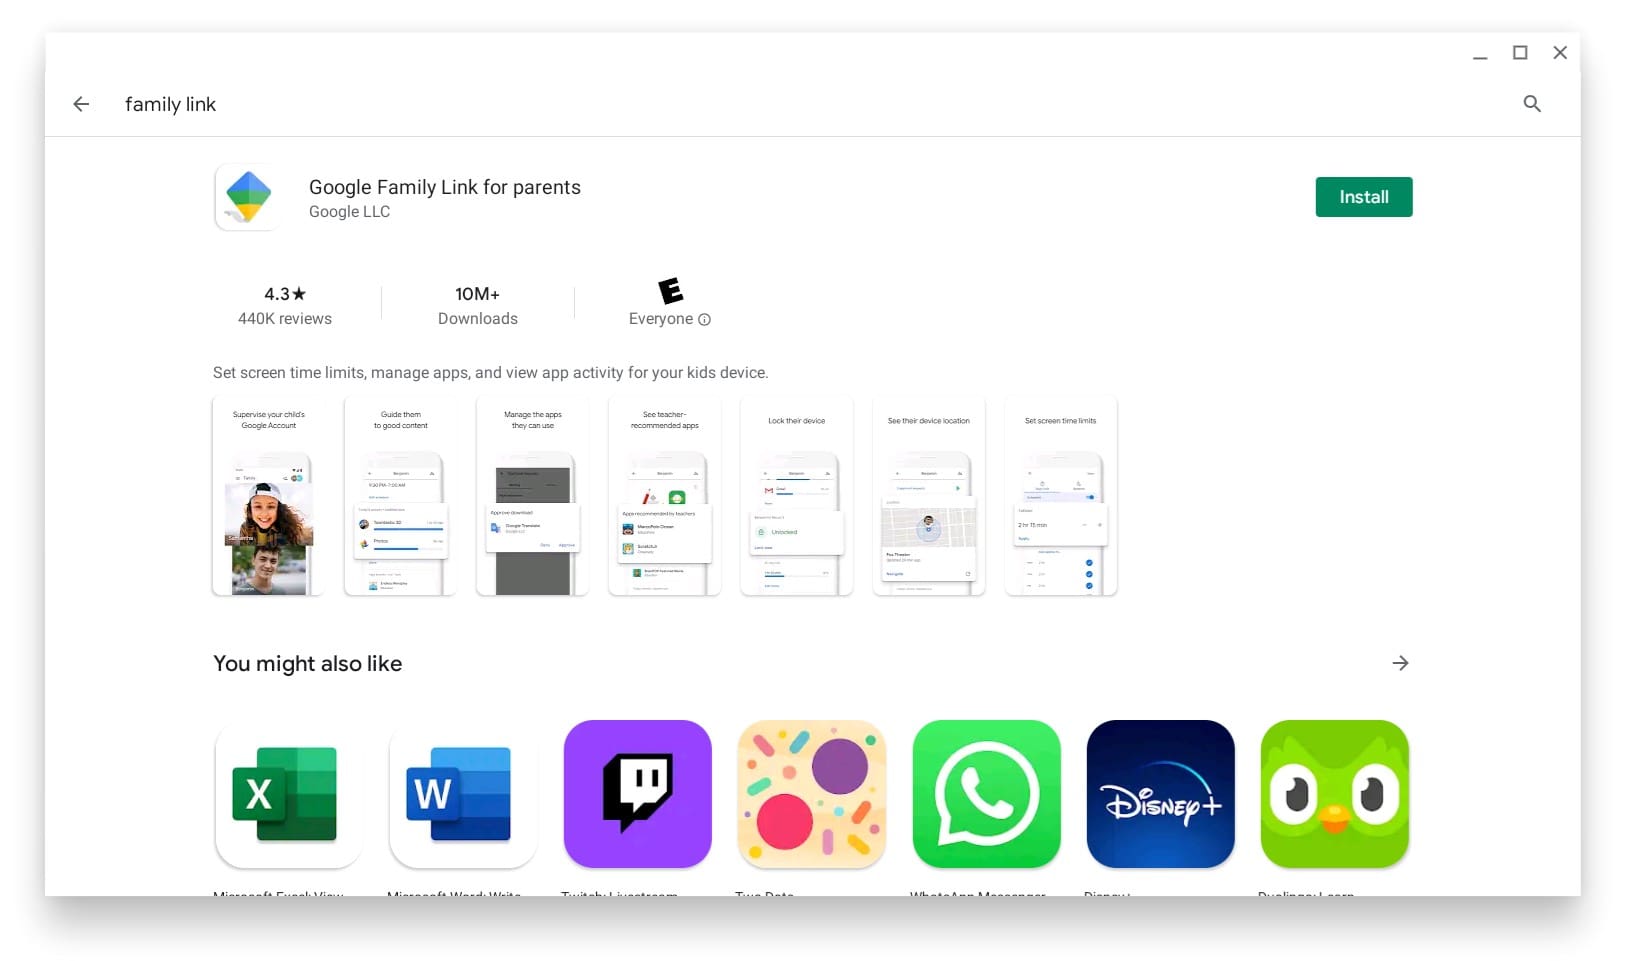
Google Family Link for parents
After installation, it is run through the on-screen process, which displays what you can do with the app. Then, keep clicking the following button.
Installation
Sign in with your (parents’) Google account you used for your kid. Once signed in, you will see the kid’s profiles as large blue buttons, as shown. For the test scenario, I used “Kid” and “Test” as the name of the Kids while setting up their accounts.
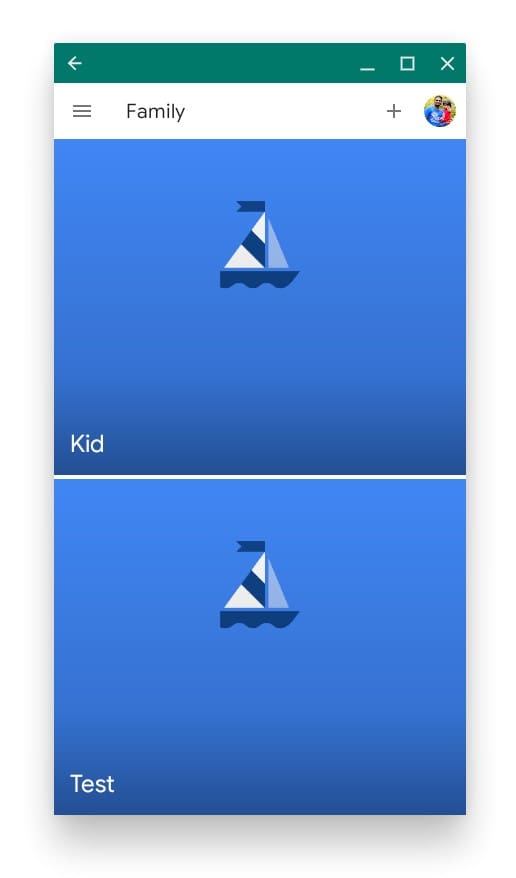
Family Link App
When you click on the account, it will ask you to set up an Android device. Please don’t click on it. It is for setting up the Family Filter on Android phones. Since we are on Chromebook, you can now close the Family Link App.
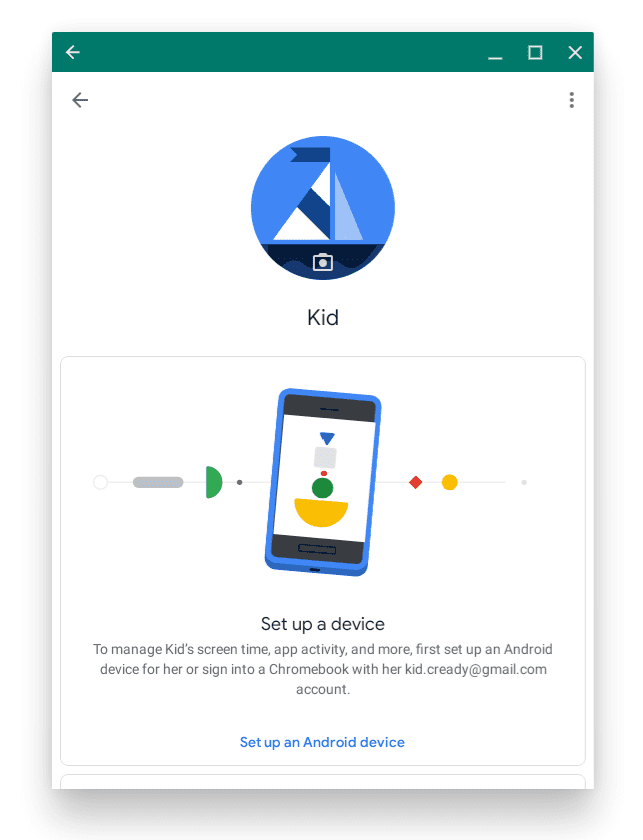
Family Link Interface
III. Adding your kid’s account to your Chromebook
Sign out of your account on your Chromebook, and sign on with your kid’s account. Next, click the “Add Person” button at the bottom left of the login screen. During the signing-in, you must authorize access by providing your login credentials.

Parent Permission
Proceed with on-screen instructions until you are signed in. Click “Accept and continue.”
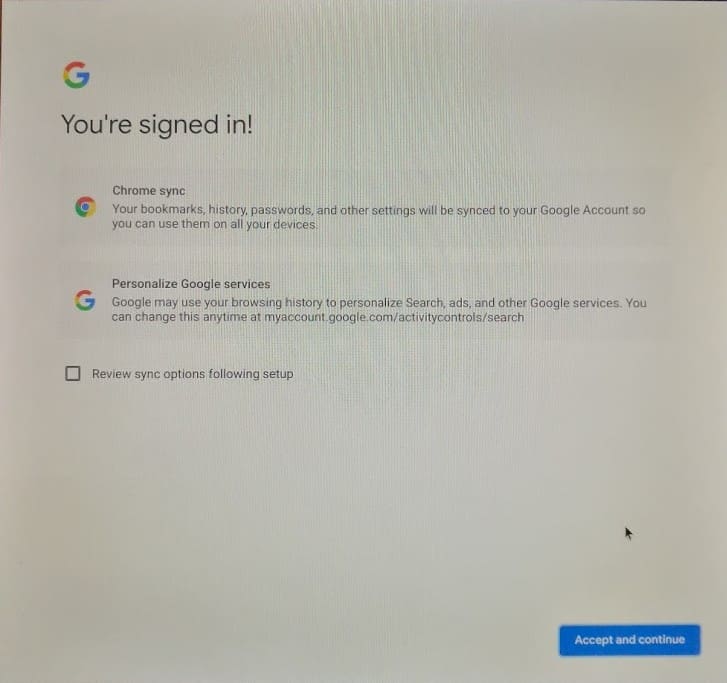
Kids account signed in
You are now done with adding your kid’s account to your Chromebook. Clicking on the clock menu shows that the account is supervised.
In the next section, we shall see how your kid can install apps from the play store.
IV. Installing Play Store Apps on your Chromebook from your Kid’s account
With the kid’s account signed in to your Chromebook, they can install the android apps from the Google Play Store with your permission. For example, when my kid attempts to install the “File Manager” app from the Play Store, she gets this request “Ask your parent” with two choices “Ask in a message” and “Ask now.” Clicking on Ask in a message sends an email to the parent for approval to install it.
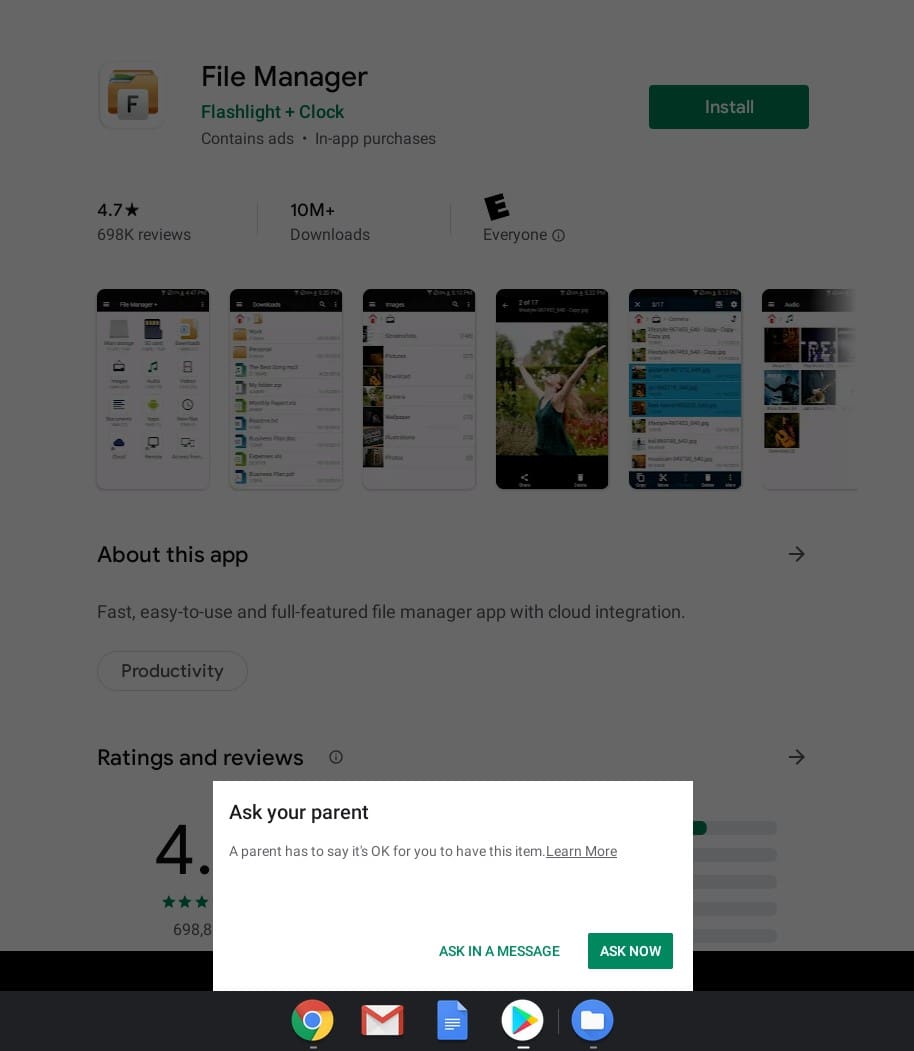
Installing Android App
The other option, “ASK NOW,” invokes a menu where the parent can enter the login credentials to approve the installation of the apps straight away. You will also receive an email that your kid has installed the app.
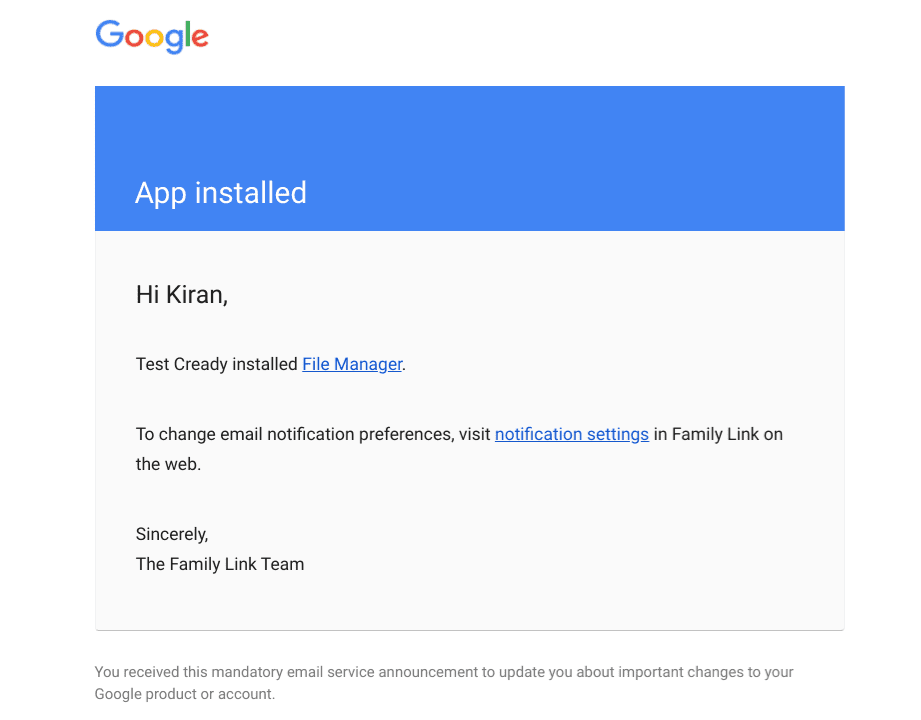
Notification
V. Inviting a Family Member
You can also invite a family member by using their email ID by going to the Families page or the Family Link app we installed earlier. In this article, I chose to go with the web interface. You can see the Family manager account and add or delete existing family members. You can add one by clicking on “Invite family member.” As of when the article is written, you can share Google services with up to 6 family members, including you.
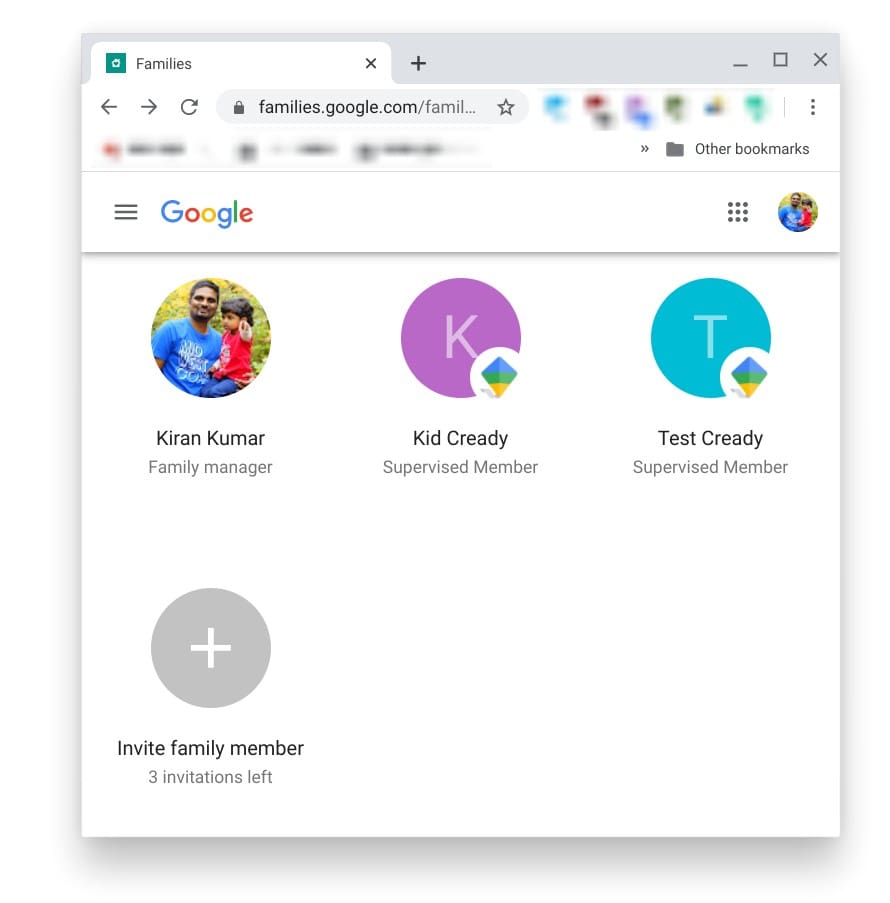
Invite Family Member
VI. Editing, Delete a Family member
Click on the profile and then on “ACCOUNT INFO” to edit the account profile details, including age, name, and gender. To delete a family member, account, and data, click on the family member and then click on “ACCOUNT INFO.”
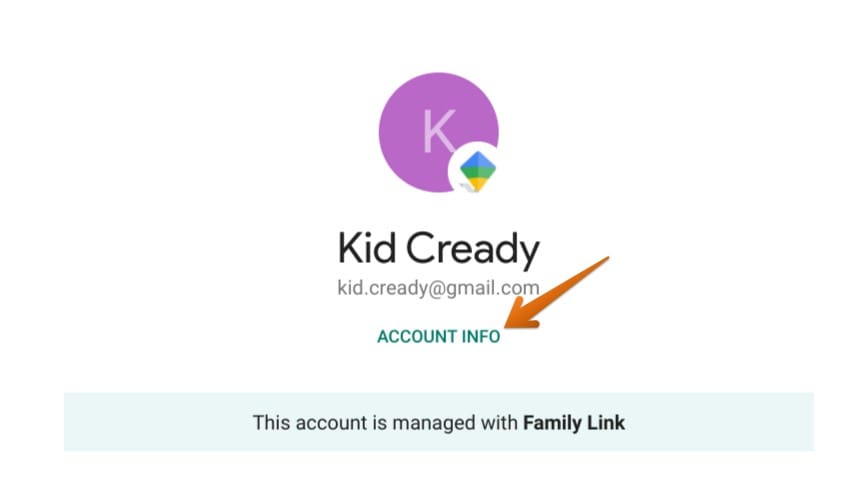
Kid’s account Info
On the bottom of the page, click on “DELETE ACCOUNT & DATA.”
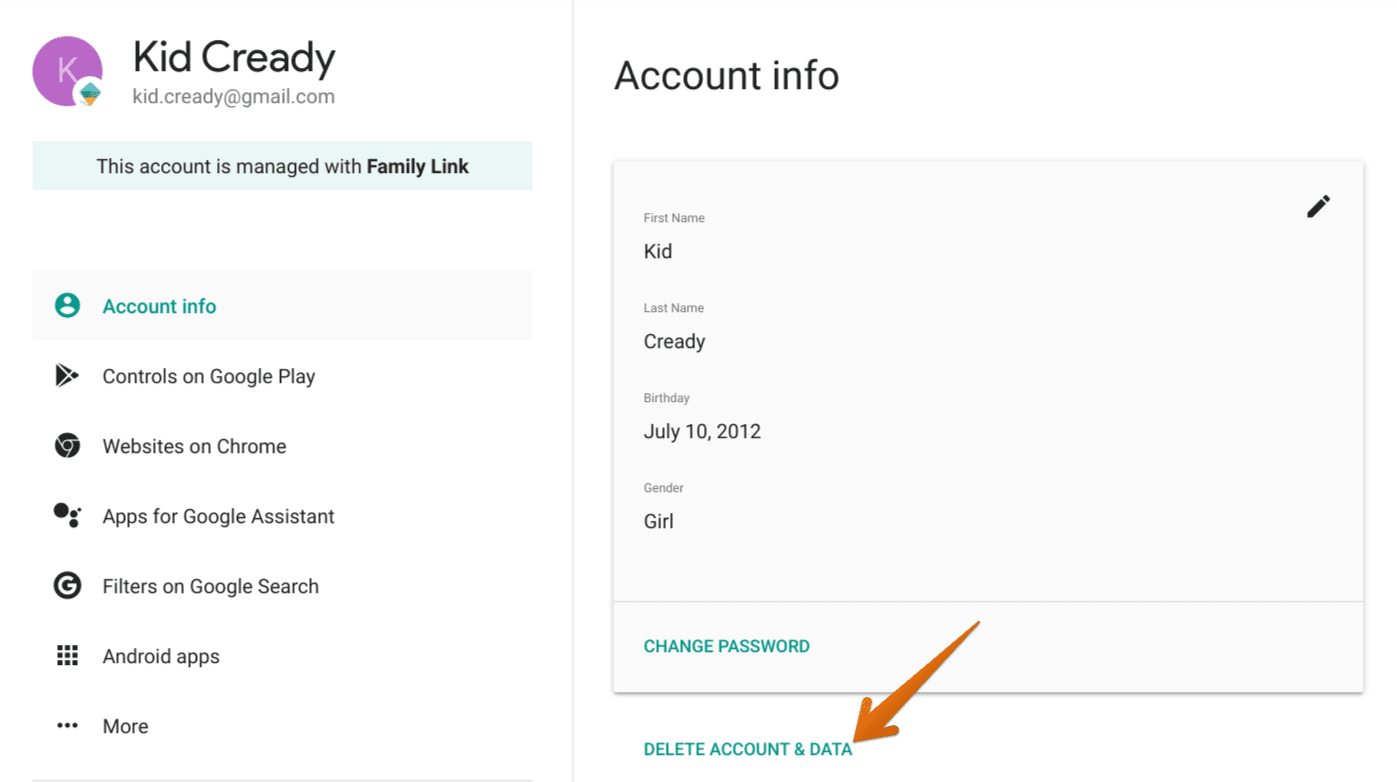
Delete Kid’s account
VII. Managing your Kid’s Access
Controls on Google Play
To manage how your kid can handle the Google Apps, including what kid can browse, purchase, or download on Google Play, click on “Controls on Google Play.” This is a great place to manage everything related to the Google Play store. I will let you hover over each option and see what and all you can do, starting from the purchase of apps to the content restrictions for playing multimedia content like movies, TV, and music. You can also restrict access to books unsuitable for your kid’s age.
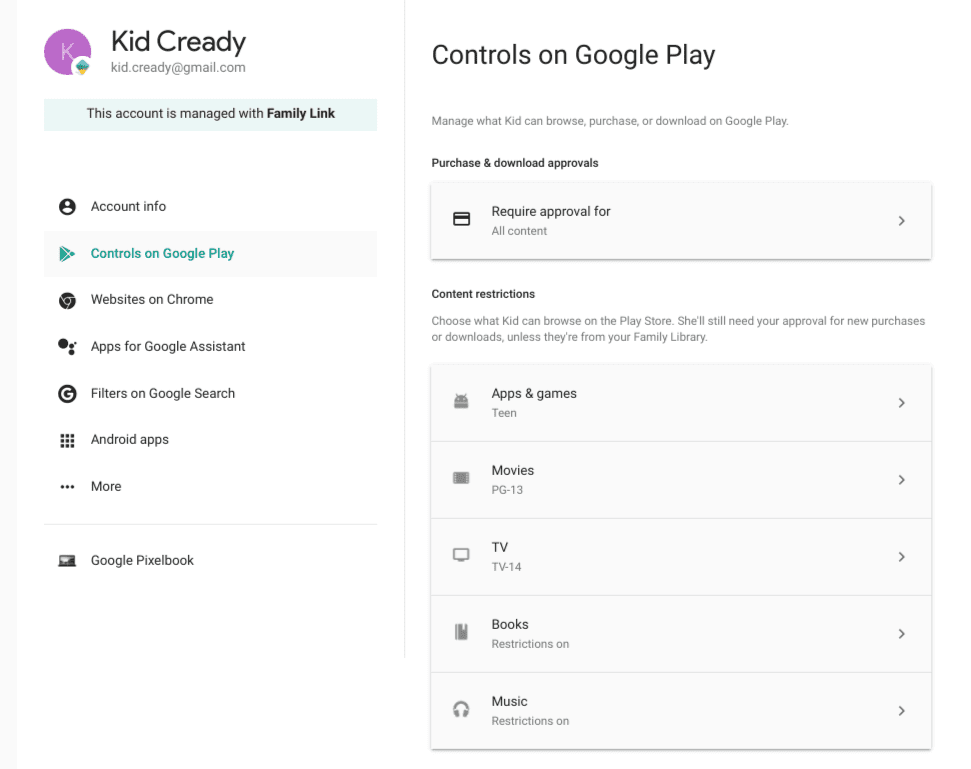
Controls on Google Play
Access to websites via Chrome Browser
The “Websites on Chrome” section helps you manage the sites that your kid can access. You can apply a general policy that tries to hide sexually explicit and violent sites. I’m using the word ‘tries’ because the filter is not perfect and is still evolving. Some places can still get through by spoofing as a good site. You got an option to “Only allow certain sites” where your kid can make a request, similar to the app example we showed earlier, and you can customize and build your list of allowed URLs.
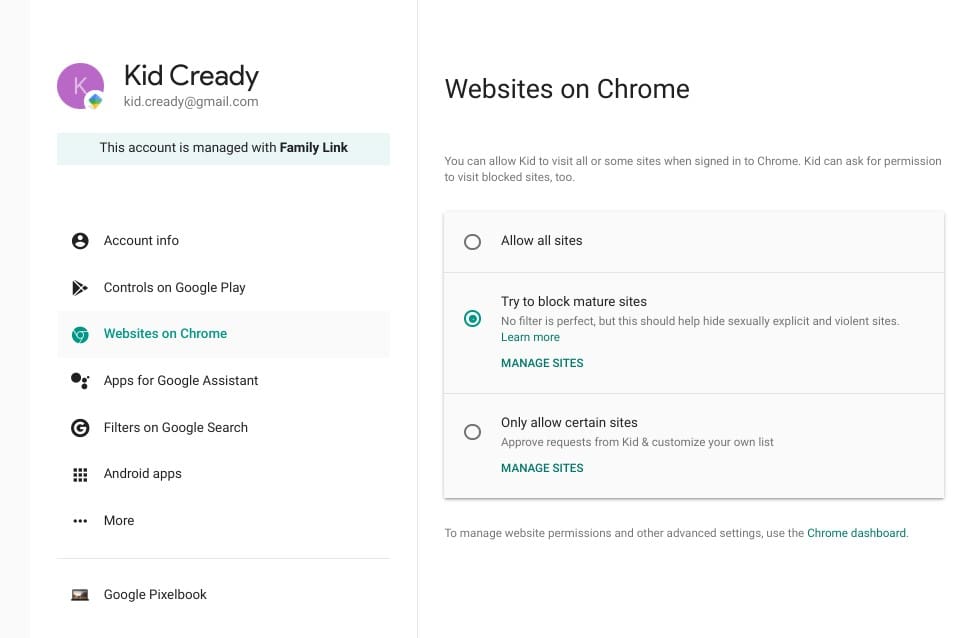
Websites Access on Chrome
I recommend leaving the “SafeSearch” mode to ON in the “Filters on Google Search” section. It blocks explicit content from appearing in the Google Images search and other searches.
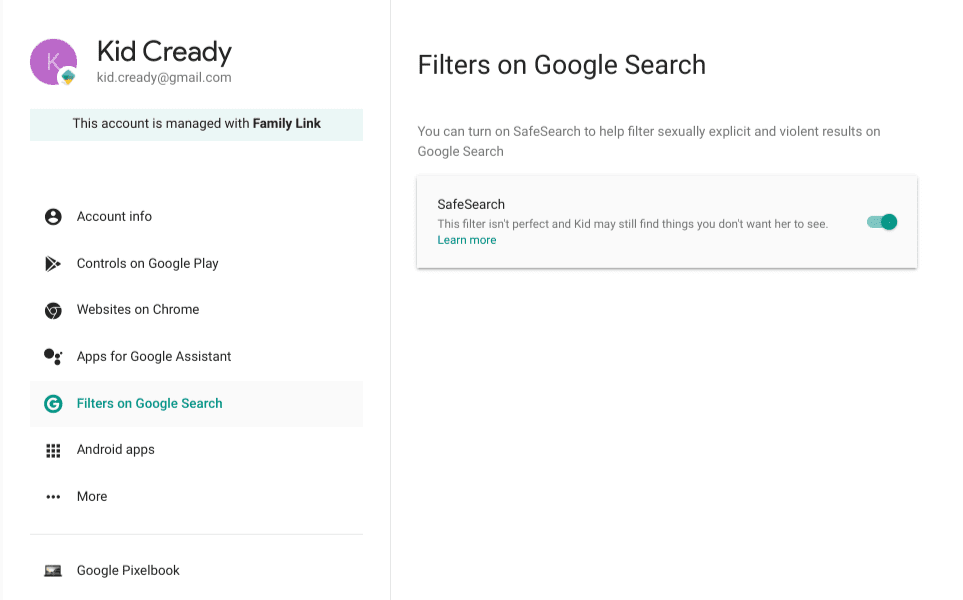
Google Search Filters
Installation of Android Apps
The “Android apps” tab lets you manage access to the installed apps on the Chromebook. The interface allows you to manage the apps after they are allowed to install on the kid’s Chromebook account.
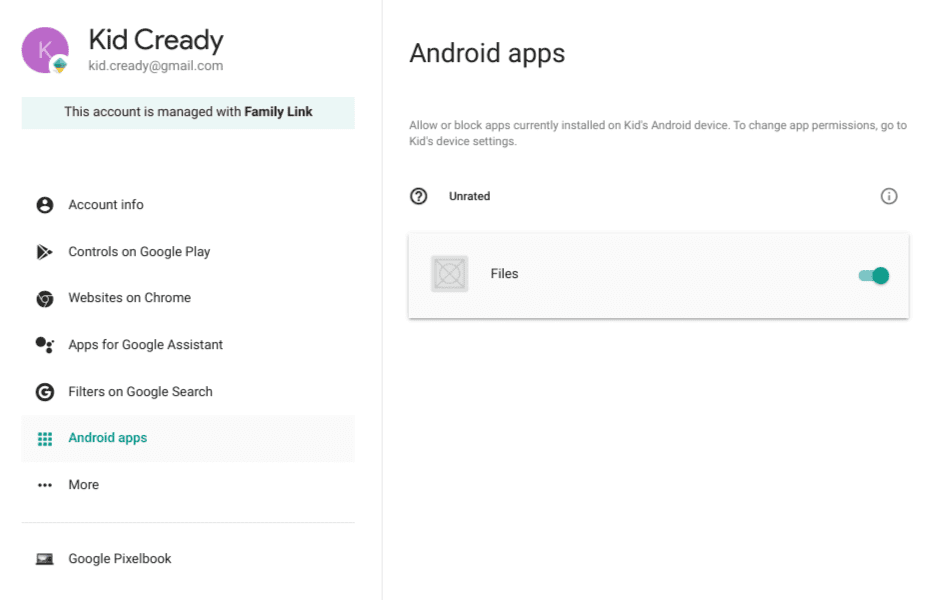
Android Apps Access
VIII: Screen time & limits
This is essential for supervising how long and when your kid can use the Chromebook. You can set the number of hours your kid can use Chromebook. You can also set a sleep time during which your kid won’t be able to log in to the Chromebook. First, launch the Family Link app and click the kid’s profile for which you want to apply the screen time limits. Next, scroll down to the bottom of the “Screen time” section and click “Set up.”
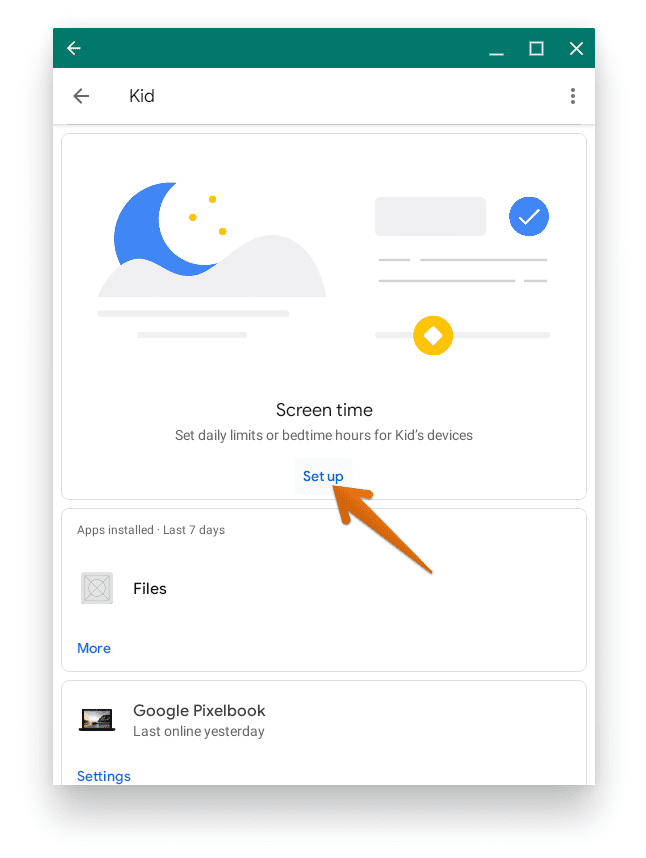
Screen time
The “Daily Limit” tab lets you specify the number of hours your kid can use the Chromebook. For example, you can set 3 hr limit on weekdays and no limit on weekends.
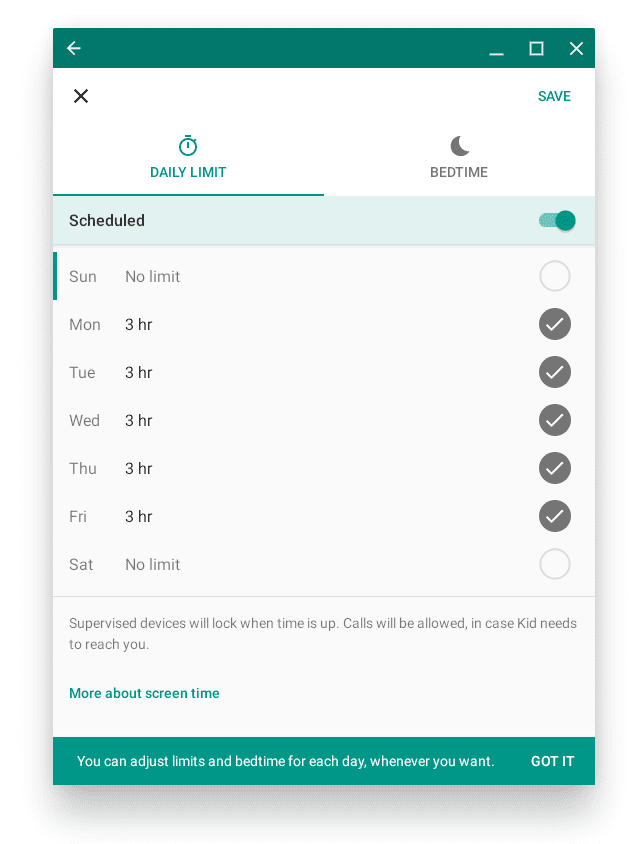
Daily Limit
But to ensure your kid gets enough sleep, you can use the “BEDTIME” tab to allocate time when your kid cannot log in to your Chromebook. The BEDTIME supersedes the daily limit. So if your kid used only 2 hours from the 3 hr daily limit that you have set, the bedtime you allocated would remain the same.
Conclusion
In conclusion, setting up parental controls on a Chromebook is a great way to keep your child safe while they explore the online world. By following the steps outlined in this guide, you should now understand how to set up parental controls on a Chromebook. From setting time limits to blocking inappropriate content, you now have the tools to protect your child from online dangers. Remember to regularly check and update your settings to ensure that they meet your child’s needs as they grow and their online habits change. Then, with parental controls in place, you can rest easy knowing that your child’s online experience is safe and secure.
