Chromebooks have been blessed with the functionality of the Google Play Store, thereby unlocking a realm of Android applications and powering up these lightweight devices like never before. Whether entertainment-oriented programs like Netflix and Crunchyroll or productivity-focused apps such as Google Meet and Skype, there’s seemingly no end to what type of applications you can start using on Chrome OS today.
Somewhere along those lines arrives yet another high-quality software that enables note-taking in an exceptionally unique manner—Evernote. This application is ubiquitous worldwide, given the number of downloads and its mustered experience. Therefore, this article will walk you through acquiring Evernote for Chrome OS, so let’s get started right away with the most prominent features of the app first.
- Recommended from Chrome Ready: How to install and use Mastodon on Chromebook.
Best features of Evernote
The following is our round-up of some of the best features of Evernote.
Instant interface
Evernote is regarded as an “indispensable tool” and something that can help you get quick and favorable results as soon as an idea manifests in your mind. It enables millions of people to jot down notes wherever and what they’re doing.
If something pops up, you pull out Evernote and scribble down whatever you can—no questions asked. You can create and search to-do lists and notebooks and even capture moments in the form of searchable notes, setting yourself up for a highly organized mobile experience.
Synchronization functionality
Suppose you’ve been using Evernote on your phone previously. In that case, it’s worth considering how this application boasts synchronization features that allow you to get all of your content across multiple devices. Then, of course, all you have to do is sign in with your singular Google account.
That would help you access the same Evernote app as your phone on different devices, including Chromebooks, tablets, and other phones. Therefore, you don’t have to worry about losing your saved stuff if you do most of your writing on Chrome OS.
Journal feature
Evernote even makes it possible to create your journal and organize your thoughts. If you focus on self-discipline and self-improvement, you must discuss what you think and feel, and there’s no better form of doing this than writing.
Evernote Professional
Evernote offers an upgraded tier of services if you’re willing to purchase it. In contrast to the 10 GB of new uploads each month, Evernote Professional lets aspiring users increase the upload limit to 20 GB.
In addition, Professional users get to own a fully customizable home dashboard where they can access everything at a glance. Lastly, another major advantage of getting yourself an Evernote Professional is the capacity to create multiple Google Calendar accounts compared to just one with Evernote Personal.
Installing Evernote on Chromebook
Installing Evernote on Chrome OS is no less than a cakewalk. Before we begin, however, it’s worth clarifying the importance of the Google Play Store in this regard. Without the latter, you won’t be able to get Evernote on your device since this is the most proper, official, and optimized way of achieving the task at hand.
Some Chromebooks, especially those made before 2018, may not support Google Play. If you haven’t used this feature on your specific device before, it’s worth knowing whether the Play Store is even compatible with your Chromebook or not. For this purpose, check out our guide on Chromebooks that run Google Play.
In some cases, all you need to do is enable the Play Store functionality on your Chromebook. Find out how to activate Google Play Store using this interlinked tutorial.
The following guidelines will illustrate how to install Evernote in a step-by-step manner. Be sure to follow them meticulously for the best results.
1. The first step is to click on the Play Store app to launch it on your Chromebook.
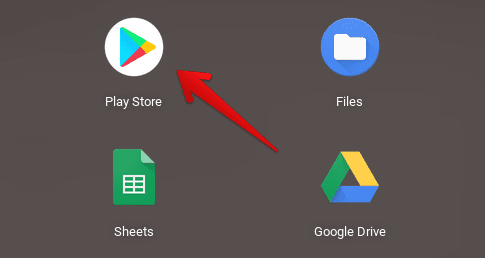
Opening the “Google Play Store”
2. To continue, type in “Evernote” in the Play Store interface’s search bar and press the “Enter” key to continue.

Searching for Evernote
3. You’ll then be taken straight to the official Evernote app on Google Play. Click on the “Install” button to get started with the download.
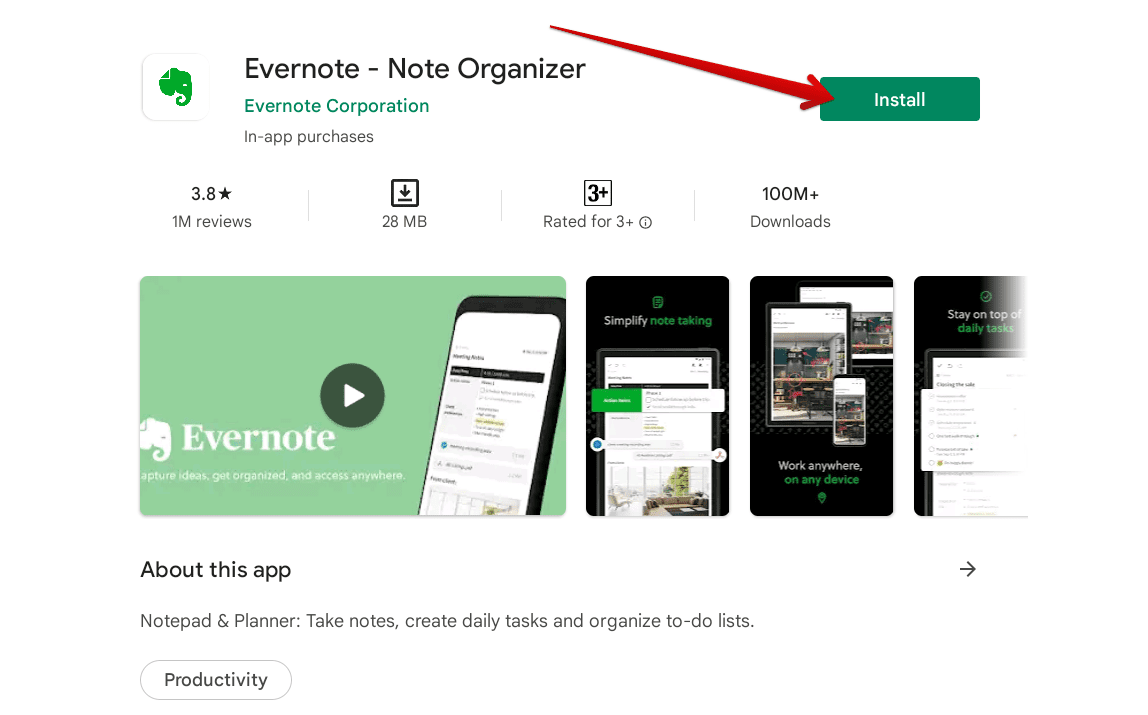
Installing Evernote
4. After a short while, the Evernote application will be installed on your device. Feel free to check out the Chromebook Launcher for the installed app. The application icon should be similar to the screenshot below.
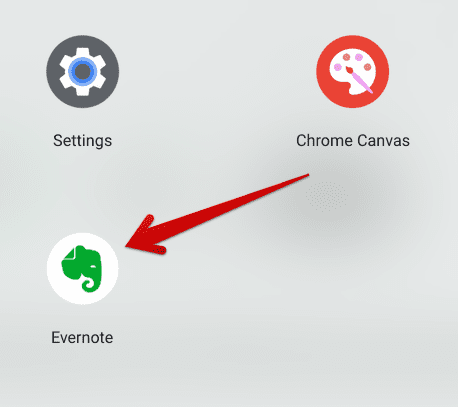
Evernote installed on Chrome OS
That’s about it for installing Evernote on your Chromebook! You’ve successfully managed to grab the app for the device. It’s now time to fire it up and check its overall functioning.
Evernote functioning on Chrome OS
When you first start Evernote, you will be greeted with a log-in screen that’ll ask you to sign in to your Evernote accounts using your credentials. You’ll have an option to use Google instead, which should be an easier and quicker way of accomplishing the task.
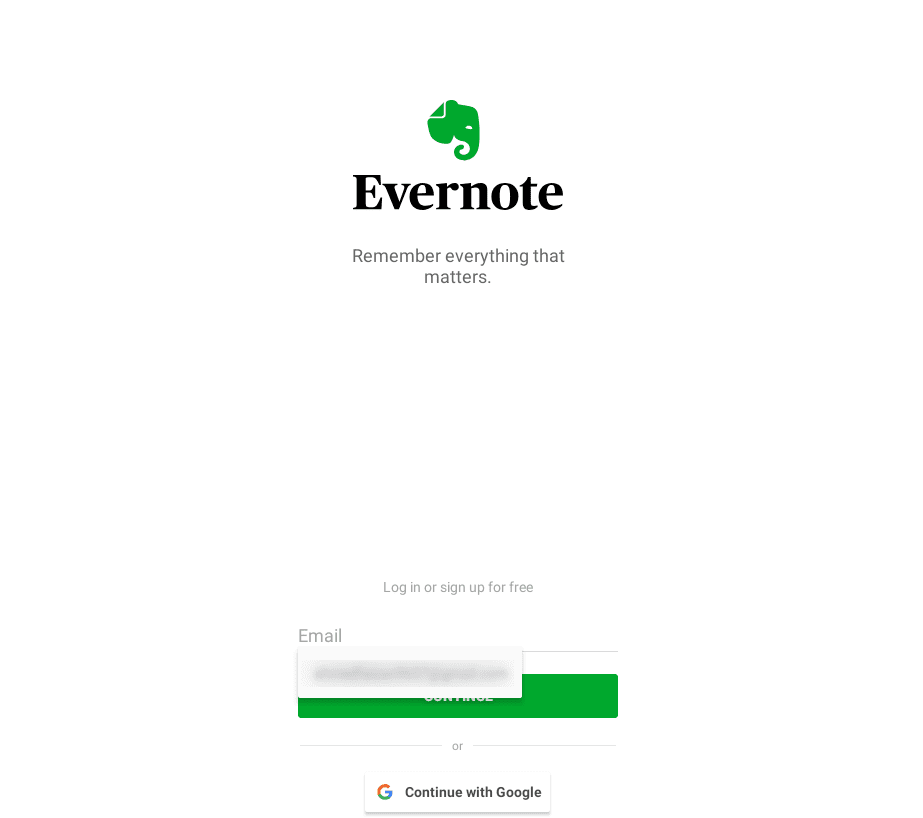
Signing into the Evernote account
Once you’re done here, and Evernote has signed you in, the following screen will show you a brief prompt regarding Evernote Premium and the number of benefits. You may as well click on the “X” mark in the top-left corner to go past this area if you do not wish to purchase Evernote’s advanced version at this moment. However, you can opt for a free trial of Evernote Premium and reap its benefits for a definite period.
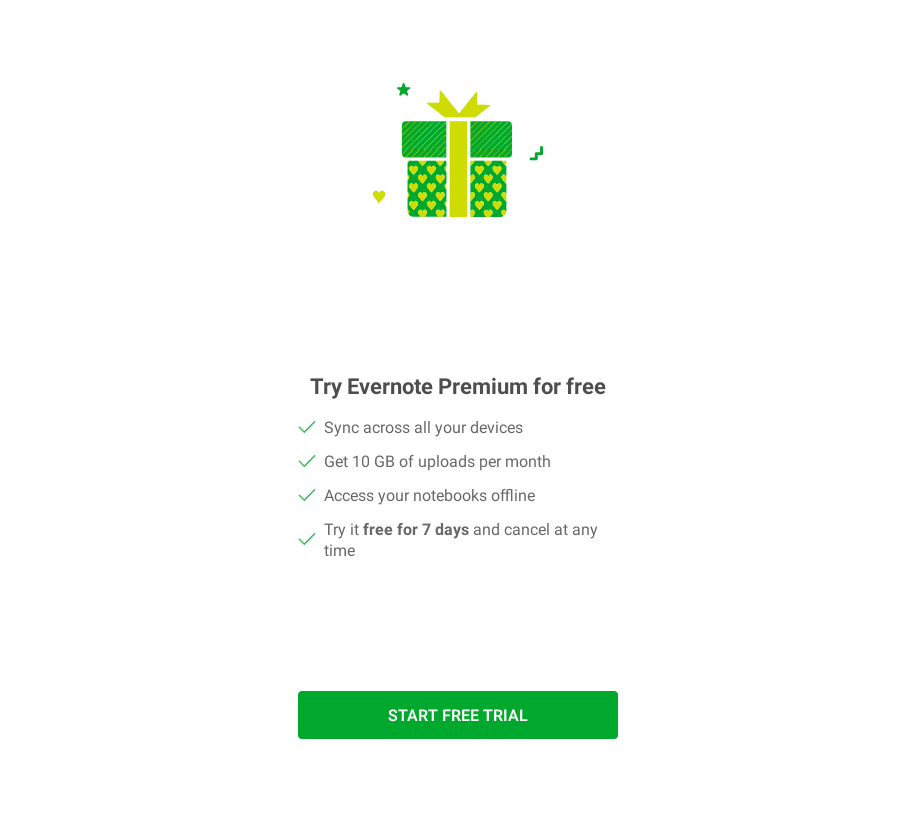
Evernote Premium
After getting across the Evernote Premium section, you will be welcomed to the app’s interface with the help of a quick tutorial. You can now choose to take the tutorial and get acquainted with the major features of the application or skip this part and jump right into the main functioning section of Evernote. We’ll take the tutorial for this guide to see what functionality Evernote indeed sports.
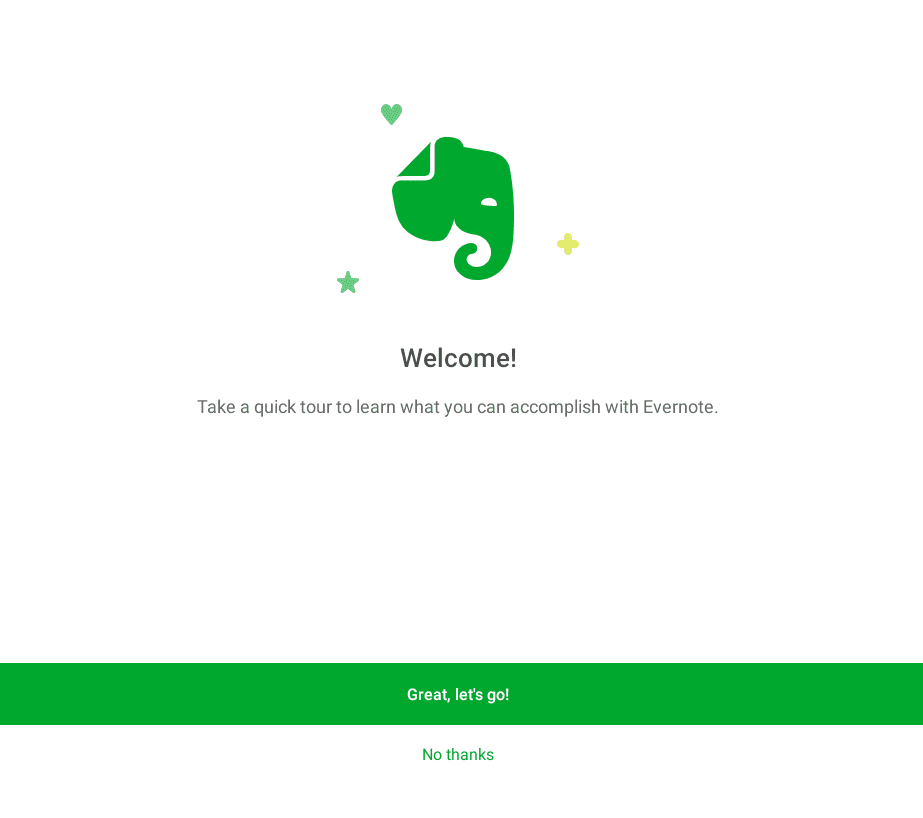
Taking a tour around Evernote
After clicking on “Great, let’s go!” you will be taught how to create a note in the app. Get started by clicking on the “Create a note” button, and you’ll shortly be taken to the note creation interface in Evernote.
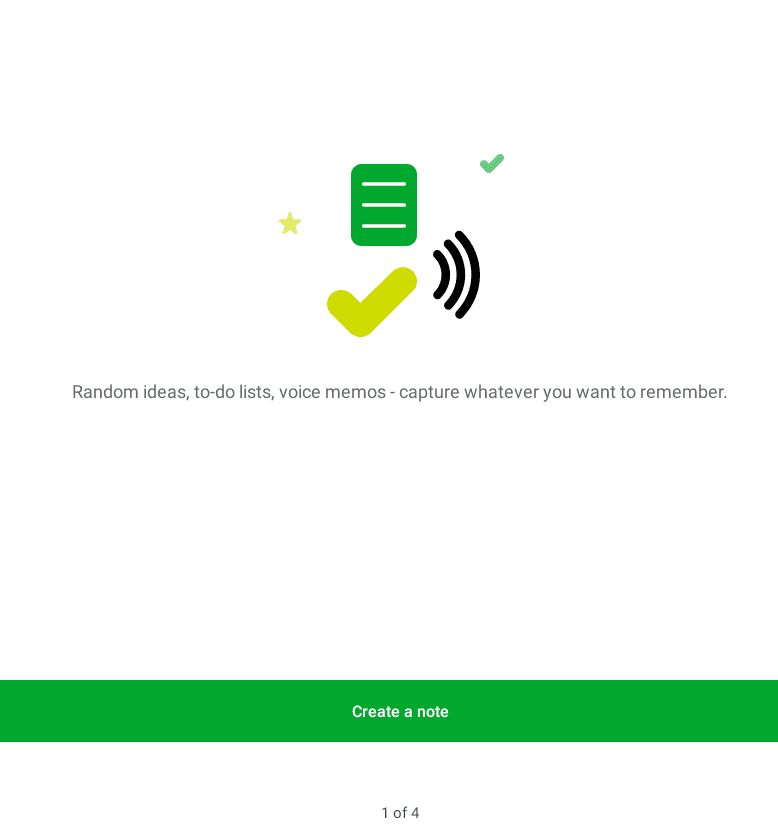
Creating a note in Evernote
What you see below on the screen is the note creation interface of Evernote. You can pen down the title of your note, add it to a notebook, add attachments to it, and even share it with others with just the click of a few buttons. Once you’re done here, click on the tick icon in the top-left corner to save your note. Tap on what appears to be a “Back” button in place of the tick icon to get to the next step.

Note creation interface
This next entry in the Evernote tutorial is about trying your Chromebook camera and taking a snapshot to add to your notes. Click on “Try the camera” and finish the photo-shooting process to get to the next step.

Trying the camera next
Once you’re done with the camera-centric tutorial of Evernote, the next step is to get introduced to the Evernote Web Clipper functionality. This feature is exemplary for saving web pages to the Evernote application, so you can return to them later and start reading from where you left off. To try it, click on the “Show me how” button.
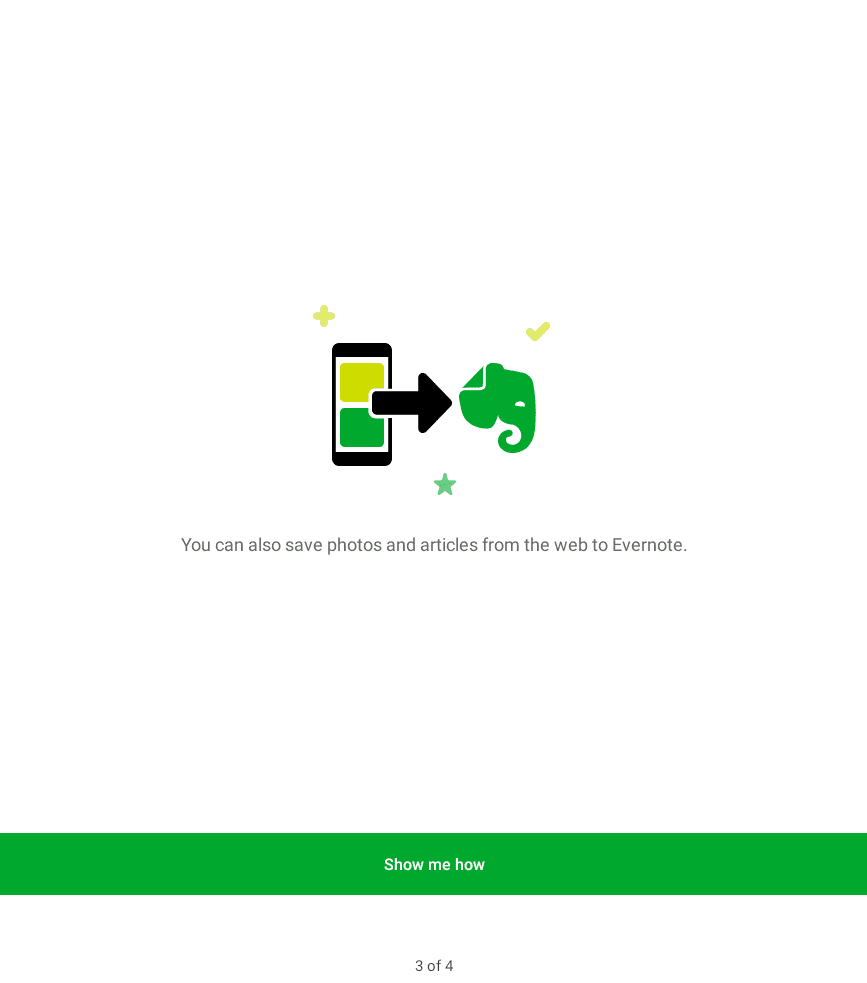
Using Evernote Web Clipper
As soon as you click on “Show me how,” a web page will open up on your Chrome browser. There, you’ll be taught how to use the Web Clipper service. It’s required to click on the “Share” button and then select “Evernote (Add to Evernote)” to save the web page to our user-friendly notes-taking app. You can replicate the process on any web page.
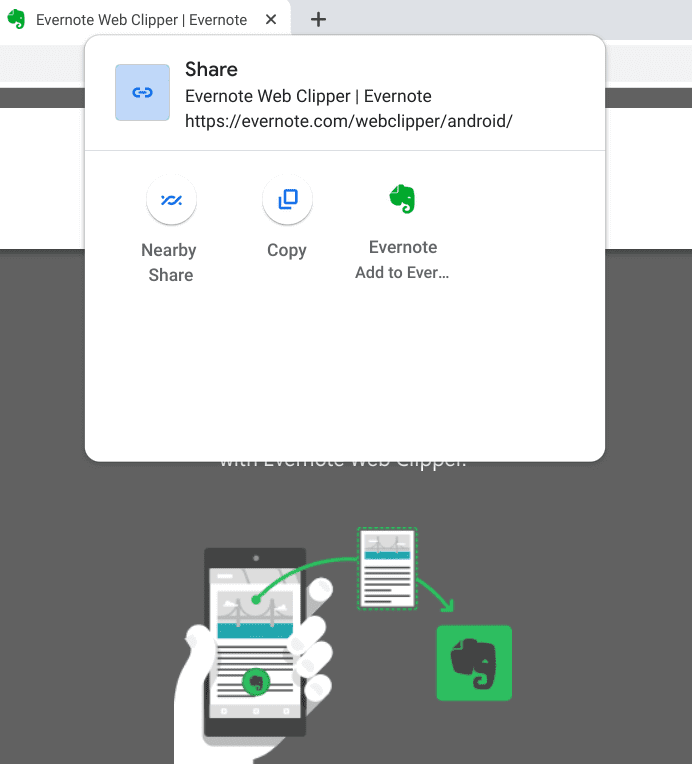
Saving the web page to Evernote
In the final tutorial section, all you have to do is confirm your registration with Evernote through your email account. An email will be sent to the email address you provided when signing up for Evernote. This should be similar to the Google account that you used earlier. Visit your email account and use the sent email to complete this step. Once done, you will now have completed Evernote’s tutorial.
Tutorial complete
That’s about it! You’re now free to use Evernote in full flight and start getting familiar with the rest of its nifty features. If things ever get inadequate for your requirements, the Evernote Premium membership will always be available for you to purchase and uplift your Evernote experience.
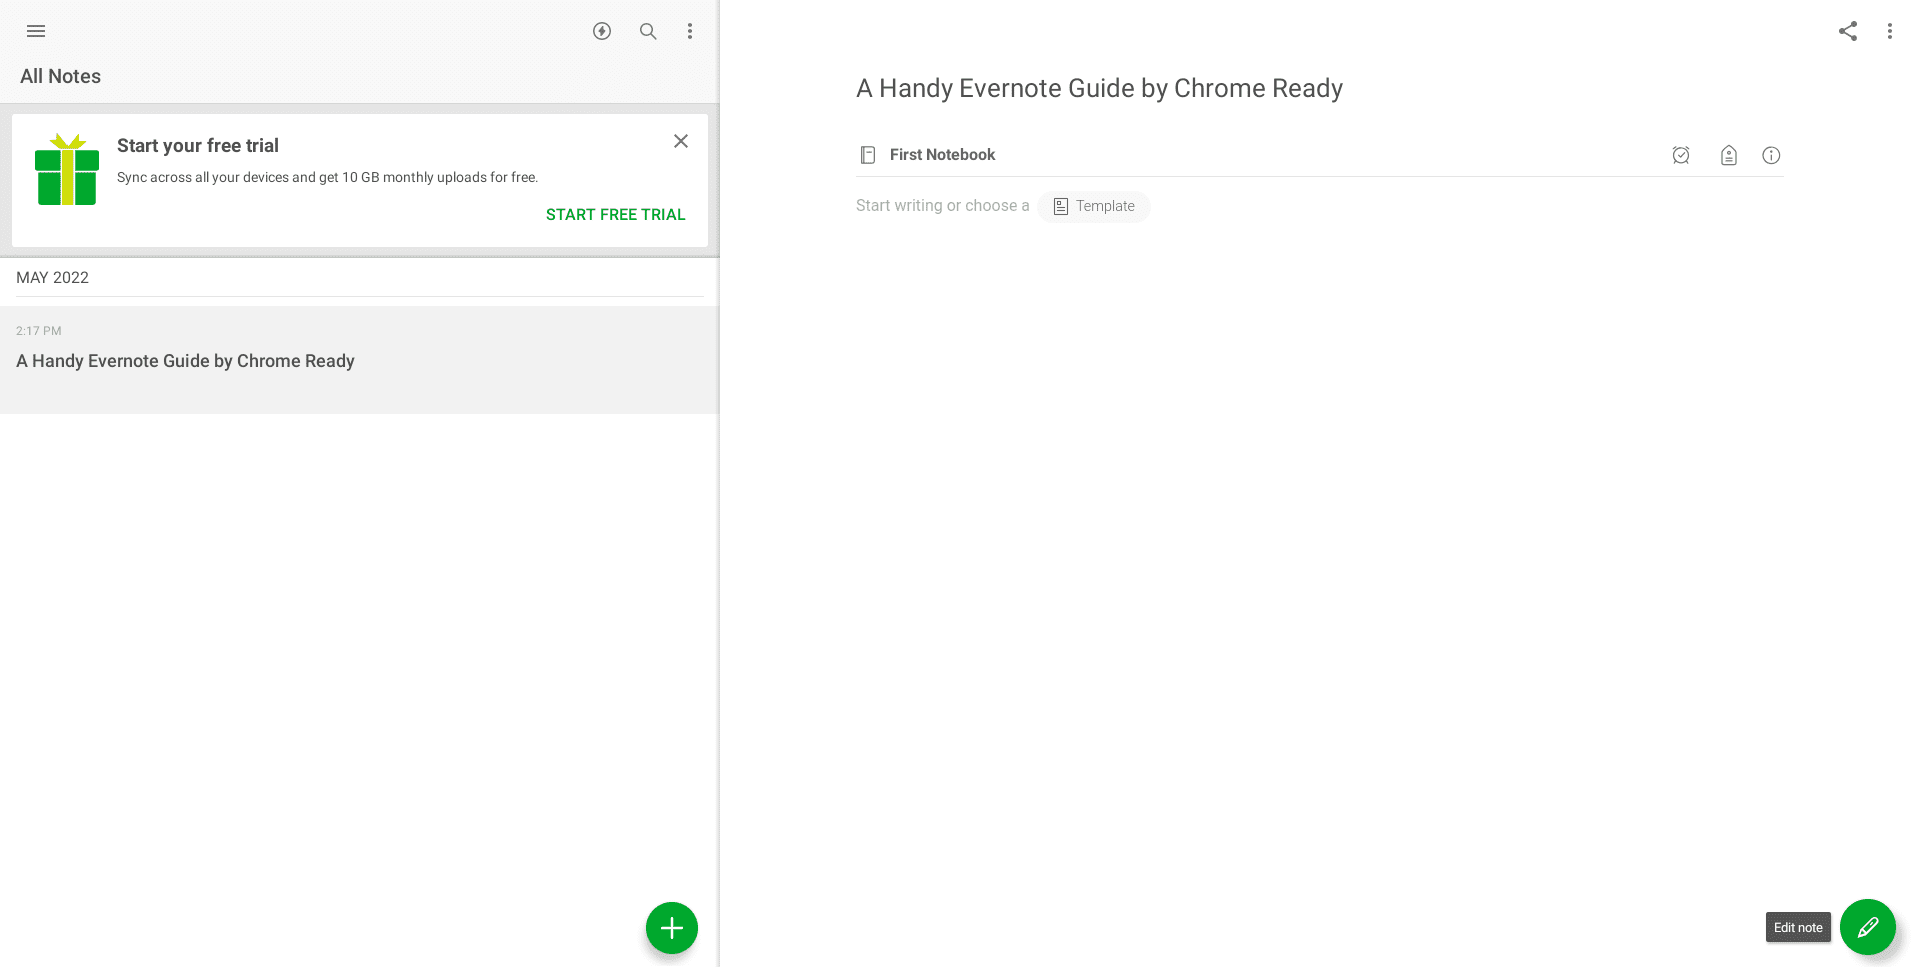
Evernote main interface
Conclusion
Evernote is a top-tier notes-taking application with over 100 million downloads on Google Play and widespread popularity. There are rarely other apps that do it better than this one in this domain, thereby offering curious users one whale of a solution for all their notebook-creating and journal-keeping endeavors.
This article has objectively gone through the installation and use of Evernote on your Chromebook, so you shouldn’t need to follow any other tutorial to accomplish the task at hand. Do let us know down in the comments section what you think of Evernote after installing and using it on Chrome OS.
Chrome Ready wishes you good luck!
- Before you leave: Use a Linux computer to recover your Chromebook.

1 comment
I sadly acknowledge that it is still missing on Chromebook the desktop version (like the windows one), and therefore the Chromebooks are still missing plenty of functions in the daily use of Evernote.
This is one of the main reasons I can’t focus on Chromebook as my only PC