Chrome OS is no slouch when it offers accessibility-oriented features to its user base. After all, the operating system that we all know and love today is the aftermath of decades of improvements, stability tweaks, and other enhancements. For instance, the latest Chrome OS 100 has brought a brand-new Chromebook Launcher to the stable release, improving overall usability and even a GIF-recording feature in the built-in Camera app.
There are numerous other examples of how Chromebooks are steadily gaining a matchless foothold in the overall computing space of the world if they haven’t done that already. However, the focus of our article today is on specific functionality that allows Chrome OS to document whatever’s happening on the screen from top to bottom. In other words, we’re going to talk about how to take a scrolling full-page screenshot on Chromebook.
Let’s dive right into the heart of this write-up without any further ado.
- Recommended from Chrome Ready: How to annotate screenshots on Chromebook.
Why would you need a full-page scrolling screenshot?
One thing we love about Chromebooks is the fantastic snipping tool that they employ in their user interface. The feature works equivalently to the snipping tool found on desktop operating systems like Microsoft Windows but even faster and smoother, with both of these traits being akin to Chrome OS.
While it’s great and all, and there are many ways you can take a screenshot on your Chromebook, the snipping tool does lack the ability to take a full-page scrolling screenshot. This is when you need to capture the entirety of the page you’re viewing and not just the part you can see on your screen. When this type of functionality isn’t available, users have to approach a reasonably bothersome workaround, taking multiple screenshots of the web page by scrolling down.
It’s not rare for people to require such a feature. You’ll find the scrolling full-page screenshot function quite widespread. However, when the software-installed snipping tool doesn’t provide Chromebook users with it, you start scratching your head in confusion while wondering what to do next. Fret not since we’re about to go over the best possible solution you have on Chrome OS.
Taking a scrolling full page screenshot on Chromebook
To take a scrolling full page screenshot on Chrome OS, you have a plethora of third-party options, applications, and Chrome Web Store extensions available at your disposal. However, not all of them are up to the mark. Therefore, we’ll be narrowing your list of choices to a couple of high-quality screenshot-taking apps, so you’ll never have to worry about retaking a full-page screenshot. Let us get into both of these now.
Option #1. Using GoFullPage for comprehensive screenshots
The first option on this list is a real charmer. GoFullPage is a Chrome Web Store extension with over 5 million users and an overly perfect 5-star-studded overall rating. It’s one of the most popular screenshot-taking applications on the Chrome browser. It’s fast, smooth, works just as intended, and has kept users fully content since the extension’s initial release in 2012.
1. The first step is where you’ll click on this direct link to get straight to the official GoFullPage extension listing on the Chrome Web Store. Click on “Add to Chrome” to continue when you’re there.

Adding GoFullPage to Chrome
2. After clicking on “Add to Chrome,” a prompt will appear from the top of the screen, asking you to confirm your selection. Click on “Add extension” to begin the download.

Confirming the installation
3. After a brief moment, you’ll be notified that GoFullPage has been installed on your device. You’ll even get a prompt telling you this.
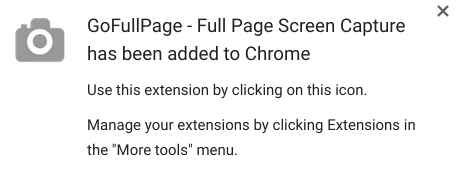
GoFullPage installed
Perfect! You’ve now installed the extension on your Chrome browser. Time to take it for a spin and employ that full-page scrolling screenshot you’ve been waiting to get your hands on.
Launching the extension is outright painless. You’ll need to click on the “Extensions” icon in the top-right corner of the Chrome browser interface and then proceed to choose “GoFullPage” from the drop-down menu. That will do the trick for you.
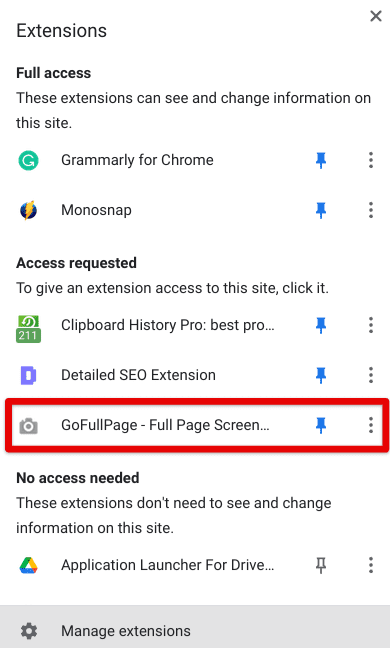
Launching GoFullPage
As soon as you launch the extension, you’ll prompt it to start taking a definite scrolling full page screenshot on your Chromebook. It’s genuinely a one-click affair and nothing more.
GoFullPage in action
As soon as the process finishes, GoFullPage will open another Chrome tab on its own and allow you to receive the screenshot the extension just took. You’ll have multiple options to choose from here, including saving your work in PDF format, applying annotation techniques, and even viewing the history of your previous screenshots.
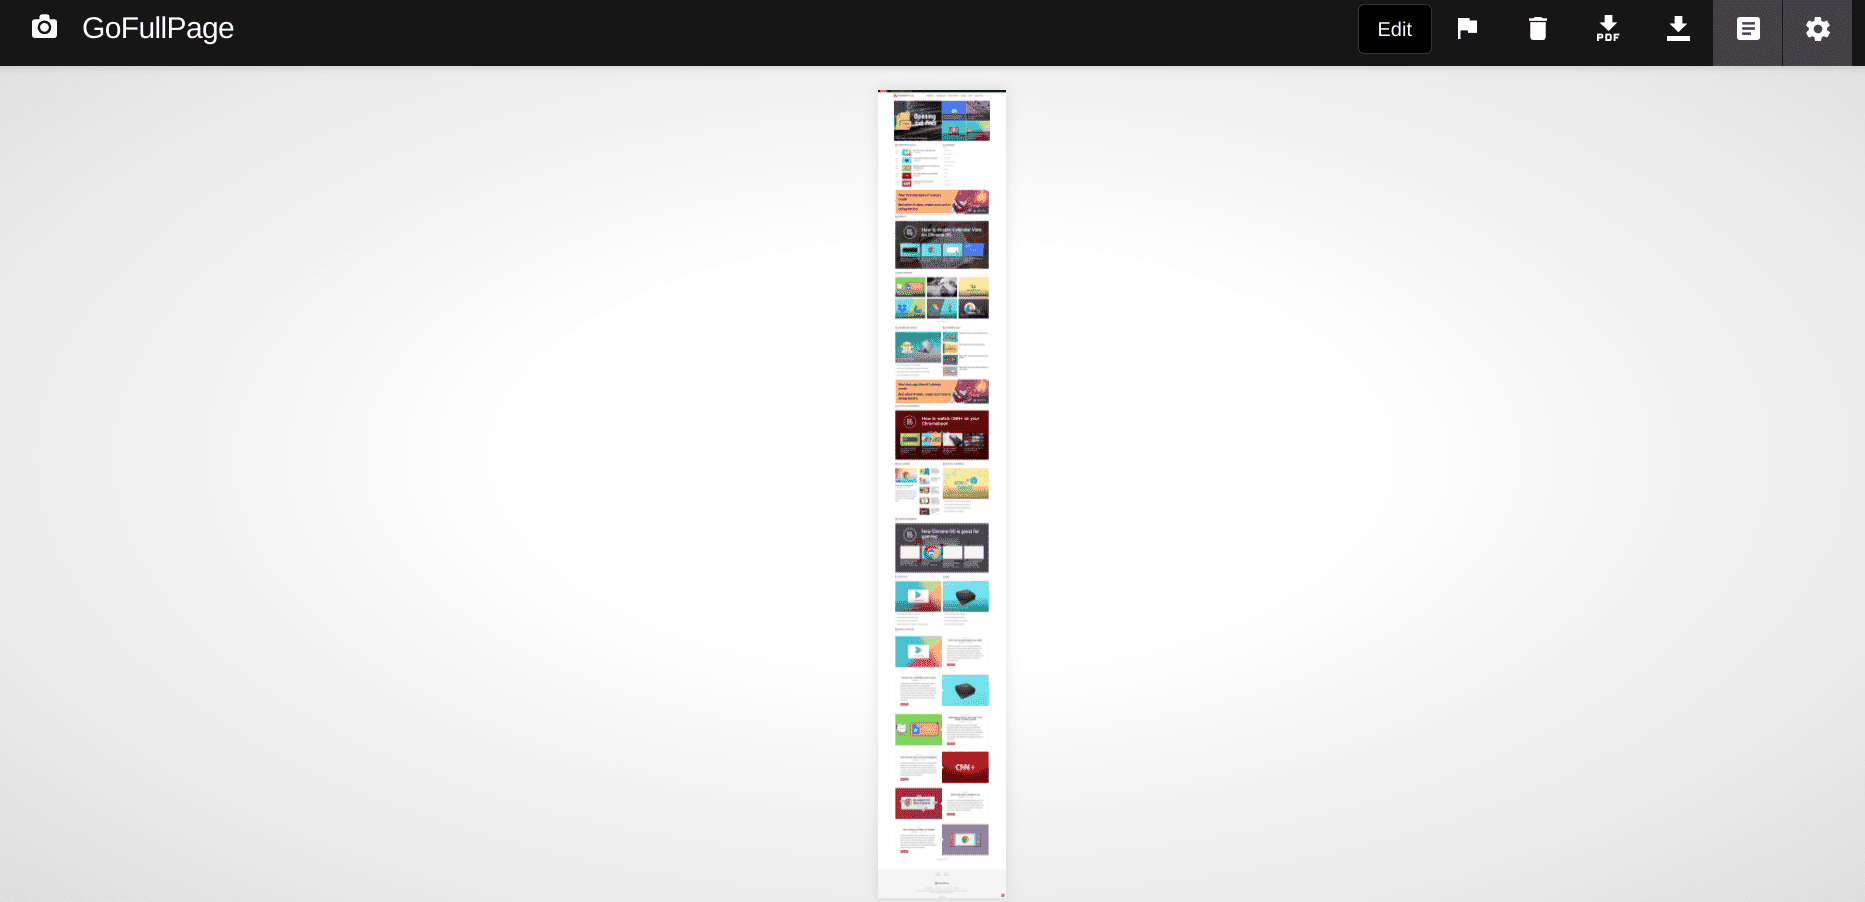
GoFullPage functioning
That’s about it for the first method! Let’s get on with the second option and guide you on how to take a scrolling full page screenshot with it.
Option #2. Using Monosnap for scrolling full-page screenshots
Monosnap is one more top-quality screenshot-taking extension that users can download effortlessly from the Chrome Web Store. It’s lightweight, user-friendly, and swift to serve its primary purpose. Moreover, you’ll find Monosnap to offer you effective annotation tools and its basic screenshot-taking feature. The extension has garnered many positive reviews to its name and is highly decorated on the Web Store platform.
The following instructions will illustrate the installation of Monosnap on a Chromebook.
1. Begin by clicking on this link and getting to the official Monosnap extension page. Click on “Add to Chrome” to get to the next step when you’re there.

Adding Monosnap to Chrome
2. Once done, confirm the subsequently appearing prompt at the top of the screen. Doing so should begin the download process on your end.
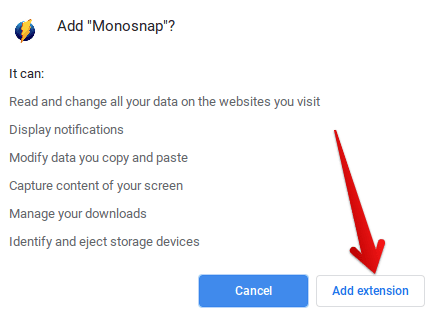
Confirming the installation
3. When the installation completes, you’ll be notified and shown that the extension has been added to Chrome.
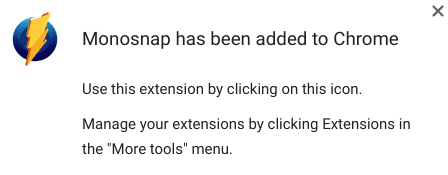
Monosnap extension installed
To launch it, you now have to click on Monosnap’s icon in the “Extensions” section, similar to how you did it before with GoFullPage.
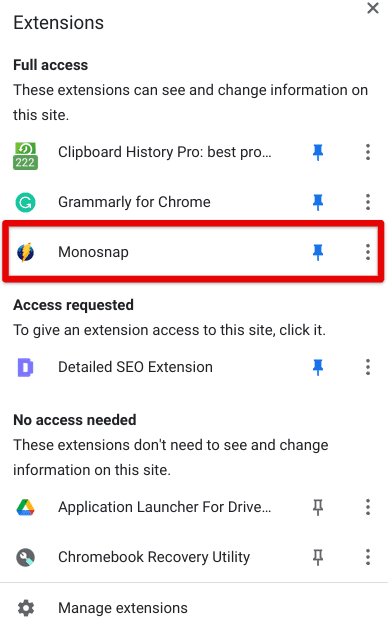
Launching Monosnap on Chrome OS
Good going so far! As soon as you click on Monosnap, a menu will appear, allowing you to use the extension in all the ways it’s possible to do so. We’ll be selecting the “Capture full-page” option to take the scrolling full page screenshot on your Chromebook.
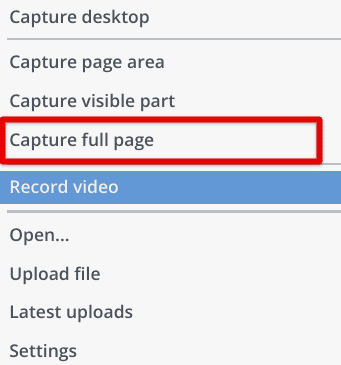
Capturing full page with Monosnap
As soon as you do that, the extension will start scrolling your page down and taking consecutive screenshots. When Monosnap has reached the bottom of your page, it’ll open a new window on the Chromebook and allow you to either annotate it or download the image to your local storage.
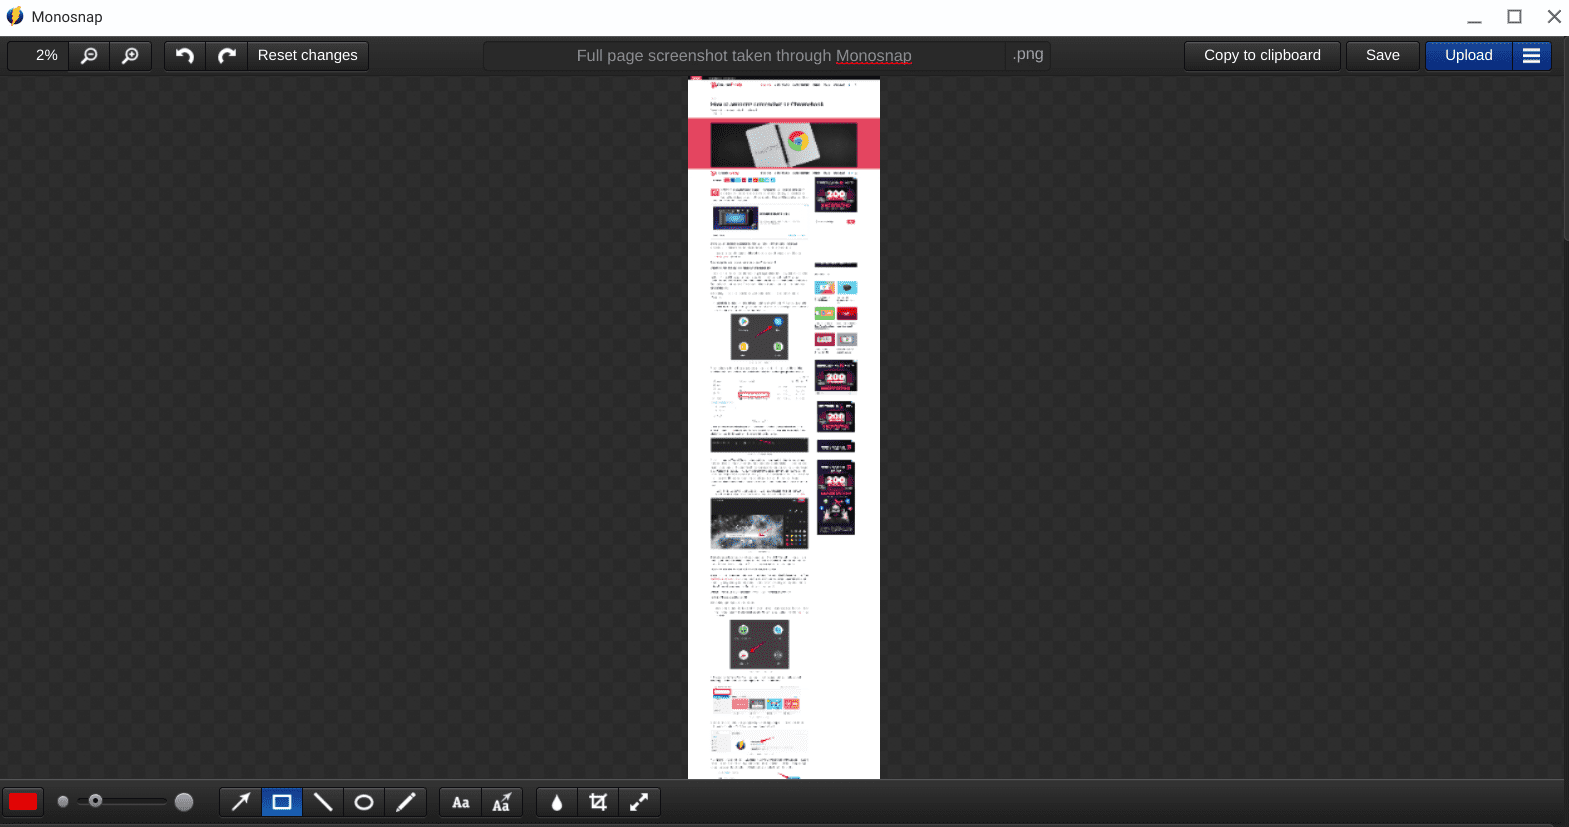
Full page screenshot through Monosnap
That’s all about how to take a scrolling full page screenshot on Chromebook. We hope that you’ve found this guide helpful for your cause. We’ve now arrived at the article’s conclusion.
Conclusion
Chromebooks in 2022 are capable of a great many things. They can allow you to run WordPress, install advanced video editing software like OpenShot with the help of the Linux feature, and even allow you to file your taxes. You’re going to find them lackluster by any stretch of the imagination unless you’re talking about replicating some higher-end desktop operating system programs. Come to think of it, that gap too, is starting to abridge as more and more innovation makes haste toward Chrome OS’s way.
In this guide, we’ve talked about the best two methods you can use on your end to take a scrolling full page screenshot on a Chromebook. Both GoFullPage and Monosnap are equally effective at accomplishing the task, so it ultimately boils down to user preference. Give both of these applications a shot and see which one is more suited to your style. Chrome Ready wishes you good luck!
- Before you go, don’t forget to check out how to take a screenshot of an entire web page on Chromebook.
