People’s curiosity is often aroused when they want to try out new operating systems on their devices. This can be due to a wealth of different reasons. Some want to revitalize their computer with Chrome OS Flex, while others like the extra functionality or the new experience from something recently developed. However, getting around to doing this is a fairly involved process, especially if you’re on Chrome OS, where you do not have built-in support for preparing ISO files.
Of course, you have the ever-convenient Chromebook Recovery Utility that can be easily used for tasks such as creating a Windows 11 USB installer and even a bootable CloudReady USB drive on a Chromebook. However, suppose you’re looking to be a bit more advanced. In that case, you have to make way for another terrific software recognized as one of the best cross-platform tools for ISO file preparation—balenaEtcher. It doesn’t even cost a dime to download from the internet and works just as intended.
In this guide, we’ll brief you on everything there is to know about how to install balenaEtcher on your Chromebook. The installation steps will be covered in an easy-to-grasp format, so you won’t have to scratch your head in confusion along the process. So, let’s dive right into this comprehensive write-up without further ado.
- Recommended from Chrome Ready: How to boot from a bootable USB drive on a Chromebook.
What is balenaEtcher?
balenaEtcher, otherwise known as simply Etcher, is a lightweight flashing tool capable of writing and generating images in the ISO and IMG formats. The tool is available for Windows, macOS, and Linux and can be used effortlessly on three of these platforms. You might be wondering: Where is Chrome OS here? Your concern is quite genuine, and we thought likewise too at one point, but then we saw that Etcher is available for Linux, so, subsequently, it can readily be grabbed on Chromebooks. Didn’t get it? Let us explain.
Chrome OS has been blessed with the subOS of the Linux Terminal ever since Chrome OS, the stable release of Chrome OS 69 dropped. Quick reminder: The latest release of the operating system is 98. If you missed it, here’s where you can find everything new about it. Linux lets us install high-end software, write and develop code, and make our Chromebooks more feature-rich than ever.
Etcher is a full-fledged tool that effortlessly prepares bootable SD cards and USB drives. It employs a three-step formula that does the job in no more than a wink. The process to get it up and rolling on Chrome OS is also easy to follow, and we’ll be detailing all of it in one of the forthcoming sections.
Best features of balenaEtcher
Here are the best features of Etcher that users are currently experiencing and enjoying.
Authentic image processing
Despite all the ease it brings to the table to flash SD cards and USB drives, Etcher also boasts pretty advanced features. Whenever you plug in an external drive into your device so the image-flashing software can recognize it, it will first validate whether the SD card or the USB you have inserted is working correctly or not. This is quite helpful on many levels, simply because users often end up flashing a corrupt drive that goes on to cause a bevy of issues.
With Etcher, however, this prospect is a thing of the past. You will be notified if you’ve plugged in an SD card that cannot function normally. The image flashing will only occur if the peripheral you’ve inserted in the device works just as intended. Otherwise, you won’t be able to proceed from there on without getting a fully operational USB drive.
Stylish yet straightforward user interface
The developers of Etcher question, “Who said flashing SD cards has to be an eyesore?” They refer to most image processing tools that comprise a mundane user interface with poorly drawn graphical elements. With Etcher, however, you’re genuinely looking at quite the opposite. It’s simple to use and is pretty stylish with its exciting mix of colors. You’re not going to get boring software out of balenaEtcher.
Fully open-source
Etcher has been made fully open-source, meaning the source code can be modified per your preferences. If, by any chance, you are a developer, feel free to contribute to balenaEtcher in any way you can. The software has been developed using node.js, Electron, JS, and HTML.
Cross-platform functionality
We’ve mentioned this before, but this is worth talking about again. Etcher doesn’t only work on Linux-based operating systems and, therefore, Chrome OS, but it’s also freely available to grab on Windows and macOS. You can use it across a bevy of different devices effortlessly.
Stupid easy working mechanism
One of the best features of Etcher, if not the best one, is how easy it is to use. The tool works by providing the user with three steps to complete. The first is selecting the image you want to flash on your USB drive. This can be any, depending on what operating system you want to try out. The second step is selecting the SD card or the drive that you’ve inserted into your computer, which is another innovative feature.
Last but not least, you click a vividly apparent button, and there goes Etcher working in full flight. Honestly, that’s just about it, and there isn’t anything more to this tool.
Installing balenaEtcher on a Chromebook
Now that you know what balenaEtcher is all about, we will further this tutorial and discuss its installation on Chrome OS.
1. The next step is to grab the latest stable release of Etcher from the GitHub repository. This will allow us to download the relevant file in a format our Chromebook’s Linux will easily recognize and process the installation. Use this direct link and find the balenaEtcher Electron entry that ends with “amd64.deb.” Once done, click on the link to commence the download automatically. The following screenshot will nudge you in the right direction.

Downloading the right Etcher App Image
2. When the download is completed, go to the “Files” system application on your Chromebook. This is where you’ll find the Debian file of Etcher in the “Downloads” folder, specifically. You will double-click on it. If nothing happens, you can right-click on it and select “Open with…” This will reveal more options on the screen for you, ultimately making it possible to select “Install with Linux.”
Installing Etcher with the Linux container
3. To get started, click on “Install.”
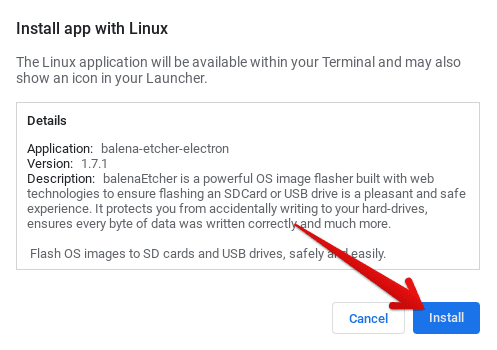
Clicking on the “Install” button
4. Click “OK.”
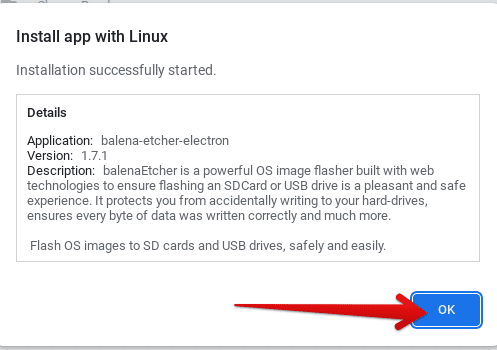
Closing the installation window
5. Once the procedure concludes, balenaEtcher will be thoroughly installed on your Chromebook. Look for the application in the Chromebook Launcher to find it.
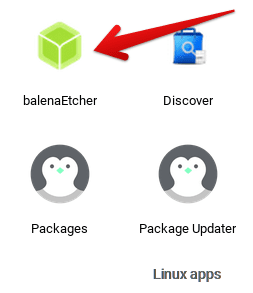
balenaEtcher installed on Chrome OS
That’s about it for installing balenaEtcher on Chrome OS! By now, you should hopefully have the app sitting on your Chromebook. It’s time to click on it and give the software a spin to see how it operates on this sleek system.
Important: Detecting USB flash drives on Balena Etcher
Note that you must do this critical step for Etcher to recognize the USB flash drive you plugged into your Chromebook. Although Linux is part of ChromeOS, it runs in a secure sandbox environment to maintain ChromeOS file integrity. Hence you need to perform some additional steps than you do on a dedicated Linux PC.
Step 1) Close the Etcher app if you have it open.
Step 2) Plug the flash drive into the USB port of your Chromebook.
Step 3) Open the “Files” app, right-click on the USB flash drive and click “Share with Linux.” Click “OK” to the prompt confirming your action.
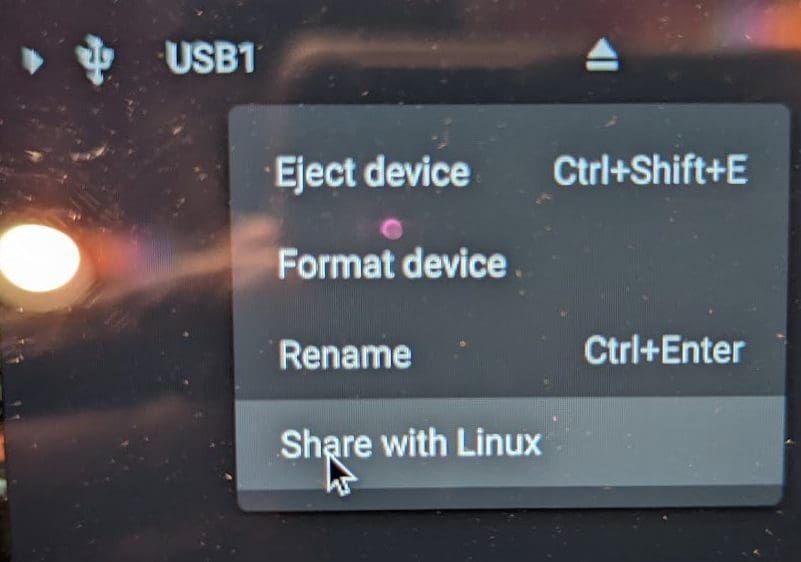
Share with Linux
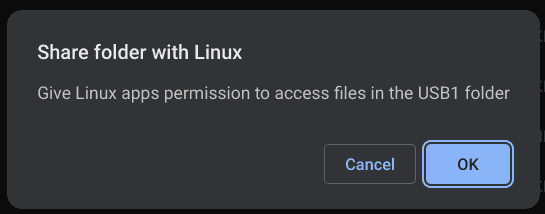
Share folder with Linux prompt
Step 4) Go to “Settings” > “Developers” > “Linux development environment > Manage USB devices, and enable the USB drive.
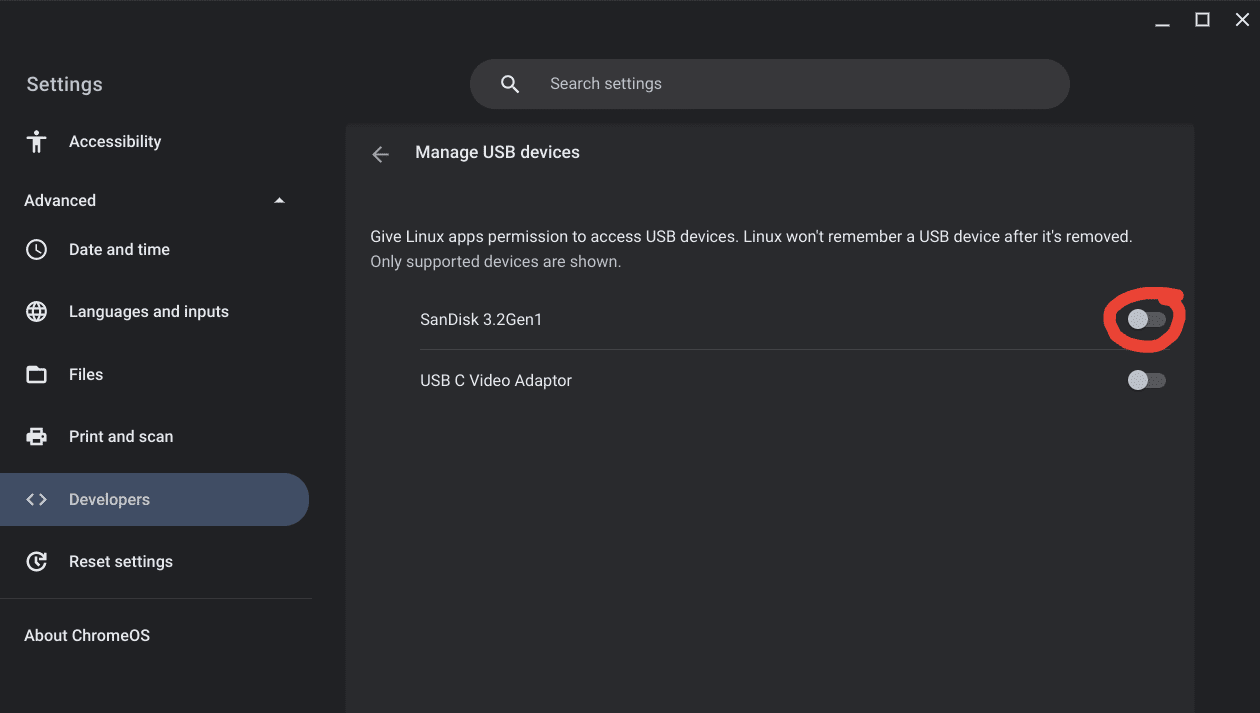
Manage USB devices on Linux
Step 5) Wait for a minute and then launch the Etcher app.
The Balena Etcher app should now detect your USB flash drive.
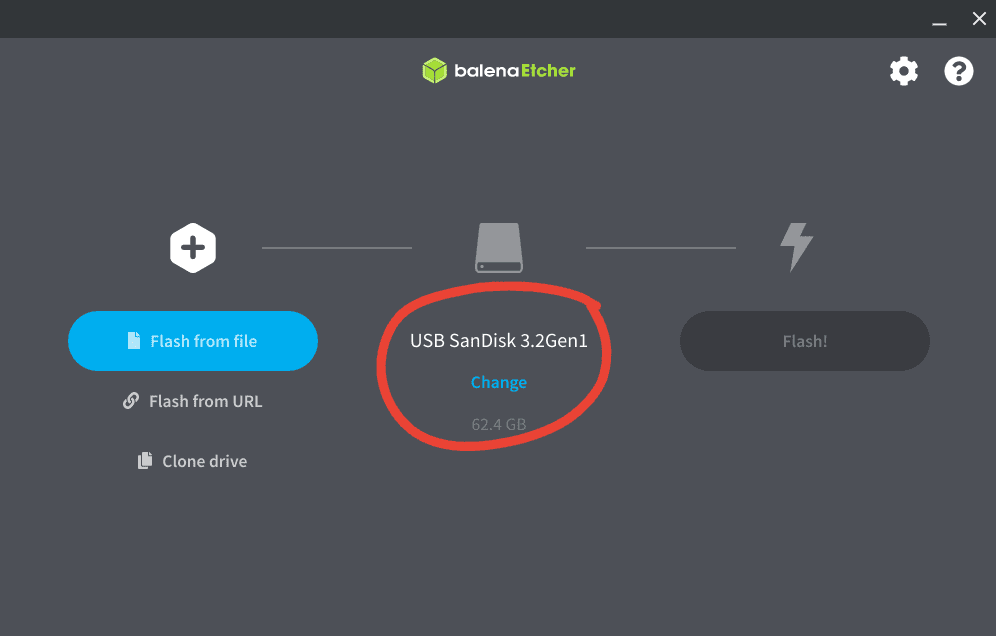
USB drive detection on Etcher
Creating a bootable USB drive using Etcher
Etcher comprises an exceptional user interface that makes it easy to flash ISO images on your Chromebook. It launches quickly on Chrome OS and lets users get to the task in question in a no-frills manner. The first step would be to collect a proper ISO or an IMG format file that you want to flash on a USB drive or an SD card. It’s worth noting that you can also create a Raspberry Pi Desktop USB installer on your Chromebook with the help of Etcher.
Popular ISO download links
Once your ISO is downloaded, click on the “Flash from file” button to insert the relevant file into Etcher’s interface. This will allow the tool to recognize what software needs to be flashed on the USB drive that’s coming up next.
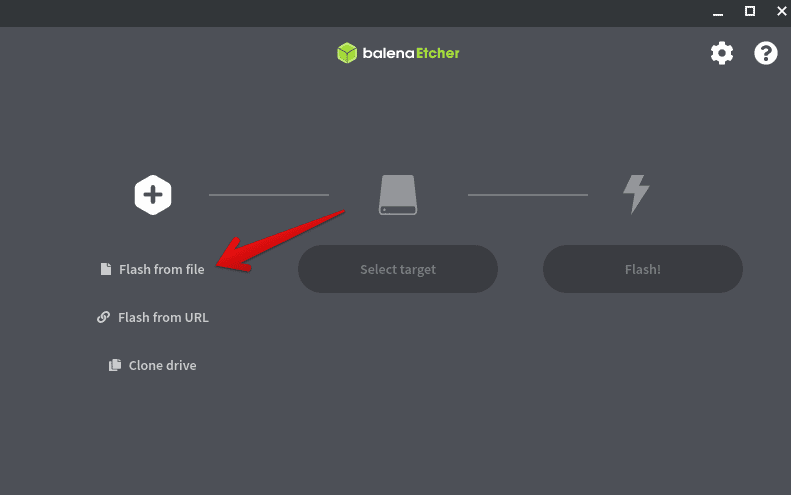
Selecting the Raspberry Pi Desktop ISO in balenaEtcher
To get to the next step, you will need an SD card, a USB, or any other external drive to act as a vessel for flashing your specific AppImage. Ensure that the peripheral device you’ll be inserting doesn’t contain anything important to you since all of its contents will be erased by the end of this process. Once you’re plugged in the flash drive, you’ll need to click “Select target.”
A word of caution here. Please don’t hurry up! This is where you will select the target device in specific to avoid any mishaps. Next, you will be shown all the peripherals plugged into your Chromebook, where you’ll be easily allowed to select the right one for your use. The following screenshot is a depiction of this step surfaces on the device.
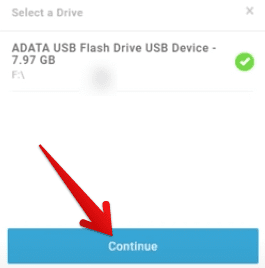
Selecting the USB drive
To start, click “Flash!” and wait for the procedure to conclude. When balenaEtcher has finished flashing the new operating system to your USB drive, you will see a “Flash Complete!” written statement.
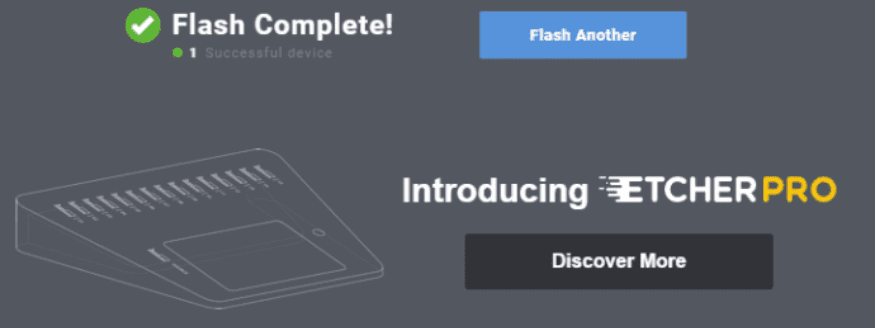
Flashing process complete
You can now remove the flash drive and plug it into the device you need to. You’ve done great making it this far!
Conclusion
Chrome OS has no shortage of tip-top software that enhances user experience and allows power users to get things done. For instance, a modern-day Chromebook can get WordPress up and running and even make it possible to install Kali Linux for dealing with security-centric testing. The paradigm is shifting, and this operating system isn’t merely a “web browser” anymore.
In this guide, we have talked about how to install balenaEtcher on your Chromebook, and we’ve done this with a nice set of instructions that you should follow without breaking a sweat. We hope that you find this helpful write-up on your end. Chrome Ready wishes you good luck!
- Also read: How to screen record on your Chromebook.

4 comments
why do i not see my usb stick can you help me please
I have the same problem the usb just doesnt show up when hitting flash from file i just get a file were i can go through my local drive
This guide isn’t very good. You have to allow Chrome OS to share its USB devices with the Linux container. The tutorial should have pointed this out, as well as showing you how to grant access to Chrome folders. You also need to run Etcher under root privileges or it will just fail as soon as you hit the flash button.
I get this when trying to oepn it with Linux:
“Failed to retrieve app info”
and the install button is disabled.