The benefits of integrating with Linux and the Google Play Store have been manifold for Chromebooks. First, these devices’ sleek and lightweight operating system is now more capable than ever and accommodates power users like never before.
For instance, it’s possible to run WordPress, Windows 11, Ubuntu, and other Linux-grade software on Chrome OS, given that the hardware can support all the extra load. You might want to take a look at our cherry-picked list of the best-performance Chromebooks in this regard, especially if you’re out in the market to purchase a new one.
Somewhere along those lines, the focus shifts toward a high-quality application that lets us transfer files to and fro from one computer to the other using the File Transfer Protocol (FTP). The program is famously known as FileZilla and has been in service for more than 20 years now, so it’s refined to the touch and features tons of enticing features for users worldwide. In this detailed guide, we’ll show you how to install FileZilla on Chromebook since it can get quite challenging if you’re on your own.
FileZilla is available for Windows, macOS, and Linux but with no specific compatibility for Chrome OS, Google Play Store, or the Chrome browser. Therefore, installing FileZilla on a Chromebook doesn’t come off as fairly straightforward. However, you’ll get there painlessly with the help of some nicely detailed instructions. So let’s dive right into this tutorial by starting with some of FileZilla’s best features.
FileZilla best features
The following is a round-up of some of the best features of FileZilla, so you can acknowledge before what this software is all about.
Open-source and straightforward to use
One of FileZilla’s best features stems from the fact that it’s completely open-source. This means that you’re not limited by developer regulations and constraints in adding more functionality to the application yourself. If you’re a developer yourself who’s well-versed with writing code, you’ll find this side of FileZilla quite welcoming.
What accompanies the open-source nature of the application is its tip-top graphical user interface that makes its working mechanism a hassle-free experience from the user’s end. We can appreciate the work that has been put into the software ever since its initial release. That is to say, FileZilla today is a product of 20 consistent years of development, so it’s easily perceivable how well-established it genuinely is today.
Multi-platform functionality
As iterated earlier, FileZilla supports multiple different platforms. If you’re on a Windows PC and your work demands you to transfer files to a Macbook, you won’t be disappointed. The application can work both ways and even with Chromebooks, as illustrated in the forthcoming section.
Profound language support
FileZilla isn’t available just in English. It caters to people from different parts of the world by including many languages other than English. These include Spanish, French, Russian, Italian, Portuguese, German, and Hindi.
High file size capacity
FileZilla lets you work with files that are even greater than 4 GB in size. This takes away a lot of hassle and allows you to transfer the required files in one go rather than repeating the process again and again.
Tabbed user interface
FileZilla features a tabbed user interface. This means that you can open up several tabs, similar to how you do it on the Google Chrome browser, and work on several files at once. You even have the same shortcut hotkey for doing this on the application, which is “Ctrl” + “T.”
Installing FileZilla on Chrome OS
Installing FileZilla on your Chromebook is as simple as it gets. You have to enter a couple of commands in the Linux Terminal, and you’ll be golden. Speaking of which, make sure that you’ve Linux already installed and running on the device before proceeding with the installation steps below. If you’re unclear how that is done precisely, check out this guide for a detailed experience.
- A quick tip: If you don’t find the option for enabling Linux on your device, it’s probably because you’re using an outdated model. Take a look at this article to get an idea about all those Chromebooks that run Linux (and the Google Play Store).
Let’s dive right into what you need to employ for installing FileZilla on Chrome OS now. The following steps are going to take it from here.
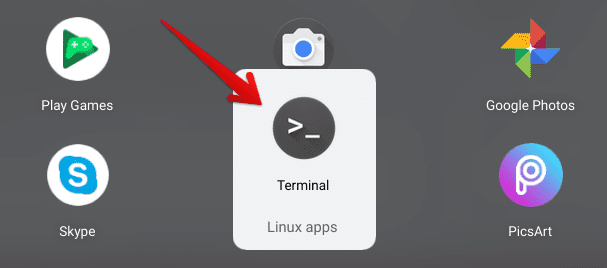
1. The first step is to open the Linux Terminal on your Chromebook. This can be done through the Chromebook Launcher area, a circle-shaped icon located in the top-left corner of the Chrome OS interface. Note: You’ll find the Terminal application only if you’ve installed Linux beforehand.

Opening the Linux Terminal
2. Once we have the Terminal up and running, we need to use the following command and check the software for any upcoming updates. This should be pretty quick. If the system returns you by saying there are updates that you can install, follow the on-screen instructions to proceed with the process.
sudo apt-get update
sudo apt-get upgrade

Updating the Linux Terminal
3. The next step is to enter the following command into the Terminal to initiate the installation of FileZilla.
sudo apt-get install filezilla

Installing FileZilla
4. Entering the previous command will prompt the Terminal to begin installing. Then, after a brief pause, the program will ask for your confirmation regarding the download. All you have to do is press the “Enter” key at this point, and the download will commence.

Proceeding with the installation
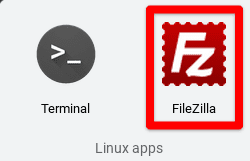
5. After the installation concludes and you’ve been prompted likewise, head over to the Chromebook Launcher again to find FileZilla within the Linux apps folder. The following is what the app icon looks like on Chrome OS.

FileZilla installed on Chrome OS
That’s about it for installing FileZilla on a Chromebook. First, let’s briefly look at its working mechanism and see what the interface appears like.
FileZilla working

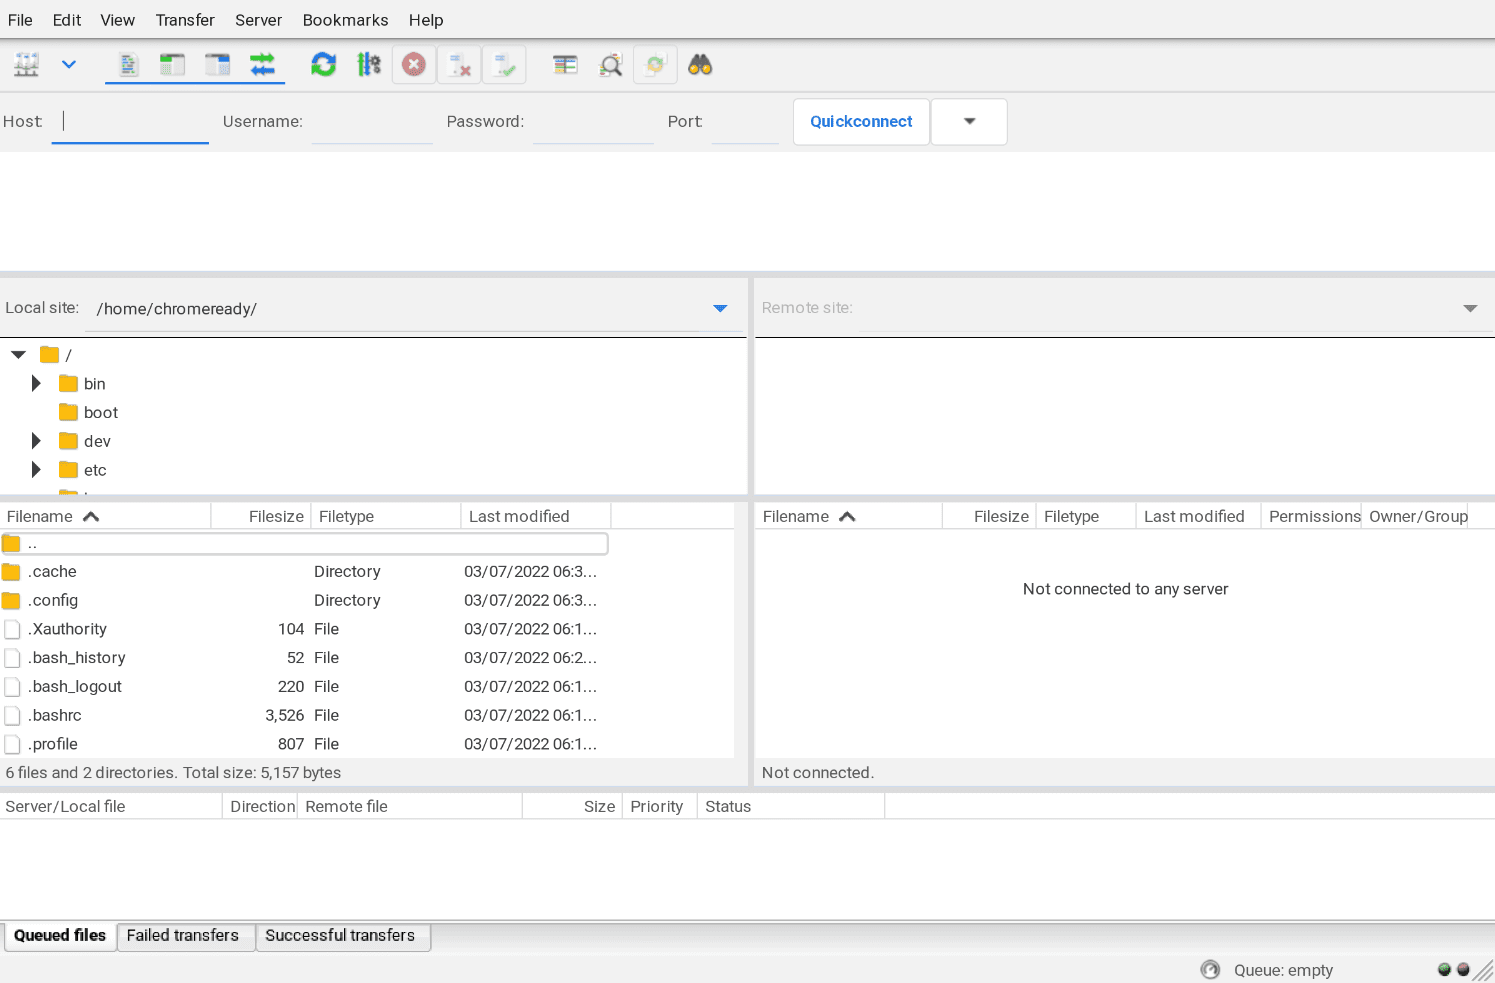
FileZilla user interface
The image above represents the user interface of FileZilla. As you can comprehend, the application has grouped different elements according to their respective categories and has made the assortment easier for users. It’s painless to pick out the directory you want to choose files from and then continue to connect with the server you want to transfer the data to.
The tab feature of the graphical interface lets you work on multiple projects all at once. Still, it’s advised to have a Chromebook with decent to solid technical specifications for a smooth and stable experience. Consider looking at the Dell Inspiron Chromebook 14, for that matter, which is a robust device with plenty of features.
To open a new tab in FileZilla, you need to click on the vividly apparent “File” button in the toolbar at the top and click on “New tab.” It’s either that or a simple to implement hotkey—”Ctrl” + “T”—to help you fire up more tabs quickly. It’s one of the best applications that follow the FTP protocol on Chrome OS and let you transfer files remotely without breaking a sweat.
Conclusion
FileZilla is an incredibly effective FTP-oriented file transferring solution that has enabled millions of users to partake in this domain. It’s available on a wide variety of platforms, and with the help of Linux now, Chrome OS is no exception to that.
In this guide, we’ve walked you through the installation process of FileZilla in a step-by-step manner, so you don’t have to face too much of a challenge on your own.
We’ve also taken a brief look at its user interface and how it sorts its elements within it. Please let us know if you found this guide helpful in the comments section. Chrome Ready wishes you good luck!
- Recommended from Chrome Ready: Google Play Store beginner guide.

1 comment
i get an error
“Failed to try-restart systemd-networkd.service: Unit systemd-networkd.service is masked.”. is there any thing that can be done. pls help.