There’s no shortage of things you could do on a maxed-out Chromebook. The Google Pixelbook Go, for instance, packs powerful specs and top-quality features for an affordable price. Similarly, there is a bevy of other devices out there that can run virtual desktop machines using the highly convenient utility tool VirtualBox.
However, there’s one other operating system called CloudReady that is based on Google’s Chromium OS. The latter is the same as Chrome OS minus Google Play (as of now). If you ever wanted to convert your Windows or macOS laptop to a Chromebook, we suggest you try out CloudReady.
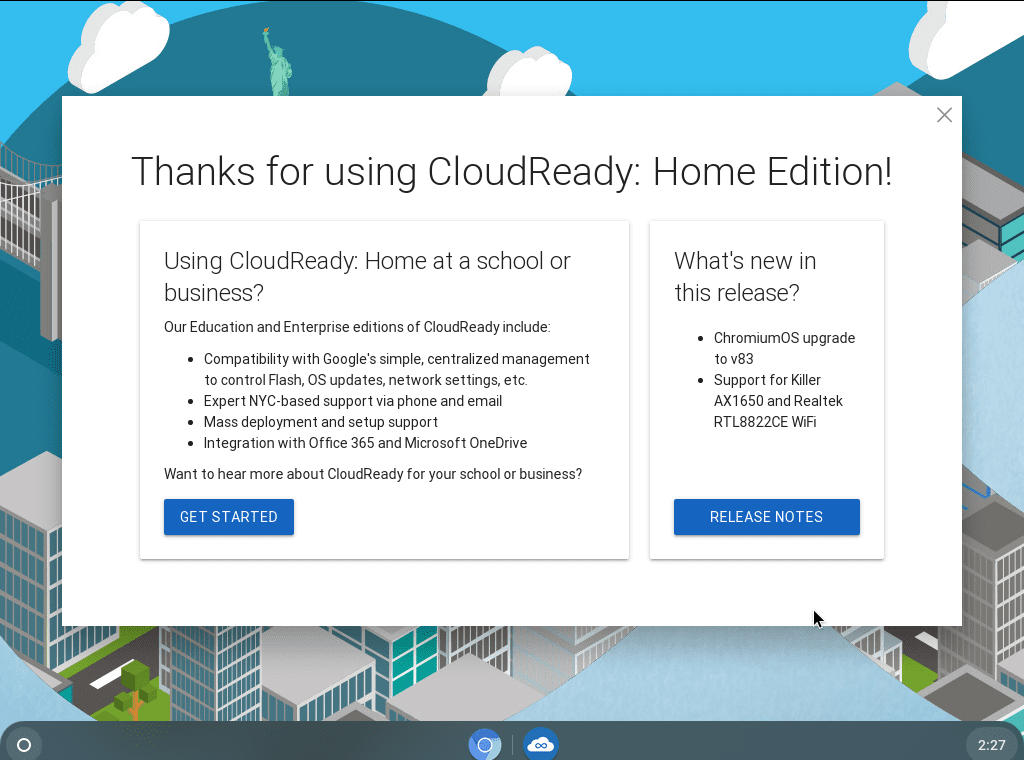
CloudReady Desktop window
In this article, therefore, we’ll show you how to create a bootable USB drive containing the CloudReady operating system. You can use the created USB drive to install CloudReady on any computer. Turn that age-old MacBook pro you have to Chromebook and see how it comes back to life!
Creating a Bootable CloudReady Installer USB Drive on Chromebook
Your very first step is to create a bootable USB drive that contains the operating system you need. To create bootable USB drives on your Chromebook, you need to have a USB drive with at least 8 GB of space available and a tool called Chromebook Recovery Utility.
This is an application offered by Google to assists users in instances such as these, whether they’d like to replace Chrome OS or any other one with a new operating system or re-install Chrome OS if it has been rendered useless. Therefore, we’ll first have to get the Chromebook Recovery Utility from the Chrome Web Store to continue.
Installing the Chromebook Recovery Utility Tool
The following steps will explain how you can easily install the Chromebook Recovery Utility extension on your device.
1) Begin by clicking on this link so you can head straight to the official download page of Chromebook Recovery Utility. When you’re there, click on “Add to Chrome” to continue.

Installing the Chromebook Recovery Utility Extension
2) After doing that, a prompt will appear from the top of your window. It’ll be to confirm whether you’d like to continue the download or not. Click on “Add extension” to move forward.

Confirming the Install
3) Right after that, your download will begin, and Chromebook Recovery Utility will be added to your Chrome browser in a moment. You’ll be notified shortly that the extension has been installed. The tool will be present in your Extensions Bar near the top-right corner of your Chrome window.
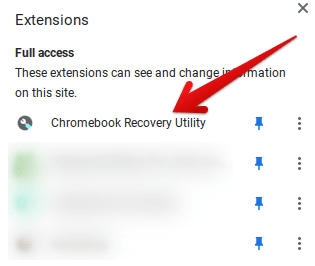
Chromebook Recovery Utility Added to Chrome OS
You’ve done half the work installing the Chromebook Recovery Utility tool on your Chromebook successfully. It’s time to move ahead and create a bootable USB drive containing the CloudReady installer.
Creating a CloudReady Installer USB Drive
The method for creating a bootable USB drive with a CloudReady installer isn’t that difficult, but it does require a bit of effort on your end. The following steps are going to explain how you can quickly do this.
1) The first thing you’re going to have to do is install a CloudReady Disc Image which you’ll get in an ISO format. For that to happen, click on this link and head to the official CloudReady install page. When you’re there, scroll down a bit until you see two different download buttons. Choose the “64-Bit Image” one and click on it to move forward. The download can take a while since the file size is around 1.12 GB.

Downloading the CloudReady Installer
2) After the download is finished, you’re going to rename the ISO file. This is because the Chromebook Recovery Utility tool we’re about to use in just a minute isn’t equipped to deal with an ISO file format. Therefore, we’re to change the file to something more workable, which is BIN. Replace the “.iso” part with “.bin,” and you’re good to go. The screenshot below depicts how your file should look like after the edit. As you’ll see, the format should change to BIN after renaming the file.
Renaming the File to BIN Format
3) It’s now time to fire up the Chromebook Recovery Utility tool and load this BIN file. The first step to take here is to click on the gear icon in the upper-right corner of the window and click on “Use local image.” After clicking on this option, your local storage will pop up, allowing you to add the BIN file to the Recovery tool.
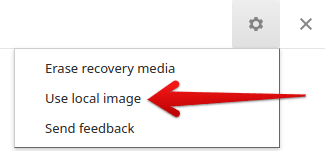
Adding the BIN File to Chromebook Recovery Utility
4) Next, you’ll have to insert your USB drive into your Chromebook. Keep in mind to use an empty drive since all its contents will be erased in the third step of the Recovery Utility tool. After plugging in your USB, you’ve completed the second step. When you’ve selected your USB drive, click on “Continue.”
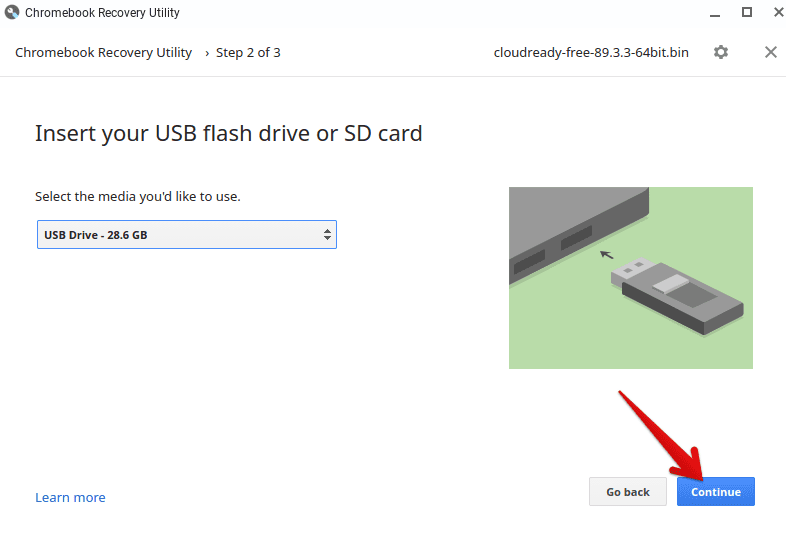
Inserting the USB Drive in Chromebook
5) The next step is to create a recovery image where all data and partitions of your USB drive will be erased. Click on “Create now” to finalize the process.
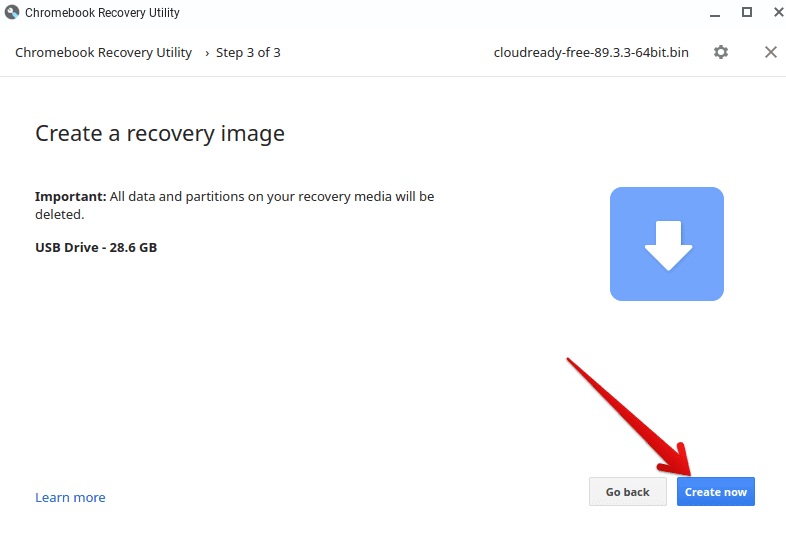
Creating a Recovery Image
6) Doing so will format your flash drive with the contents of the CloudReady operating system that you need, thereby creating a CloudReady installer. If you see a completion screen similar to the screenshot below, you’ve successfully finished this process. Click on “Done” to close the window.
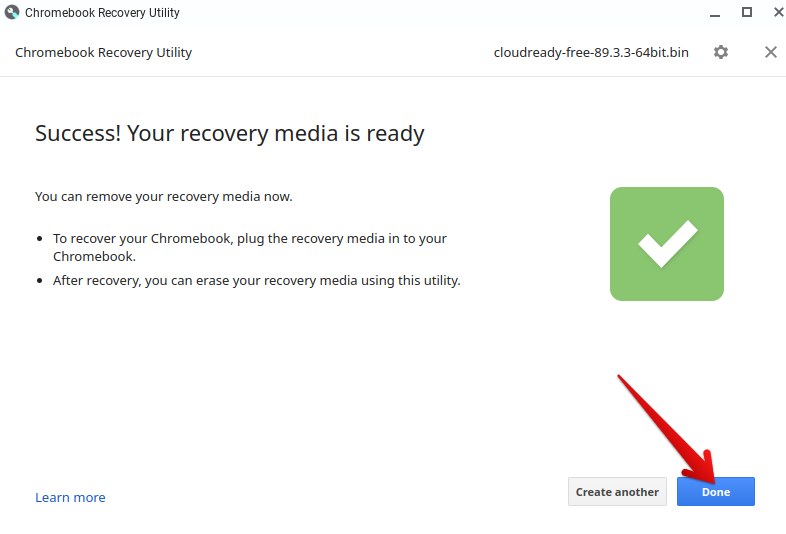
Process Completed
Congratulations on making it to the end! You’ve created a bootable USB with a CloudReady installer on it.
Conclusion
CloudReady is a multi-purpose operating system that can be installed on Windows, macOS, and Chromebook as well. Since it’s based on Chromium, it’s much similar to Chrome OS in terms of functionality and is a great replacement operating system on any of your age-old computers.
