Installing Audacity on your Chromebook is relatively easy and requires nothing more than a few extra clicks from your side. We’ll get to the installation part shortly, but first, let us tell you what this bad boy is packing.
Audacity Features
Being truly yours at an unbelievable price tag of $0, Audacity boasts many editing options within its interface and doesn’t hold back on any customization facet. With built-in dithering and sublime compatibility for 32-bit/384kHz audio, this virtually potent open-source tool is hard to overlook. Audacity brings a painless method of importing and mixing audio files and combining stereo, mono, or even multitracked recordings. It might be worth mentioning, however, that limited options are available as of yet for the latter.
Moreover, Audacity demands minimal requirements from your system, down to the point where it works if your PC can turn on. This editing software seamlessly compiles audio of different sample rates and formats and makes your work look like one big happy story. Besides, when it boils down to editing itself, behold unrivaled convenience as you cut, copy and paste, trim to the sample level, duplicate, and even add custom fades using the discreetly added envelope tool.
When it comes to the basic effects, Audacity seems to have them all. May they be Preset EQ curves like telephone and AM radio or Bass and Treble optimizations, this powerful software has got you covered in all ways. Furthermore, there’s the Auto-Duck feature that lets you add your touch of awesomeness to a podcast by incorporating a voiceover, along with pivotal elements such as compressor, limiter, reverb, and phaser. It’s exceptionally an ideal option to go for if your needs aren’t very over-the-top. Lightly used, Audacity is going to be the last editing software you’ll ever need.
Installing Audacity on Chromebook
Usually, the Google Play Store method is the way to go when downloading apps for the Chromebook. But since Audacity doesn’t support our lightweight computers, we’ll have to take the other way round. Simply putting in other words, you’ll have to be downloading Audacity through Linux.
Most Chromebooks come pre-installed with Linux, although it’s in the Beta phase for now. You have to hover over to the Settings and Enable it from there. To check if your Chromebook can do this, click here for a detailed article on enabling Linux. If you do have this great feature on your device, you may follow the steps ahead to ensure the proper installation of Audacity.
1) Go to the Launcher and open the Linux Terminal.
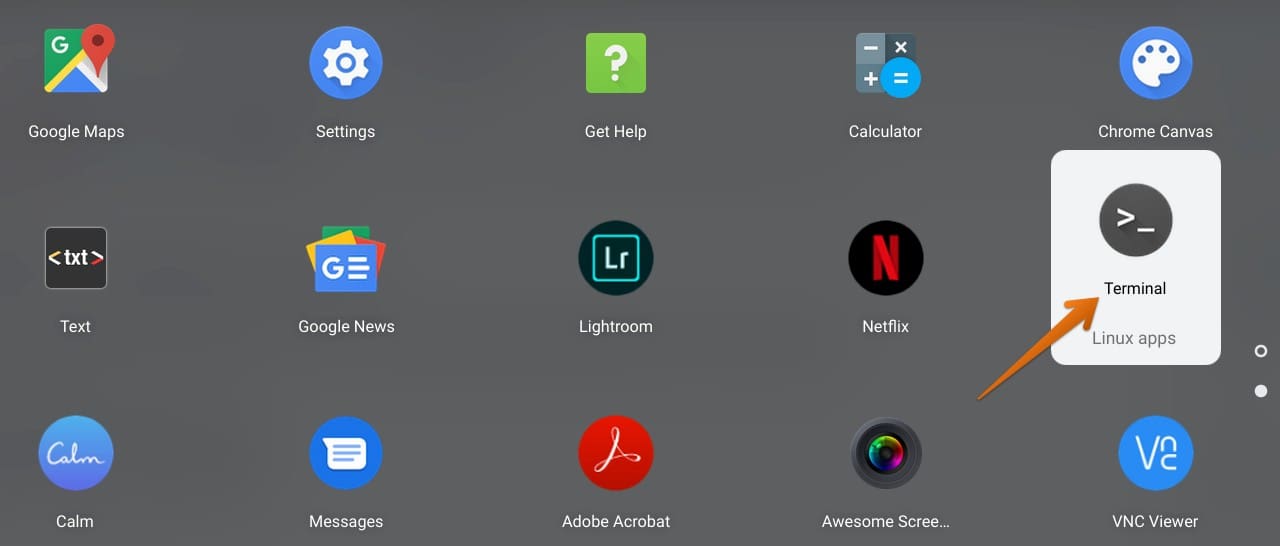
Launch Terminal
Once you click on the Terminal, a window like this should pop up.
2) When the Terminal window opens, type in the following command to begin installing Audacity.
sudo apt-get install audacity
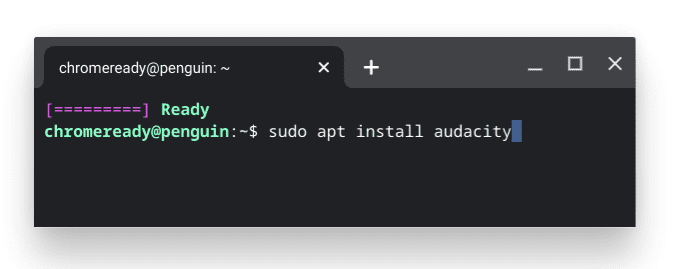
Audacity Installation
3) If you’ve done everything right until now, you’re bound to see the Linux system working in full flight for you. In other words, the following series of flabbergasted balderdash.

4) As you can observe, Linux is asking if you want to continue. Here, you’ll reply by entering the “y” key.
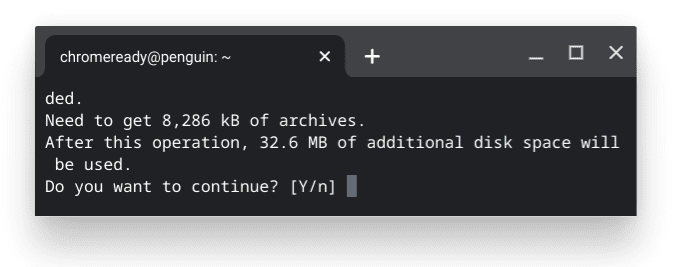
Installation Progress
The above screenshot affirms how the process of the installation continues.
5) By the end of the installation, you’ll see the commands ending with a green colored text. This prompts that the app you intended to download has been successfully installed.
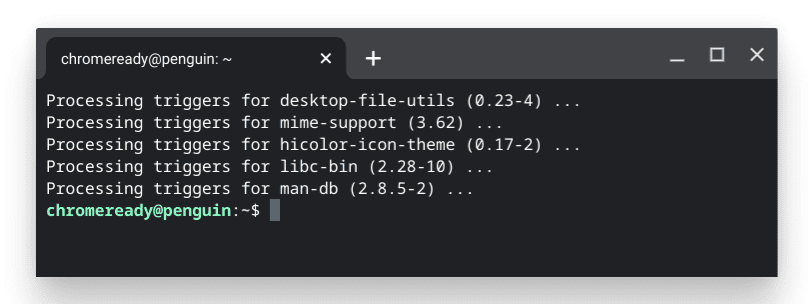
Installation Done
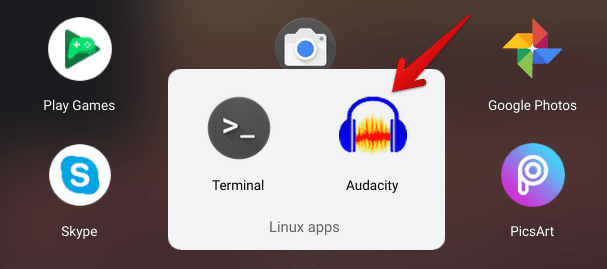
6) All that’s left to do now is to go to the Launcher and select Audacity.
How to Uninstall Audacity
Uninstalling Audacity is as uncomplicated as installing it. To do this, you have to type in the following command on the Linux Terminal (or you can copy and paste it really).
sudo apt remove audacity
This will induce an uninstallation process in Linux, and again, it’ll ask you whether you wish to continue or not. If you press “y” the same as before, it’ll be merely a few more seconds before Audacity is no longer on your Chromebook.
Working
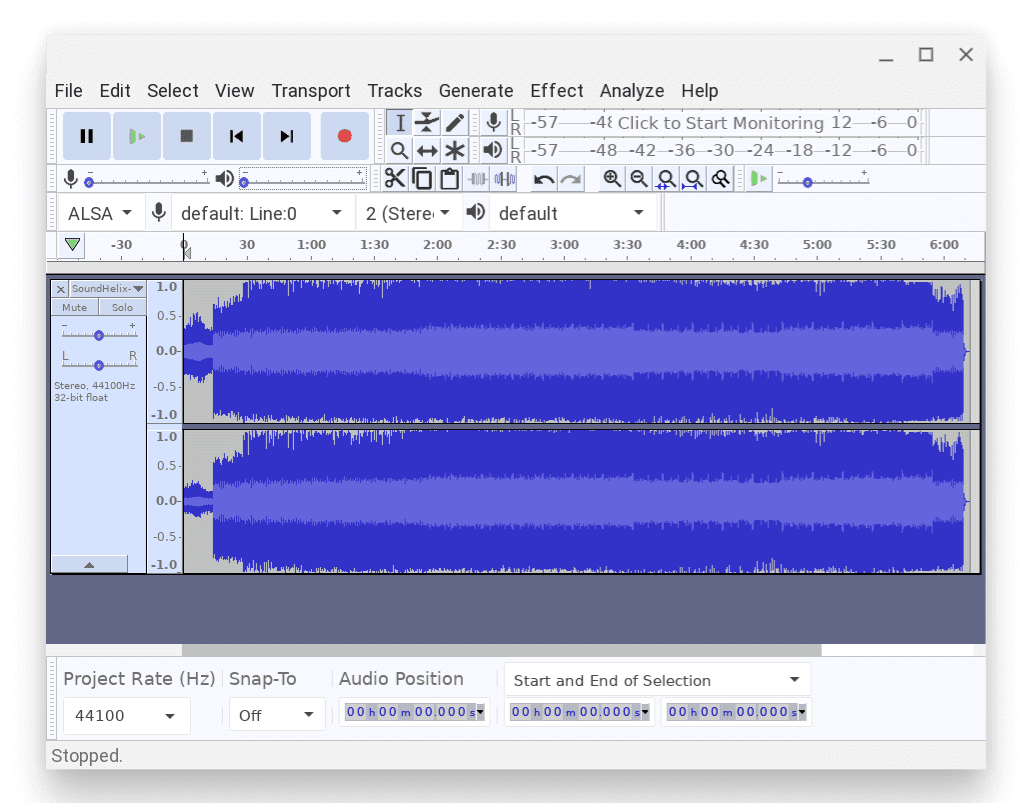
Here is a screenshot that shows Audacity in action.
Audacity on Chromebook
To start the magic with this software, you have to drag the track or sound to the central area. Upon doing so, you’ll be presented with various options to get the editing process rolling. Also, you can start recording with your Chromebook’s built-in microphone and create your podcast from the ground up, with which you’ll be tweaking as well later on when you’re done.
Multitrack recording and editing are somewhat possible on Audacity, but still, you’re better off with non-linear tools if your main focus revolves around that aspect. Apart from that, Audacity has made a highly reputable name for itself and all for a good reason.

5 comments
This is of great help, thank you so much! Just a quick question: the Audacity icon is different on my Chromebook now than it is in your screenshot (and on my Mac)… Still a good working version?
Hi there! Glad you found the guide helpful. The developers have updated Audacity and the latest version is now 3.1.3, so yes, you should be good with it for the most part.
Hi, great article, thanks. Which specs would you recommend for a Chromebook to run Audacity comfortably in the Linux container? I want to record my Casio keyboard via Audio USB. Thanks.
Somehow there is a session of Audacity that is open and I haven’t been able to close it. I have uninstalled Audacity and reinstalled it. I still get the error that there is another session open. How can I resolve this?
… but it doesn’t actually work – unable to find input device. But the mic works in browser and android apps (yes, the mic is enabled for linux).
Chromebook look pretty, but it’s a waste of time and money. I’m back to using something that actually works. Anybody want to buy a chromebook (warning – it’s a piece of garbage)?