This article will try and bridge this gap by looking at how we can install the Apple iTunes on the Google Chromebook. I will give you a step-by-step guide and even how to create an iTunes Desktop shortcut for ease of access.
Install iTunes on a Chromebook
To give a brief overview of installing iTunes on Chromebook, we will use the Linux (Beta) feature that enables users to develop software and apps with Chromebook. We will install the Wine application that supports running Windows apps on Linux. Once we have the Wine container setup, we can install the iTunes version of Windows here. Let’s get started.
1. Activate the Linux (Beta) feature on Chromebook. To do so, open the Settings app and click on the Linux (Beta) tab. You should see the ‘Turn On’ button to enable Linux on Chromebook. You can read our detailed guide on installing and configuring Linux Apps on Chrome OS.
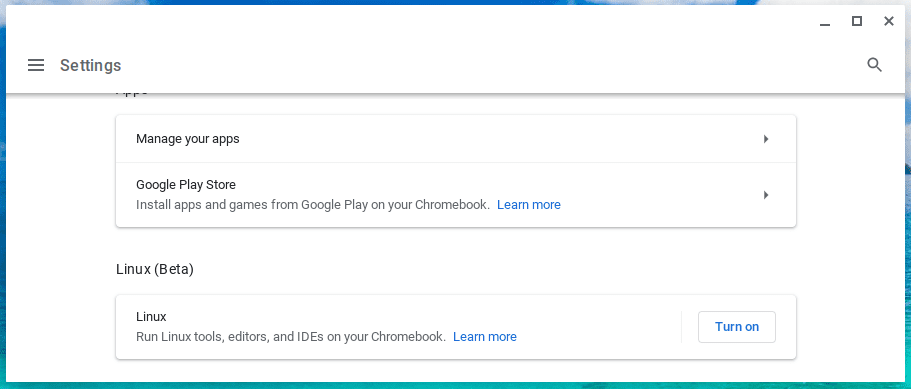
Linux (Beta)
Once you have the Linux (Beta) feature activated, you should see the Linux Terminal window open. Alternatively, you can launch it from the applications menu.
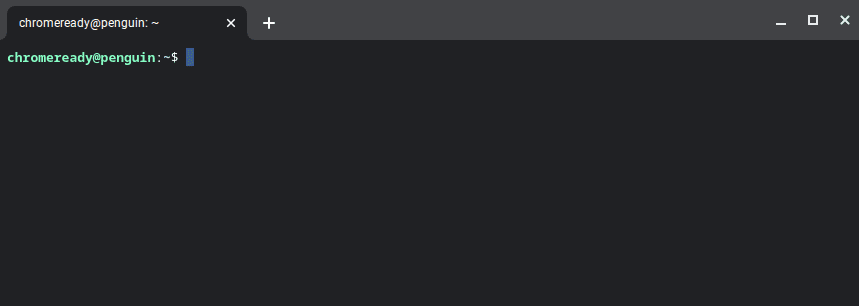
Linux Terminal
2. Now, we need to install Wine on Chromebook. First, update all system packages with the command below.
sudo apt-get update
Once done, execute the command below to download and install Wine.
sudo apt-get install Wine
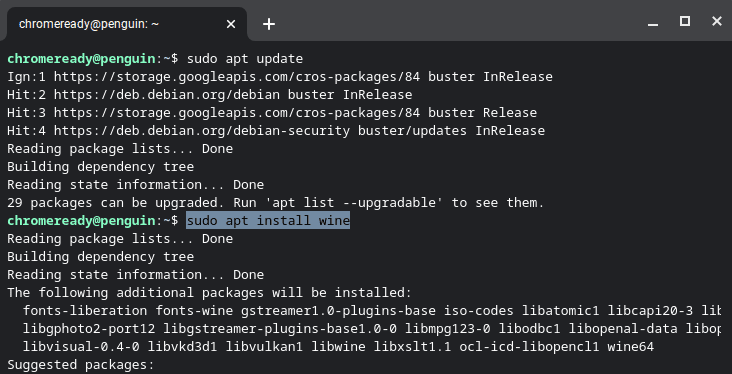
Install Wine on Chromebook
Now that we have Wine installed let’s enable support for 32-bit applications. Execute the commands below one by one in order.
sudo dpkg --add-architecture i386
sudo apt update
sudo apt-get install wine32
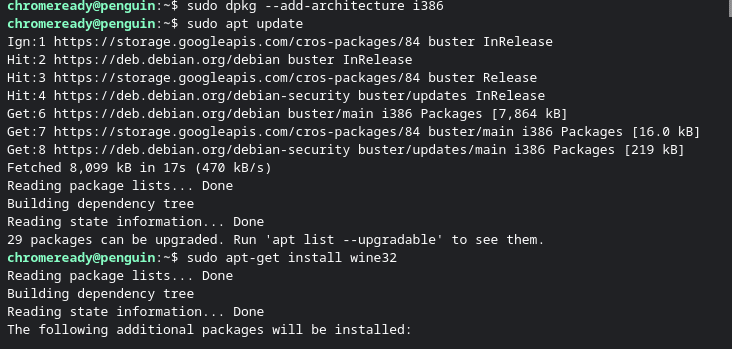
Enable 32-bit Support
3. Once Wine is completely set up, we need to download the iTunes Windows setup. The 64-bit version seems incompatible as it opens into a black window. Download the 32-bit version here.
Move the downloaded file to the Linux files directory. Rename it to something memorable like ‘iTunesSetup.exe.’
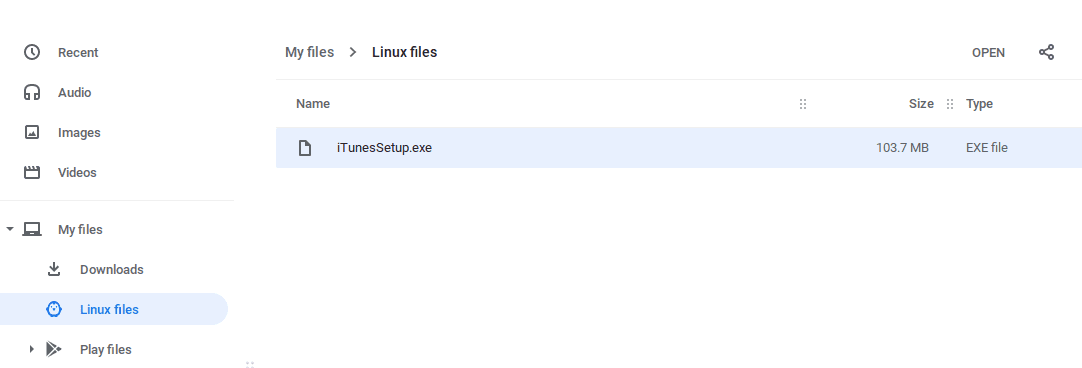
iTunes Setup file
4. Now, let’s install iTunes. Execute the command below, replacing ‘your-user-name‘ with the actual username of your Chromebook. Here, we refer to the username you entered while enabling the Linux (beta) feature on Chromebook. Also, replace iTunesSetup.exe with the name of your file.
sudo apt update
Then;
WINEARCH=win32 WINEPREFIX=/home/your-user-name/.wine32/ wine iTunesSetup.exe
5. You will see the iTunes setup window open. Click ‘Next.’
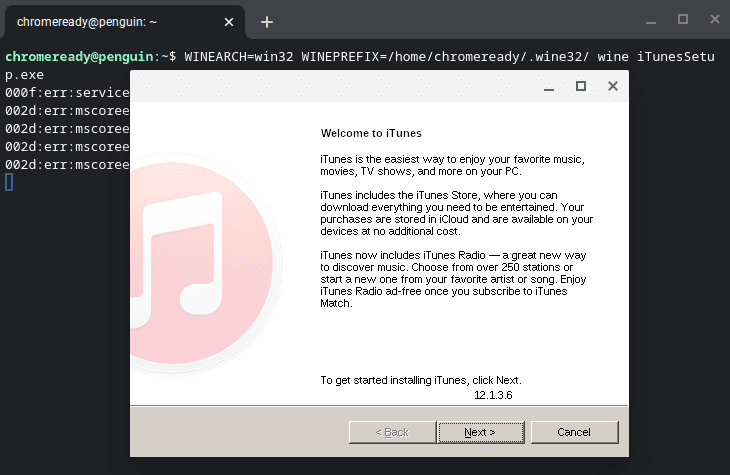
Install iTunes
6. The next screen will give several installation options. Click ‘Install.’
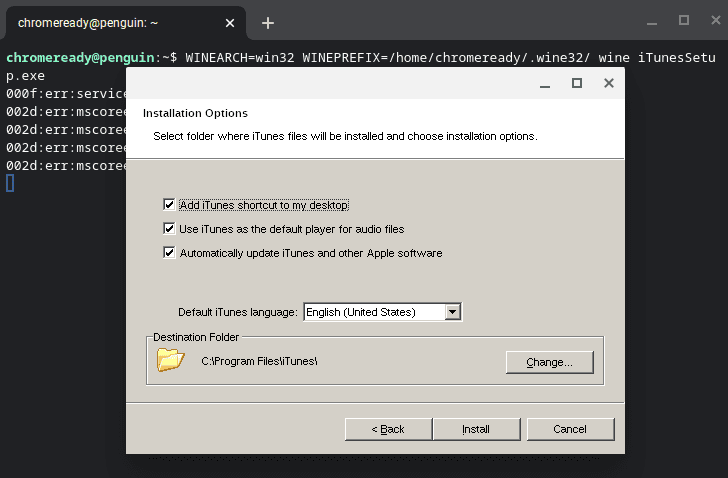
Install iTunes
7. You might see a pop-up window saying that AutoRun is turned off. Click ‘Yes‘ to enable AutoRun.
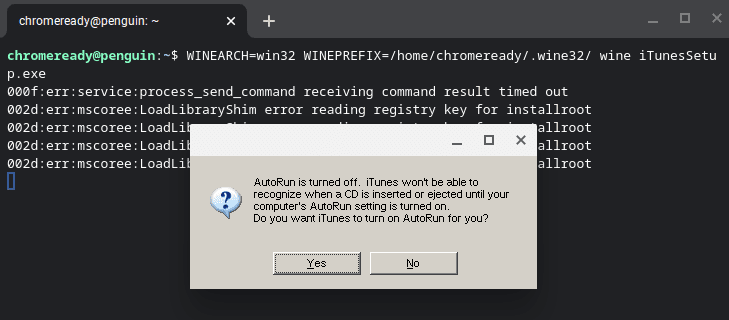
Enable AutoRun
The installation process will start.
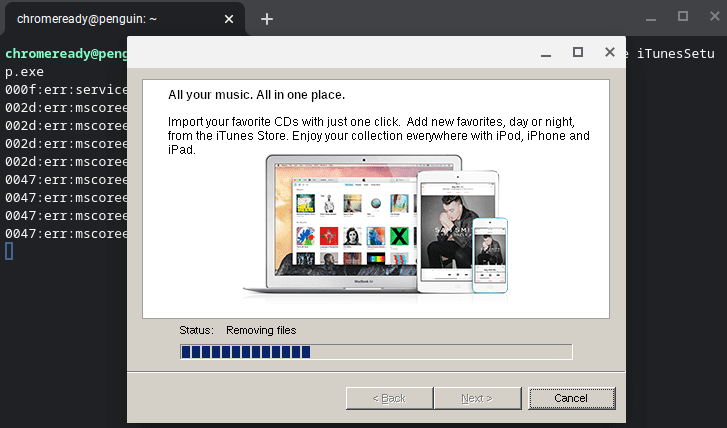
Install iTunes
8. Once done, click ‘Finish.’
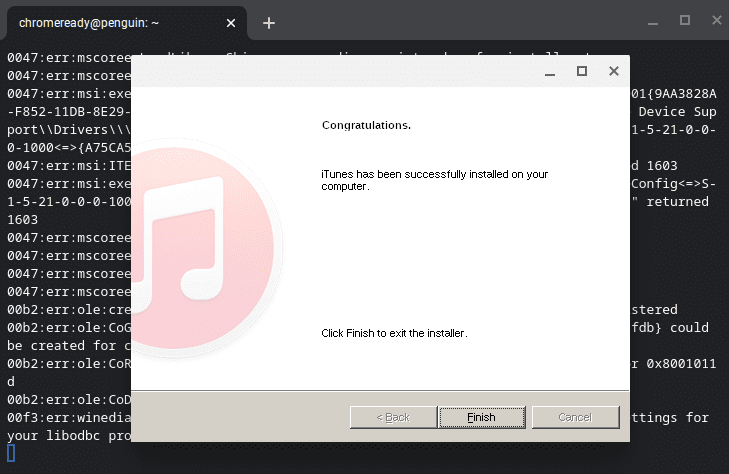
Install Itunes
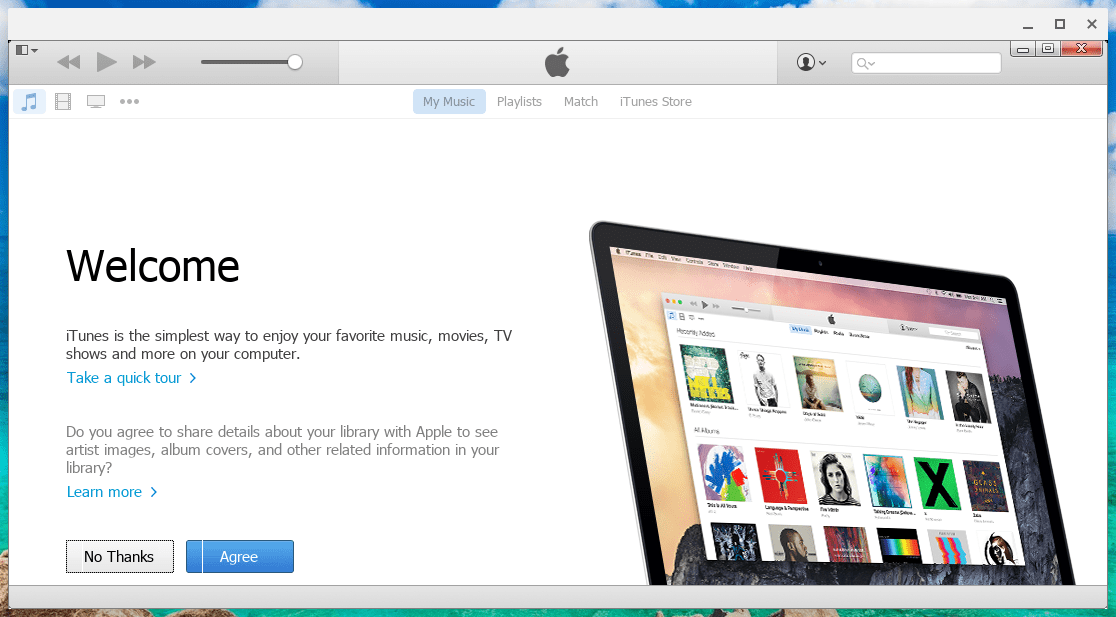
That’s it! You have successfully installed iTunes on your Chromebook. You can now launch iTunes from the Linux apps in the Applications menu.
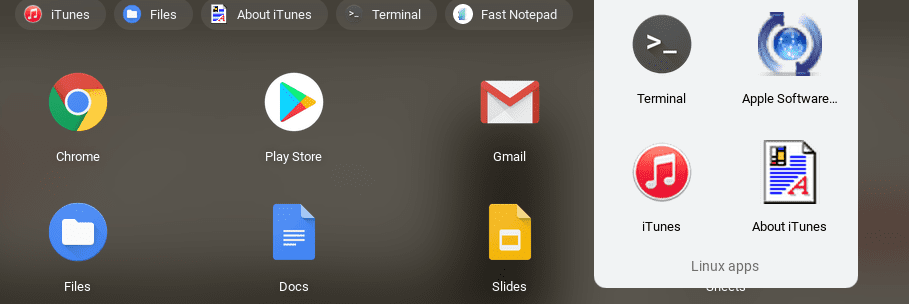
Launch iTunes
However, if iTunes doesn’t start and exits with an error “Path not Found,” then read along and see how you can create a shortcut for iTunes on Chromebook.
Create iTunes shortcut on Chromebook
1: Open the file manager and open the Linux Files directory. Click on the three dots at the top-right and select ‘Show hidden files.’
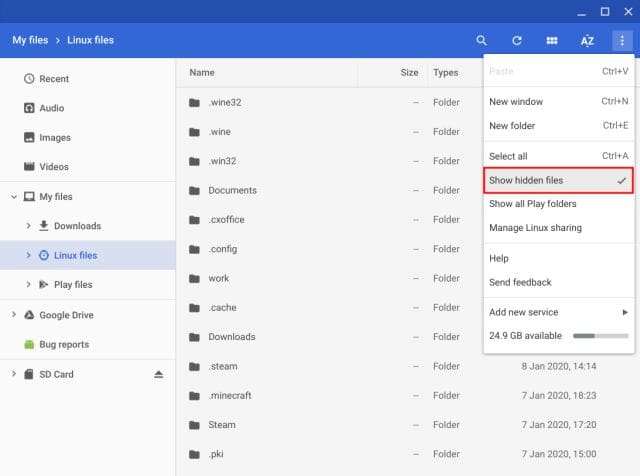
Show hidden files
2. Navigate to the following path:
.local -> share -> applications -> wine -> Program Files ->iTunes->
3. You will see the ‘iTunes.desktop’ file. Right-click on it and open it with a text editor. Add the following statement after the ‘Exec‘ line. Remember to replace ‘your-user-name’ with your actual username, as described above.
env WINEPREFIX="/home/your-user-name/.wine32" wine "/home/your-user-name/.wine32/drive_c/Program Files/iTunes/iTunes.exe"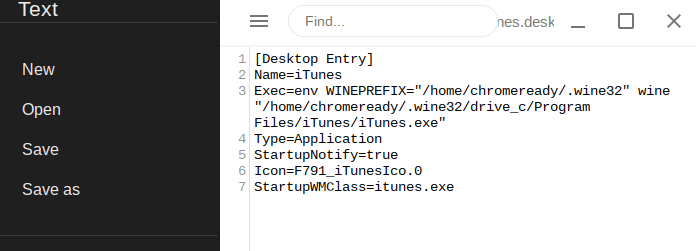
Create iTunes Shortcut
4. Please save the file (Ctrl + S) and close it. Now go back to your Linux apps and launch iTunes. It should start correctly.
iTunes App
We have successfully installed and configured iTunes on our Google Chromebook. Don’t hesitate to tell us about any arising issues during the installation process. Also, feel free to share any additional information concerning this topic with our readers.