Live-streaming on YouTube provides a platform for creators, businesses, and organizations to connect with their audiences in real-time. For those who are new to live-streaming, it can seem daunting and overwhelming. That’s why we’ve put together this step-by-step guide to help you get started with live-streaming on YouTube.
So, if you are looking to broadcast a gaming session, host a Q&A stream, or showcase your business, this guide will walk you through everything you need to know for creating high-quality, engaging live-streams. From choosing the right equipment to promoting your stream, and everything in between, we’ve got you covered. As popular as YouTube is, many are still unaware of a facilitative add-on called YouTube Premium. Want to know more about it? Go through our article on what is YouTube Premium, and is it worth it for you?
Your guide to successful YouTube live-streaming
1. Choosing the right equipment
This is really crucial for creating high-quality live-streams on YouTube. The equipment you need will depend on the type of content you want to create and your budget. In this section, we discuss the essential equipment required for live-streaming on YouTube and the features to look for when selecting them.
Cameras: As you would already know, the camera is undoubtedly the most critical piece of equipment for live-streaming. You can use your smartphone camera or a dedicated camera for this purpose. If you decide on having a dedicated camera, you will need to ensure that it has a clean HDMI output, which means that it does not display any camera settings or menus on the screen. Some popular options include the Canon EOS R, Sony A7 III, and the Panasonic Lumix GH5. When selecting one, look for features such as high resolution, autofocus, low-light performance, and image stabilization.
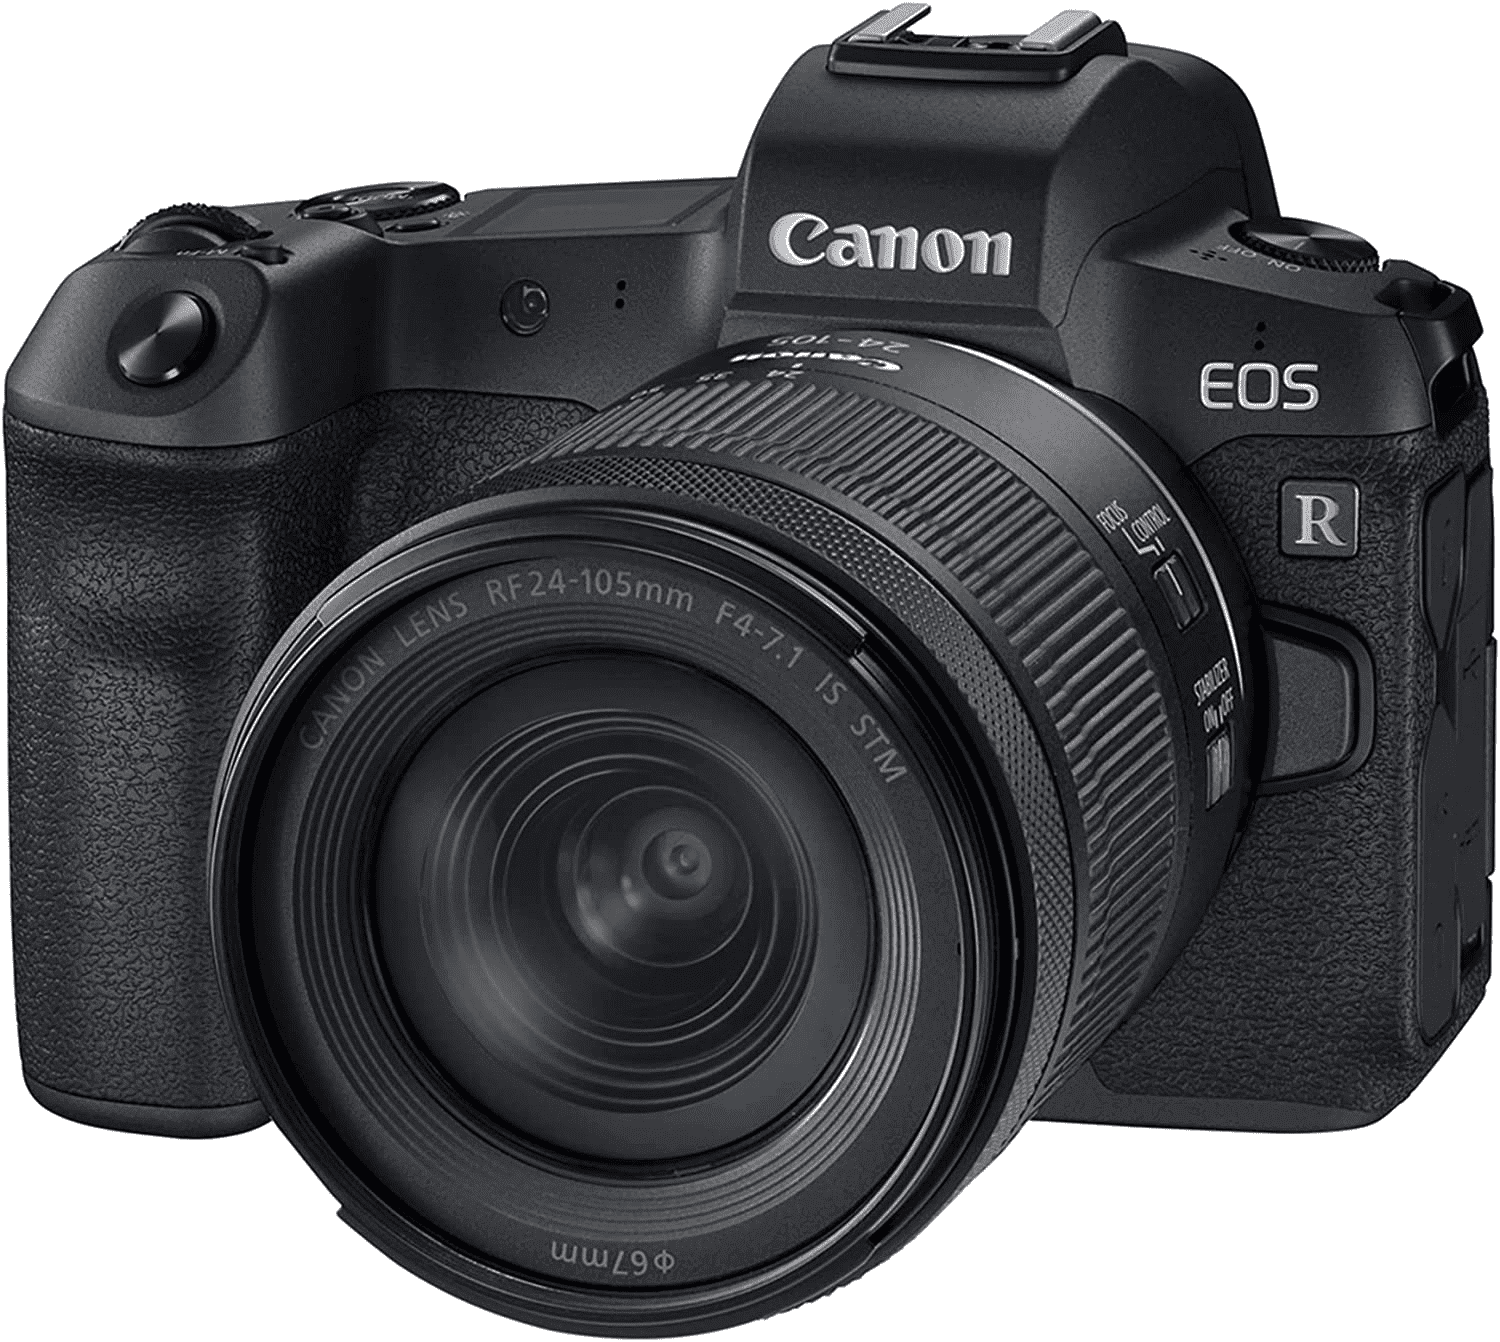
Cameras
Microphones: Clear and high-quality audio is essential for a successful live-stream. You can use a built-in microphone on your camera or smartphone, but a dedicated mic will definitely provide better audio quality. Some options are the Rode VideoMic Pro, Shure SM7B, and the Audio-Technica AT4053b. When selecting a microphone, look for directional or omnidirectional pickup patterns, noise reduction, and adjustable gain.
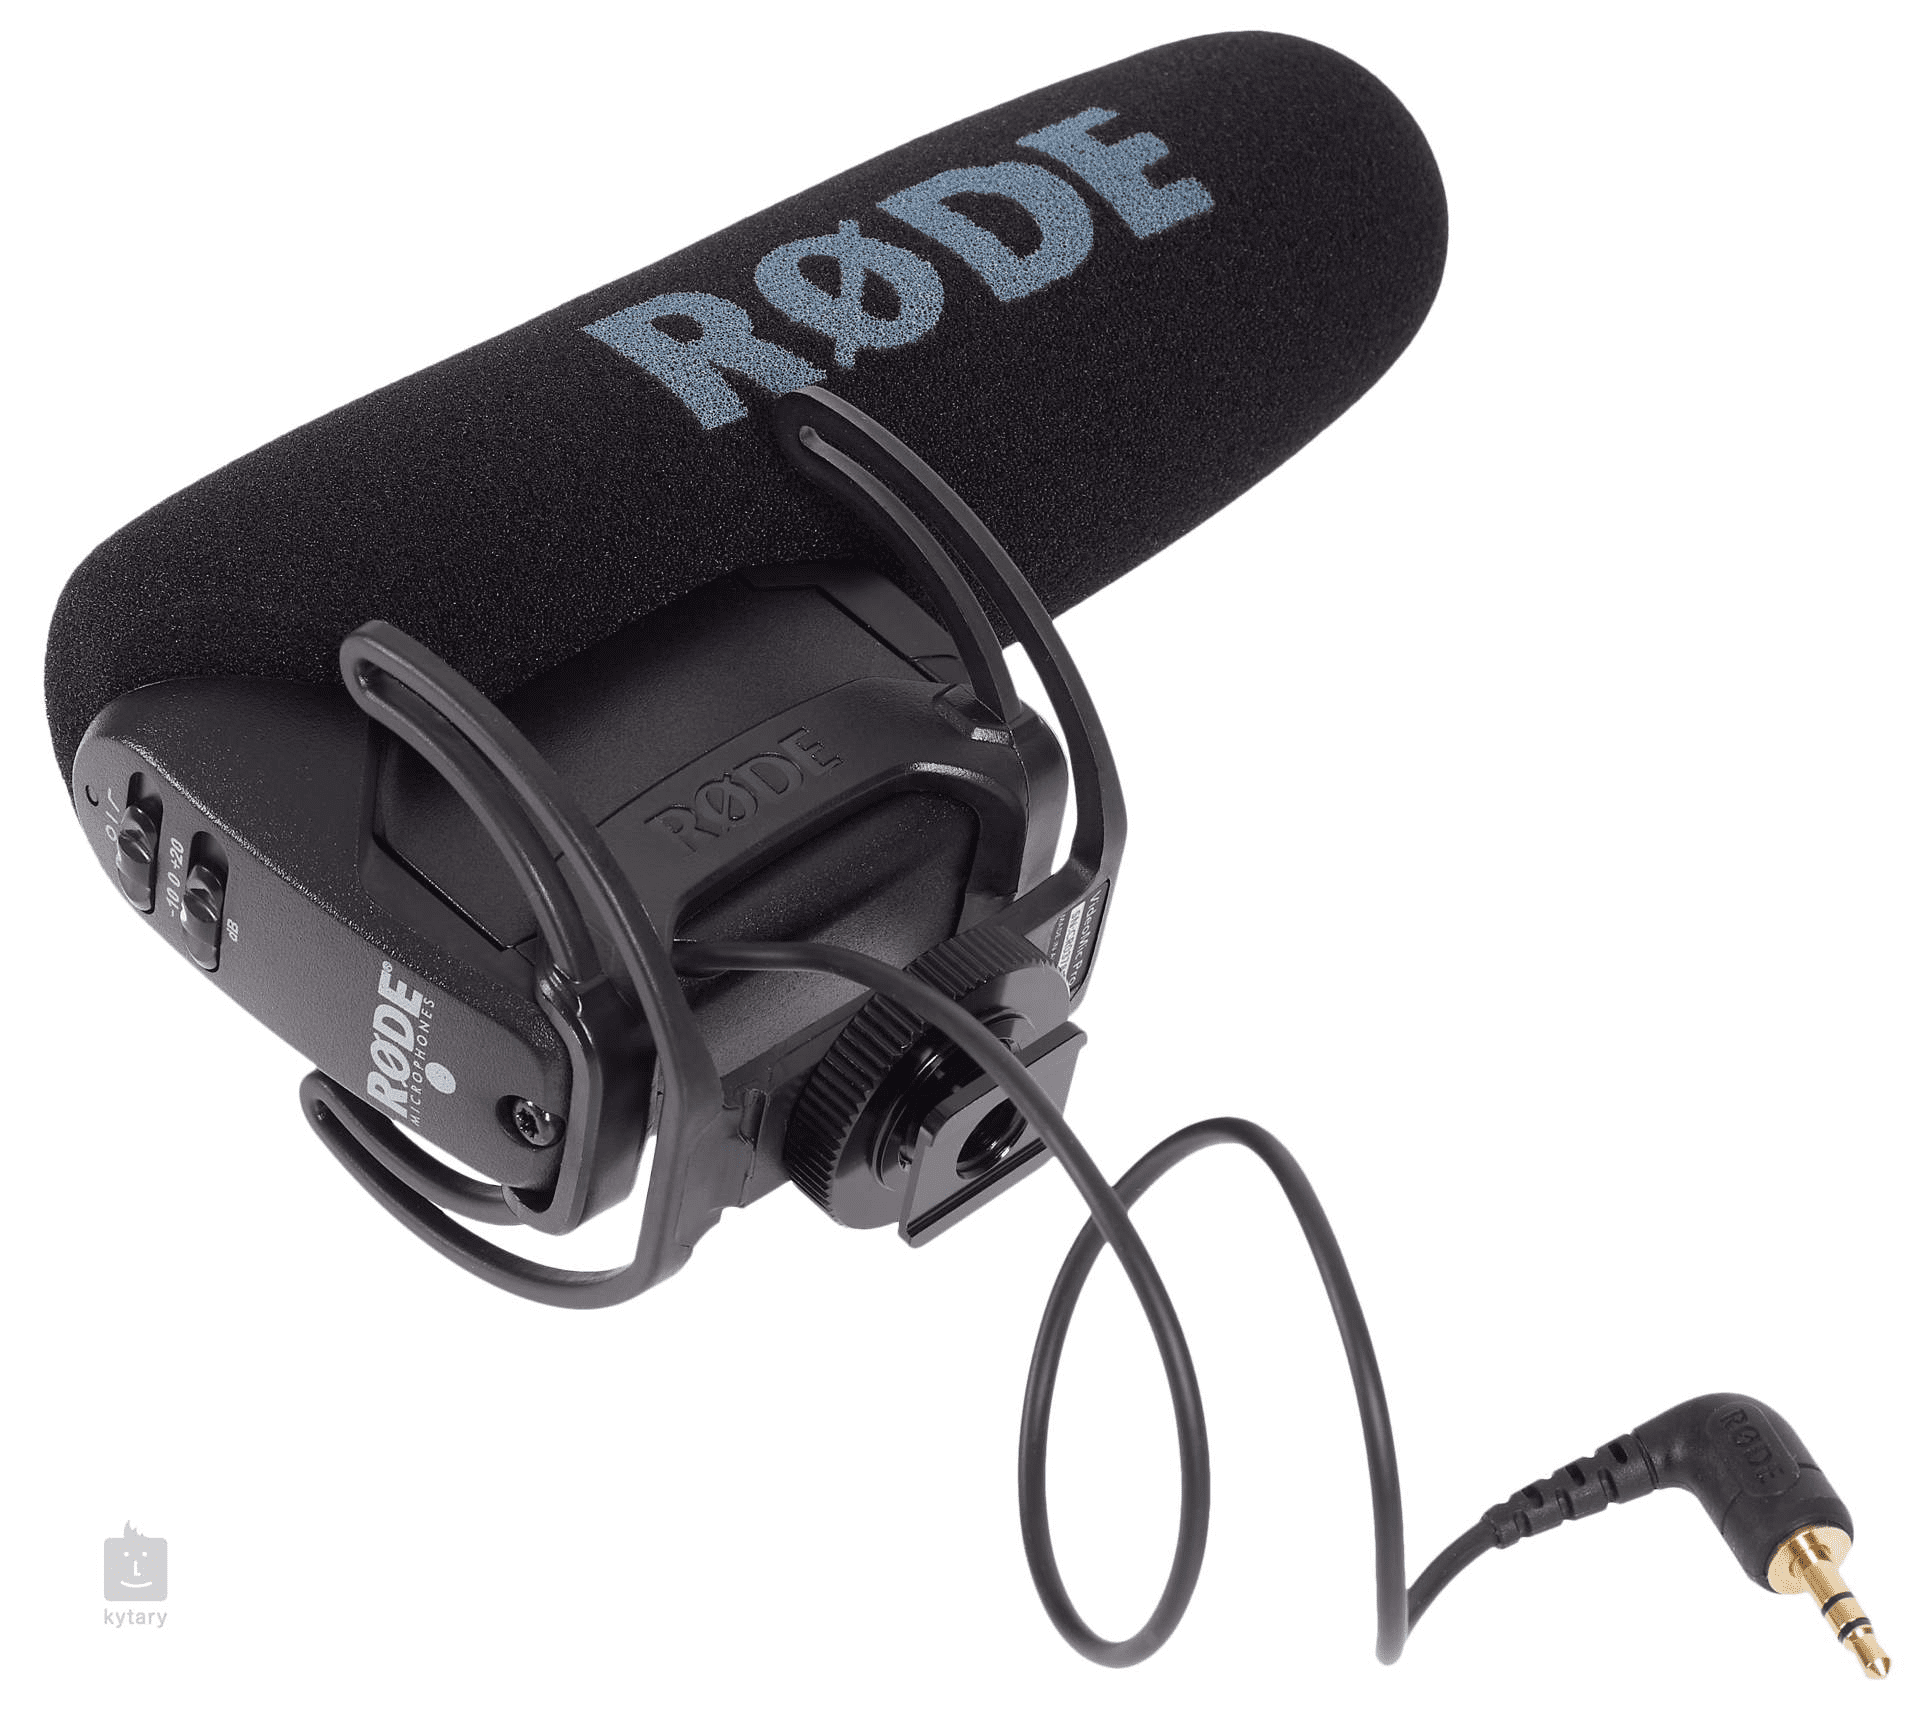
Microphones
Lighting: Good lighting can make a significant difference in the quality of your live-stream. You can use natural light, but lighting equipment can provide a consistent and professional look. You can go for the Neewer 660 LED Video Light, Godox SL-60W, and the Aputure AL-M9. Consider the color temperature control, adjustable brightness, and diffusers when getting this hardware.
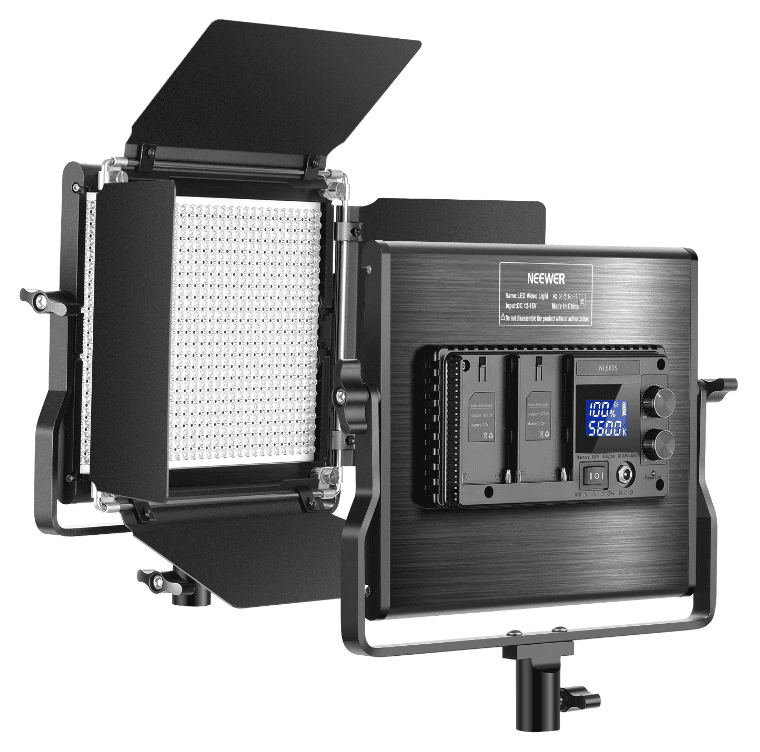
Lighting
Other equipment: Other equipment that may be useful for live-streaming includes tripods or stabilizers, which can help keep your camera steady, and capture cards or mixers for switching between multiple cameras or adding external audio sources.
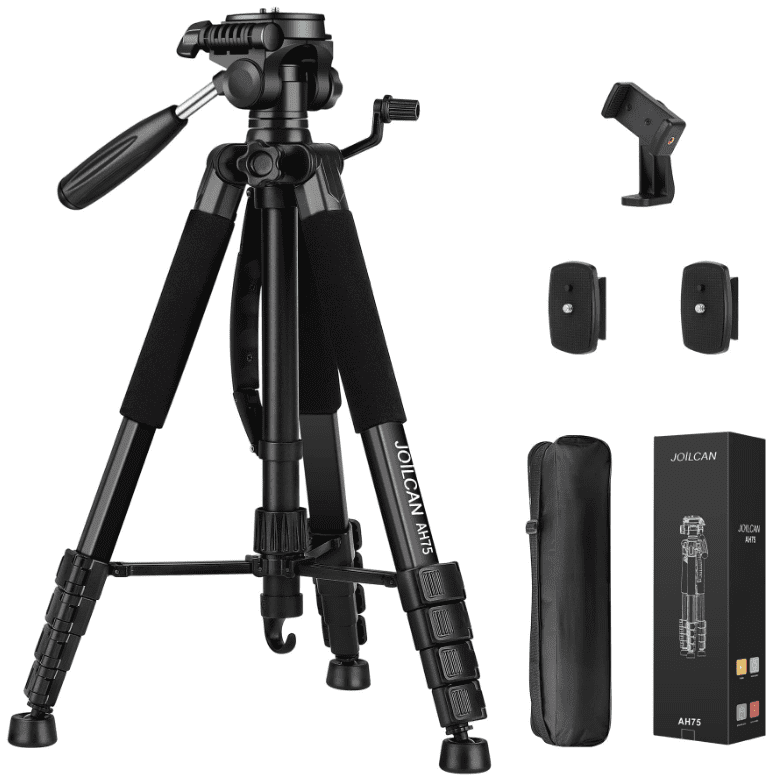
Other equipment
When getting the equipment for live-streaming, keep in mind your needs and budget. You don’t need to purchase the most expensive equipment to create high-quality live-streams, but investing in good gadgets can make a significant difference in the content quality. Additionally, consider the type of videos you want to create and the environment in which you will be live-streaming. If you will be streaming in noisy surroundings, noise reduction features will be of utmost importance.
2. Setting up your YouTube account
Setting up your YouTube account is the first step to live-stream on the platform. In this section, we will see how to create a YouTube account if you don’t have one already, or how to use your existing account to live-stream. We are also going to cover the requirements for live-streaming and how to enable this on your account.
Creating a YouTube account: If you don’t already have a YouTube account, you can create one for free. Go to YouTube (www.youtube.com) and click on the “Sign In” button in the top right corner of the page.
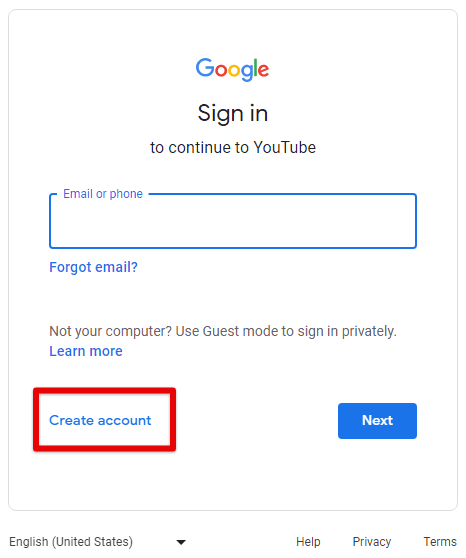
Creating a YouTube account
Click on the “Create account” button. Fill in the required information, such as your name, email address, and password. Follow the prompts to verify your account. You can also directly connect an existing Google account to proceed.
Using an existing account: If you have a YouTube account, you may use it to live-stream instead. However, it must be ensured that your account meets the requirements for live-streaming on the platform. To live-stream on YouTube, your account must meet the following requirements:
- The account must be in good standing.
- There must be no live-streaming restrictions in the last 90 days.
- The account must be verified with a phone number.
- You must have at least 1,000 subscribers (for mobile live-streaming) or 100 subscribers (for desktop live-streaming).
- There should be no live-streaming or community guidelines strikes on your account.
Enabling live-streaming on your account: In case your account meets the requirements for live-streaming, enable the feature on your account by signing in to your account. Click on your profile picture in the top right corner of the page.
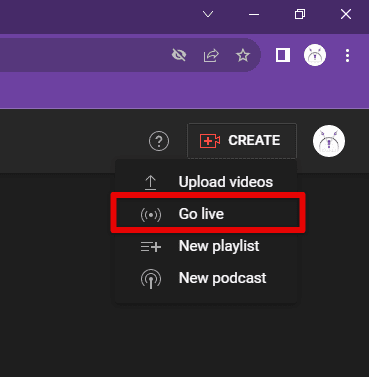
Enabling live-streaming on your account
Go to “YouTube Studio.” Click on “Create” in the top right corner and select “Go Live.” Follow the prompts to verify your account and set up your live-stream.
3. Creating a streaming schedule
Creating a streaming schedule is just as important, especially if you plan on conducting these streams on a regular basis. In this section, we discuss the importance of having a schedule for your live-streams, how to plan the timing and frequency of these broadcasts, and how to communicate your schedule with your audience using YouTube’s scheduling tools.
Why creating a schedule is essential: A streaming schedule helps to build anticipation and consistency for your audience. It enables them to know when to tune in to your channel and what to expect from your content. Additionally, a schedule helps you to stay organized and plan your content ahead of time, ensuring that you deliver high-quality streams.
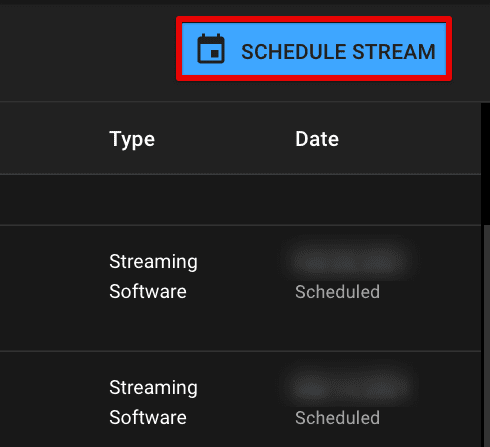
Scheduling a stream
Planning the timing and frequency: When planning your streaming schedule, consider your audience’s time zone and preferences. Plan your streams at times that are convenient for your viewers, such as evenings and weekends. Additionally, think about the frequency of your broadcasts. Depending on your content and availability, you may choose to stream daily, weekly, or monthly.
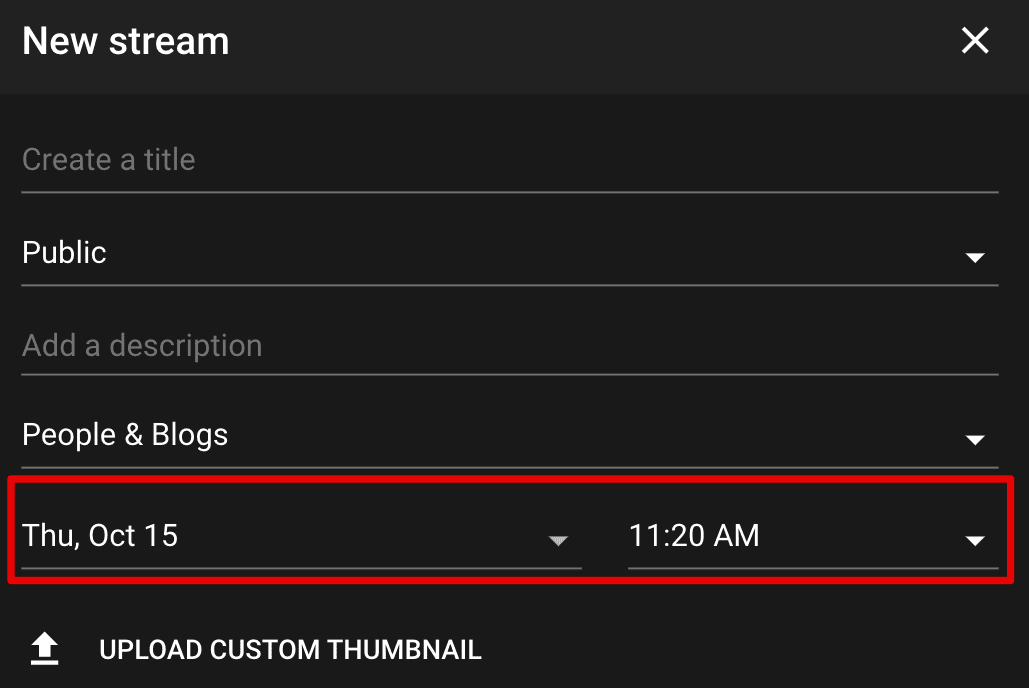
Planning the timing and frequency
Communicating your schedule: Once you have created a streaming schedule, share it with your audience. This helps to build anticipation and ensures that your viewers don’t miss your streams. Communicate your schedule to your audience in several ways, including:
- Adding a schedule to your channel banner or “About” section.
- Creating a video or social media post announcing your live-stream.
- Including your schedule in video descriptions.
- Using YouTube’s scheduling tools.
YouTube offers several scheduling tools can be used to communicate your schedule. These are as follows:
Scheduled live-streams: Schedule your live-streams in advance, allowing your viewers to receive a notification when your stream is about to start.
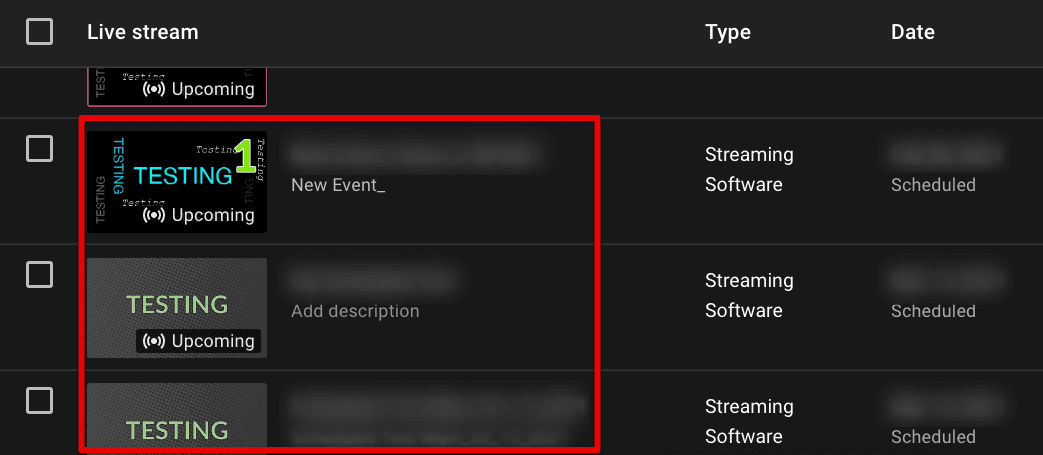
Scheduled live streams
Premiere: Premiere lets you schedule a video to debut at a specific time, creating a live-stream-like experience for all viewers.
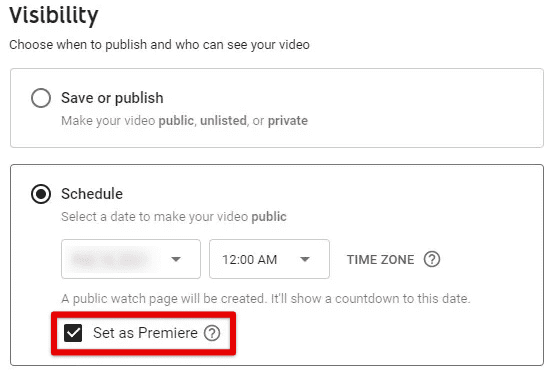
Premiere
Countdown: Countdown is a way to add a timer to your stream, building anticipation and encouraging your audience to tune in at a specific time.
4. Setting up your stream
Setting up your stream correctly makes sure that the audience can find and engage with the content intuitively. In this section, we detail the steps involved in setting up your stream, creating a title, description, and tags for your video, as well as selecting the appropriate category and privacy settings.
Creating a title: Your title should be descriptive and engaging, giving your viewers an idea of what to expect from your stream. It should be short and to the point, using keywords that are relevant to your content. Make sure to avoid using clickbait or misleading titles, as this can harm your reputation and reduce engagement.
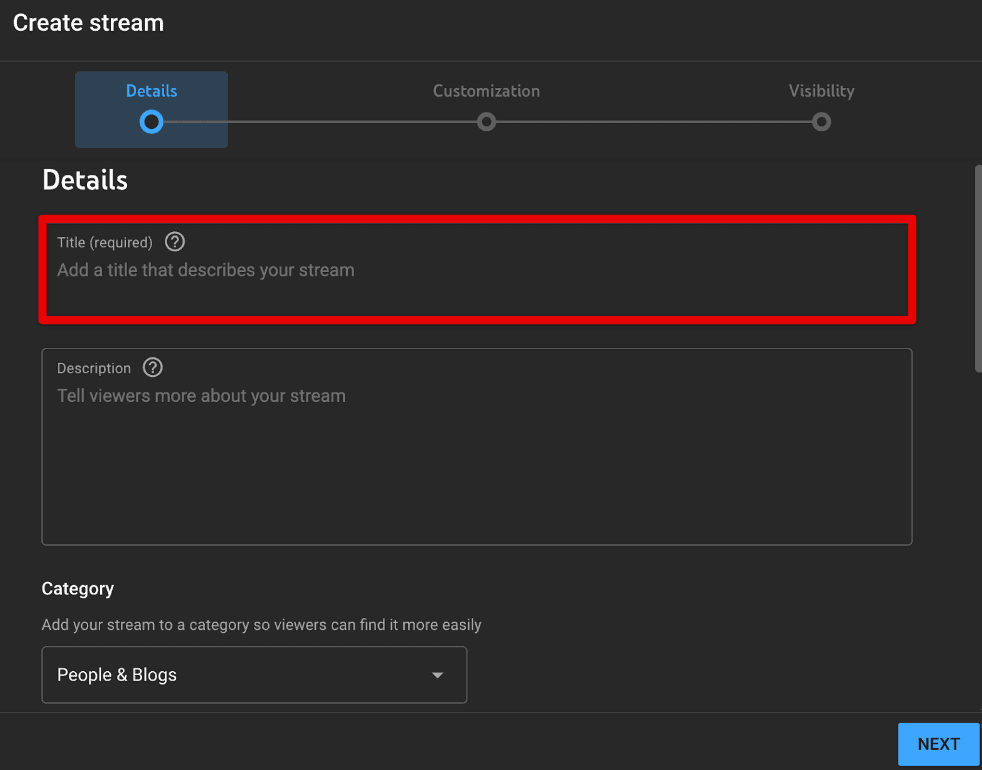
Creating a title
Writing an engaging description: The description should provide more details about your stream, including what you will be discussing or showcasing. It should be informative, engaging, and easy to read. Keep in mind to include relevant keywords and phrases, as this will help your video rank higher in search results.
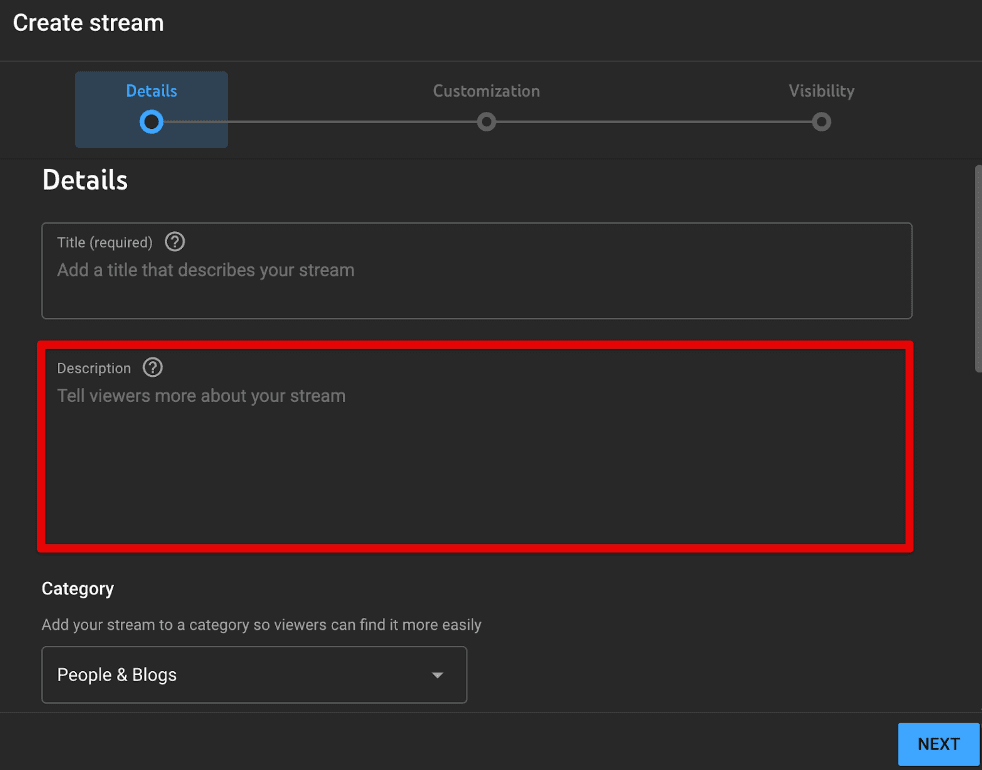
Writing an engaging description
Adding tags: Tags help YouTube understand the content of your video and make it easier for users to find your content. Include relevant keywords and phrases as tags, but avoid using irrelevant or misleading ones as they can negatively impact your stream’s ranking.
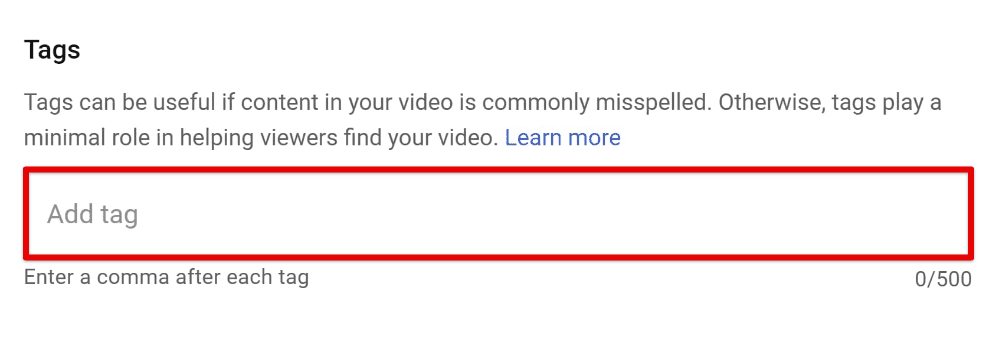
Adding tags
Selecting an appropriate category: Choosing the right category for your stream is quite important too, as it helps YouTube understand the nature of your content. Make sure to select a category that accurately reflects the topic of your stream.
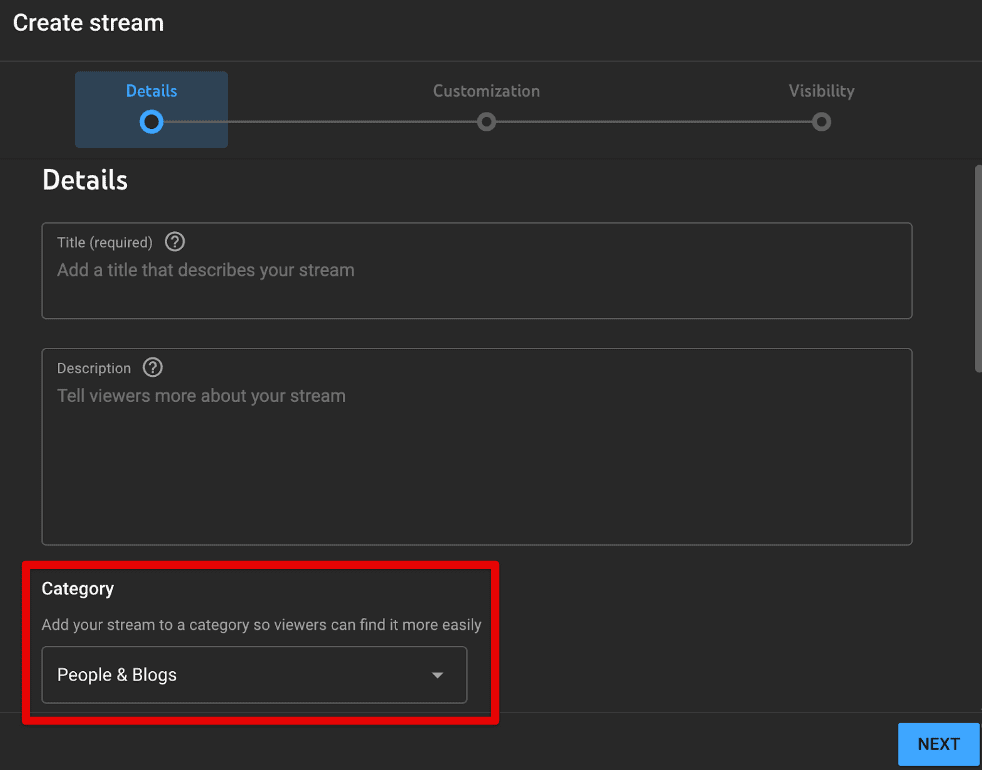
Selecting an appropriate category
Adjusting privacy settings: When setting up a stream, you may choose to make it public or private. Public streams can be viewed by anyone, while private streams can only be viewed by invited guests. Select the appropriate privacy setting based on what you need.
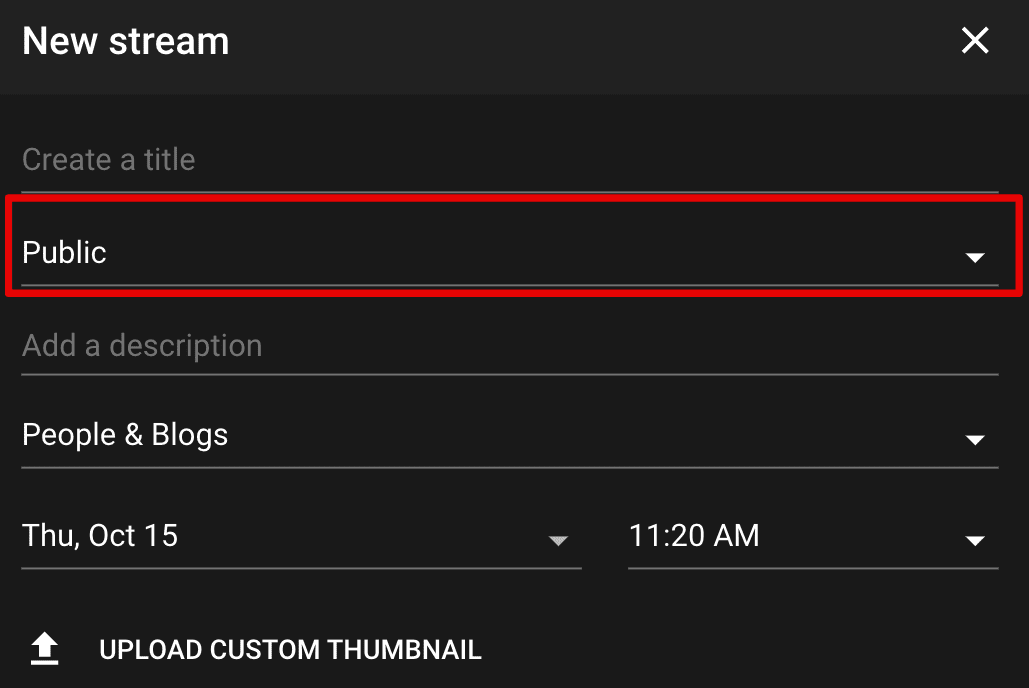
Adjusting privacy settings
Adding custom thumbnails: A custom thumbnail helps your video stand out in search results and increase click-through rates. Choose / make a high-quality image that accurately represents your content and is visually appealing.
5. Selecting a streaming software
Working on the right streaming software fosters a smooth and high-quality streaming experience on YouTube. There are several software options available, ranging from free to paid versions, each with its own set of features and capabilities. Let us take a look at the various types of software available and how to come up with the best choice for this.
Free streaming software: There are quite a few free streaming software options available, including OBS (Open Broadcasting Software), Streamlabs OBS, and XSplit. These offer basic streaming capabilities, the ability to capture and stream your screen as well as audio, and can be a good starting point for beginners or those on a tight budget.
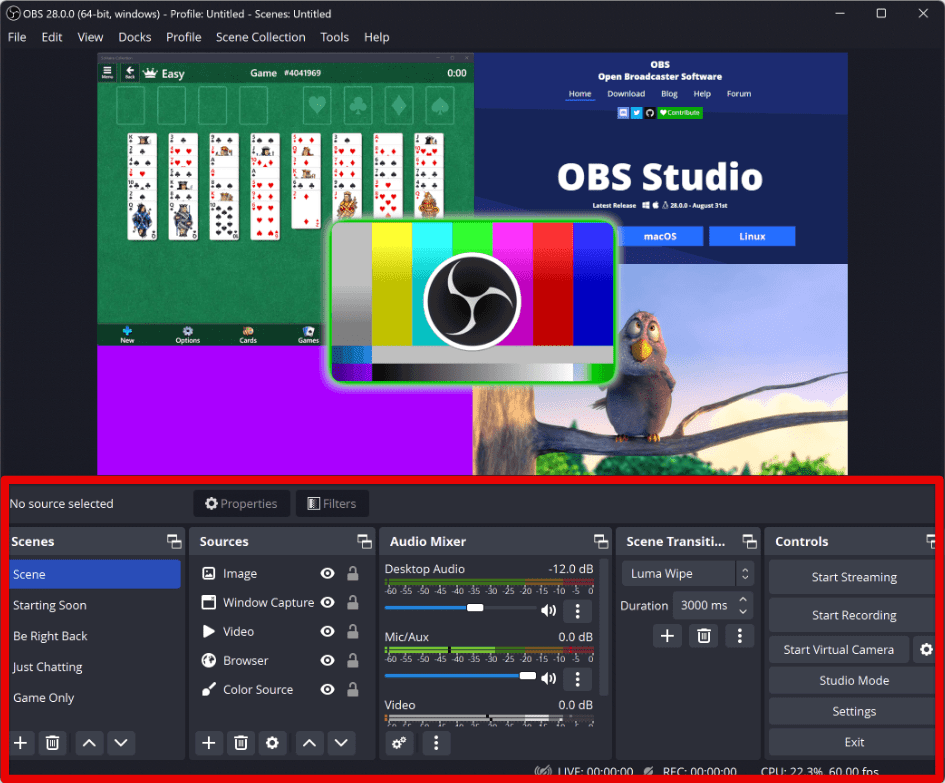
Free streaming software
Paid streaming software: Paid software options offer more advanced features, such as the ability to use multiple cameras, add graphics and effects, and stream to multiple platforms simultaneously. These include Wirecast, vMix, and XSplit Broadcaster. Such options are ideal for professional live-streamers or those looking to take their content to the next level.
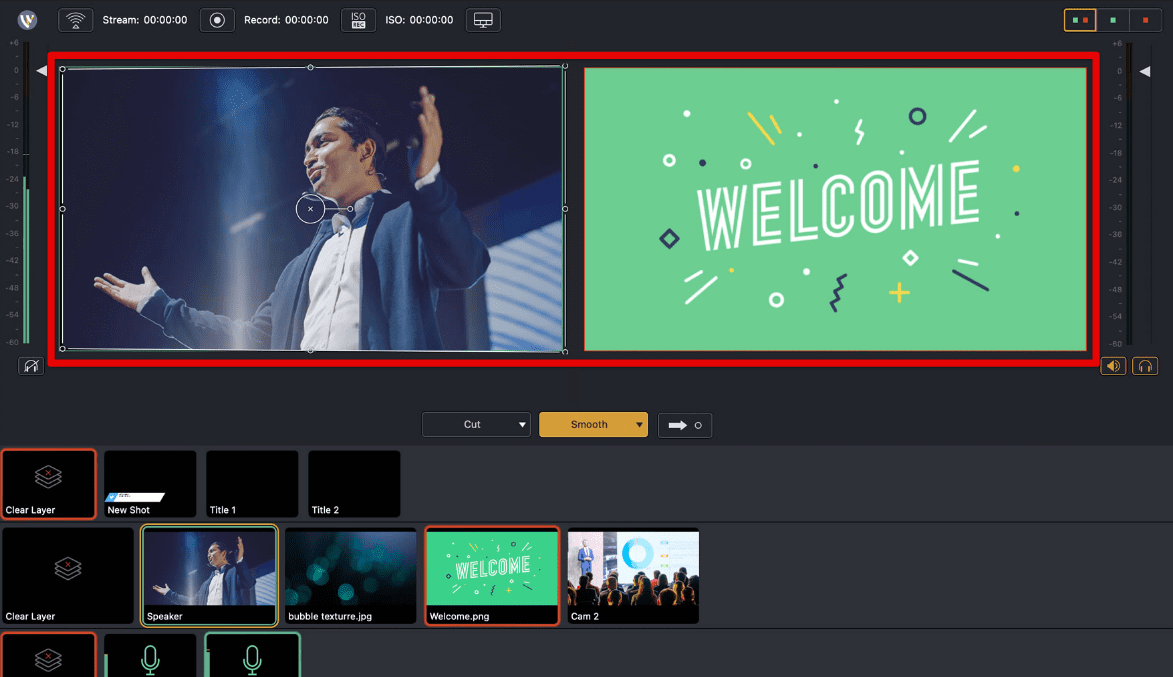
Paid streaming software
Compatibility: When choosing your streaming software, make sure it is compatible with your computer and operating system. Some may not work with certain versions of Windows or MacOS, so it’s important to check the compatibility before making a purchase or downloading the software.
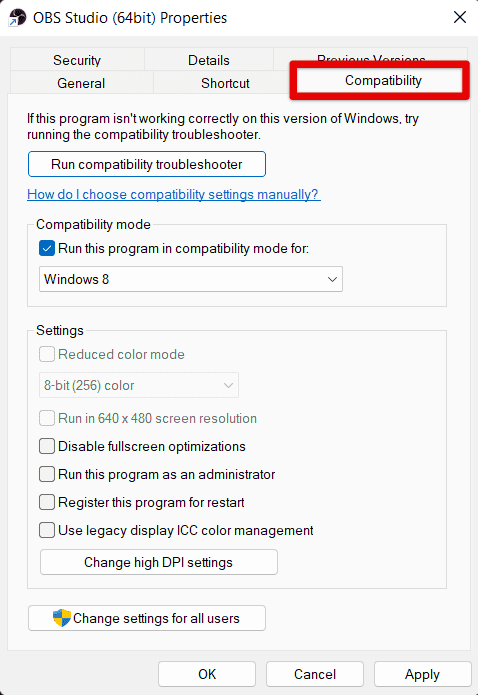
Compatibility
Ease of use: Look for options that are easy to use and have an intuitive interface. This will save you time and frustration when setting up and running your live-streams. Consider applications with drag-and-drop interfaces and customizable layouts, making it easy to arrange your stream elements in a way that works best for your content.
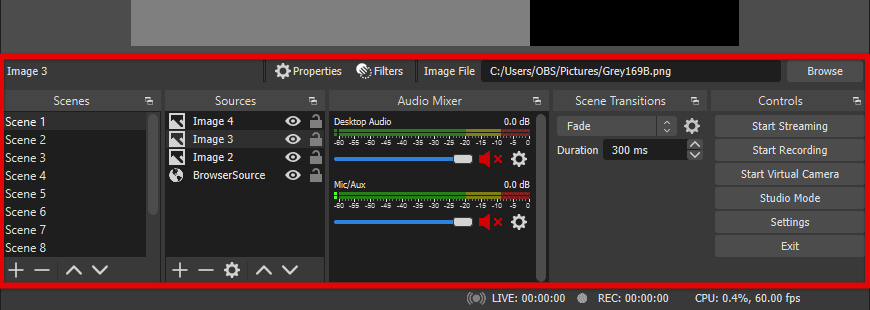
Ease of use
Customer support: Choose a streaming software that offers reliable customer support and resources, including video tutorials and online forums. This will help you troubleshoot any issues that arise during your live-stream and ensure a smooth experience for both you and your viewers.
6. Configuring the streaming software
Once you have chosen your streaming software, the next step is to configure it to work with YouTube. Let us walk you through the steps involved in setting up your software for live-streaming.
Obtaining a stream key: Before you can start live-streaming on YouTube, you need to obtain your stream key. To do this, go to your YouTube account and click on the “Create Studio” button. From there, click on “Live Streaming” in the left-hand menu and select “Stream Now.” You will then be prompted to create a new live-stream or use an existing one. Once you have done this, you will see your stream key listed on the right-hand side of the screen. Copy this key to your clipboard.
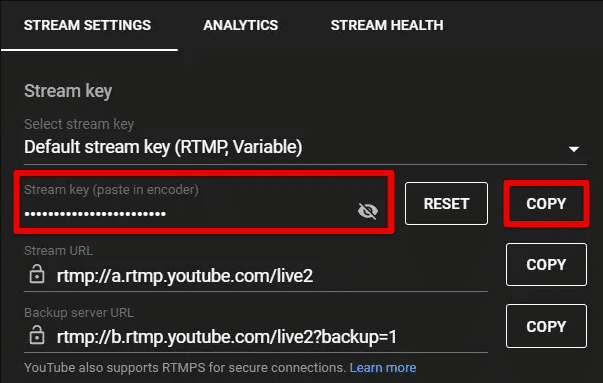
Obtaining a stream key
Setting up the software: Open your streaming software and navigate to the settings menu. Look for a section labeled “Stream Settings” or “Broadcast Settings.” Here, you will be prompted to enter your stream key and select the streaming server closest to your location. Paste your stream key into the designated field and select the appropriate server.
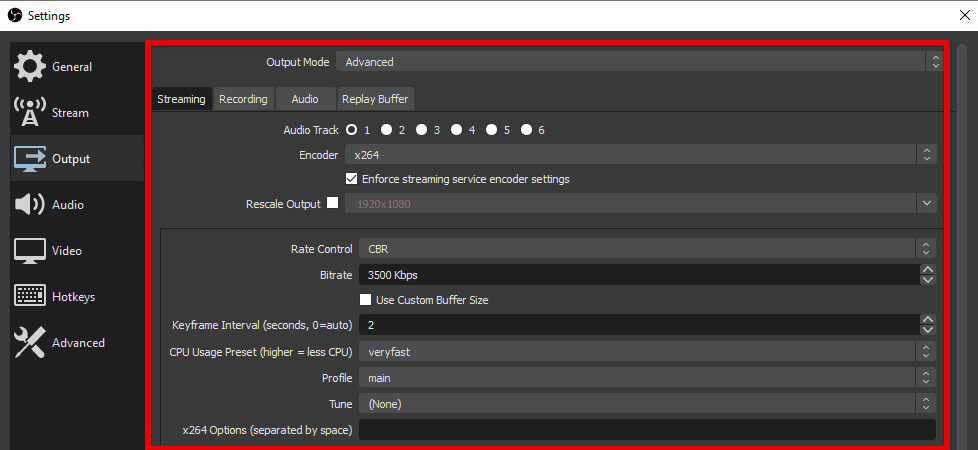
Setting up the software
Configuring video and audio settings: Next, you will need to configure your video and audio settings. Look for options to adjust your resolution, bit rate, and frame rate. It is recommended that you use a resolution of 1080p or higher and a bit rate of at least 6Mbps for high-quality live-streaming on YouTube. Additionally, select the appropriate audio settings and ensure that your microphone is properly configured.
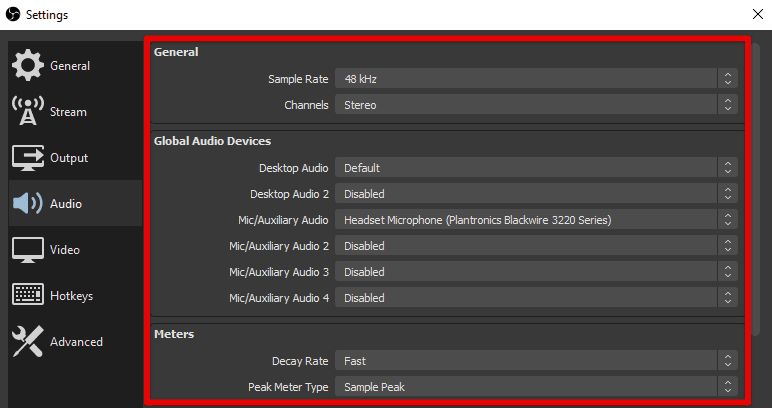
Configuring video and audio settings
Testing your connection: Before you start your live-stream, it’s important to test your connection to ensure that everything is working properly. Look for a “Preview” or “Test Stream” button in your streaming software and use it to check your video and audio quality. Make sure that the audio and video are in sync, and check for any lag or buffering issues. If you encounter any problems, troubleshoot them before making the stream live.
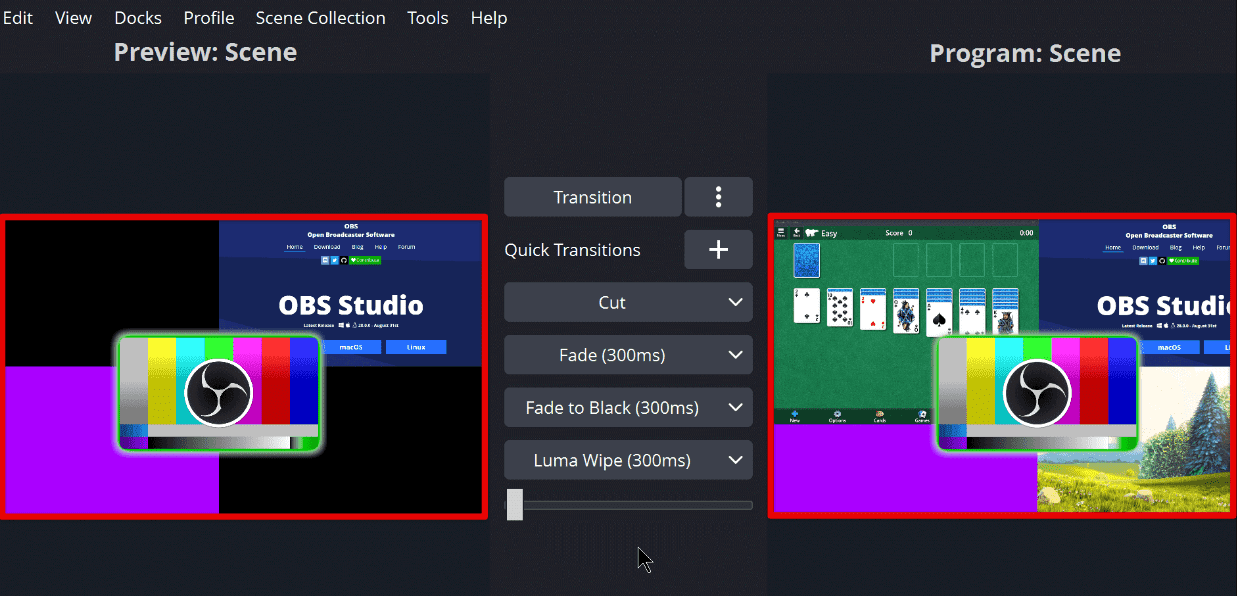
Testing your connection
Save your settings: After you have configured all settings, save them to ensure that they are applied every time you live-stream. Some software options may also allow you to save multiple profiles for different types of streams, such as gaming or podcasting.
7. Going live
Now that you have learned how to set up your equipment, software, and YouTube account, it’s time to start your live-stream! In this section, we walk you through the steps involved in going live on YouTube and how to interact with your audience during the broadcast.
Start the application: Open your streaming software and ensure that your video and audio settings are properly configured. Make sure that your camera and microphone are connected and working properly. Once you have verified everything, click on the “Start Streaming” button in your software to begin broadcasting.
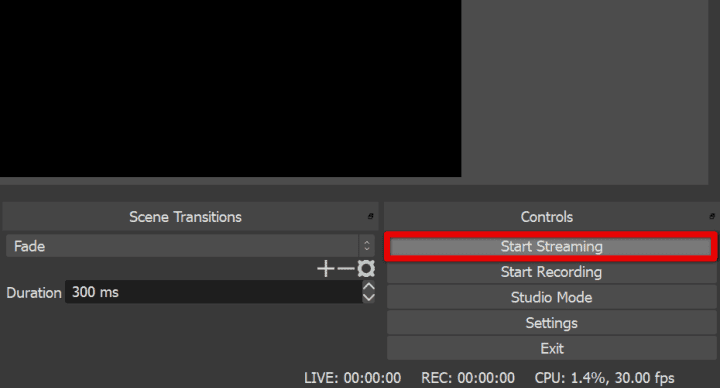
Start the application
Monitor your stream: As soon as you start streaming, you can monitor your stream using the software itself. Look for options to preview the streamed video and make sure that your video and audio quality are optimal. Keep an eye on your bit rate and monitor your connection to ensure that everything remains stable.
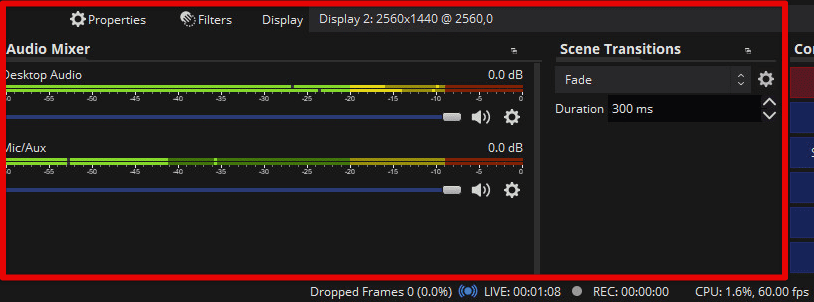
Monitor your stream
Interact with the audience: One of the main benefits of live-streaming is the ability to interact with your audience in real-time. During your broadcast, make sure to engage with your viewers by answering their questions, responding to comments, and acknowledging their presence. You can do this by using the chat feature in your streaming software or by monitoring the comments section on YouTube.
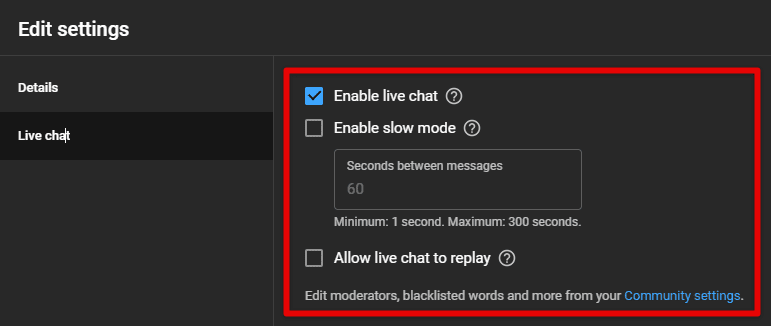
Interact with the audience
Monitor analytics: While you are live-streaming, you may also monitor your analytics to see how the stream is performing. Look for options to track your viewership, engagement, and other metrics to understand how the audience is responding to your content.
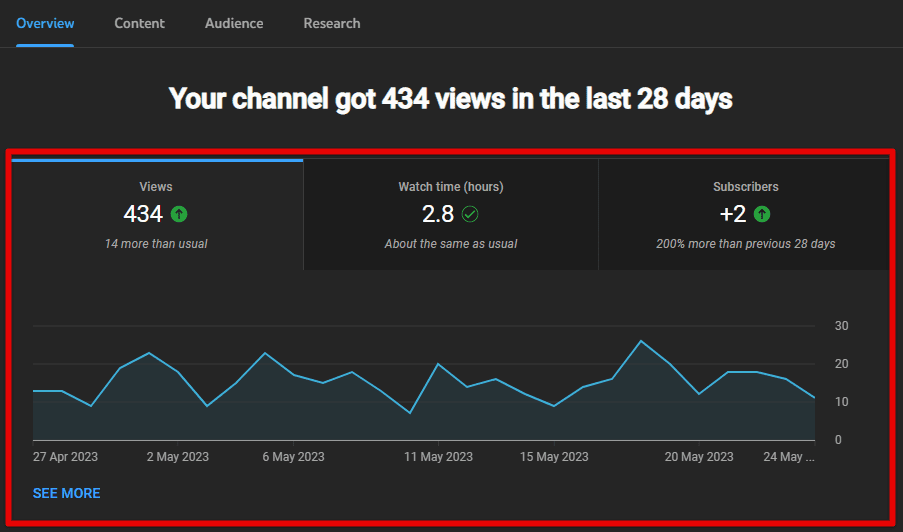
Monitor analytics
Ending your stream: When you are ready to end your stream, click on the “Stop Streaming” button in the software. Your video will then be processed and saved as a regular YouTube video, which can be watched and shared by all viewers.
From cutting down distractions to making sure your kids surf the internet safely, there is a good reason you might want to know how blocking websites on Chromebooks work, especially YouTube. Learn how to block YouTube on Chromebook in this detailed guide.
8. Promoting your live-stream
Promoting a live-stream increases the chances of more viewers getting to know about the upcoming broadcast and can tune in to watch. In this section, we discuss the different strategies you can use to promote a live-stream and how to use YouTube’s own promotional tools.
Social media: Social media platforms such as Twitter, Facebook, Instagram, and LinkedIn are great channels to promote your live-stream. Share details about the upcoming stream, including date, time, topic, and encourage your followers to tune in. You can also share teasers or sneak peeks to generate interest.

Social media
Email marketing: If you have an email list, use it to promote the live-stream. Send out a newsletter or email blast a few days before the broadcast, including details about the stream and a link to your YouTube channel. Also include a call-to-action to encourage all subscribers to share the information in their network.
Email marketing
Word-of-mouth: Don’t underestimate the power of word-of-mouth! Tell your friends, family, and colleagues about the upcoming live-stream and ask them to pass it along. You may also reach out to influencers or collaborators in the industry and ask them to promote your stream among their audiences.
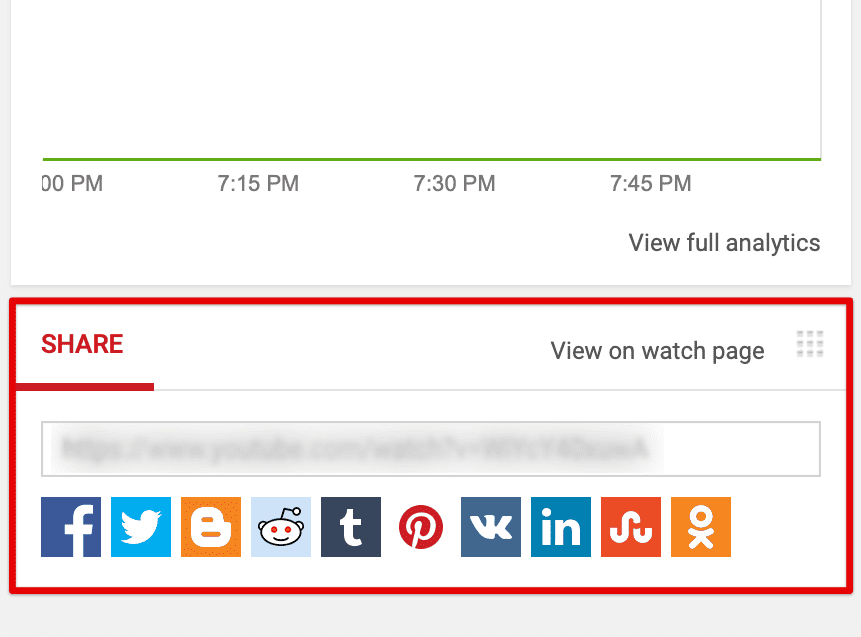
YouTube’s promotional tools: YouTube offers several promotional tools that can help you reach a wider audience. One such tool is the Premieres feature, which allows you to pre-record your stream and premiere it as a scheduled event. This can create a sense of excitement, as viewers can chat with each other and still interact with you in real-time.
YouTube’s promotional tools
Collaborate with other creators: Collaborating with other creators in your industry can help you expand your reach and promote the live-stream to a completely new set of audience. You can also consider co-hosting a stream or creating a joint event to generate interest.
9.Analyzing your metrics
Analyzing your metrics lets you understand the performance of your streams and identify areas for improvement.
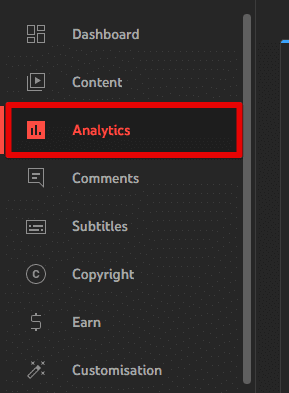
Accessing your analytics: To access your analytics, log in to your YouTube account and go to Creator Studio. From there, click on the Analytics tab and select the Live tab. This will display a range of metrics related to all live-streams conducted till that point.
Accessing your analytics
Understanding key metrics: The following are some key metrics to keep in mind when analyzing your live-streams:
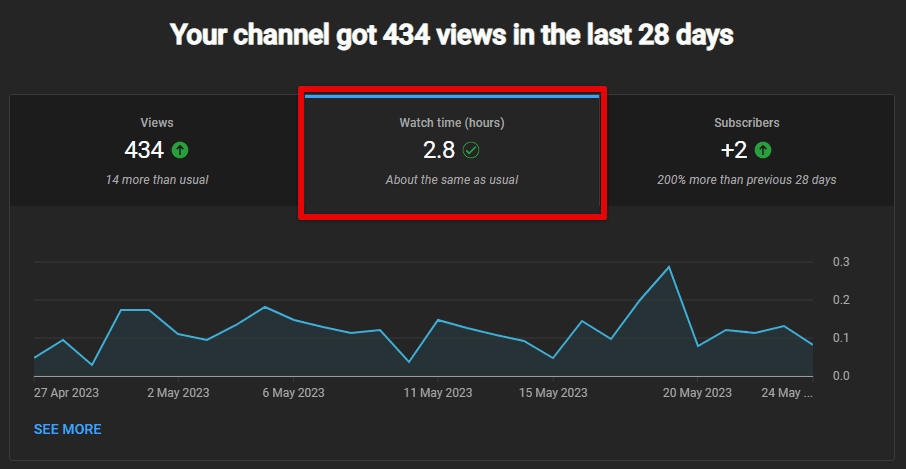
Watch time: This refers to the total amount of time that viewers spent watching your live-stream. It is an important metric as it indicates the level of engagement and interest in the content.
Watch time
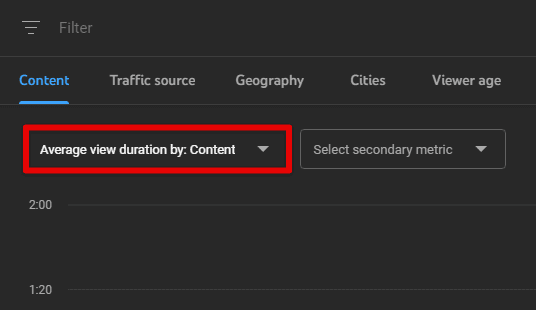
Average view duration: It measures the average amount of time viewers spent watching a stream. This provides insights into how engaging your content is and if it can keep viewers glued to their screens for longer periods of time.
Average view duration
Through these metrics, you can identify areas for improvement and adjust your content and strategy accordingly. If you notice that viewers are dropping off early in your streams, you can work on making the beginning of streams more engaging. Similarly, if viewers are engaging more during certain segments, focus on creating more content in that style. In addition to analyzing individual live-streams, it is also essential to track long-term trends in these metrics. This can help understand how your channel is growing and how the content is evolving along with it.
Conclusion
Live-streaming on YouTube is an excellent way to connect with your audience in real-time and build a loyal following. While it may seem daunting at first, following the steps outlined in this guide can help you get started with live-streaming on YouTube. Choose the right equipment, enable live-streaming, set up a schedule, and configure the streaming application of your own choice.
When it comes time to go live, make sure to promote your stream through various channels, interact with your audience during the broadcast, and analyze all key metrics afterward. Doing all of this, you are now able to build a successful live-streaming channel on YouTube in exciting new ways. Remember to stay creative, experiment with different formats, and have fun with your content. Do you ever need to save a YouTube video locally and don’t know how to? You’re not alone. That is why we have put up a guide on how to download YouTube videos on Chromebook.
