Previously, in the beginner’s series, we have looked at some of these helpful tips like How to copy/paste in a Chromebook and How to turn on Capslock in a Chromebook. In this tutorial, we will take a look at how to right-click on a Chromebook.
Right-clicking on a Chromebook
Let’s look at the different ways you can right-click on your Chromebook.
Method 1: Tap the touchpad with two fingers
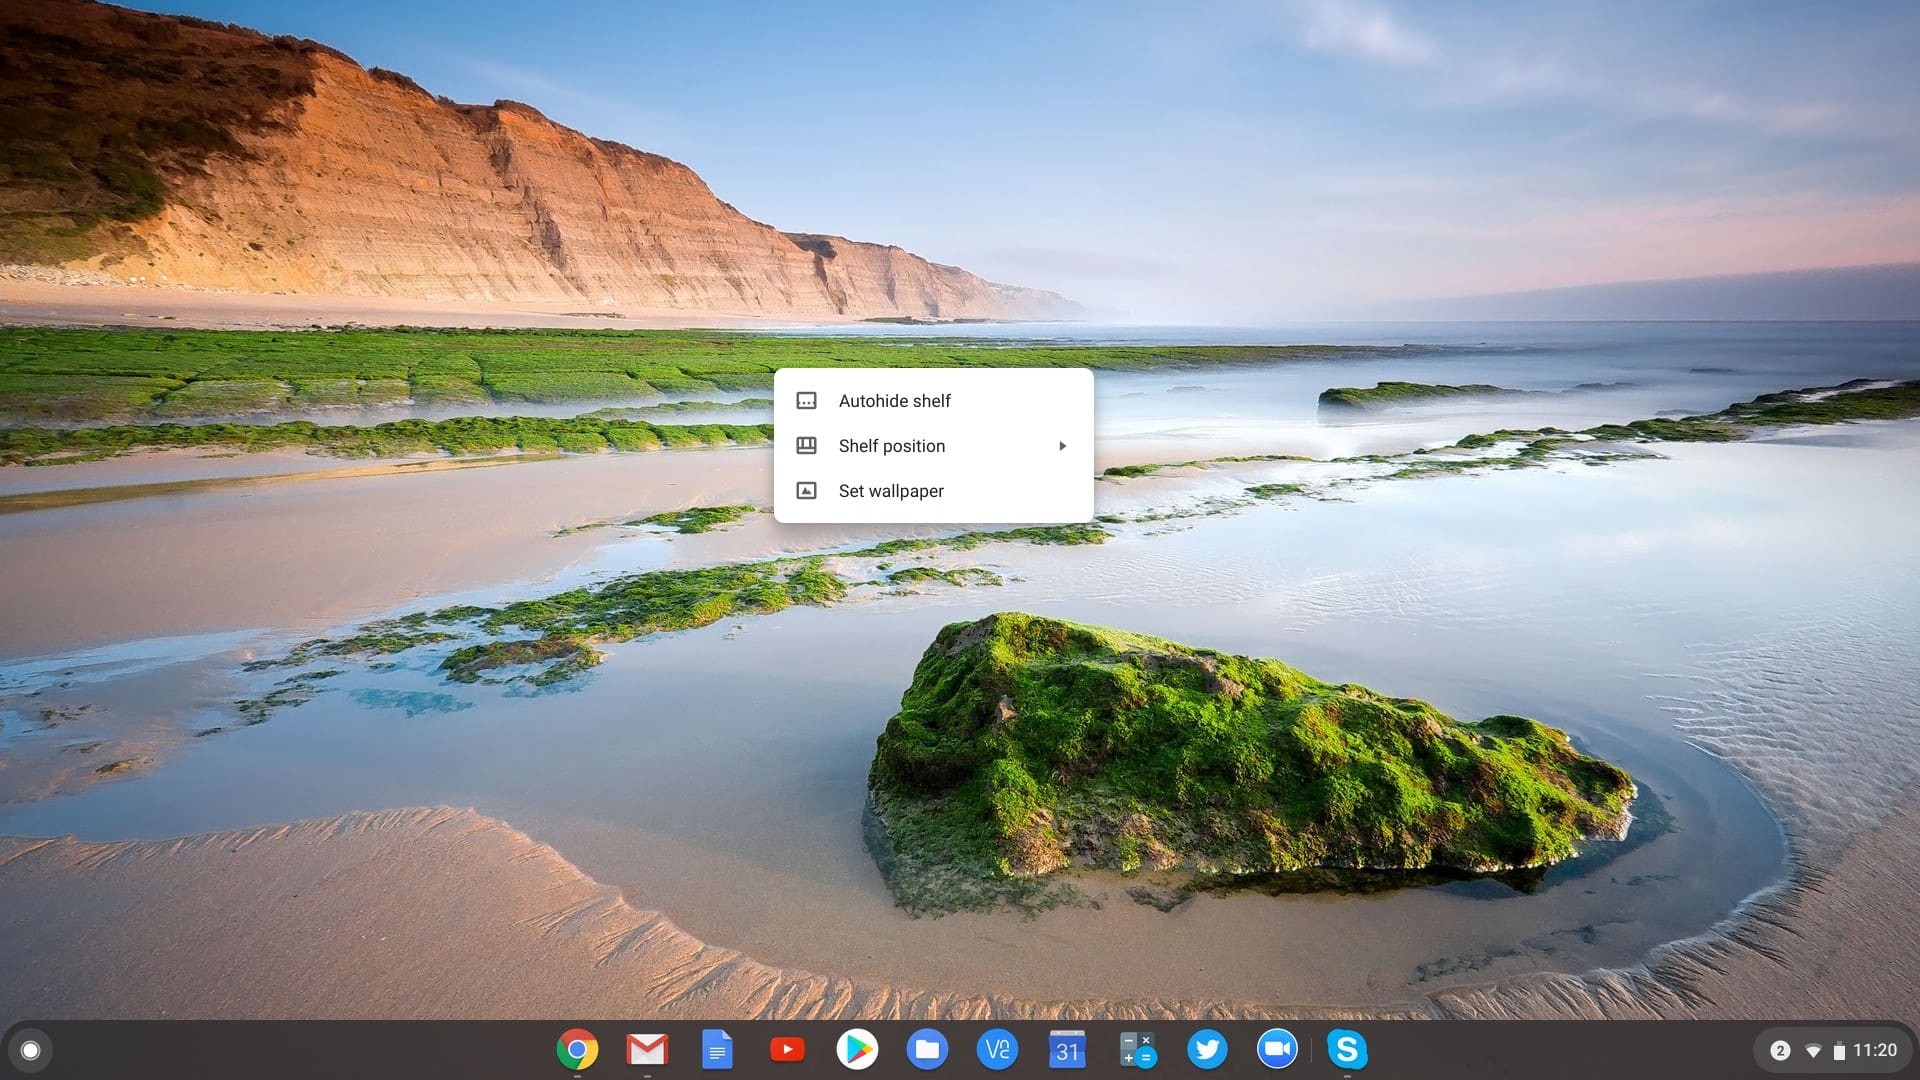
That is one of the easiest and quickest way you can right-click on your Chromebook. Just tap the touchpad with two fingers. That should open the menu options, and you can select the item you want. For example, you can invoke the right-click context menu on the desktop to display options for the Autohiding shelf, Shelf position, and Setting the Wallpaper.

Right-click menu on desktop
Method 2: ALT + Click
Another way you can right-click on your Chromebook is by holding down the ALT key and clicking or tapping the touchpad anywhere on the screen. This action will open the menu options, and you can choose the menu item you want.
Method 3: Use an external mouse

In case you have an issue with your keyboard, touchpad, or you find using the mouse much more convenient, then you can connect your external mouse via USB and right-click as you would on any other PC.
Those were the three ways you can use to right-click functionality on your Chromebook. We hope you found it handy! Do you have exciting tips you wish to share with our readers? Please leave a comment below.
