MKV and MP4 are two of the most popular video file formats, but it’s fairly understood that the duo of these formats is not always compatible with every device or media player. You’re not alone if you are a Chromebook user and have come across an MKV file that you want to play or share but can’t seem to play the video.
The good news is that converting MKV to MP4 on a Chromebook is relatively easy. This article will cover multiple ways of converting your MKV videos to the more widely supported MP4 format so you can uninterruptedly enjoy your videos on any device.
Converting MKV videos to the MP4 file format
Quite fortunately, you have several different ways to carry out the process in question. Chromebooks have multiple options to convert one file format to another, so there’s no intricacy involved here.
We’ll be going through these options in the following subsections. Read until the end to discover which method of converting MKV to MP4 videos works best for you.
Option #1. Use CloudConvert to convert MKV to MP4 video
Your first option for converting MKV videos to MP4 on a Chromebook revolves around a free-to-use web-based converter called CloudConvert. This is an utterly simple way of downloading videos in the format of your preference, whether that is MP4, M4V, FLV, MPEG, MXF, or MKV. There’s no shortage of video formats in this domain.
To get started, head over to this page of the official CloudConvert website. Once there, click the “Select File” button to bring up your Chromebook’s local storage and upload the file to the CloudConvert website. You also have several other options for uploading videos to CloudConvert.
The website supports integration with Google Drive, Dropbox, and OneDrive. You can even hook it up with an image’s URL, and I’ll automatically fetch the website.

Uploading the MKV video to CloudConvert
After you upload the file, it’s time to dig into some of the advanced capabilities of the CloudConvert video converter. What’s coming next is one of the reasons we thought it fit to include this particular domain in the tutorial.
CloudConvert hosts some of the most effective tools and techniques to tune your videos while converting them to your preferred file format. All you need to do to enter this particular section is click on this wrench icon beside your preferred conversion file format.

Tweaking the various parameters of the video
Once done, a window will pop up on the screen, making it possible for the user to tweak the various parameters of the video to make the final product more appealing and refined. If you’re an expert in videography, you’ll undoubtedly appreciate the swath of extra features that CloudCovert offers right out the gate.
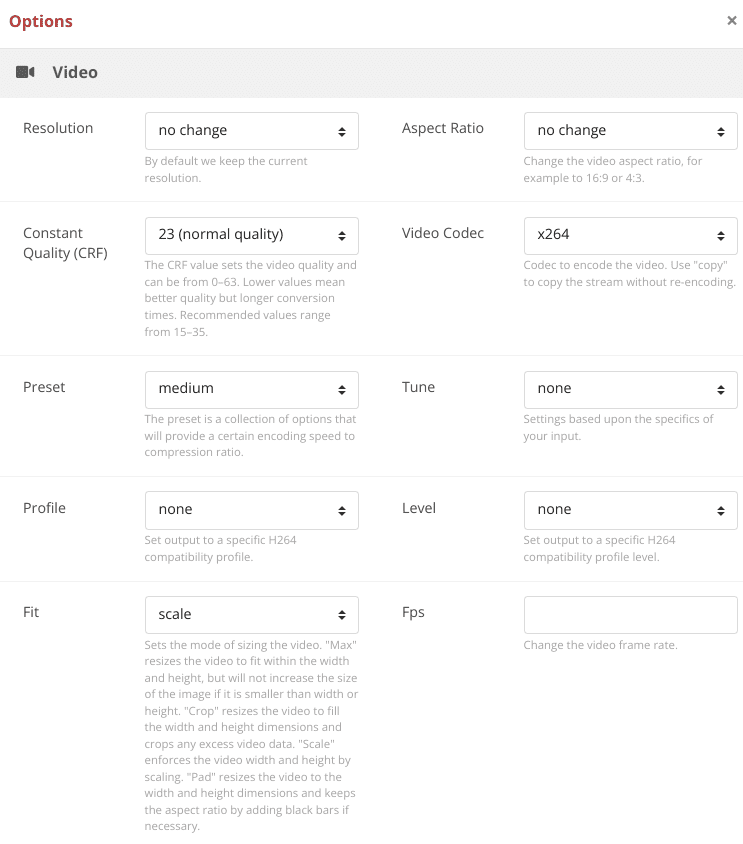
Video options present in CloudConvert
After tweaking your video, you can click on the “Convert” option to follow through with the process.

Converting the MKV video to MP4
It takes about a minute to convert your MKV video to MP4. The following preview should appear as soon as the procedure concludes. You may now click the “Download” button to get the converted video on your Chromebook’s local storage.
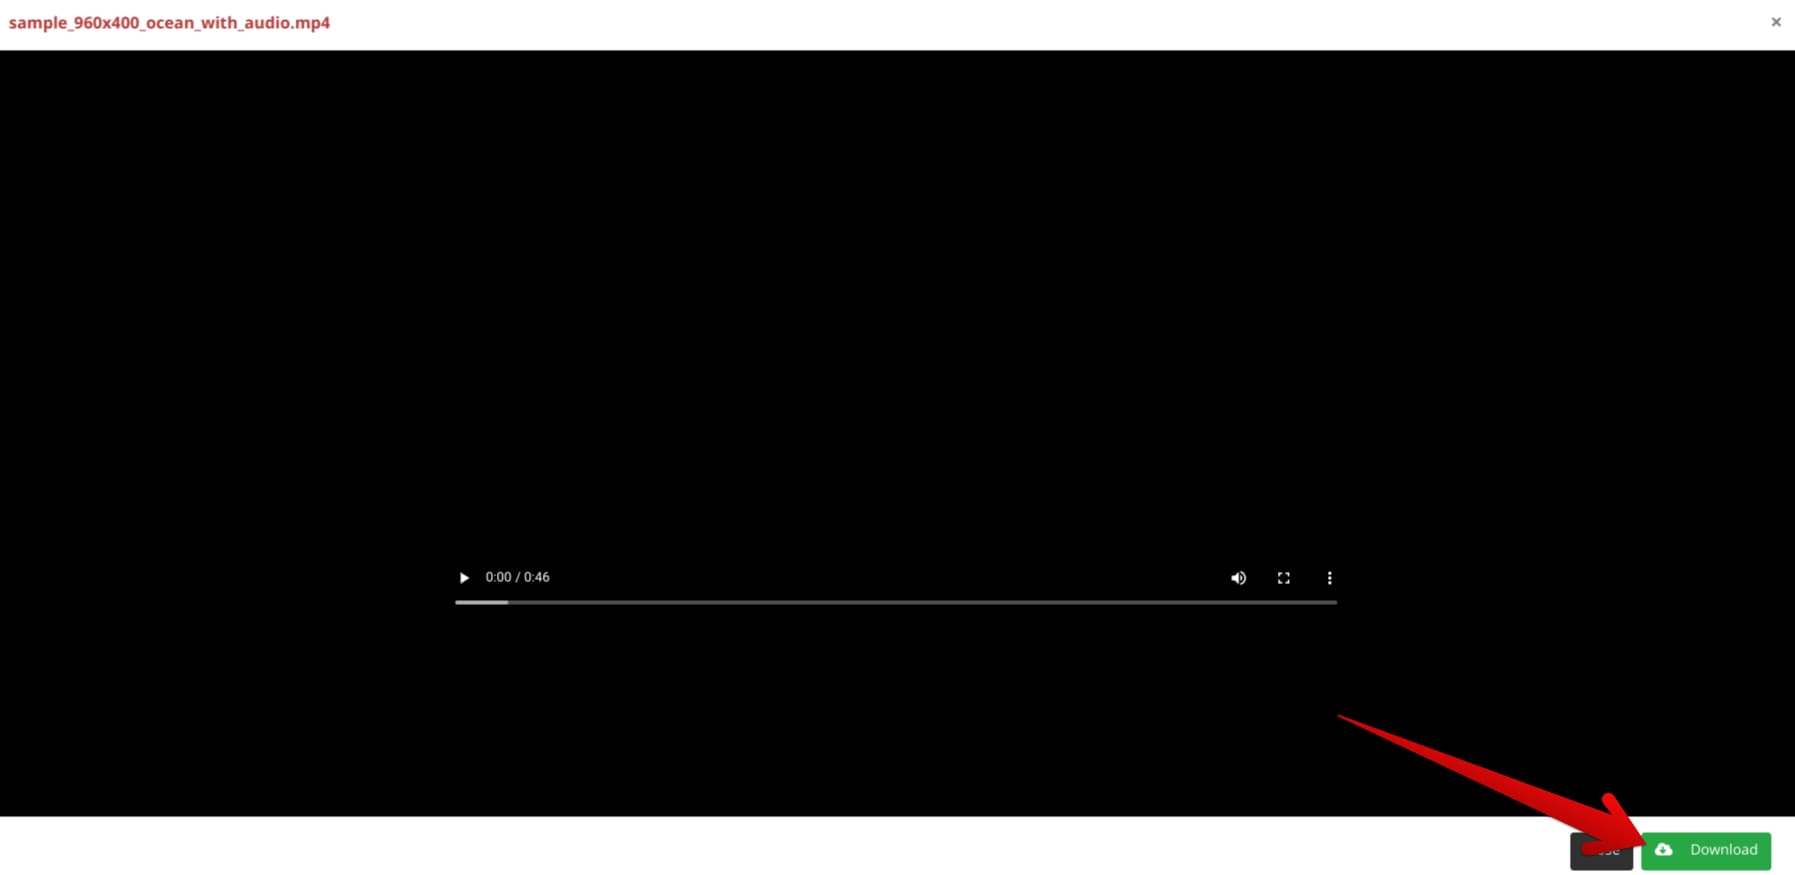
Downloading the converted video in MP4 format
That’s about it for the first option. You will now have your MK4 video converted to MP4 and downloaded on your Chromebook.
The following methods are available if you’d like to explore other options. So let’s check them out ahead.
Option #2. Try FreeConvert
The second primary option you can use to get MP4 videos on the fly is FreeConvert. This method is much more basic than CloudConvert because it lacks advanced features to tweak your video conversions. The website has a basic user interface and is geared to get your converted video on your system in just a few clicks.
This is why the website is ad-supported as well, unlike CloudConvert. To begin, use this head to freeconvert.com. Once there, click the “Choose Files” button to upload your MKV video to the converter software. Again, options such as Dropbox, Google Drive, and URL are available to facilitate you further.
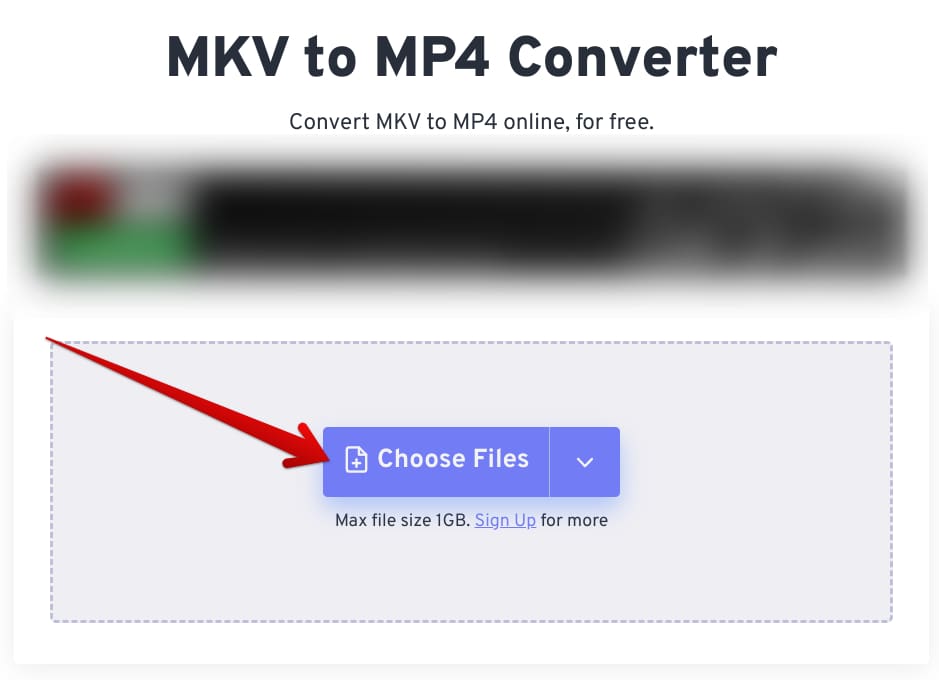
Uploading the MKV video to FreeConvert
The system will first process the upload and then allow you to convert it to the format of your choice, which, in this case, is MP4. Select the “Convert” button to get to the next step.
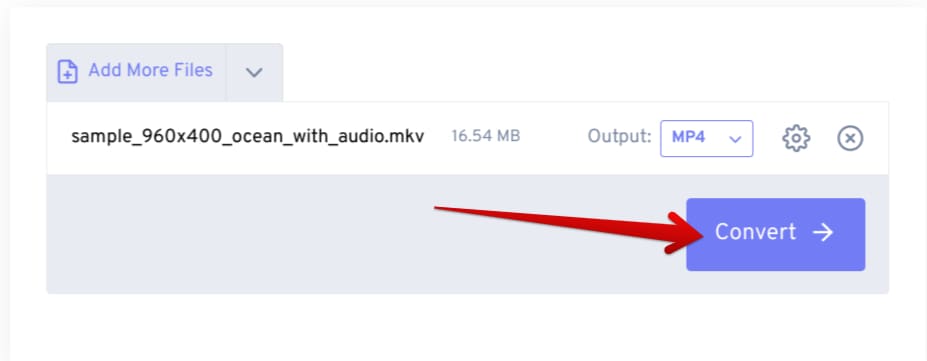
Clicking on the “Convert” button
That should load up another page on your end, making it possible for you to finalize the conversion of your MKV video to the MP4 format on your Chromebook.
Once the procedure is wrapped up, click the “Download” button to top things off. However, there’s one unique part about FreeConvert. It lets other devices download the converted file with the help of a QR code. Therefore, there is no need to delve into any file transfer methods on ChromeOS for this purpose.
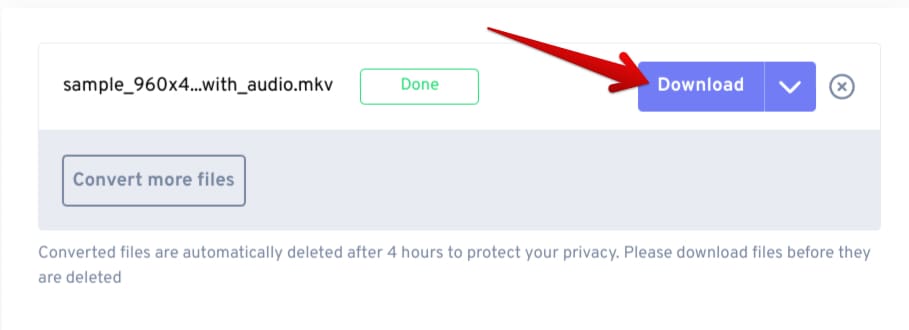
Downloading the converted video
That’s all there is to know about converting an MKV video to MP4 on your Chromebook via the FreeCovert method. So let’s get on with the third and final option to help you in this regard.
Option #3. Use a Play Store app to convert MKV videos to MP4
Last, we’ve got the Google Play Store pitching as a suitable alternative. The famous Android storefront allows users to download and benefit from a high-quality video converter application that can take care of all your MKV to MP4 needs.
The primary benefit you receive in the wake of this method is that you download a dedicated application on your Chromebook. Therefore, it’s no longer necessary to rely on the Chrome browser all the time, especially for converting an MKV video to MP4.
For this purpose, we’ve singled out a specific application from the several different options on the Play Store called “Video Converter.” The developer of this app is VidSoftLab, and the program has more than 5 million downloads on Google Play.
The software at hand is feature-rich and comprises many different tools and programs that make it stand out among the competition. So, naturally, you can employ it later, not just for video conversions but for other reasons. For now, though, let’s learn how to install the app on the Chromebook first.
1. The first step is to open the Google Play Store on your Chromebook.
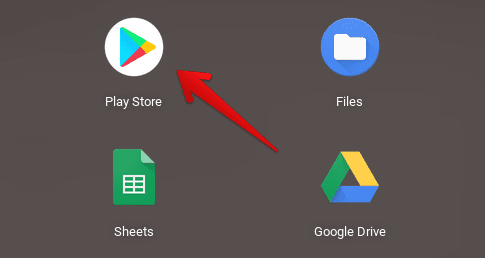
Opening the “Google Play Store”
2. Type in “Video Converter” in the in-app search bar and press the “Enter” key to continue. Then, select the same app as the one shown in the screenshot below. Alternatively, you can use this direct link to head straight to the official app page on ChromeOS.

Searching for the right Video Converter app
3. Click the vividly apparent “Download” button to proceed. Doing so will begin downloading the specified app on your Chromebook, and it may take a bit to process the entire installation, depending on your internet speed.

Installing the Video Converter app
4. As soon as you’ve been notified that the installation was a success, you can go ahead and find the installed app in your Chromebook launcher.
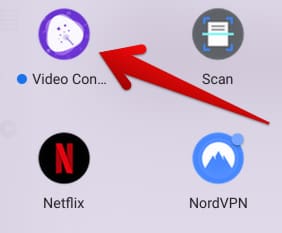
Video Converter installed
Good going so far! You can now launch the Video Converter app on your Chromebook to test its functioning immediately. When you first do it, you will be shown a welcome screen. Click on the “Let’s Start” button to proceed from there on out.

Initializing the Video Converter app
You will be asked for specific permissions regarding the Video Converter app. These shouldn’t be too much of a bother, and the following screen should appear accordingly. That is where all of the magic happens.
You’re free to experiment with the various functionalities present in the app, but for now, let’s focus on video conversion. Click on the “Video Converter” feature, as shown in the screenshot below, to get to the next step.
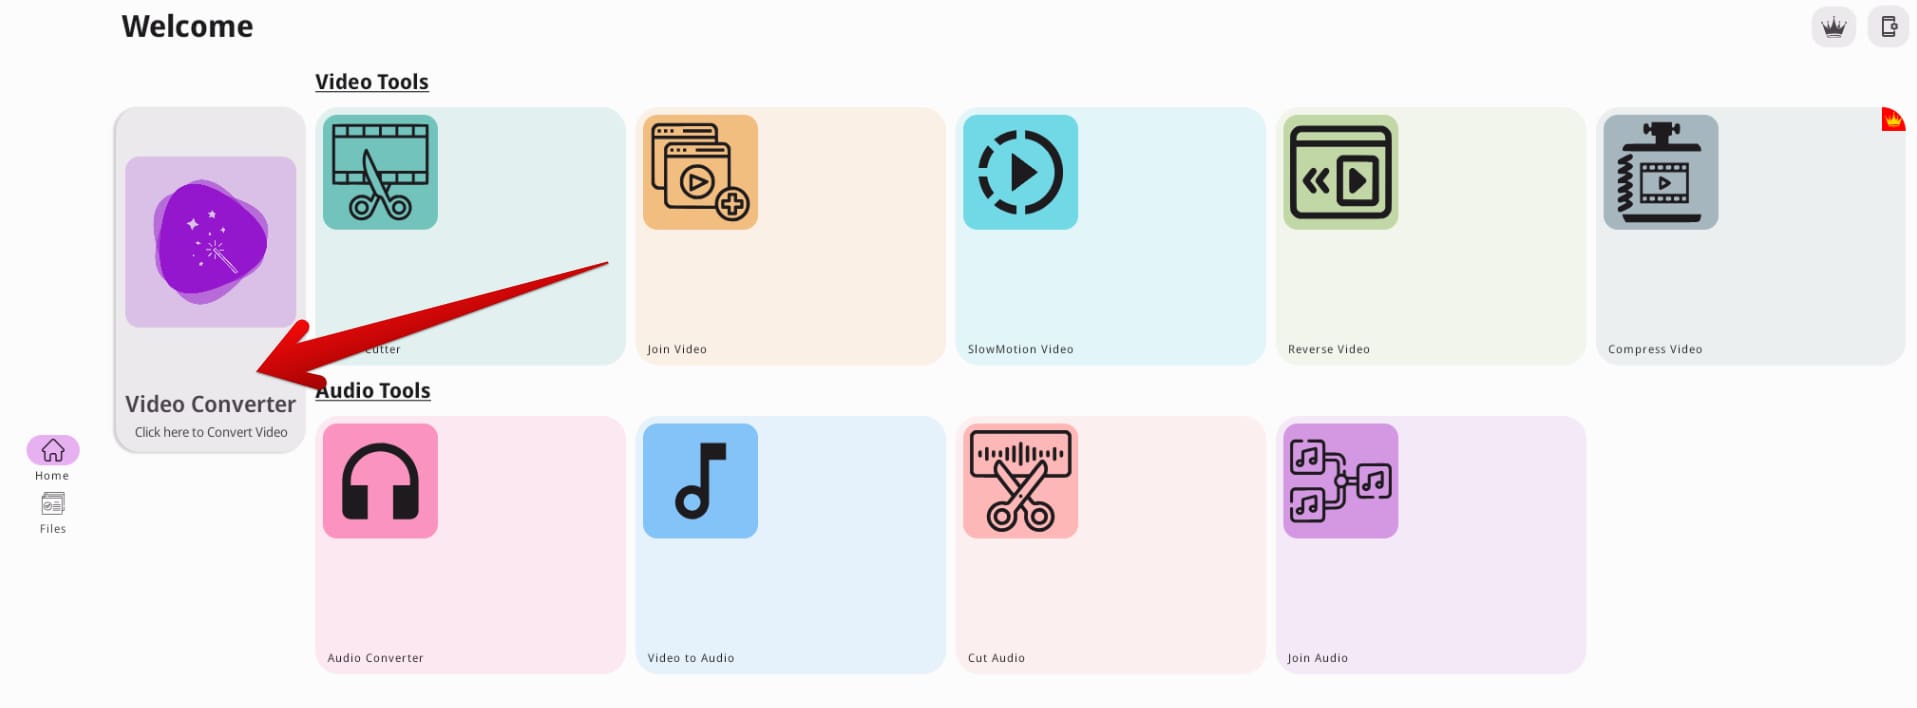
Selecting the “Video Converter” tool
Pick the MKV video that you wish to convert to MP4. You may also click on the “File Manager” button in the top-right corner of the screen to bring up your Chromebook’s local storage. Select the video, and you’ll be good to go to the next step.

Opening the local storage on the app
It’ll take a moment for the application to process it. Once you’re taken to the next page, your sole focus will be adjusting the format you wish to convert your video. Use the option of “MP4” under the “Format” section, and you’ll be golden.

Choosing the right conversion format
You’ll need to click on the tick button in the bottom-right corner of the page to move ahead. That will further the process by making another small-scale prompt appear at the bottom of the page. This is where you can rename your video file. Once done, click “Save” to get to the next step.

Saving the converted video
The conversion process will now finally be kicked into motion. It’s advised to wait until the operation concludes. A progress tracker will also appear on the screen, allowing you to visualize the completion percentage. As soon as the procedure has been topped off and your video is ready, you can use Video Converter’s various shareability features to get your clip around.
Moreover, it’s also possible to open the video in other video players on your Chromebook if installed. The best options in this regard include MX Player and VLC Media Player.

MKV video converted to MP4 via Video Converter
There you have it! All viable methods of converting MKV to MP4 videos on ChromeOS have been outlined above for your convenience. Feel free to refer to any of them whenever you want.
Bonus mention: Try HandBrake for ChromeOS via Linux
HandBrake is one of the most effective video transcoding solutions that can be installed on Chromebook thanks to the built-in Linux container. It’s easy to use and warrants a three-step installation, so even the most beginner can dive right into the software without prior experience.
We’ve outlined a complete guide on installing and using HandBrake on a Chromebook, so do check that out for more information. The program at hand feels optimized to work with on ChromeOS and comprises a speedy user interface.
Conclusion
Out in the vast networking world of the day and age we live in today, there exists a whole sea of file formats. Unless you’re looking at these from a playability perspective, downloading and using the VLC Media Player on ChromeOS will be enough to keep you going well, given how this ubiquitous software supports many different formats.
However, nothing stops you if you have other needs and are simply looking to convert your MKV video to MP4. Instead, multiple methods can help you complete the task, such as the ones we’ve laid out in the guide above.
Whether you wish to keep all of your videos in the MP4 file format or one of the programs you’re using does not offer support for MKV files, you can now proceed with converting these formats back and forth. Do let us know in the comments section whether you found this tutorial useful for your cause. As always, Chrome Ready wishes you good luck!
- A must-read: ChromeOS Firewall – Everything you need to know.
