ChromeOS is a cloud-first operating system that technically benefits greatly from remote servers. Thanks to Google Drive, Chromebook owners can access their cloud storage directly within the ChromeOS user interface. However, if you’d like to add more convenience to storing things on your trusty device, there’s another option than Drive to look into.
Enter Dropbox—a high-quality cloud storage solution for millions of users across the spectrum. Usually, the Dropbox vs. Google Drive scenario creates a divide among the user bases of these two programs. Still, Chromebooks luckily allow individuals to experience the best of both worlds with no rivalry.
This guide will show you how to add Dropbox in the Chromebook File Manager app, otherwise known as “Files.” Read on as we explore what Dropbox is and what it can do to uplift your ChromeOS experience for the days to come.
- Recommended read: Dropbox encryption vs. Google Drive encryption – What you need to know.
What is Dropbox?
Dropbox is one of the world’s most popular cloud-based storage solutions. The program is multi-platform and can be enjoyed on mobile operating systems like Android and iOS; and desktops like ChromeOS, macOS, and Windows alike. Dropbox came out in September 2008 — even before Drive’s inception– so it does come across as an industry power player.
The cloud-oriented application has about 1 billion downloads on the world-renowned Android storefront alone. Its file size is pretty sizable at 60 MB, but you can best believe how well-optimized it is for ChromeOS. Dropbox has amassed many reviews on the Google Play Store, with the majority being outright 5-star.
Some of the best reasons that Dropbox is so famous around the globe include being able to upload photos and files automatically to the platform, not to mention accessing and previewing files offline and sending and receiving large files just with the help of a unique link without needing a Dropbox account.
The Dropbox app can also scan documents, IDs, and other files effortlessly. The developer even offers new users 2 TB of storage space in correlation with the Dropbox Plus free trial. But, after the trial period expires, you will need to opt for the paid plan to continue using your Dropbox account.
Speaking of which, Dropbox comprises a bevy of different premium services that you can purchase. Most of these come with a swath of deluxe features and tools, so there’s a good reason to become a premium Dropbox user, should you choose to spare a budget for it.
The application remains consistently updated and is always welcoming stability improvements and other updates from the side of the developers. Now that you’re aware of the whole agenda here, let’s look into Dropbox’s exclusivity factor about ChromeOS and how the popular cloud storage platform integrates with ChromeOS.
The following section is going to take it from here.
- Related read: How to transfer data from Dropbox to Google Drive.
Adding Dropbox to the ChromeOS “Files” app
According to this official Dropbox support page, you need to grab the Dropbox Android app from your Chromebook’s Google Play Store, sign into it, and then head over to the “Files” app to make the integration successful. This can be a lot to take at once, so we’ll break down the necessary steps in an easy-to-grasp format.
The subsections ahead will take you through the process, so do follow along with the written instructions and learn how to add Dropbox in the Chromebook File Manager app.
Installing Dropbox on ChromeOS
Most modern-day Chromebooks come with built-in support for Google Play Store apps, so accessing the well-grounded Android storefront shouldn’t be a struggle on your end. However, if you haven’t accessed this feature on your device before, there’s a chance that the functionality isn’t supported on your end.
- In that case, look at our guide on Chromebooks that run Android and Linux apps for the full memo.
With that out of the way, let’s guide you through the installation steps of the Dropbox app with no further ado.
1. The first step is to open up the Google Play Store app on your end. It should be an easy code to track, given the presence of the “Search” option in the ChromeOS interface.
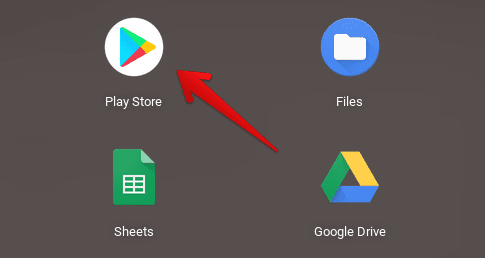
Opening the “Google Play Store”
2. Once the Play Store app is all fired up, the next step is to look for the Dropbox app using the in-app search bar. Type in “Dropbox” and press the “Enter” key to the next step.

Searching for Dropbox on the Google Play Store
3. As soon as you complete the next step, you will be taken straight to the official installation page of the Dropbox app. There’s going to be a vividly apparent “Install” button there. Click on it to begin the download.

Installing the Dropbox app
4. The installation should conclude in a couple of minutes. Once done, head over to the launcher section of the ChromeOS user interface to find the Dropbox app installed there.
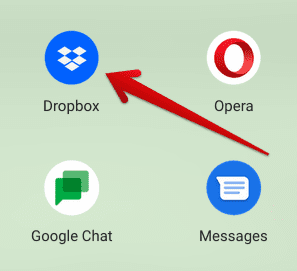
Dropbox app installed
- On a side note, some of the apps that you see in the image above are Google Chat and Opera – the world’s first alternate browser for Chromebooks.
That brings an end to the first half of the tutorial here. We’ll now access this recently installed Dropbox application on the Chromebook and integrate it with the Files Manager app.
Signing into Dropbox
Click on the Dropbox application to move forward from this point onward. We now need to sign in to Dropbox with the Google account logged into our Chromebook. That way, you’ll be able to integrate Dropbox with the “Files” app on ChromeOS.
After launching the application, the following is what you’ll see. Click “Sign in with Google” to get to the next step. A prompt will appear on your end, allowing you to select the relevant Google account that’s currently in use by your Chromebook as well. Choose the correct option to advance.
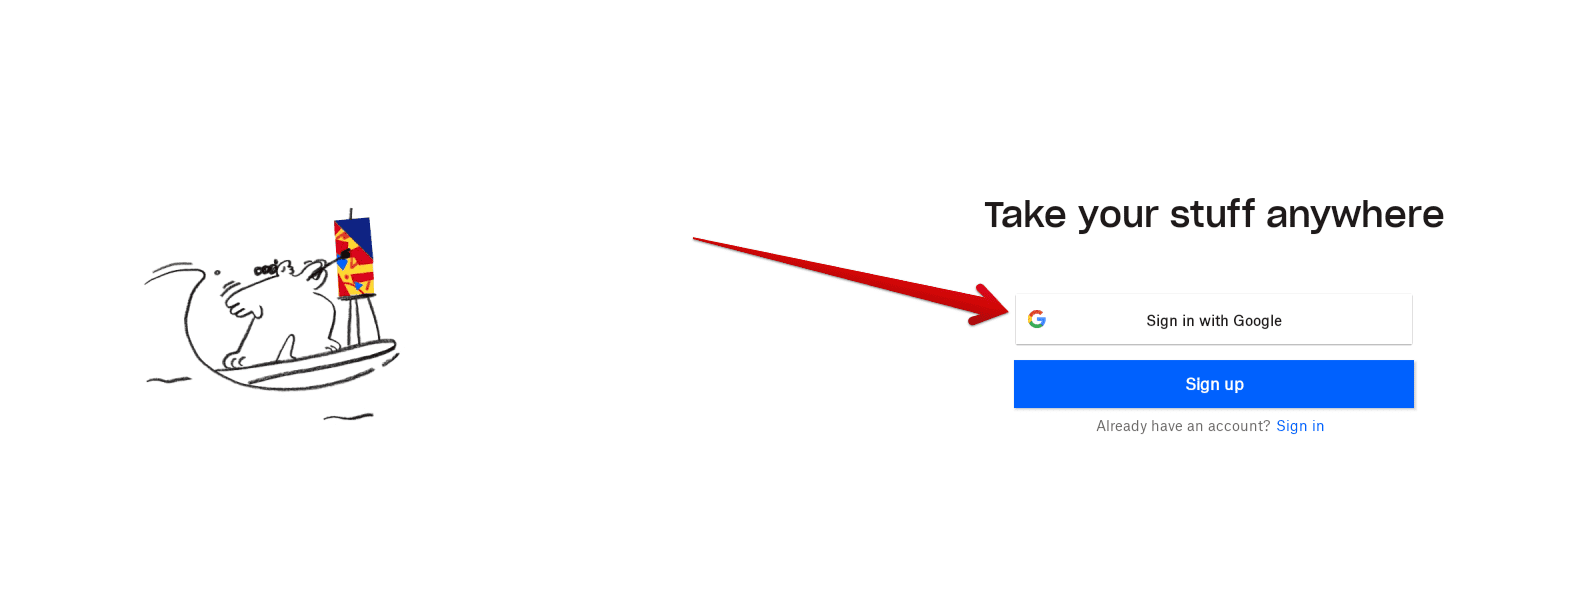
Signing into Dropbox with Google
After the initial sign-in, a confirmation screen will appear on your Chromebook, making sure you willingly allow the Dropbox app to access your Google account. Click on “Allow” here to get to the next step.
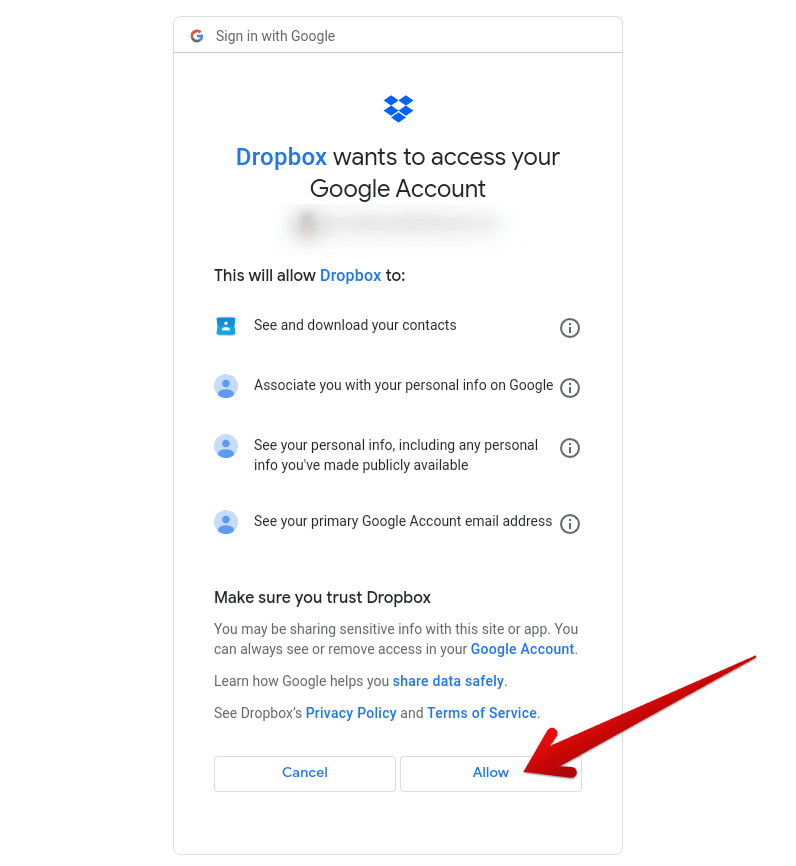
Allowing access to the Dropbox app
After allowing the Dropbox app to access your Google account, you will now need to tend to the Dropbox app itself in terms of a Dropbox account. If you don’t have one already, the system will automatically detect that you need to create a new account. Click on the appropriate option, as shown in the screenshot below, to get to the next step.

Finishing up the Dropbox registration
After finishing up the registration for your Dropbox account, you will be taken to the menu screen of the Dropbox application. You can perform various actions from here, such as backing up your photos, scanning your documents, and even sharing files with others.

Dropbox menu screen
That’s about it for the second part of this tutorial! You can now integrate Dropbox into your Chromebook’s File Manager in the following subsection.
Adding Dropbox to the Chromebook File Manager
Last but not least, the final step here is to delve into your “Files” system application and find the Dropbox application already integrated there. You got that right! After completing the previous step successfully, you no longer have to do anything extra to get the Dropbox app folder to appear in your Chromebook’s File Manager.
Click on the “Files” app on your Chromebook’s shelf if you have it pinned there to launch the system utility and get the ball rolling here. You can also open the app from the launcher section so that you know.
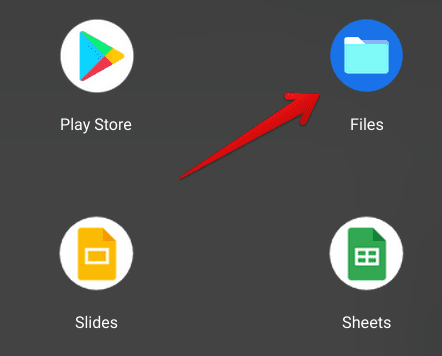
Opening the “Files” system app
After launching the “Files” app on your Chromebook, focus on the side panel to the left. You’ll discover that there’s a dedicated Dropbox folder sitting in your Chromebook’s File Manager app now. Click on it to access your Dropbox account’s uploads painlessly.
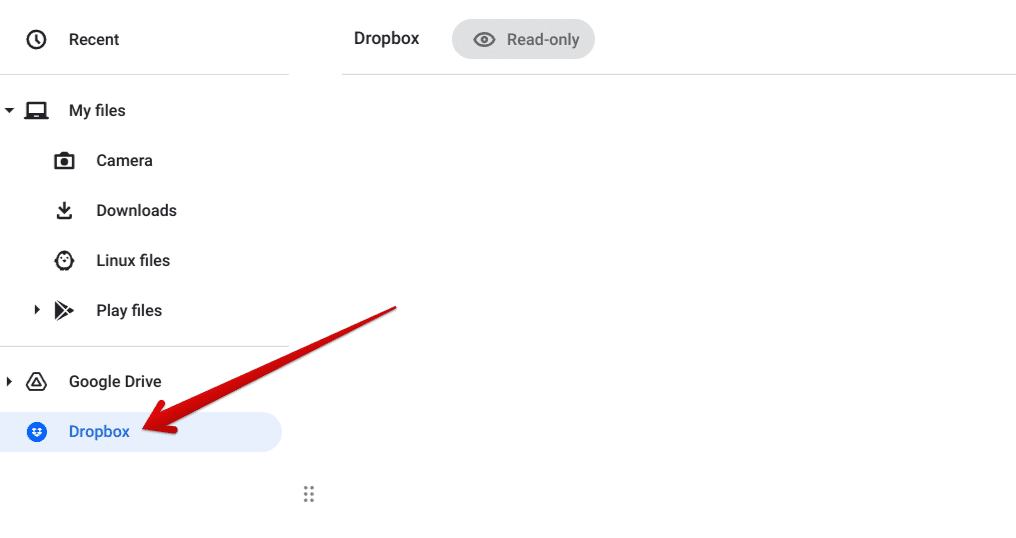
Dropbox folder added to ChromeOS
You’ve finally arrived at the article’s conclusion, having gone through the three subsections associated with the tutorial. The instructions have been laid out, as promised, in an easy-to-comprehend format, so there’s more or less a guarantee of successful results at this point.
Conclusion
ChromeOS doesn’t only sport the added expanse of Google Drive and lets you integrate another first-rate cloud-based storage application called Dropbox. We’ve detailed a guide on that subject alone, so you shouldn’t be facing any trouble setting up Dropbox with your Chromebook’s File Manager app.
Do let us know in the comments section ahead whether you found the write-up useful for your cause. As always, Chrome Ready wishes you good luck!
