The Google Play Store is a goliath for all things Android apps. It features a diverse catalog of available options, so there’s something for everyone there. With more than 2.5 million applications finding a home on the popular Android storefront, it’s safe to say that you’ll find what you need on Google Play.
However, there are still various instances where you may be compelled to look for third-party sources for installing Android apps on your Chromebook. Whether that’s a compatibility issue or your device lacks the architecture to host these particular applications, the Google Play Store isn’t always the answer. However, it is one for most of the time.
Now, if you’re not inclined to turn to the ChromeOS developer mode for installing non-Google Play Store APKs, we have good news. There’s a way you can employ to install APKs from third-party sources and not meddle with the developer mode too. Keep reading to discover what that is and how you can get the ball rolling with such a technique.
- In the meantime: How to turn off Link Sharing in Google Photos.
Why is the ChromeOS developer mode frowned upon?
While the ChromeOS developer mode may be beneficial and all, especially for power users looking for a way to tap into the unbounded potential of Chromebooks, there are specific reasons why casual device owners may want to avoid the otherwise advanced functionality.
For starters, Chromebooks are known for their unflinching security. We’re talking about devices that have never been hit with ransomware, and the thanks here are owed to the various security protocols of ChromeOS. Unfortunately, when you flip that switch and enable the developer mode, you thereby cripple the robust security standard of the operating system.
The developer mode essentially disables the Verified Boot feature of the Chromebook, a self-check start-up system of the device where the device performs a quick operating system-wide scan and searches for any hidden viruses.
So, as far as the device’s security is concerned, you’re more vulnerable to threats and privacy concerns with the dev mode enabled that way. This is the primary reason the Chrome OS developer mode is frowned upon, thereby the reason for us to dish out the article in question and discuss an alternative method to install APKs on a Chromebook.
With no further ado, let’s talk about a simple and straightforward way that will allow you to escape the confines of the developer mode and get APKs on your device just as well. The following section is going to take it from here.
The best way to install APKs on your Chromebook
It’s easy to install APKs on a Chromebook without the added involvement of the developer mode. To do this, you must have the in-built Crostini Linux terminal installed on your end. If you’re unsure what that is, take a look at our complete tutorial on installing and configuring Linux apps on Chromebook.
The gist of it is that you head over to the “Developers” section of the device’s “Settings” app and turn on Linux from there. The installation takes a couple of minutes, so the process shouldn’t take too long. You can move forward with what we’ve got going here as soon as you get the Linux terminal up and running.
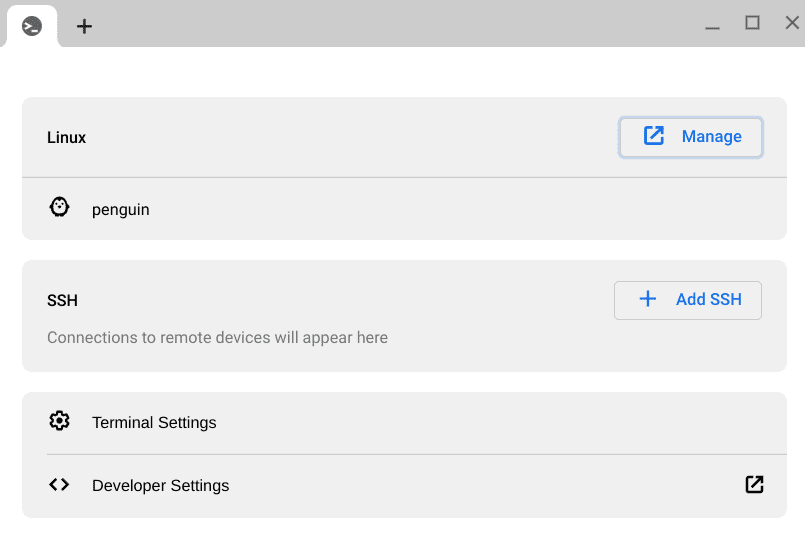
ChromeOS Linux terminal
Enabling the Linux terminal is only one portion you need to get done to enjoy seamless APK installation on your Chromebook. Next, you have to allow a distinctive feature called “ADB debugging” within Linux and then continue toward grabbing an APK from a trusted website such as APKPure.
Finally, you’ll run some commands in the Linux command-line window and find yourself installing the downloaded APK in no time. Of course, this is a little too much to take in all at once, so we’ll be breaking the steps down section by section after getting past the initial prerequisite of enabling the Linux terminal.
Step 1. Toggling on ADB debugging on ChromeOS
As the headline suggests, the first step is to toggle on specific functionality within your Chromebook that will allow you to develop Android applications. In other words, going forth with this makes installing APKs on the device possible without switching to developer mode.
To do this, you must head over to the “Settings” system app, enter the “Linux development environment” section, and enable ADB debugging. Follow the guidelines laid out below for a step-by-step tutorial.
1. The first step is to open the “Settings” app on your device. After that, feel free to use the launcher area or open it from the shelf if you have it pinned there.
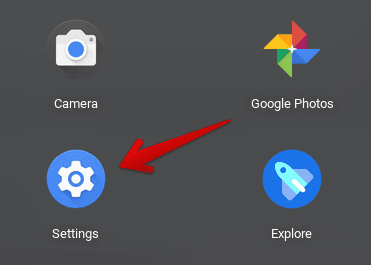
Opening “Settings”
2. After you’re within the “Settings” window, click on “Advanced” in the sidebar to the left, followed by clicking on “Developers.” Once done, access the “Linux development environment” section next by clicking on it on the right-hand side of the screen. Check out the screenshot below for a visual explanation of this step.
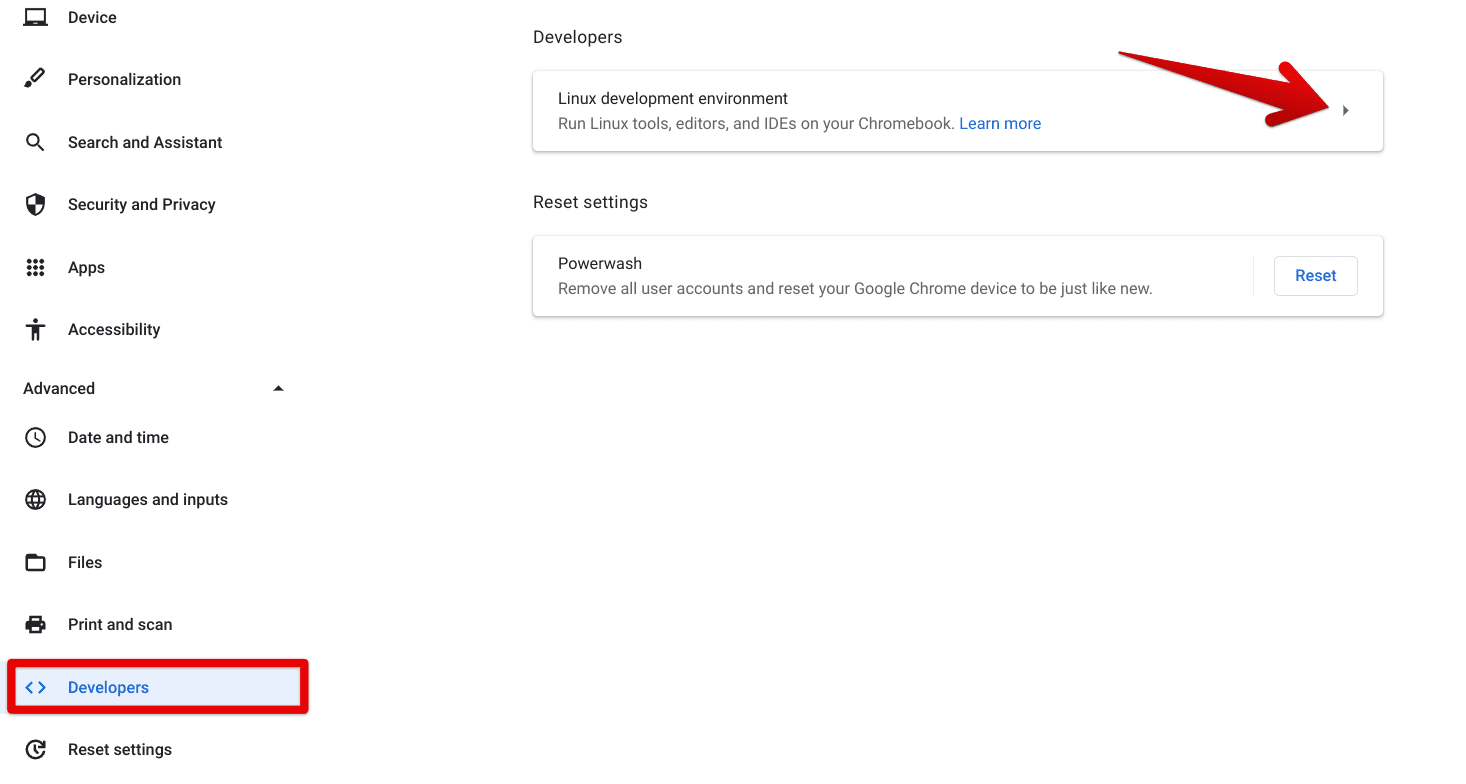
Entering the Linux section
3. After entering the dedicated Linux section on your Chromebook, the next step is to click on the “Develop Android apps” section, as shown in the image ahead.
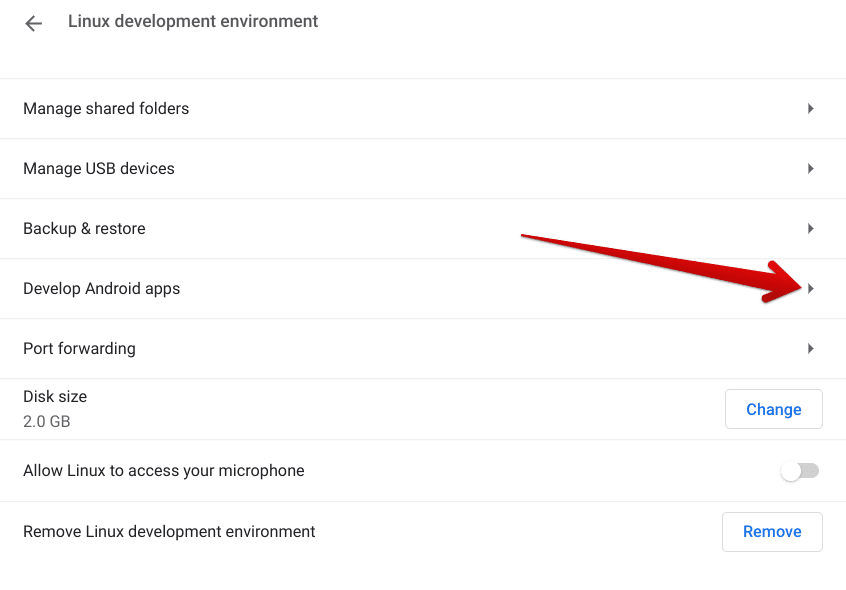
Clicking on the “Develop Android apps” section
4. Finally, click the “Enable ADB debugging” toggle to enable the feature.

Enabling ADB debugging
5. You will need to restart your Chromebook for the changes to take effect. Click on “Restart and continue” to proceed.

Restarting the Chromebook
When your Chromebook finishes rebooting, a confirmation prompt will appear on the screen, asking whether you truly want to enable ADB debugging. Confirm the operation to complete the first phase of this three-part procedure successfully.
Step 2. Downloading a safe APK from the web
After enabling ADB debugging on your Chromebook to install APKs, the next step is pretty simple. If you do not already have one of these Android installation files available on the device, you will have to grab one from the wide interweb.
Websites such as APKRPure and APKMirror are known for hosting a range of reliable APKs, so you can opt for either of these domains to get what you’re looking for. Illustrating this process with the help of the late, we’ll show you how to download and install an APK for Swordigo, which is a high-quality action-adventure title available on Chrome OS.
Click on this direct APKMirror link to get to the site and move toward grabbing its APK file. Type in “Swordigo” or whatever it is that you wish to download the APK and press the “Enter” key.

Searching for the desired APK
As soon as you’ve done that, plenty of different search results will manifest, but be mindful of choosing only the latest version of the APK for the best results. Many would prefer to have a downgraded version for certain applications, hence the reason for the presence of previous releases of these APKS.
However, if you don’t have anything to do with that, you can opt for the latest version of the APK that you’re trying to download. Go ahead and download the APK. Usually, the entry at the top of the search results is the one you want to go for.

Clicking on the “Download” button
Just follow the on-screen instructions from there on out, and you’ll be golden in no time. Make sure to negate the different advertisements you may encounter while downloading the application. Navigate through all that, keep clicking on the right buttons, and you’ll easily be able to download the APK at no more than a moment’s notice.
However, depending on the size of the file that you’re downloading, you may need to tolerate the download times. Most APKs do not sport a considerable size, so you should be all set. As soon as the APK is present on your Chromebook, know that you’ve now completed the second step of the procedure here.
Step 3. Running relevant commands in Linux to install the APK
At long last, everything that will ensue from here on out will happen on the Linux terminal. Get the ball rolling by first moving your APK to the “Linux files” folder on your Chromebook. Go to the “Files” system app, copy the APK, and paste it into “Linux files” using the sidebar to the left.
Oh, and if the APK file’s name is complicated, long, or complex, we highly recommend switching that up to something similar, but make sure not to remove the file’s format by erasing the “.apk” portion of the file’s name. Check out the screenshot below for a visual explanation of this step. The APK in question pertains to the Smash Runner game.
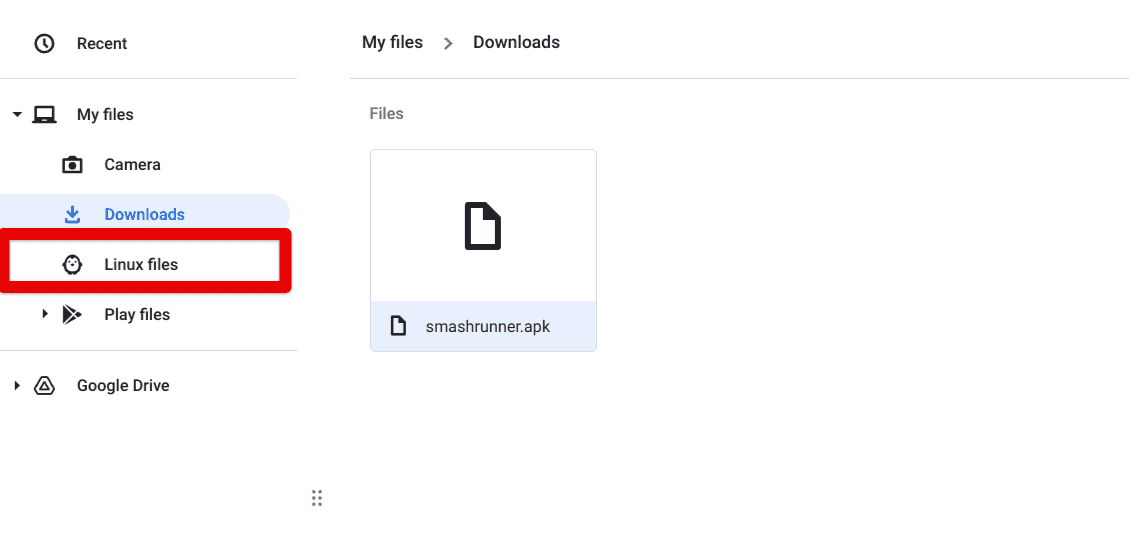
Moving the renamed APK to the “Linux files” folder
As soon as the APK file has been transferred to the “Linux files” folder, the next step is to fire up the Linux terminal on your Chromebook. This can be done quickly from the launcher section or the shelf if you have the app.
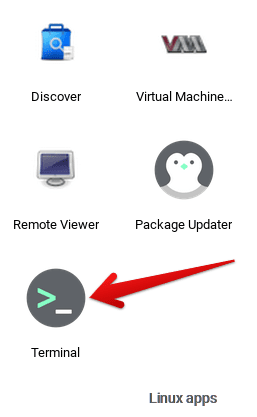
Opening the Linux Terminal
To continue, type the following command into the command-line interface and press the “Enter” key. Doing so should prompt the terminal to install the Android Debug Bridge (ADB) functionality. Halfway into the installation, you must confirm your selection by pressing the “Enter” key.
sudo apt install adb

Typing in the relevant command
Next up, another command will be needed to be used, allowing you to start the debugging tool.
adb connect arc

Enabling the debugging tool
Onto the final step of this reasonably lengthy process now. Type in the following command after completing the previous operation, and you’ll have your APK installed on the Chromebook in no time. Make sure you’re entering the correct name of the file you renamed in one of the earlier steps for the best results.
adb install [filename].apk
Right after that, the installation of the APK will commence and take some time, depending on the file size of the APK. However, there’s no need to fret once the process kicks off. Successful results are more or less guaranteed at this point.
Hover over to the Chromebook launcher section to find the installed APK as soon as you’re notified that the installation was completed. The app icon for the APK should be there, allowing you to click on it and start using the application.
That’s all there is to learn about installing APKs on your Chromebook without turning the developer mode on. While we conclude the article next, don’t forget to follow the instructions outlined above diligently for the best results.
Conclusion
Chromebooks are known for their broad expanse of accessibility tools and features, and what better way to access these sleek devices other than sporting the non-pareil functionality of the Linux terminal? Thanks to this convenient functionality, Chromebooks can pull off much more than they previously could.
The latter includes running WordPress, installing Kali Linux, and hosting high-quality Linux apps such as OpenShot Video Editor. In this guide, we’ve gone over an exciting topic that can help you avoid the risk associated with enabling the developer mode and installing APKs side by side.
Do let us know whether you found the guide helpful for your cause. As always, Chrome Ready wishes you good luck!
- Related read: Top 10 things you can do with Linux on your Chromebook.

4 comments
Any chance we could get an update to this article with a possible fix to this issue:
missing port in specification: tcp:arc
I noticed on Reddit that I wasn’t the only one with this issue. I’ve tried all of the suggestions posted there and nada. Hopefully I find something…
how to get package name and how to uninstall, using terminal?
Just in case some did not realize… for the install command, the APK file name is case-sensitive.
Yo guys so i tried to run an apk with this but everytime I try to, it says
“error: more than one device/emulator
Performing Push Install
adb: error: failed to get feature set: more than one device/emulator”
So uhhh what exactly should I do abt this situation ?