Are you looking to buff up your presentation delivering skills on your Chromebook? Or perhaps you’re a teacher who has to make demos for their class day in and day out. Whatever the case, ChromeOS has just been blessed with the brand-new Screencast application, and it’s outright amazing. It takes care of all your screen recording needs painlessly and only lets you tweak the good stuff. Keep reading and discover how to use Screencast on Chromebook for the best results.
Google is always out there trying to slide in nifty pieces of innovation in its product ranges. Ever since ChromeOS made landfall in the working technological world. It has been subject to a great deal of improvement that manifested slowly over time. Today, Chromebooks can do many things, such as installing WordPress, running the best Android apps in the business, and even housing the full-fledged Steam launcher.
- More from Chrome Ready: Chromecast vs. Android TV – Know the differences.
What is Screencast on ChromeOS?
Screencast is launched with a novel prospect that allows users to record their entire screen or a mere portion of it. However, that isn’t where the functionality of this new tool ends. It’s where it begins instead. Screencast has been engineered to record the audio and your webcam alike.
Moreover, it allows aspiring users to annotate on their screens and create engaging lessons for their audience. It is also possible to create a transcript of the recording on the go without having to tend to any other third-party software. Want to know the best part?
We’re still not done yet. Screencast afterward lets you translate the transcribed text into the language of your choice. What a way to interact with a multi-lingual user base, right? Previously, such functionality wasn’t supported on Chromebooks.
Users had to download and install other applications on their end to partake in any transcribing or translating. Screencast has arrived at the forefront of Chromebooks with the latest stable release. Although the feature has been under the radar for several months, the roll-out phase is nearing the end as all compatible devices now sport the Screencast app.
You should be able to have the software all fired up on your end already, but in the slim case that you do not have Screencast on your device still, go to “chrome://flags” on the Chrome browser and toggle on the following flags:
- Enable the selfie camera in the screen capture.
- Enable Projector
- Enable Projector annotator
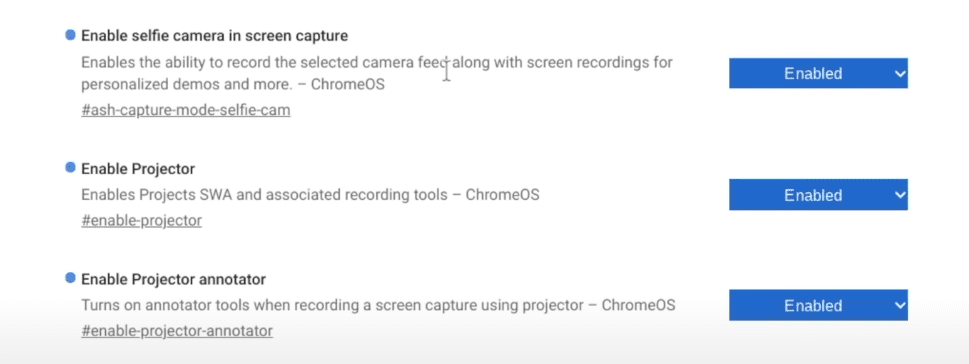
Enabling the relevant Chrome flags
After enabling all three, you will be prompted to restart the device. Take care of that swiftly and get back to the ChromeOS user interface. Look for the following app in the Launcher area afterward.
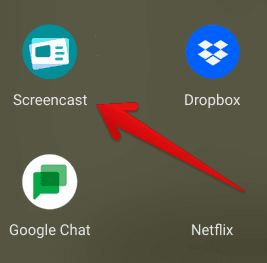
Screencast app on ChromeOS
Getting started with Screencast
Let us learn how to properly utilize the diverse offerings of the Screencast app on your Chromebook. To get the ball rolling, click on the app icon shown in the screenshot above.
Once done, the program in question should be fired up almost instantaneously. As soon as you do that, you’ll see the following when you launch Screencast for the first time.
The app will welcome you by offering a quick tour of the service. We advise going through with it. Click on the “Quick tour” button to proceed.
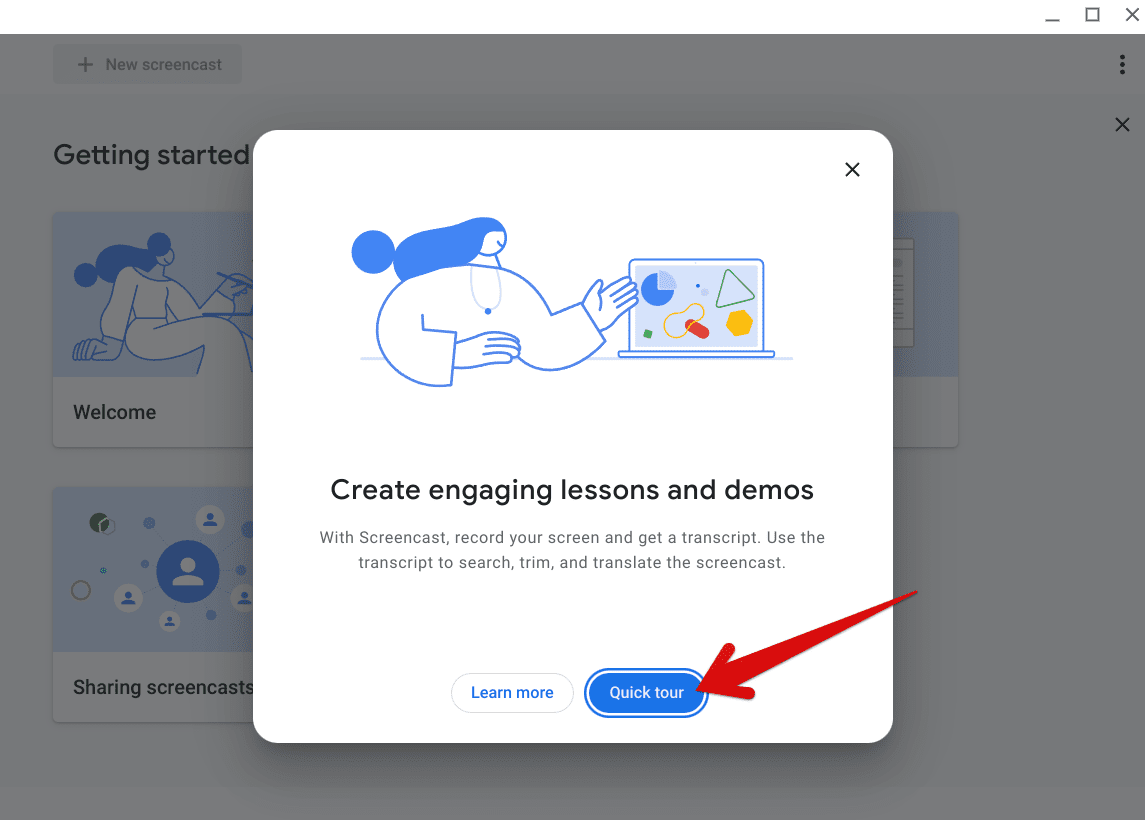
Taking a quick tour of the Screencast app
As soon as you click on “Quick tour,” the first feature that’ll Screencast make you familiar with pertains to the screen and camera recording. Not only will the app record your Chromebook screen, but the front camera will also kick in, allowing you to put your face front and center. Click on “Next” when you’re done here.
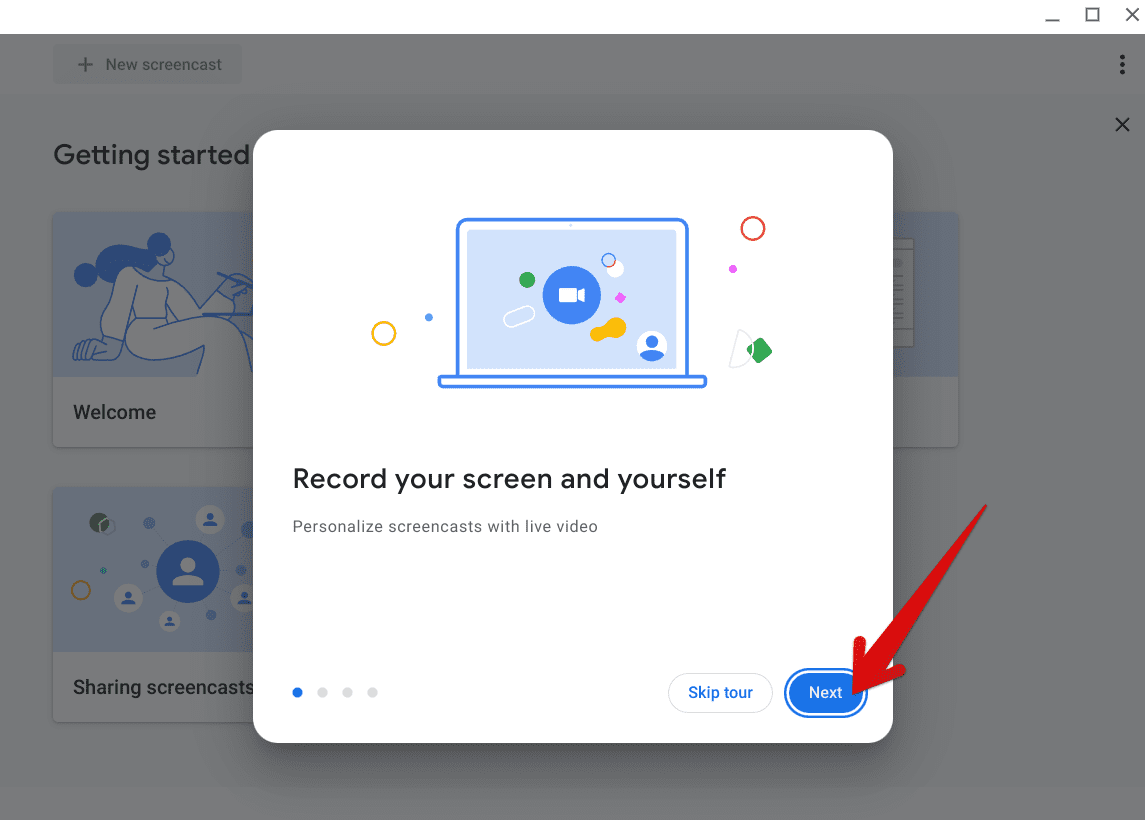
Exploring the recording feature
The following functionality that the Screencast app will try to make you familiar with pertains to transcription. You can get your audio written down into text and freely edit it by trimming or proofreading. Do note that all the subsequently appearing transcripts will be recorded using your Chromebook’s mic.
Once you’ve understood the scenario, click on the “Next” button to move forward.
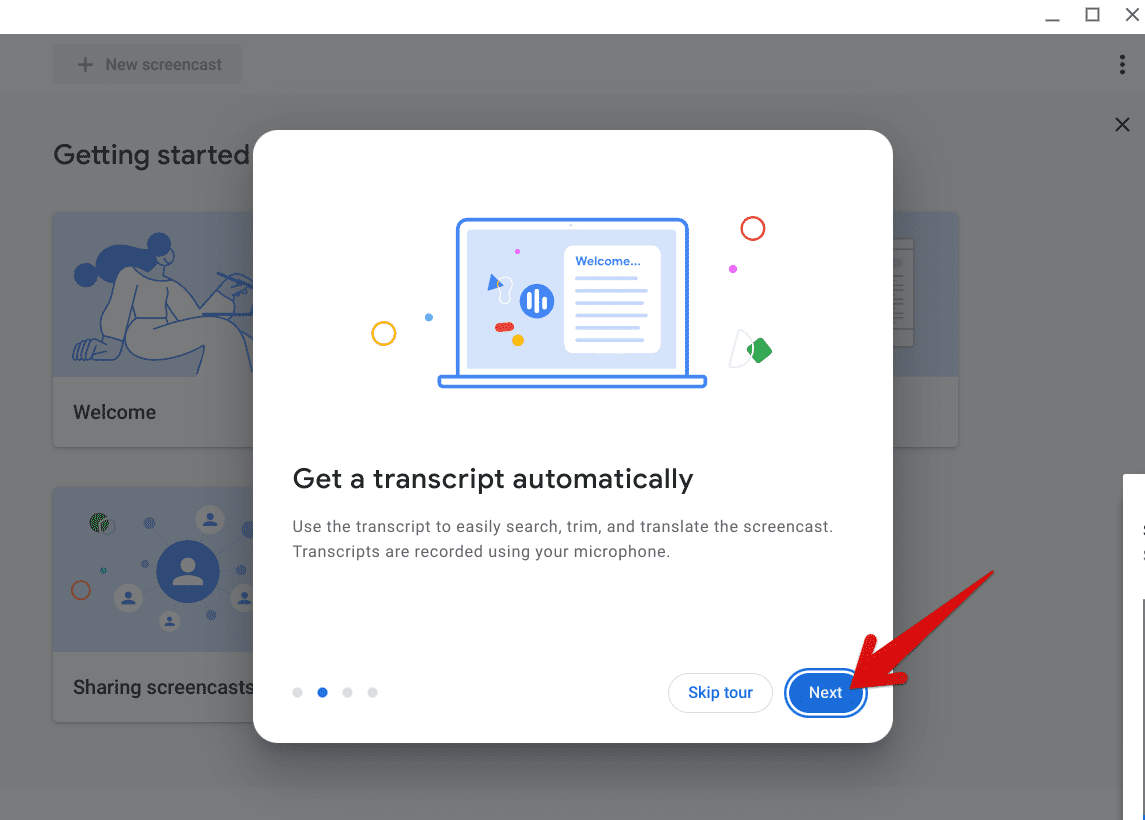
Understanding the transcription feature
You’ll now be introduced to one of the most valuable features of the Screencast app. Apart from letting you record your screen and transcribing your voice, the service will also make it possible to annotate the whole work you’ve created here. This will come in a lot handier than you initially think.
Again, click the “Next” button to discover what’s next.
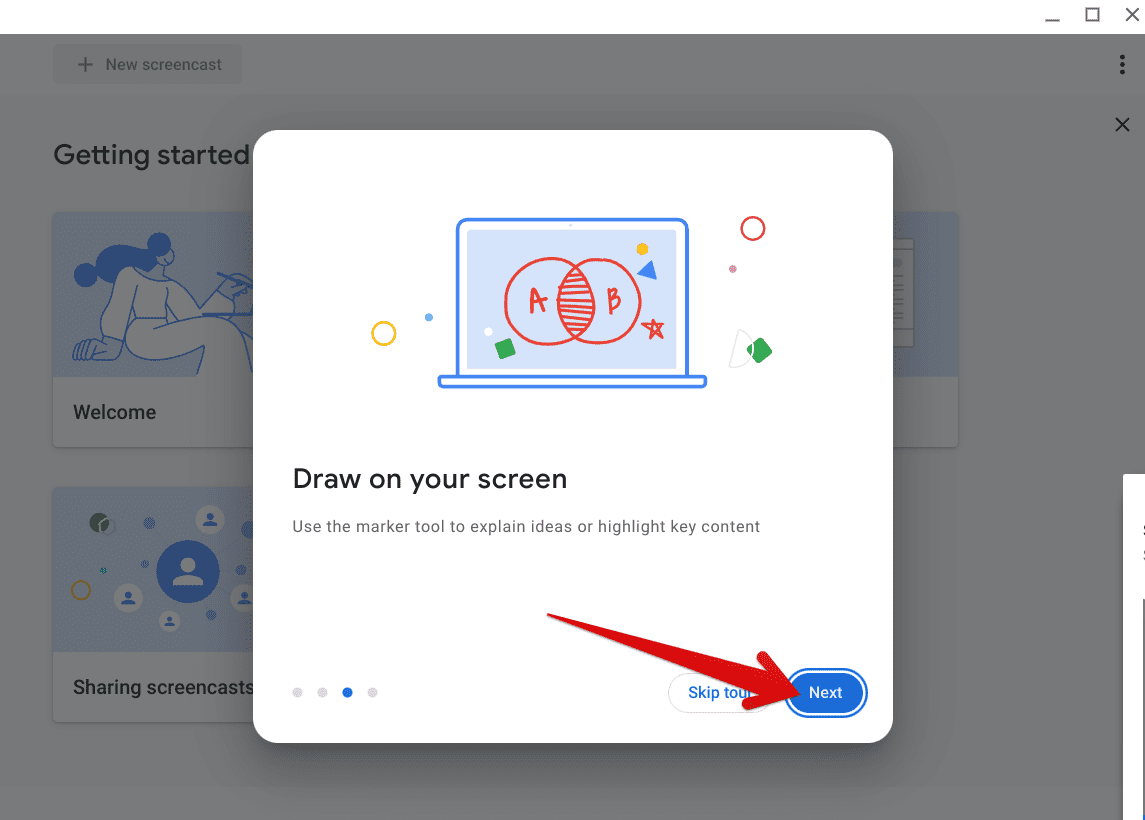
Acknowledging the annotation functionality
Finally, the last prompt on the screen will detail the various collaboration features of Screencast, insinuating that you can share your work effortlessly on the fly. As Google has explained, a link will be sent out to your class or team so they can join in without breaking a sweat.
Please click on the “Get started” button to continue, and you’ll be done here.
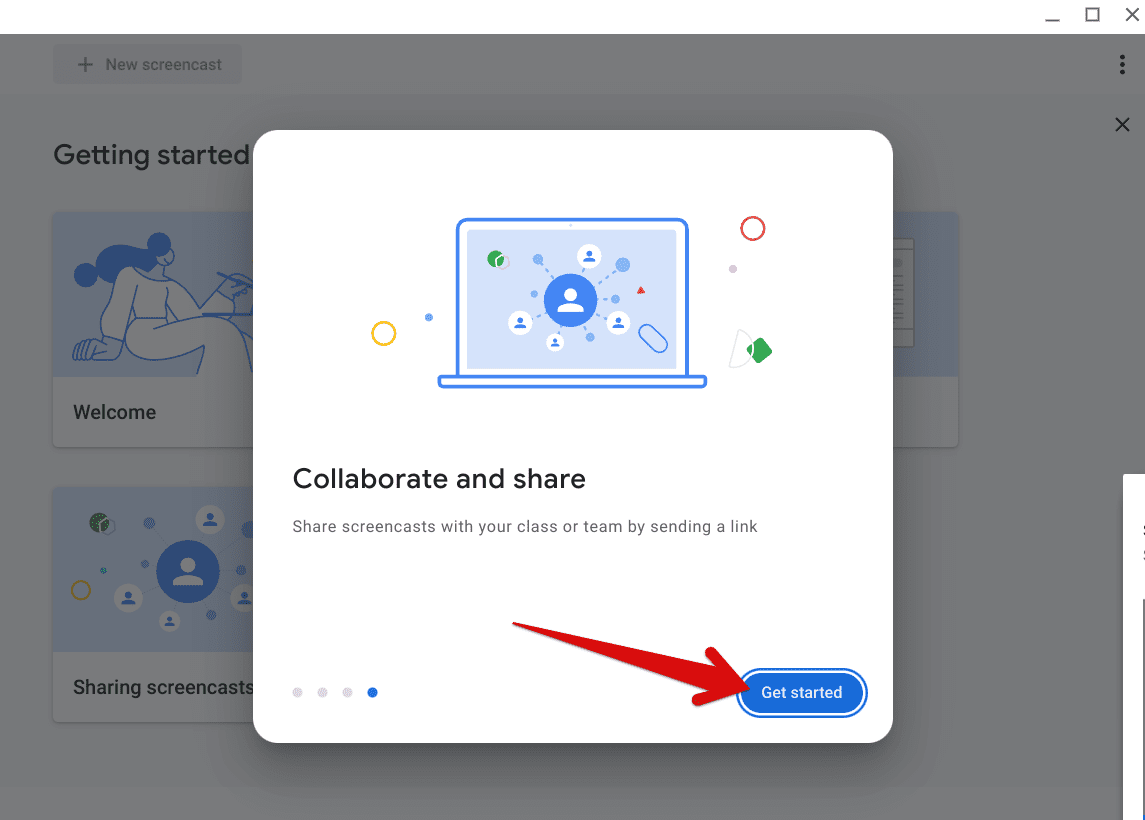
Discovering Screencast’s sharability
Now that we’ve discussed the basics regarding the Screencast app’s start-up let’s shed light on how you can effectively start using it on your Chromebook.
On a side note, make sure not to disconnect your Google Drive account from your Chromebook while you’re trying to use the Screencast app. Otherwise, any feature of the application at hand won’t work.
Using Screencast on ChromeOS
Right after you click on “Get started,” the following is what you’ll see on the screen. What you have to do now is click on the “New screencast” button in the top-left corner of the screen.
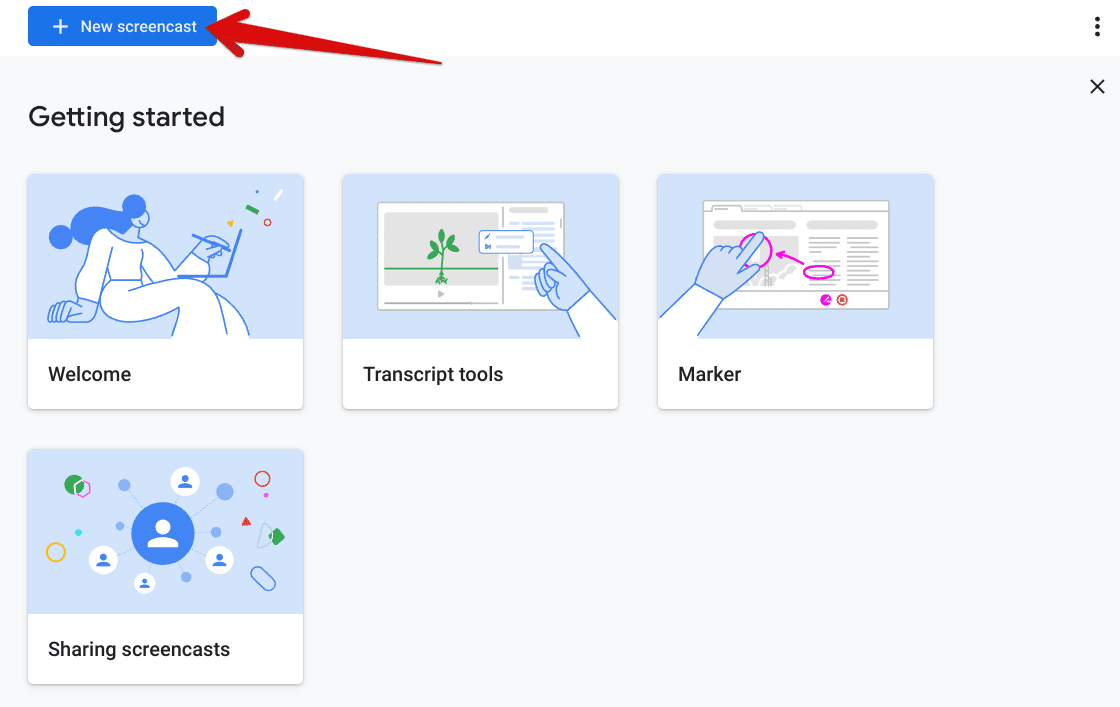
Creating a new screencast
Right after that, you’ll see a different scheme of color appearing on the screen, instilling the focus on the content in the foreground. The system will instruct you to tap anywhere to begin recording the screen, so do just that to move forward with the process.
Once completed, you’ll see how ChromeOS employs the functionality of the Screencast app and begin the screen capturing procedure. The recording will start instantly after tapping on the screen, both on your webcam and the screen. You’ll observe two different buttons at the bottom of the screen near the Tote section.
One will be slated to stop the recording, while the other functionality will let you write on the screen, thereby annotating the presentation painlessly. There are four different colors of the marker that you can choose from at present. The lack of more diversity is understandable, given the bare-bones state of the Screencast app.
In the bottom-right section of the page, right above the distinctive Status Tray, you’ll visualize your face. The application at hand is two-faceted in this regard. It takes up the functioning of your webcam and lets you record yourself as well as you go about the presentation.
Screencast recording feature
When you’ve delivered what you need to, and it’s time to end the recording, click on the apparent red-colored stop button. Doing so will commence the sync process to transition the curated recording from the Screencast app to the “Files” system app, so it’s appropriately stored locally on your Chromebook.
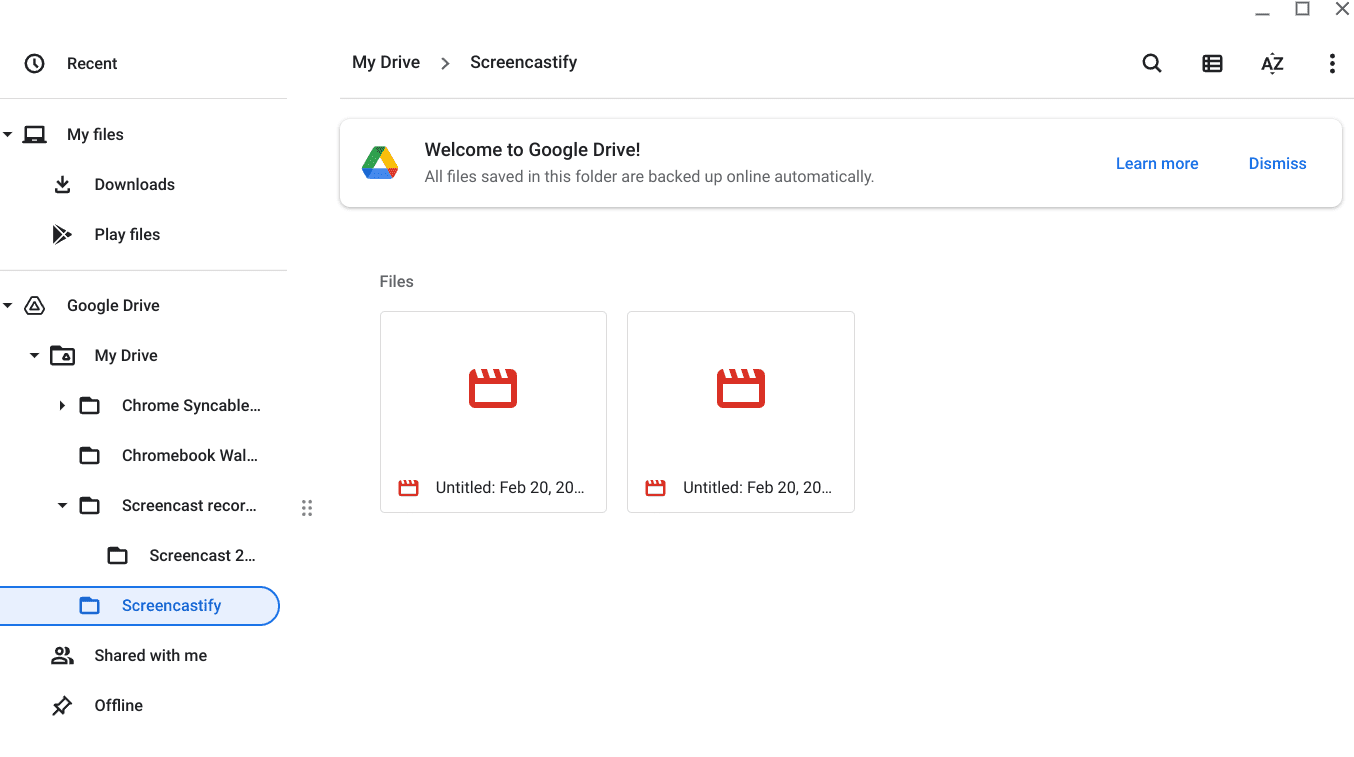
Save file location of the Screencast recording
As for the transcription feature, Screencast takes the liberty of automating the process. The functionality kicks into effect when you speak, and the system detects audio in the background. You can then effortlessly switch up the language in which the text is transcribed, making the whole affair painless to deal with.
That’s all about using Screencast on ChromeOS! We’ve gone through its essential features descriptively, so you won’t find it challenging to try the app out on your end. Google has stepped up its game to make Chromebooks more decked-out than ever, and with features like Screencast, we can see them getting ahead of the competition.
With that said, it is now time to wrap up the article.
Conclusion
Screencast is making the lives of teachers and demo instructors much easier compared to how things were before. Not only can you record both your webcam and screen simultaneously, but the words you say out loud will be transcribed for you in a text format. This allows the user control over their interactions with the Screencast app.
We genuinely hope you’ve found the above guide helpful for your cause. Please let us know your thoughts regarding the new ChromeOS app in the comments section. Chrome Ready wishes you good luck!
- Before you leave: How to edit and sign PDFs on your Chromebook.

1 comment
Hi
I was told that this screencast feature only works in US? Many of us can’t get it to work on duet 3/5