Like most programs on the internet, Chrome runs into issues from time to time. For instance, the Google Chrome pop-up virus on Android is a real menace and doesn’t let users browse in peace. The same can be said about the Timed Out error in Chrome. This is a more serious subject and prevents users from accessing the internet altogether.
You have to do something about this annoying bother unless you’re going to stop using this net surfer. Let us show you how to fix the Timed Out problem on Google Chrome promptly.
What is the Timed Out issue in Chrome?
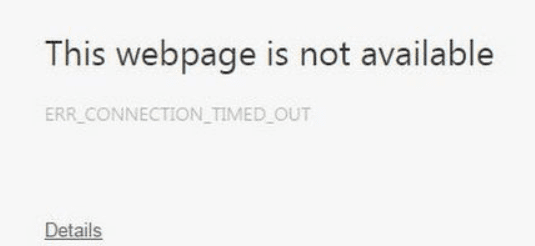
Timed Out error in Chrome
The Timed Out error in Google Chrome manifests in the form that you cannot load any web page. The characteristic loading circle keeps spinning but desperately fails to do anything meaningful for your browsing endeavors. It appears that the server on the back-end takes an unreasonable time to respond to the browser. Somewhere along those lines, Google Chrome finally gives in and shows you the prompt, “This webpage is not available.”
The Google Chrome Timed Out error can result from many reasons. Either there’s an issue with your internet connection, or your LAN settings are off. In some cases, there might be an interruption in your IP address connection. People say that clearing their browsing history and data helped resolve the issue, so you have a plausible approach in that scenario.
Now that you know what the Timed Out error is let us further the article and talk about what you can do to get back to browsing swimmingly on your device. Let’s dive right in with no further ado.
Resolve the Timed Out Error in Google Chrome
The following is our round-up of the best ways to fix the Timed Out issue in Google Chrome. Please follow the instructions carefully for the best results.
Restart the device
After running into the Timed Out Error in Google Chrome, one of the first things you should try is restarting your device. Whether you have a Macbook, a Windows laptop, or a Chromebook, restarting your device should be a primary step due to its effectiveness. You reboot the operating system and its processes, including those that hinge on the internet and relative operations.
That way, you can minimize the complications and avoid getting into the more complicated potential solutions we have on this list. If the issue is resolved right at the start of the tutorial, you’ll be in luck. Therefore, go ahead and shut your system down and wait until the process finalizes. As soon as the device boots back on, fire up the Google Chrome browser and see if the Timed Out error still isn’t letting you do your thing.
If the issue persists, keep reading to try some of the more physically demanding fixes on this list.
Install a Virtual Protocol Network (VPN) software
It’s certainly worth the hassle to utilize the functioning of a Virtual Protocol Network or a VPN and confirm whether doing so helps resolves this problem or not.
So many VPN software is available on the internet, both paid and free. If you don’t have a high-quality program for this purpose, we suggest you try ProtonVPN. This premium-quality, free VPN changes the IP address and lets you anonymously surf the internet.
After establishing a link to foreign waters with your VPN, try launching Google Chrome and see if the issue has finally been resolved. There’s a strong likelihood of you fixing the error afterward, but if the problem still hasn’t managed to go away, we’ve lined out a bunch of more fixes to try that’ll hopefully sort you out with this grievance.
Clear browsing history and data
Clearing your browsing history and data is another sound decision you should be getting into now. Some cached files or junk data might be distracting the Chrome browser from running in full flight. Usually, this scenario is made worse when you haven’t cleared up the browsing history and other relative data in a long time.
If the latter is something that suits your description, something tells us that you’ll benefit significantly from clearing your browsing history. For this purpose, follow the steps listed below and eliminate the Timed Out error in Chrome accordingly.
1. The first step will be to open the Google Chrome browser on your Chromebook or Windows PC.
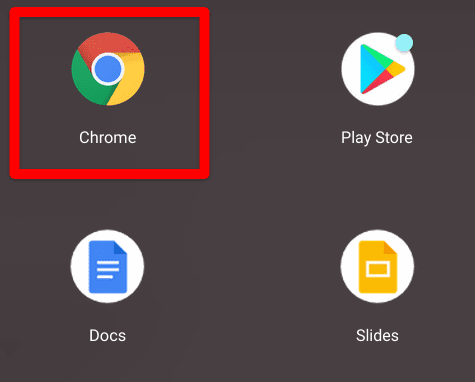
Opening the Google Chrome browser
2. Click on the three vertical dots present in the top-right corner of the Chrome browser window. The “Customize and control Google Chrome” button is on the extensions toolbar. Click on it, and several options should surface on the screen on your end.

Customizing Google Chrome
3. Out of all the options on the screen at this point, hover over the “History” area to expand the section. You’ll see the “History” option present one more time, so you now have to click on it to get to the next step. As a shortcut, it’s also possible to press the “Ctrl” and “H” keys together simultaneously, and the “History” section will pop right up.

Clicking on the “History” button
4. A tab will appear now after completing the next step, and it will be called “History.” All of your search results on Google Chrome will be stored in the form of a repository here. Feel free to explore this region. On a side note, searching for specific entries and finding what you’ve been looking for is also possible. The “Search history” bar will come in handy for this purpose. When you’re done, keep reading from the next step and discover what to do next.
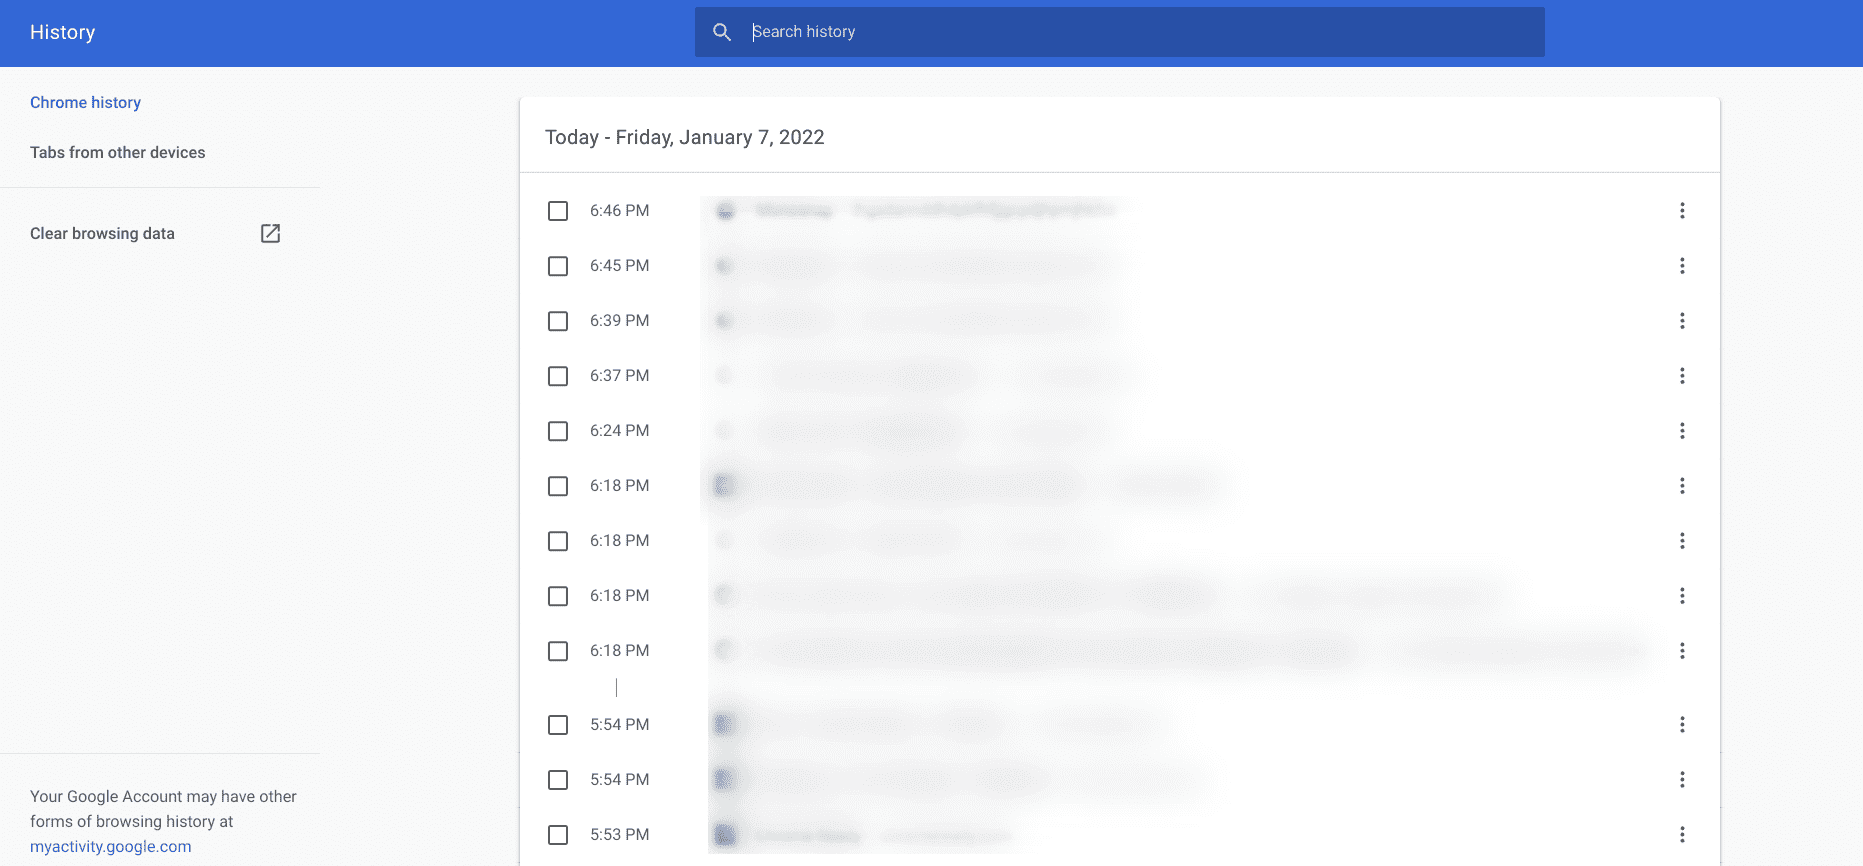
Chrome browser history
5. When you’re at the “History” page on Google Chrome, which you see in the screenshot above, you can effortlessly clear your browsing history in two unique ways. The first option available for you in this regard is to check the box beside each search entry and select “Delete’ in the upper right section of the page. Feel free to choose as many searches as you want and delete them from your Chrome browser.

Selecting the search results for deletion
6. Another way is to click on the “Clear browsing data” option on the left column of the “History” page. Doing so should launch another Google Chrome tab. This method is recommended to resolve the Timed Out error in Google Chrome potentially.
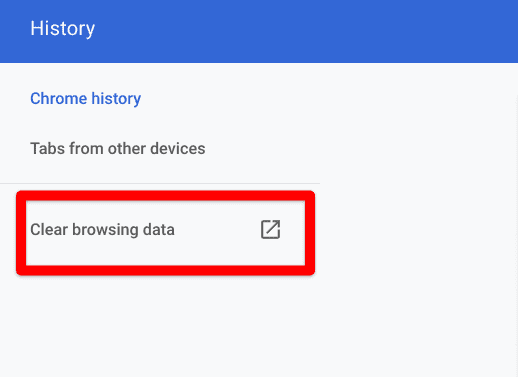
Clicking on “Clear browsing data”
7. This is where you’ll be able to thoroughly clean the browsing history on the Chrome browser in the hope of resolving this vexing situation that’s not letting you use the net surfer properly. First, you’ll select the time range for clearing browsing data. The options available are “Last hour,” “Last 24 hours,” “Last 7 days,” “Last 4 weeks,” and “All time.” Choose “All time” here since it’s recommended to do so for fixing the Timed Out error in Google Chrome.
Once done, you should now continue toward the rest of the settings. You have several options available under the “Basic” section that you can painlessly tweak. We recommend clearing your “Cached images and files” alongside “Cookies and other site data.” Once you’ve done that and double-checked everything, click on “Clear data” to finalize the process. You should now be done.
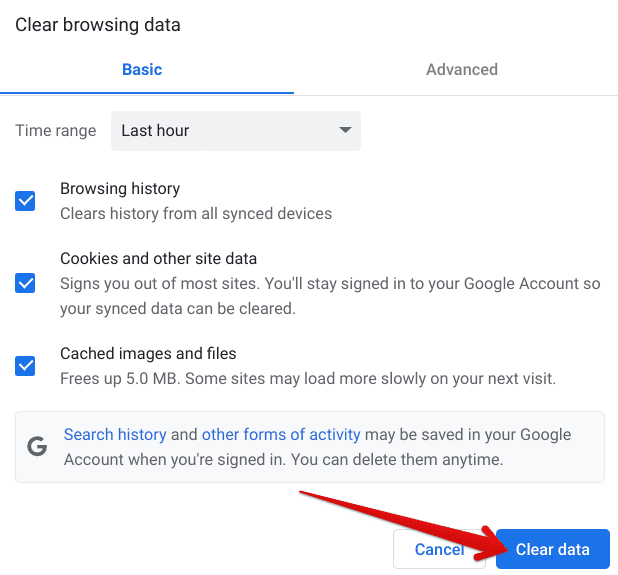
Clearing browsing data
That’s about it for clearing your browser history on Google Chrome. Try replicating the guidelines on your end and see what results they bring. If even this in-depth measure didn’t do the trick for you, keep on reading from the following subtitles.
Flush your DNS using the Command Prompt
The next trick is to utilize the Command Prompt of your Windows 10 or Windows 11 PC and adjust the IP-related feature on the system. We’ve gathered that if you flush your IP address properly with the help of this helpful software, there’s a great chance that the Timed Out error in Google Chrome won’t continue to be a bother anymore.
Many users who have been left similarly troubled were able to get the famed internet surfer working by incorporating a couple of commands in the Command Prompt. All you have to do to get started with this robust fix to the problem in question is use a specific command, and that’ll be it. Let’s see what it is below.
1. The initial stride you have i is to open the Command Prompt on your Windows PC. Feel free to do it from the Windows Start section or Taskbar area if you have this system utility. While doing this, make it a habit to run programs such as these as an administrator.
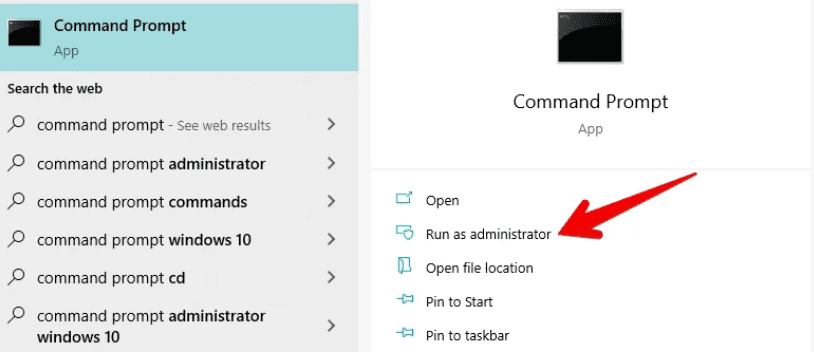
Launching the Command Prompt as an administrator
2. When you have the Command Prompt all launched up, use the following command and press the “Enter” key. This will help us flush our DNS, meaning it’ll clear away remnant IP addresses that could interrupt and create disturbances for online servers.
ipconfig /flushdns

Flushing the DNS
3. It’s time to register a new DNS instead, so for this purpose, we will use the following and enter it into the Command Prompt. This procedure will take a couple of minutes.
ipconfig /registerdns

Registering new DNS
That’s about it for this operation! Try relaunching the Chrome browser to see if it works properly now. If not, you will have to resort to other means. Let’s take a look at these below.
Reinstate your IP address
After flushing or clearing your IP address, what we have next goes hand in hand with the previous operation. It’s pretty plausible to renew the IP address you have affiliated with your PC, so in this next phase, we’ll do just that. To get started, use the command in the Command Prompt system utility and press the “Enter” key.
ipconfig /renew

Reinstating IP address on Chrome
That’s just about it for renewing your IP address on the Google Chrome browser. Using the guidelines above, you’ve successfully managed to renew and refresh your IP address, meaning there’s an excellent chance of returning to optimal functionality on Chrome now. Try launching the internet surfer to see if you can get back to using it now.
However, if the problem persists, then there’s no other choice than to uninstall Google Chrome and give it a fresh reinstall.
Reinstall Google Chrome
From what we can gather, if the Google Chrome Timed Out error continues to be a bother and does not budge from its relentless position, it’s high time to consider uninstalling the software right from the get-go. That way, whatever error in the program’s configuration is causing Google Chrome to undergo the Timed Out error consistently will be canceled out.
You can uninstall the software from the “Add or remove programs” section on your Windows 10 or 11 PC. After the uninstallation, feel free to download the browser from the internet again. You can use this direct link and follow the on-screen instructions to get this done thoroughly. As soon as you have the browser back on your system, launch it to see if the Chrome Timed Out issue doesn’t cease to exist.
Hopefully, you will now be able to use the browser swimmingly. If that does turn out to be the case, do let us know down in the comments section. We’ve now arrived at the article’s conclusion.
Conclusion
Google Chrome can turn out to be faulty in some scenarios. One perfect example that sums up this situation exactly is the Timed Out error that often appears during an individual’s browsing ventures. However, if you follow the instructions outlined in the guide above, you will soon be able to bid the issue farewell.
