Google Photos works just like Google Drive, except it is developed explicitly for photos and videos. You can use it to sync all of your devices and share multimedia files across them. It is pretty simple and easy to use, too, and it makes it even more effective in saving, organizing, backing up, and sharing your precious moments.
As you start, there won’t be any need for albums. But as the number of pictures in your Google Photos starts to grow, you may find it helpful to sort them into respective albums. Albums in Google Photos work just like folders in Google Drive or playlists in Spotify. They let you organize the entire collection, making it easier to browse and find what you are looking for.
Creating and sharing albums in Google Photos
In the following article, we will look at how you can use albums in Google Photos to maximize accessibility and convenience. Learn how to install and use Google Photos on Chromebook.
Creating albums in Google Photos on desktop
Learning how to manage albums is somewhat helpful for people who have their computers linked with Google Photos. To create an album in Google Photos, you need to navigate to the Library section and select Albums. Here, you can manage existing albums, if any, or create new ones. If you have just started using Google Photos, wait till you have a reasonable number of files that need to be sorted out.
Make sure that you only create them when you need to. There is no point in making redundant collections. Such albums might generate multiple copies and resultantly consume more space on the cloud. Since Google Photos shares the allocated storage with Google Drive, you might want to conserve it as much as possible.
Step 1: Go to Google Photos from your internet browser and log in to your account.
Step 2: You will see a menu with different tabs on the left side of the Google Photos homepage. Click on “Albums” from the “Library” section. That takes you to the “Albums” page.
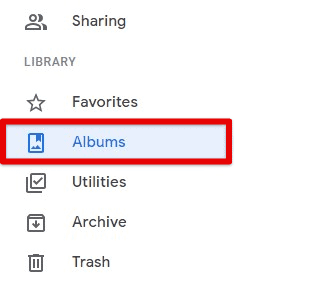
Albums tab
Step 3: If there are no albums at present, this page will be empty at first. Click on the “Create album” button.
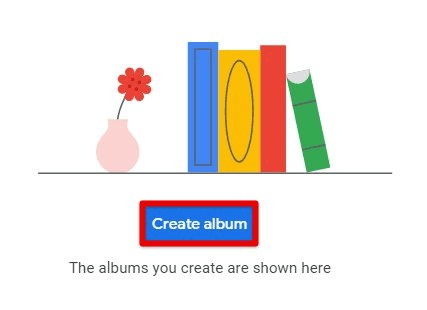
Create album button
Step 4: Name the album and click on “Add photos.”
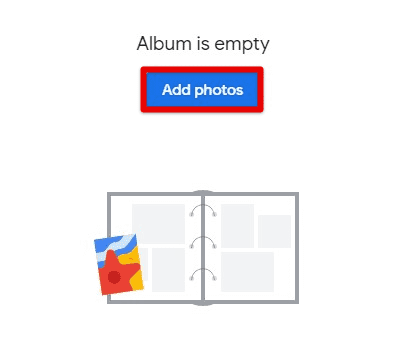
Adding photos to the album
Step 5: You can now choose any file present on Google Photos to include that album. Also, there is a “Select from computer” button in the top right corner of that page. Click on it to upload pictures to this album directly from your desktop.
Step 6: Once some pictures have been included, you can add text, add locations, or sort the photos in preferred order.
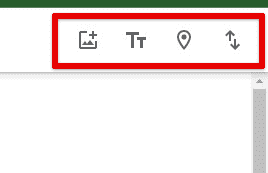
Additional options
Step 7: Click on the tick mark in the top left corner to finish. You will now be able to see and access the newly created album on the “Albums” page.
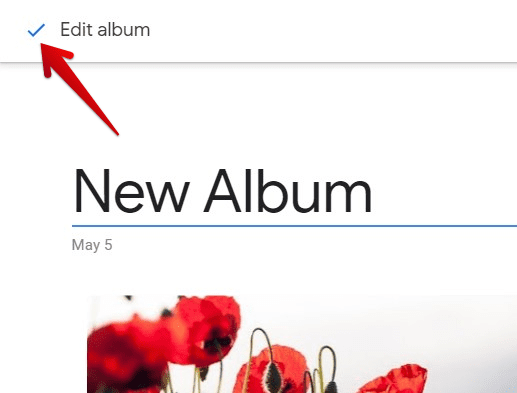
Saving the album
Sharing albums from Google Photos on desktop
After you have created an album, the next step is to see how you can share it with others. The whole point of making an album in Google Photos is so that you can manage and share those somehow related photos.
Step 1: Go to Google Photos from your internet browser and log in to your account.
Step 2: You will see a menu with different tabs on the left side of the Google Photos homepage. Click on “Albums” from the “Library” section. That takes you to the “Albums” page.
Step 3: Here, you will see the album you just created. Click on its icon to open it.
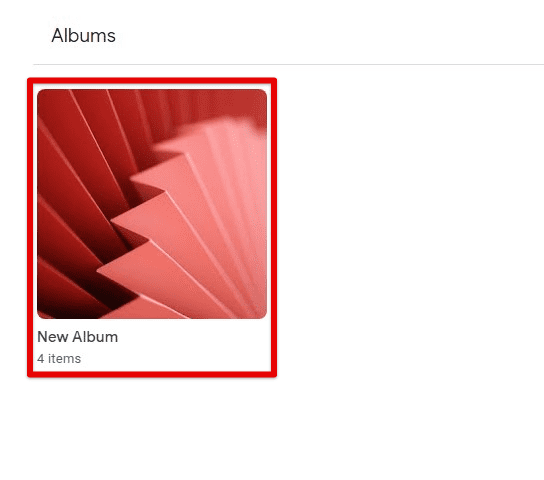
Opening the newly created album
Step 4: Click on the “Share” icon in the top right corner.
Share icon
Step 5: A pop-up window will appear on your screen. You can invite a person to that album which gives them complete access to all photos. That invitation is sent via email, and all of your contacts will already be present on the mailing list. You can search the list by name, phone number, or email address.
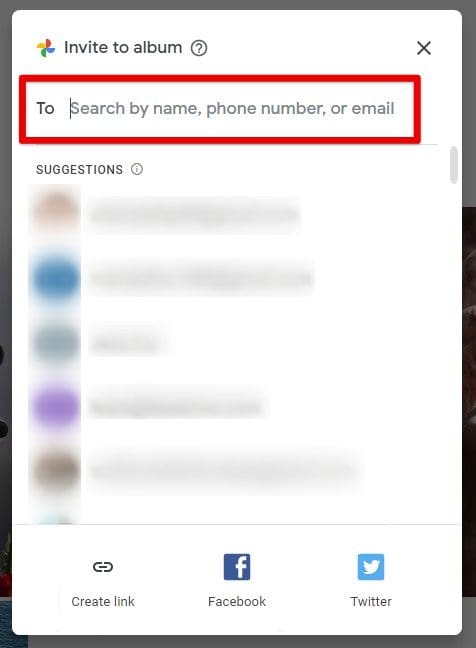
Sharing the album with contacts
Note: When someone accepts the invitation, they also get to collaborate on the album. It lets them add their photos, comments, and likes. The options for adjusting these permissions are right below the album’s title on the main page.
Step 6: Other options include creating a shareable link or posting the entire album to Facebook or Twitter.
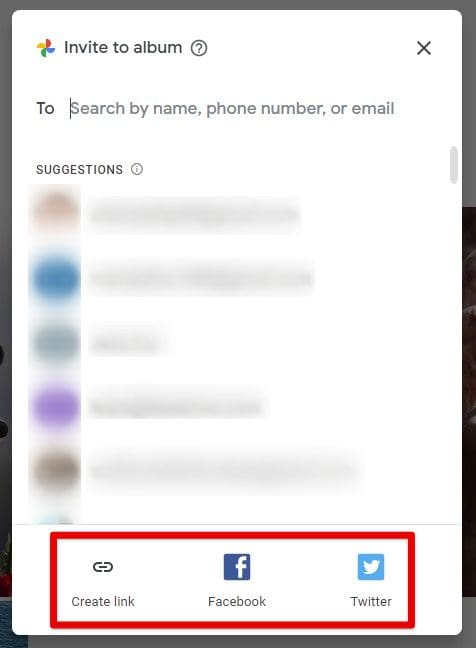
Other options
Creating albums in Google Photos on mobile
Creating albums in Google Photos on mobile is similar to that on desktop. Besides helping in better organization, these mobile albums also offer better tools for collaboration between multiple users. There is a crucial difference between Google Photos for web and mobile apps. On mobile devices, Google Photos will automatically import all photos, videos, and albums from your device’s gallery.
It is also relevant to point out that the Google Photos application will come pre-installed on all the latest Android smartphones. However, that is not the case with iOS devices. If you are an Apple user, download it from the App Store beforehand. All other functionalities and features within the application are precisely identical on Android and iOS.
Step 1: Open the “Google Photos” application on your mobile device and log in to your account.
Note: If you are opening it for the first time, you need to allow Google Photos access to media on your device.
Step 2: You will see four different tabs at the bottom of the homepage. Tap on the “Library” tab. This section contains most of the local albums on your mobile phone.
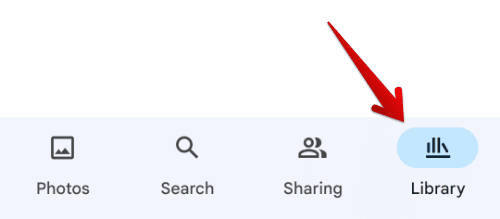
Library tab
Step 3: Scroll down to the bottom of that page. Tap on “Create album.”
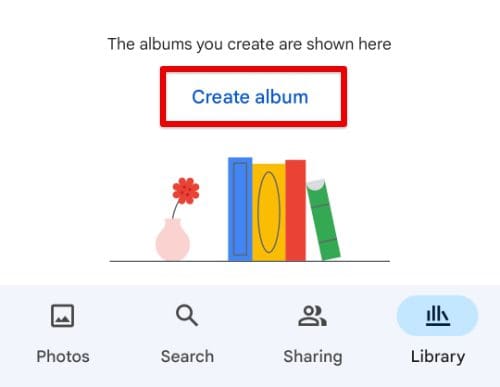
Creating an album
Step 4: Name the album and tap on “+ Select photos.”
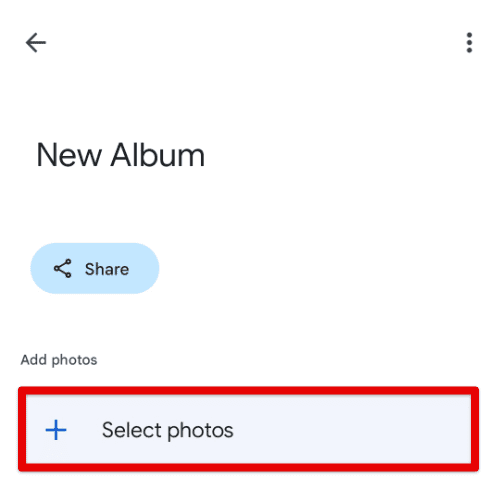
Naming the album and selecting photos
Step 5: You will now be able to select as many photos as you want from your phone. This album starts to appear on the “Library” page in Google Photos.
Step 6: You can edit the album by tapping on the three-dot icon in the top right corner. The editing options include changing the album title, adding or deleting photos, adding text, including locations, or sorting the contents in preferred order.
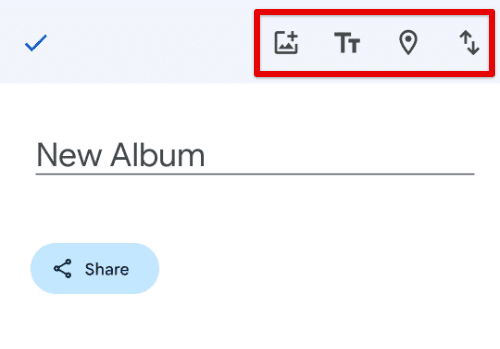
Additional options on mobile
Step 7: Tap on the tick mark in the top left corner to finish. You will now be able to see and access the newly created album.
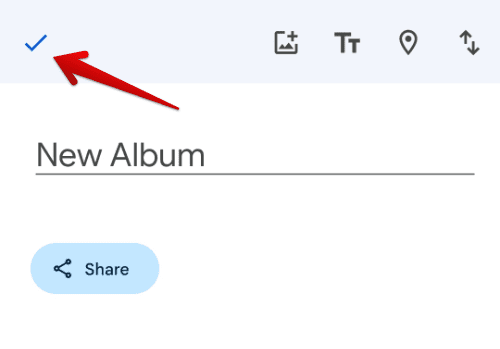
Saving the album on mobile
Sharing albums from Google Photos on mobile phone
There are plenty of other ways to share photos on your mobile. But by doing it with Google Photos, you can use some great features. Firstly, you can share photos through Google accounts, making it easier to find potential recipients. The wide range of social functions, live comments, facial recognition, and customized labels make it the preferred platform for many users.
Step 1: Open the “Google Photos” application on your mobile device and log in to your account.
Step 2: You will see four different tabs at the bottom of the homepage. Tap on the “Library” tab. This page contains the “Albums” section.
Step 3: Tap on the album you want to share. You will see two buttons at the top; “Add photos” and “Share.” Tap on “Share.”
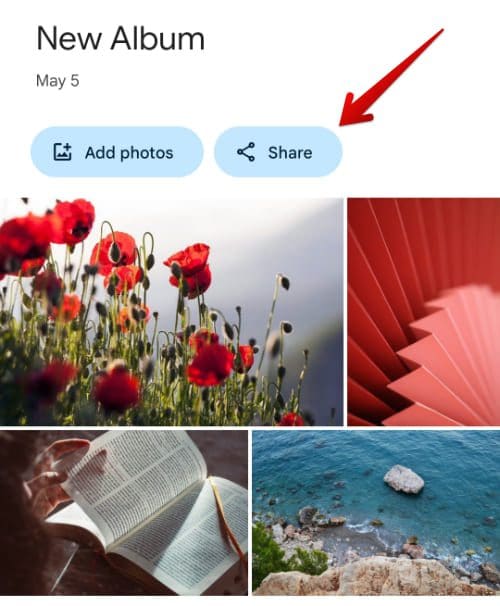
Sharing the album from mobile
Note: If you are sharing an album from Google Photos for the first time, you need to allow access to your contacts.
Step 4: A window will slide up from the bottom. You can invite a person to that album which gives them complete access to all photos. That invitation is sent via email, and all of your contacts will already be present on the mailing list. You can search the list by name, phone number, or email address.
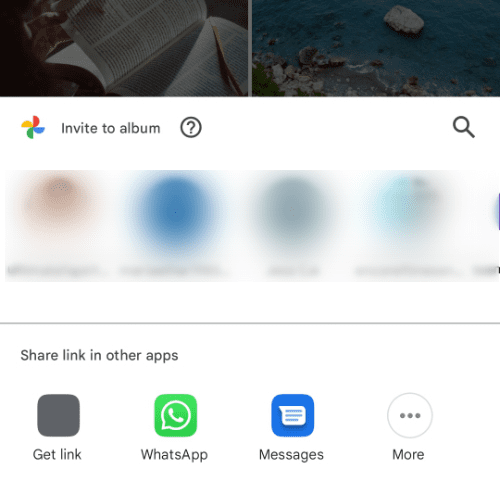
Sharing options
Note: When someone accepts the invitation, they also get to collaborate on the album. It lets them add their photos, comments, and likes. The options for adjusting these permissions are not present on mobile applications. They can only be configured through the web.
Step 5: Other options include creating a shareable link or simply posting the entire album to social media platforms or messaging applications like WhatsApp.
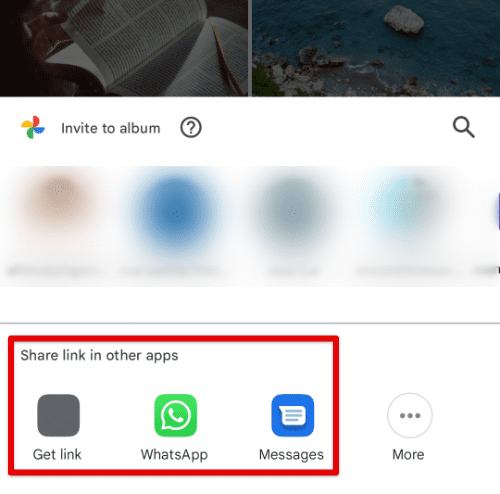
Other apps and platforms
Google Photos also contains the casting feature to send the entire album to an external display such as an Android TV. You can then play a slideshow through the whole collection or set them to screensaver mode. If you are using Google Photos on iOS, there is an option to airdrop the album to iCloud. It lets you stream these photos to any other Apple device.
Conclusion
Albums in Google Photos are a great way to organize your stuff. They can be used to assemble similar files. With the help of Google Photos’ object and facial recognition technologies, the software can itself recommend somewhat related pictures. These albums can be either shared directly with your friends and family or sent as a link to other apps and programs on your device. Knowing how to create, manage, and share these albums is a great knack to have under your belt—looking to transfer files to your Photos account? Here is how to add photos and videos from Google Drive to Google Photos.
