Picsart is a world-famous editing platform that hosts a range of features for photos, images, social posts, drawings, banners, covers, etc. Last week, Picsart announced an extensive integration with Google Drive. At the center of this announcement was the launch of Picsart on Google Workspace Marketplace. Once you install its add-on in Google Drive, you can edit the media files stored on your drive directly through Picsart.
Some relevant applications include changing picture backgrounds, adding text, adding stickers, removing objects, developing collages, applying filters, etc. Besides just touching up pictures and images, you can also use Picsart for digital media creation. In the following article, we will see how to use this cloud-based editor on Google Drive for all the above purposes—thinking about backing up your photos and videos? Learn how to copy them from Google Drive to Google Photos.
What is Picsart?
Picsart is nothing short of an editing powerhouse. It hosts tons of different tools and features for completely transforming your photos. Picsart started as a mobile editing application on Android. Then, it followed suit by releasing the platform on iOS and the web. Currently, Picsart is considered a comprehensive program that is leading this market in more ways than others.
One of the unique selling points of this editing software is its user-friendliness. There are several other applications with similar tools, but the way Picsart has been able to provide these features cohesively is fantastic. Apart from just editing regular pictures, you can use it to create designs for Facebook, Instagram, Twitter, Snapchat, YouTube, and more. Their apps and web editor have paid packages as well. Though, for occasional users, a free version would suffice.
With plenty of templates and online collections, you will never find yourself out of ideas on Picsart. If you are already a Picsart for the web user, the Google Drive compatibility will add to the convenience and ease. The only thing Picsart might have lacked previously was online storage. Having launched this great new functionality, it has not only resolved that issue but has potentially paved the way for numerous other cloud-based extensions.
Installing Picsart on Google Drive
Before we describe how to use Picsart on Google Drive, let us see the installation procedure first. Most web-based Google services allow you to connect the plug-ins available on the Workspace Marketplace. Typically, there is a pane of add-ons on the right side of each program. The same is the case with Google Drive. It contains the list of already integrated applications and a link to the online library for installing additional ones. The existing programs include Google Calendar, Google Keep, and Google Tasks.
Step 1: Go to “Google Drive” on your internet browser and log in with your account.
Step 2: On the Google Drive homepage, you will see a vertical list of icons on the far right side of your screen. Click on the + icon at the bottom.
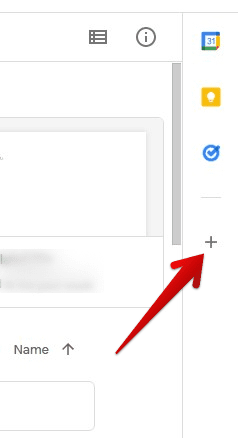
Installing a Google Drive add-on
Step 3: It opens a new window that redirects you to the Google Workspace Marketplace. From here, you can install any supported add-on for Google Drive. Search for “Picsart” and click on its preview tab.
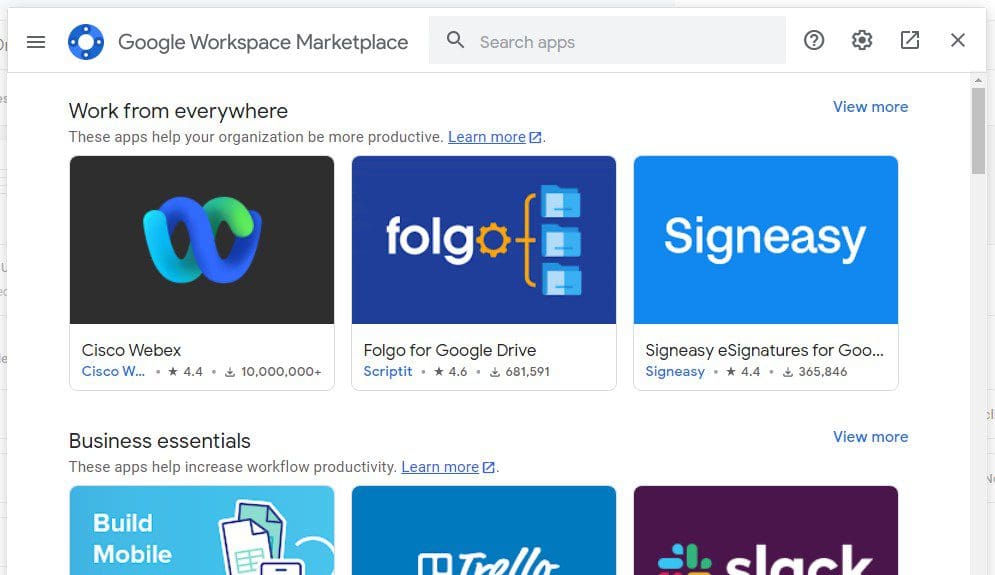
Google Workspace Marketplace
Step 4: Click on the blue “Install” button in the top right corner. Select “Continue” from the confirmation window.
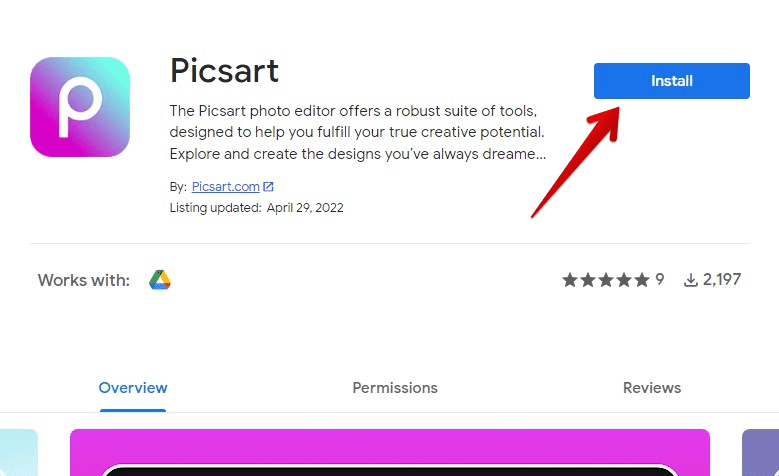
Installing Picsart
Note: By clicking continue, you acknowledge that your information will be used by the terms of service and privacy policy of Picsart.
Step 5: The installation will start and might take a few seconds and a couple of minutes. Click on “Done” when it finishes and go back to Google Drive. Now, you will be able to open any media file on your drive with Picsart.
Opening Google Drive files with Picsart
After the Picsart gets installed on Google Drive, its icon will not become visible on the side panel. These add-ons work to get allotted to their specific source menu on the host platform. Therefore, if Picsart is all about editing media files on Google Drive, it will only be accessible through the file settings.
Step 1: Go to “Google Drive” on your internet browser and log in with your account.
Step 2: On the Google Drive homepage, scroll down to find a picture you want to open with Picsart. Right-click on the file preview.
Step 3: It opens a drop-down menu on your screen. Hover your mouse cursor over the “Open with” option. It will pop up in a side window right next to it. That window contains the list of all programs that can open that file. Click on “Picsart.”
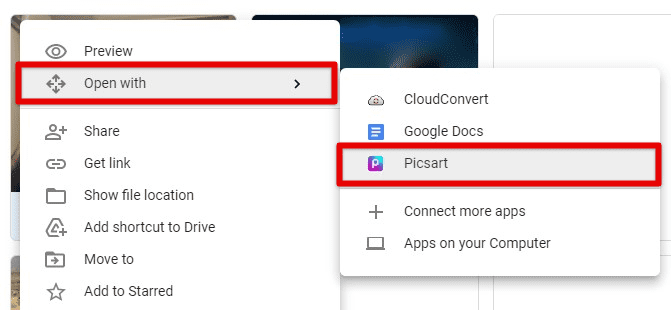
Opening with Picsart
Step 4: You will be redirected to a new tab. When using Picsart with Google Drive for the first time, you will have to give proper access. This is used to display files from your drive in the editor. Click on “Allow” to proceed.
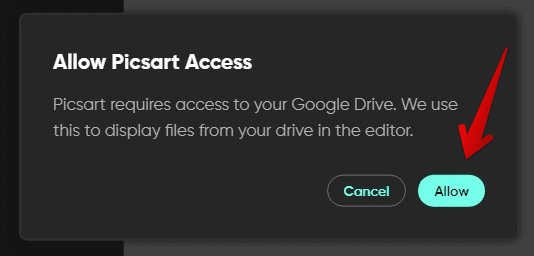
Allowing Picsart access
Step 5: A new pop-up window will now ask you to choose a Google account for continuing with Picsart. Make sure that you select the same account you logged in to in Step 1.
You will now be able to edit the file you selected in Step 2 with Picsart. There is also an interactive tutorial at the start. Go through the essentials to know where relevant tools are present within the software’s interface.
Going through basic elements on Picsart
As described earlier, it is recommended for you to go through some basic elements available on the Picsart editing platform. There are tons of online tutorials that can give you a deep dive into the editing features and tools. For a simple introduction, we will only detail the five fundamentals.
Element 1: On the Picsart homepage, you can see a side panel on the left side. It contains nine different tabs. Here, you can browse through an unlimited library of templates and images. That provides you with enough editable content for media creation through Google Drive.
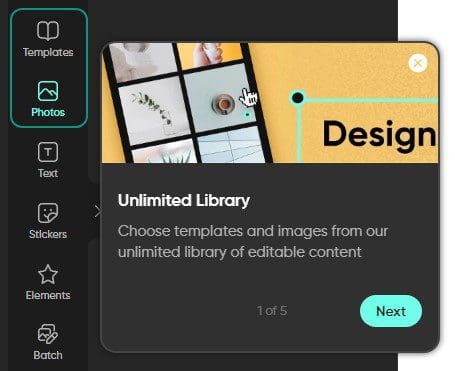
Templates and images library
Element 2: After you edit some pictures, you may want to customize them for relevant social media platforms. The “Layout” tab lets you edit the canvas size and the image dimensions. You can also use it to create collages.
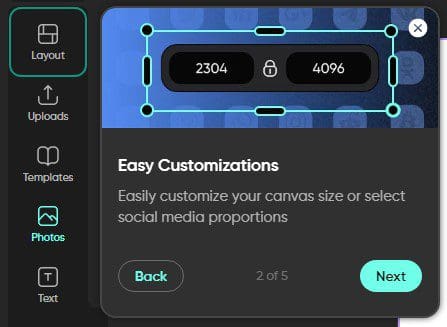
Customizing art through layout
Element 3: Then come to the “Text,” “Stickers,” and “Elements” tabs. They enable you to create custom designs with powerful editing tools.
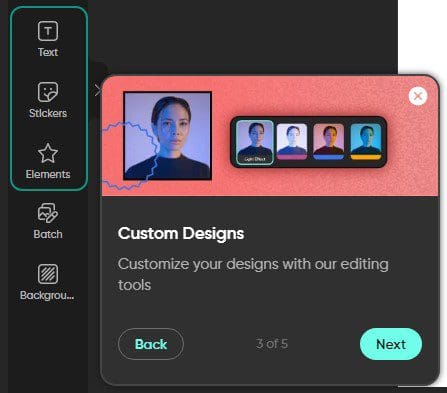
Creating custom designs
Element 4: On the right side of your screen, you will see a small arrow that slides open the “Layers” panel. It is used for creating, editing, and tracking individual layers in any file or project.
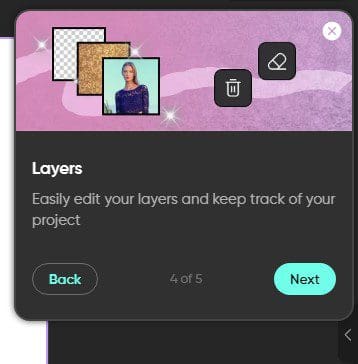
Editing with layers
Element 5: Lastly, there is a light green “Export” button in the top right corner. After editing the file, click on it to export it out of Picsart. You can save the edited files to your drive, download them to your computer, or share them with someone else over the internet.
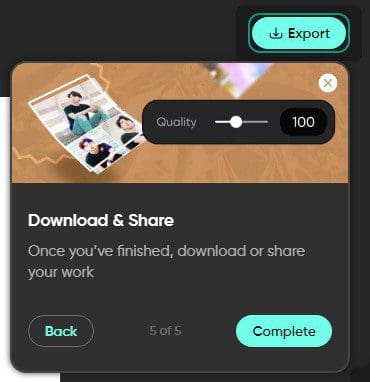
Exporting edited files
Note: While exporting, Picsart lets you change the file name, file type, and file size. You can even create an upscaled or downscaled version.
Batch editing files with Picsart
Please note that you are automatically delivered the free package when installing Picsart through Google Workspace Marketplace. However, if you want to upgrade to the premium plan (Picsart Gold), you can do so anytime. One of the notable premium features on Picsart is batch editing. Since the entire point of integrating Picsart with Google Drive is to save time and increase output, we thought it fits right into that domain. Here is a brief guide on batch editing in Picsart.
Step 1: Go to “Google Drive” on your internet browser and log in with your account.
Step 2: On the Google Drive homepage, scroll down to find the pictures you would like to edit. Open all of them with Picsart.
Step 3: From the side panel on the left, click on the “Batch” tab. It will take you to the batch editor, where you can upscale, resize, crop, remove backgrounds, and add watermarks on up to 50 images.
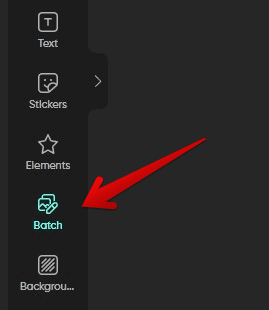
Batch tab
Step 4: On the batch editor’s page, you will find five separate tabs for these functions. It is beneficial for times when you have to edit multiple files in a more or less similar style.
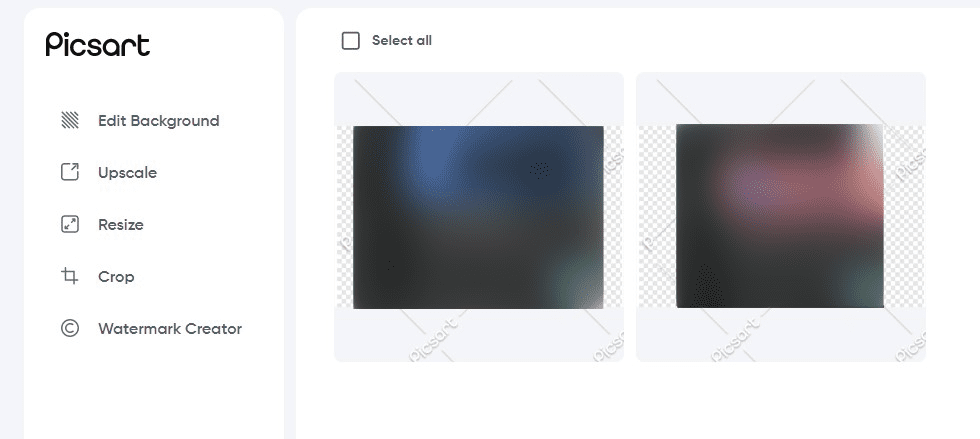
Picsart batch editor
Note: There are two other ways to open images in the Picsart batch editor. You can upload them from your computer or drag and drop them from the drive. Also, update your plan to Picsart Gold before working with this.
Conclusion
As of last week, you can now open all images stored on your Google Drive with Picsart. Here, you can apply filters, add text, change layouts, create layers, perform scaling renditions, etc. In other words, you can modify and enhance Google Drive images however you want. Having a comprehensive editing platform now built into the native support for your drive has undoubtedly improved its support base. You can even expect more such inclusions in the coming months as well. Do you want to store video files over the cloud frequently? Please read our article on uploading and sharing a video on Google Drive.
