One of the most outstanding features ever to arrive at the forefront of Chrome OS is the integration of Android applications. Chromebooks have never been the same ever since this open-ended functionality has made landfall on this slick, speedy operating system. Sure, not all of the millions of applications present on the Play Store are fully optimized for Chrome OS, but for the ones that are, they’ll make you never use your device the same way ever again.
With that being said, many newcomers to Google’s very own operating system are pretty confused initially about getting started with the Google Play Store. Unfortunately, it may not be exceedingly apparent to active the latter on Chromebooks, so we’ve decided to put together a specialized guide for just that.
Without any further ado then, let’s jump right into this brief yet practical guide.
- Check out the top 15 Google Chrome extensions for Chromebook.
Activating Google Play Store on Chrome OS
The following steps are going to take it from here. Be sure to follow the instructions as they’re described for the best results.
- The first step is to fire up the “Settings” system app on your Chromebook. You can do that comfortably by looking for it in your interface’s Launcher or clicking on the app icon on the Chromebook shelf if you have it pinned there.
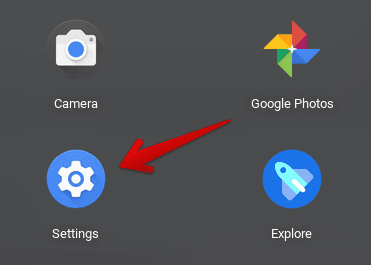
Opening “Settings”
2. With the “Settings” application all fired up, you’ll need to focus your attention on the column displayed on the left of the screen. From there, click on “Apps” to get to the next step.
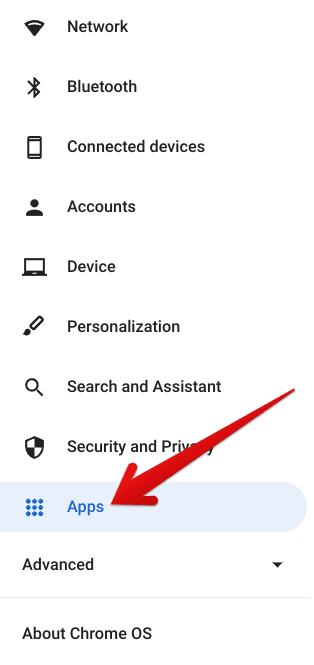
Clicking on the “Apps” button
3. With that done, you’ll now be taken to the “Apps” section of your device’s settings. You’ll find Google Play Store listed here and a “Turn On” button beside it as well. As shown in the screenshot below, click on the latter to get to the next step.
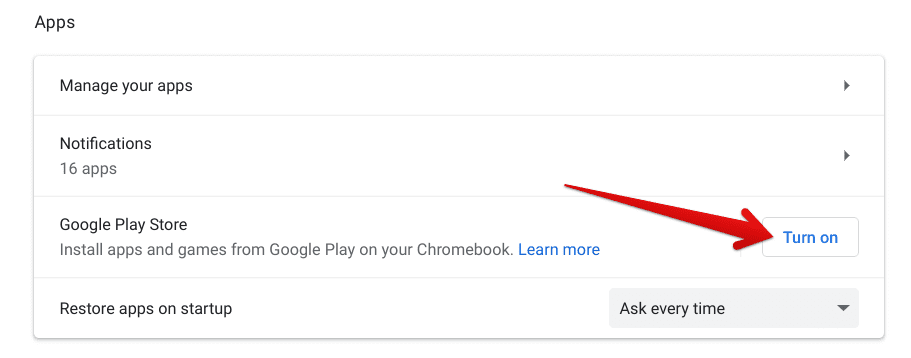
Turning on the Google Play Store
4. Once done, a window will appear on your screen, and it will take you through the installation of the Google Play Store on your Chromebook. The first step here will be to accept the “Google Play Terms of Service.” After that, you’re free to read the terms and conditions part of the software for your satisfaction.
Once done, there’s an option to enable a Google Drive backup feature that you might be interested in looking at. This functionality will save your application data, including game progress and saved settings, to the famous cloud-storage platform. You can enable it and click on the “More” button to continue.
- Regarding the cloud, check out the best cloud storage options available for users on Chrome OS.
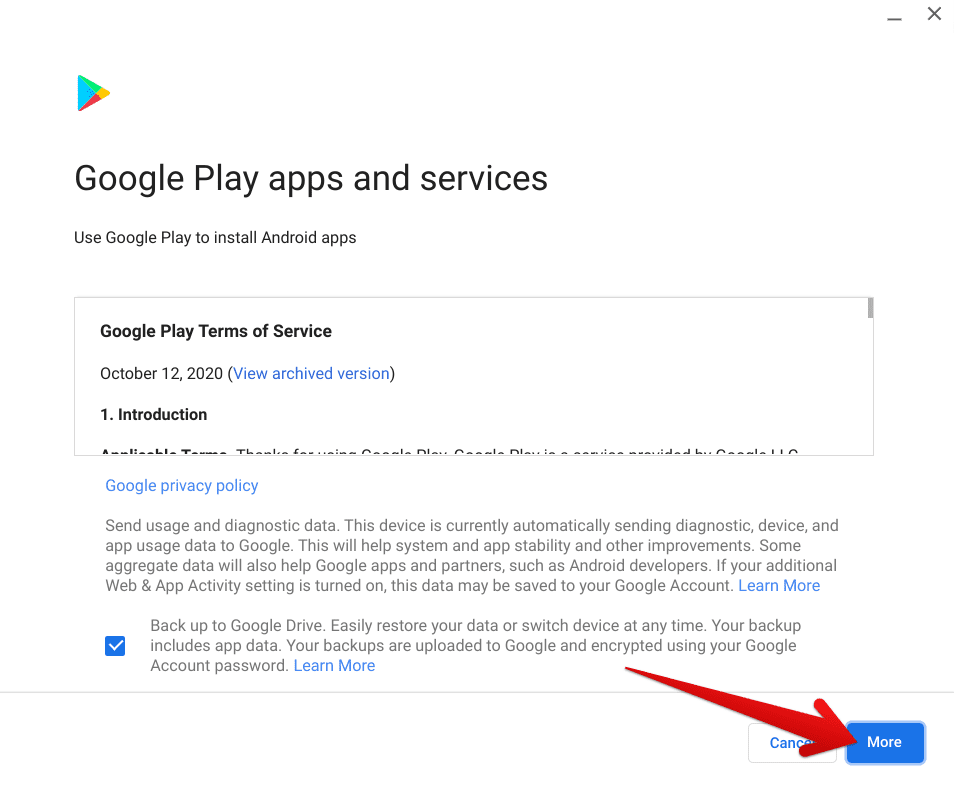
Furthering the installation
5. After clicking on “More,” you’ll be taken to the next page of the installation window. Here, you can permit the Play Store to use your location for all those games and applications that require location access. It’s up to you to grant this permission from the get-go or deal with it later when using an app. Click on “Accept,” as shown in the screenshot below, to continue.
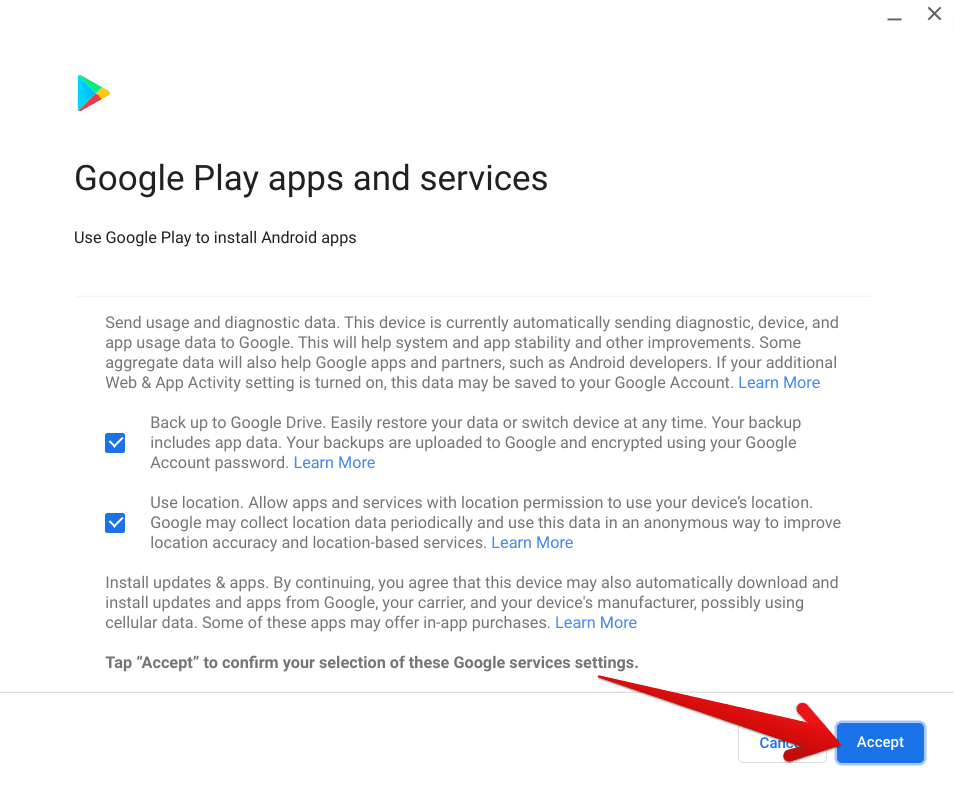
Clicking on “Accept”
6. Once you click on “Accept,” the setup for Google Play along with its installation will begin. You’ll have to wait a couple of minutes for the process to conclude. You should be seeing the following on your screen in this step.
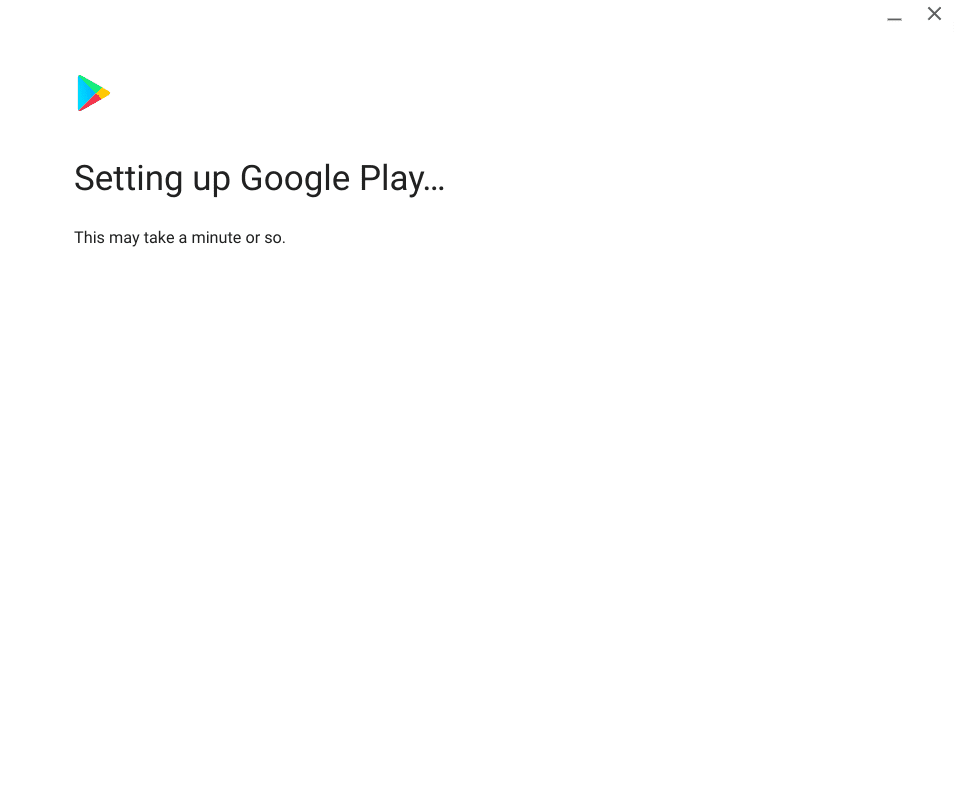
Play Store being installed
7. Once the installation finalizes, the Play Store application will launch on its own. It’ll take a brief moment to load everything up at the launch screen, but you’ll shortly be shown the main Play Store interface afterward. The following screenshot depicts how the latter looks like on Chrome OS.
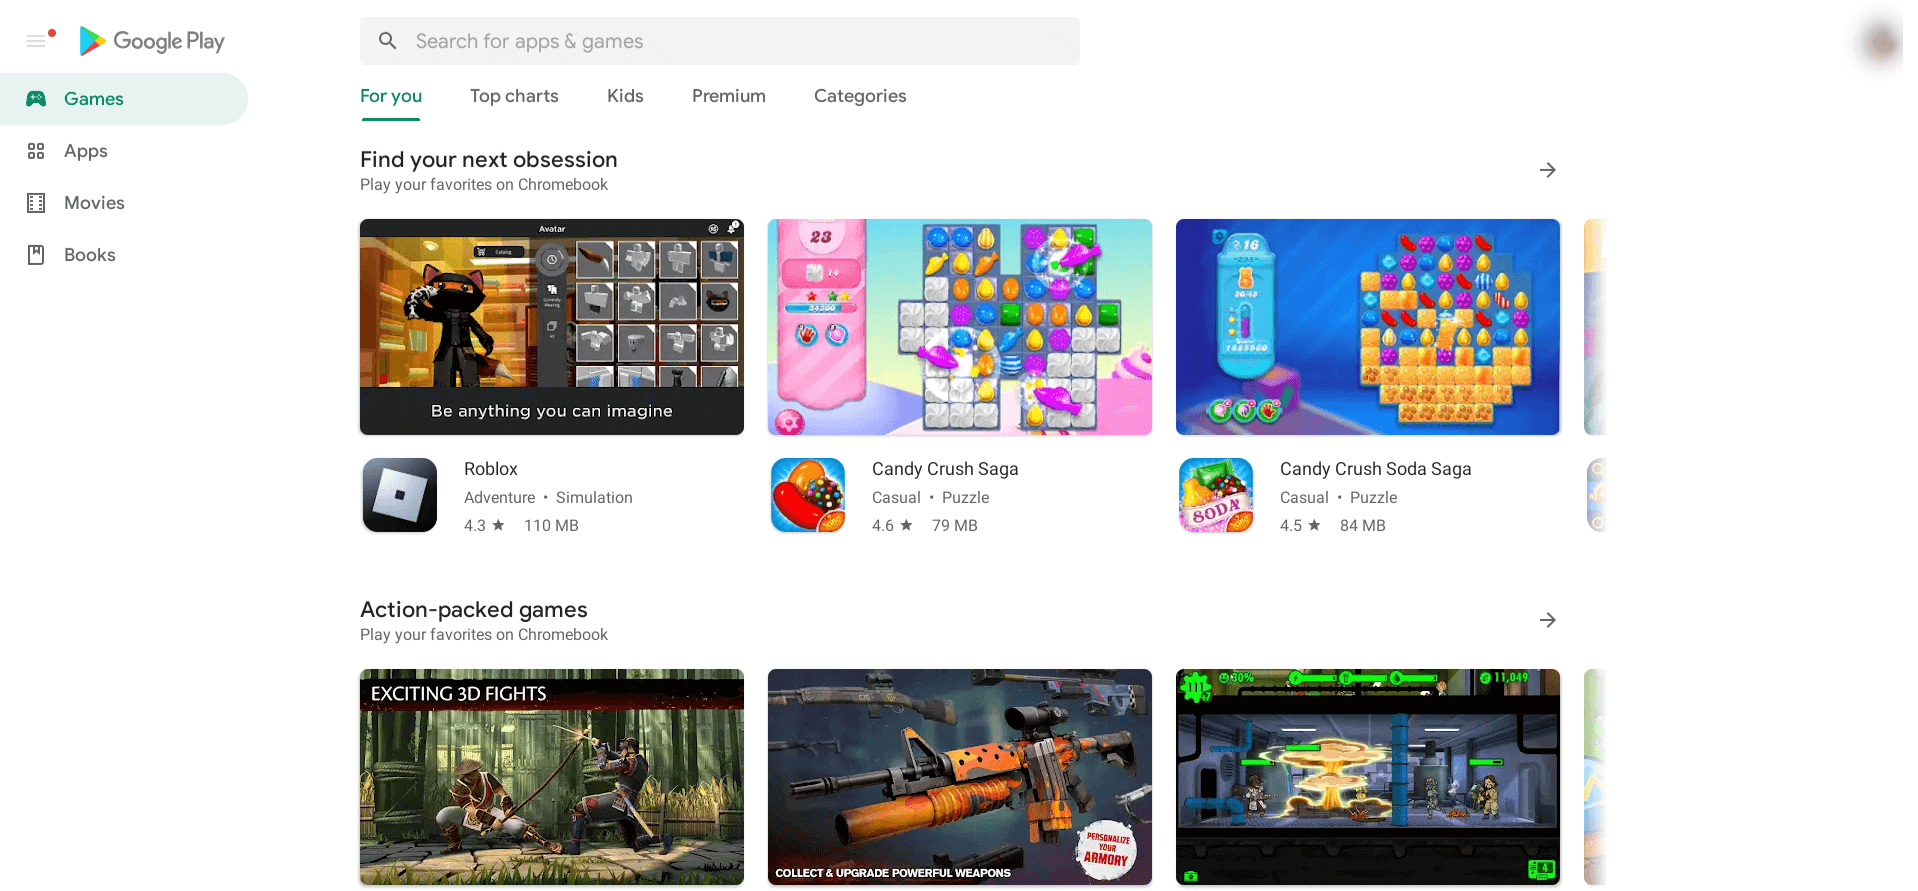
Google Play Store installed
That’s about it for activating the Play Store on a Chromebook! The process is easy to follow, especially if you have some nicely illustrated instructions to go with. Now that you have the program installed, we genuinely recommend checking out our top 20 Google Play Store applications guide to getting started ideally.

2 comments
Hi, My Turn on option is grayed out so I cannot hit this – Is there a way around this?
I only have “Manage apps”??