If you moved to Chromebook from Windows, macOS, or Linux PC, chances are you might have a hard time finding the Print Screen key on your Chromebook! There’s nothing wrong with your shiny Chromebook; it’s just that there’s no print screen option available. So, how are you going to take a screenshot? This is the subject of today’s tutorial.
How to take a screenshot on a Chromebook
Capturing a screenshot on a Chromebook involves using the Switch Window key as follows.
1. Capturing a full-screen
During anytime you want to capture whatever is shown on the desktop, press and hold the Ctrl key and press the Switch Window key.
Capturing Fullscreen Shot
After pressing the keys, you should see a notification pop-up near the bottom right corner showing the preview of what was captured along with links to Show in the folder and COPY TO CLIPBOARD. By default Chrome OS saved all the screenshots to the Downloads folder. If you would like to copy what you were captured so that you can paste into any editors, you need to click on COPY TO CLIPBOARD immediately after the pop-up is shown.
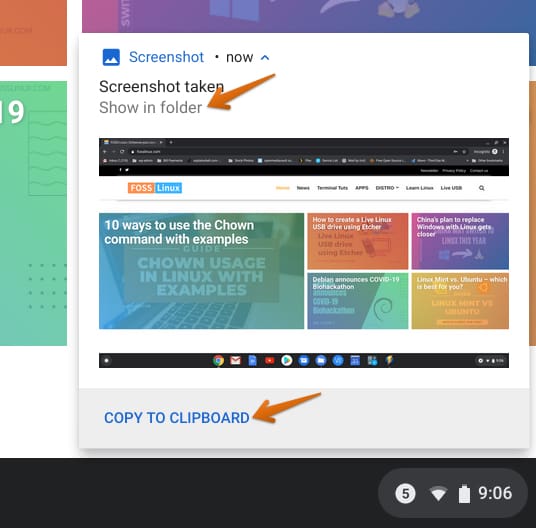
Screenshot Captured
2. Capturing a selected region screenshot
You may not need the full screenshot all the time. If you are interested in obtaining a selected region of what is shown on your desktop, press and hold Shift, Ctrl key while pressing the Switch Window key.
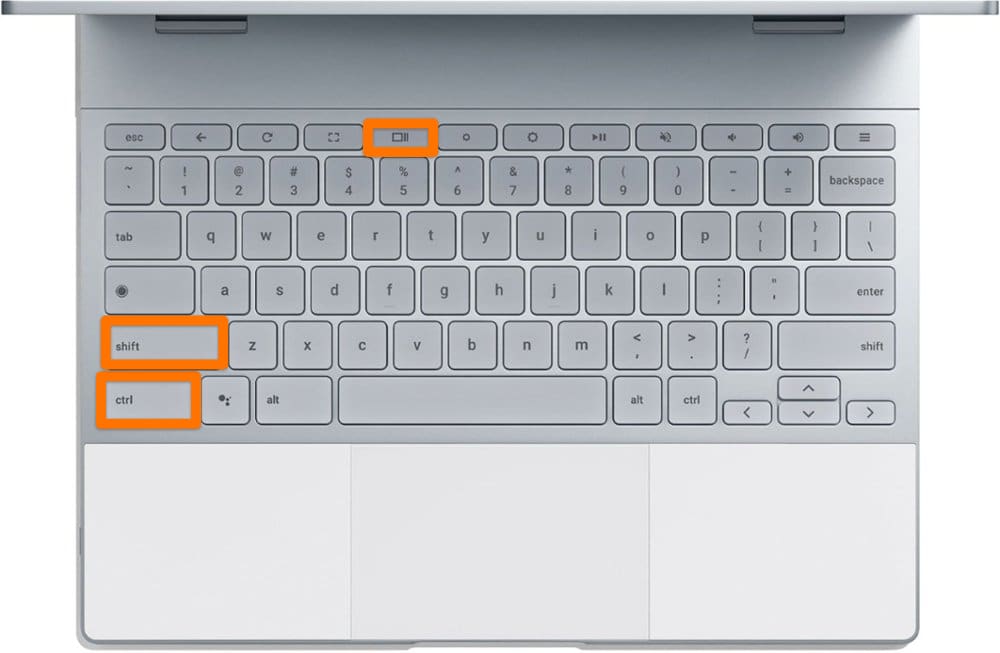
Selected Region Screenshot
The screen will dim the mouse cursor will change to a crosshair. You can now drag and select the part of the screen that you want to capture. The screenshot will get saved in the Downloads directory.
3. Taking a screenshot in the Tablet mode
Pixelslate
Those who are using their Chromebook in the Tablet mode, or those who own a Chromebook Tablet, need to use the Power and Volume Down buttons simultaneously. This will take a full screenshot. If you have a stylus while using the tablet mode, you can use the stylus tool to take a screenshot of a specific area of the screen.
4. Chromebooks connected to an external keyboard
If you are using an external keyboard connected to your Chromebook, don’t worry, you can still take the screenshot with it. Instead of the Switch Window key, you have to use the F5 key.
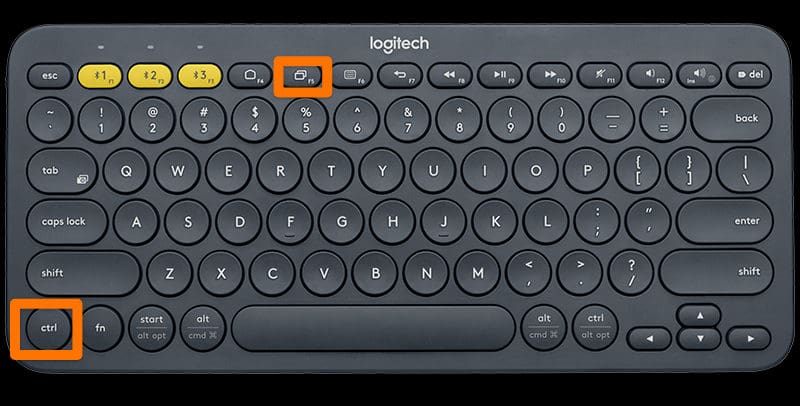
Logitech external Keyboard
Bonus Tips!
To edit the screenshots that are saved into the Downloads directory, you can use the built-in image editor to crop or resize it quickly.
1. Built-in image editor
Double-click on the image to open it via Gallery and then click on the edit icon on the top right corner.
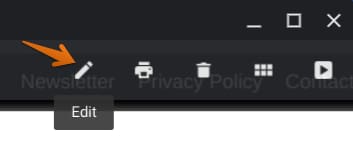
The built-in Chrome OS image editor is a simplistic photo editor, and so you only see a handful of image editing features, including Crop, Resize, Brightness Control, and Rotate. This should suffice most of the user’s basic photo-editing needs. If you are looking for annotating options and more enhanced features such as video recording, we recommend Monosnap.
2. Monosnap
Monosnap is a free screenshot capture utility with powerful capture abilities such as desktop, page area, visible content, whole page, and recording video too. You can install the Chrome extension from this link.
After installation, you should see its icon on the top right corner, where you can invoke it to begin capturing the content.
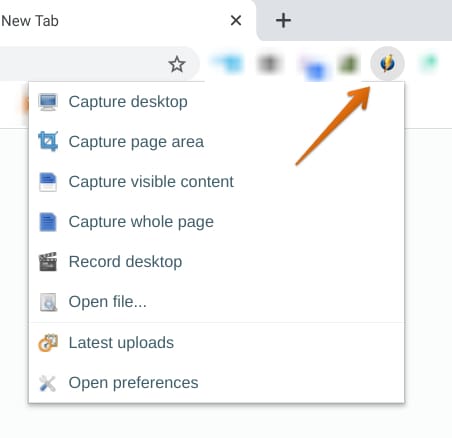
Monosnap Screenshot Utility
What makes Monosnap different from Chrome OS’s image editor is the annotation abilities. You can annotate with arrows, text, rectangle, line, text, and blur the areas. You can crop and resize the images. When done, you can save the image in png, jpg, and, webp format.

Monosnap Editing Features
Conclusion
This takes us to the end of this tutorial on how to take screenshots in Chromebooks effectively. While the built-in tool is useful enough for primary use, you may need to install extensions such as Monosnap, Lightshot, Awesome Screenshot to edit and add annotation information that is essential for collaboration.
