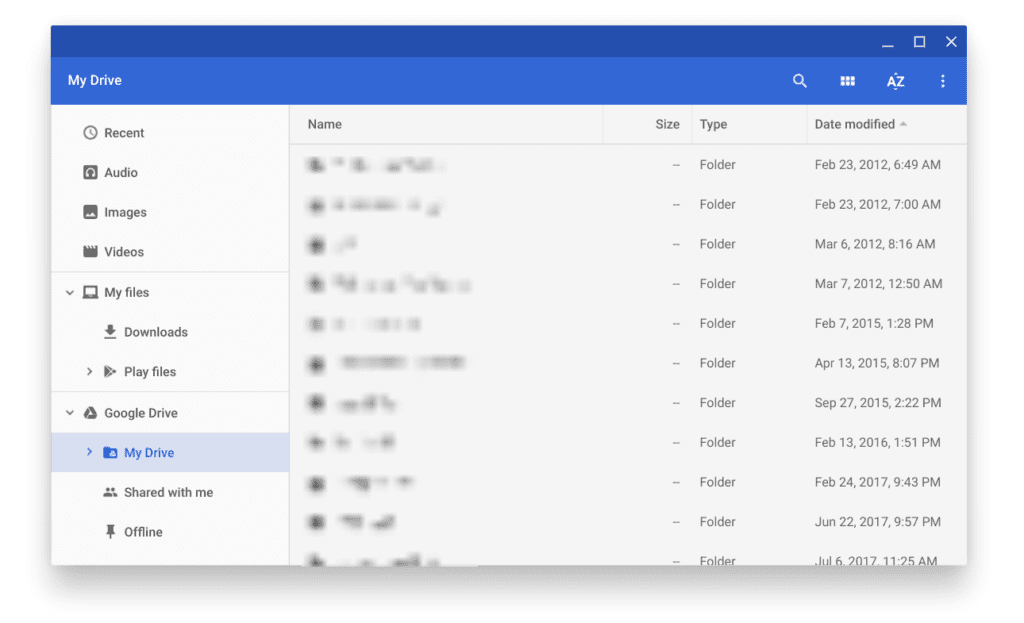
Files App – Google Drive
Let’s now look at the method of adding additional services to your Chromebook. As of today, you can add major cloud service accounts and network shares, including Dropbox, Shared network folder (SFTP), Network File Share, Cloud Storage, LanFolder, ShadyVault, and Nextcloud.
Connecting to an SMB file share
Step 1) Click on the Launcher, search for Files in the search box, and launch it.
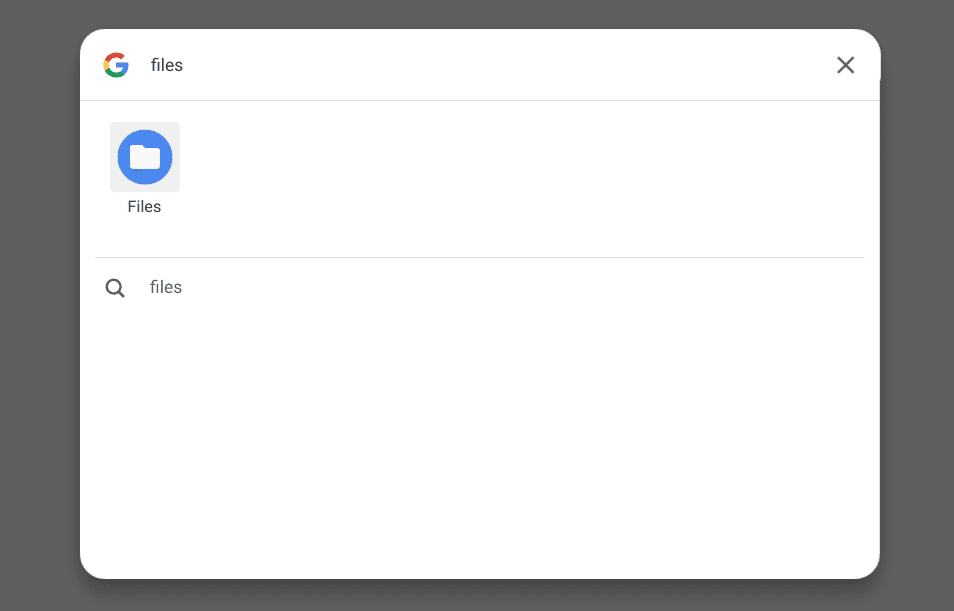
Launch Files
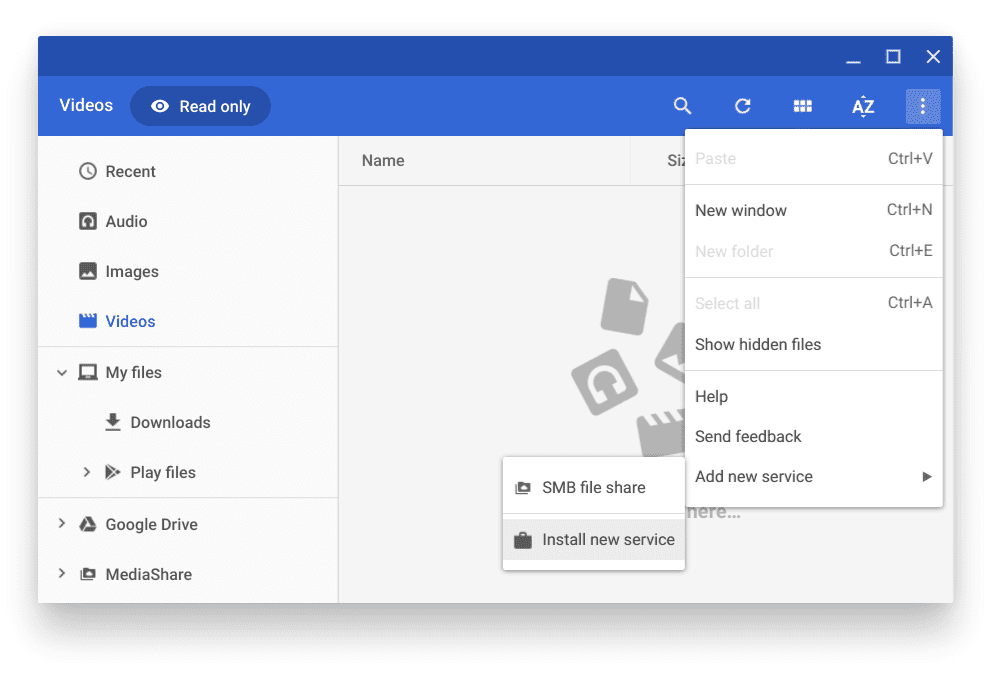
Step 2) In the top right, click on more icon.
Step 3) Select Add new service and then SMB file share.
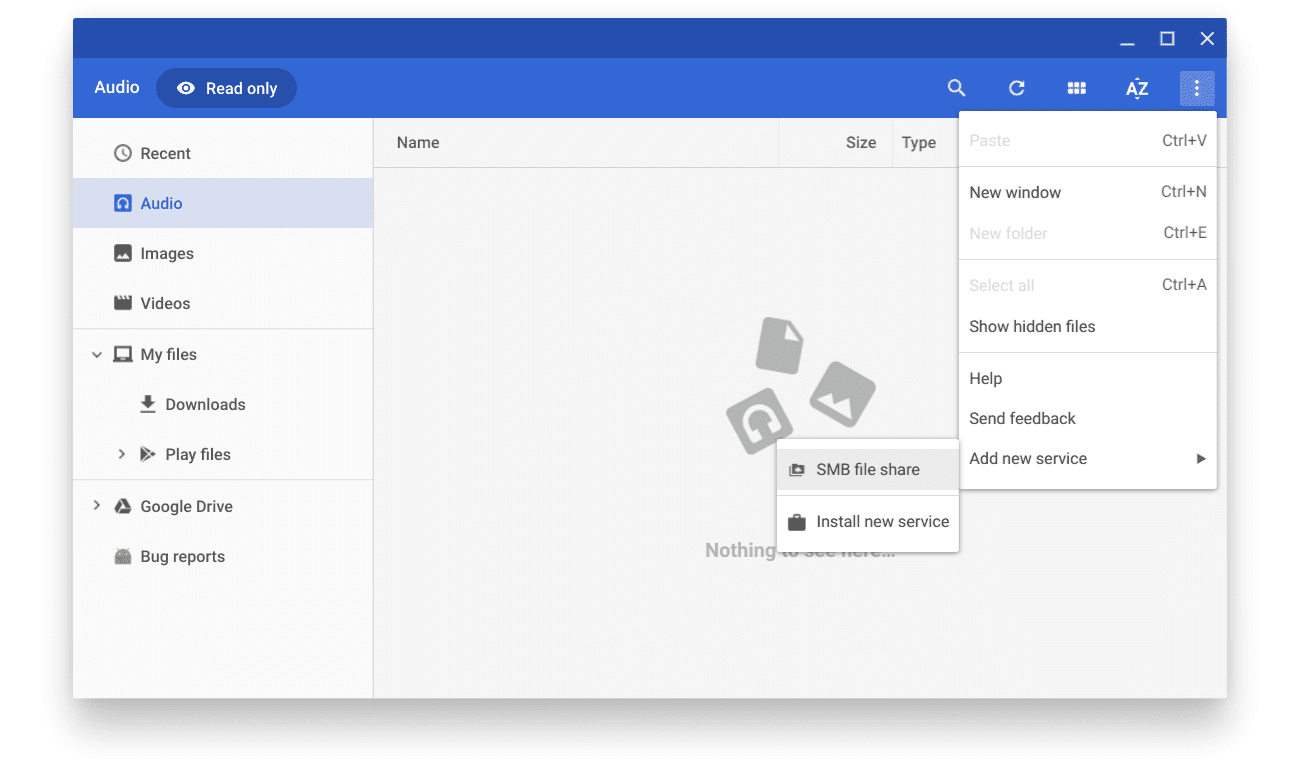
SMB file share – Files App
Step 4) Your Chromebook will automatically look for available SMB shares on your local network and display it in the drop-down menu. After selecting the SMB share, click Add.
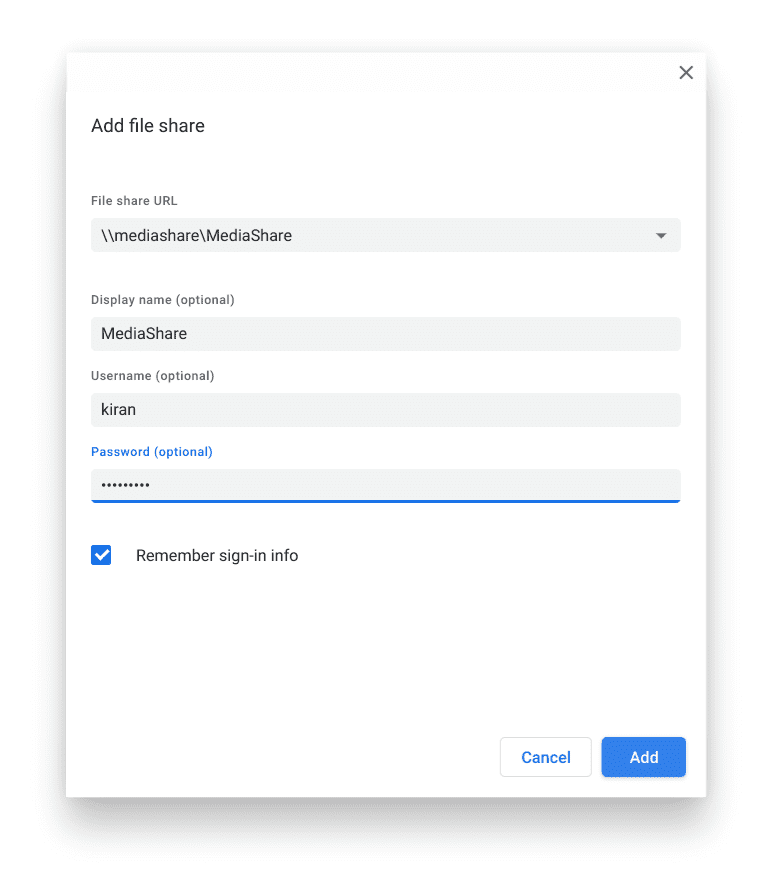
Add file share
That’s it! You should be connected to your SMB server.
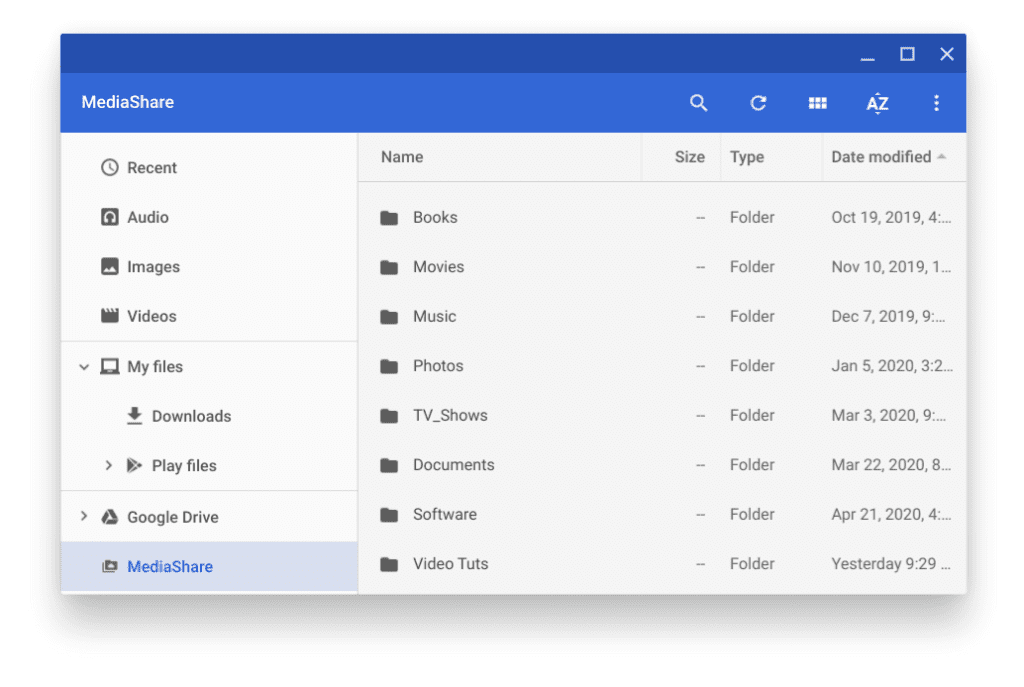
SMB share added to the Files App
Connecting to Cloud file systems (example Dropbox)
Step 1) Click on the Launcher, search for Files in the search box, and launch it.
Launch Files
Step 2) In the top right, click on more icon.
Step 3) Select Add new service and then Install a new service.
Add new cloud service
Step 4) Scroll through the available services and click on the INSTALL button corresponding to it. For example, I chose to install the Dropbox service.
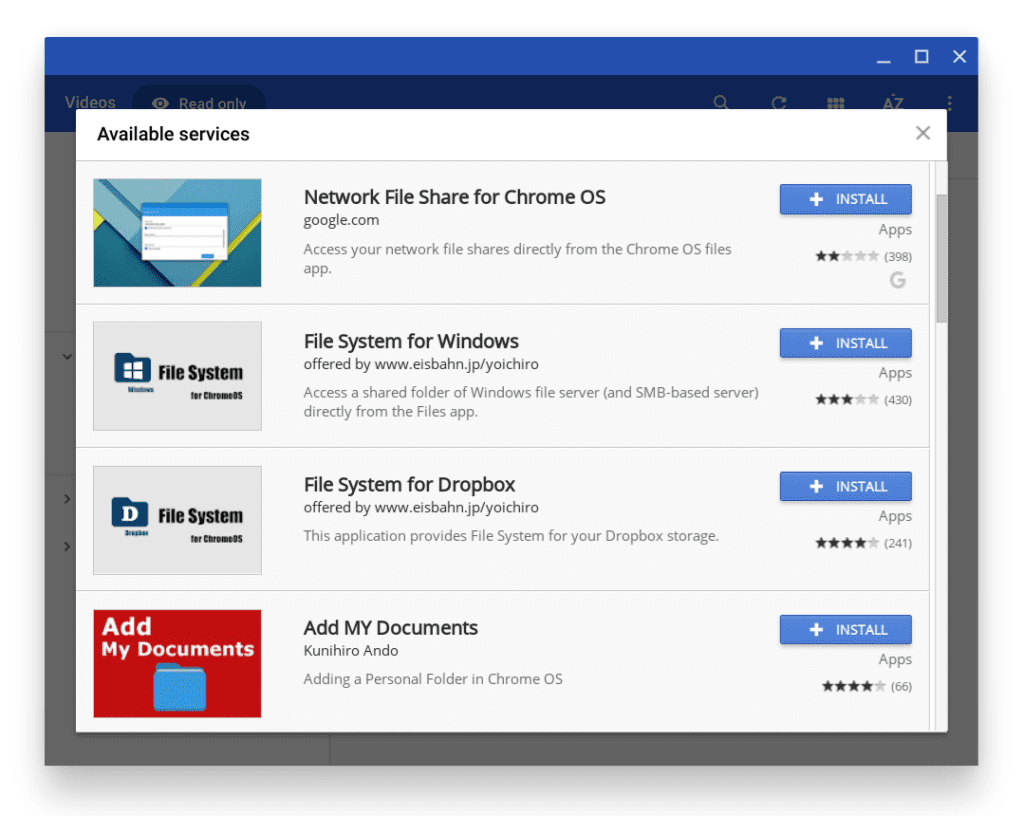
Add a new service
Step 5) I clicked on Mount your Dropbox and entered my Dropbox sign-in credentials.
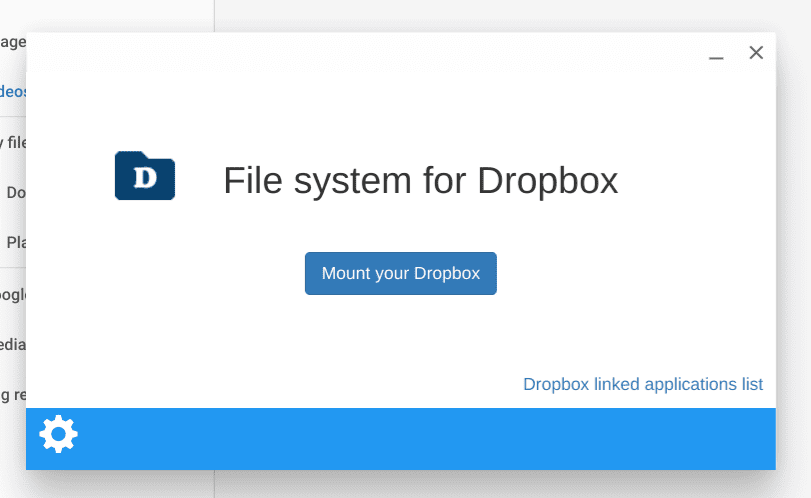
Connecting to Dropbox
Step 5) Similarly, follow the on-screen instructions for the service you have chosen to install, and you should be done with the connection. You have to click on Allow for ChromeOS to be able to mount the service to the Files app.
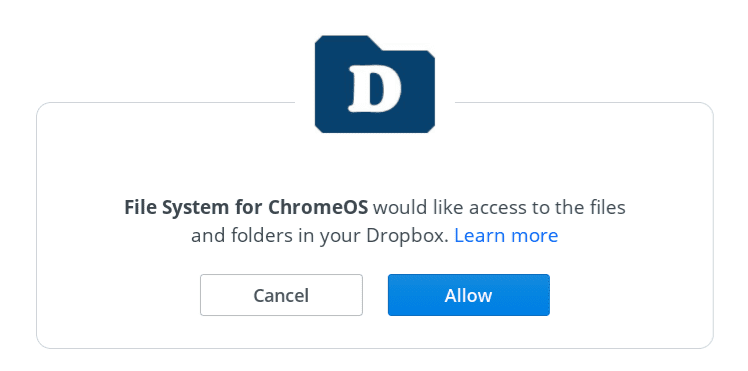
ChromeOS prompt to add Dropbox
The new service should get added to the Files app similar to the SMB service and Google Drive options displayed in it.
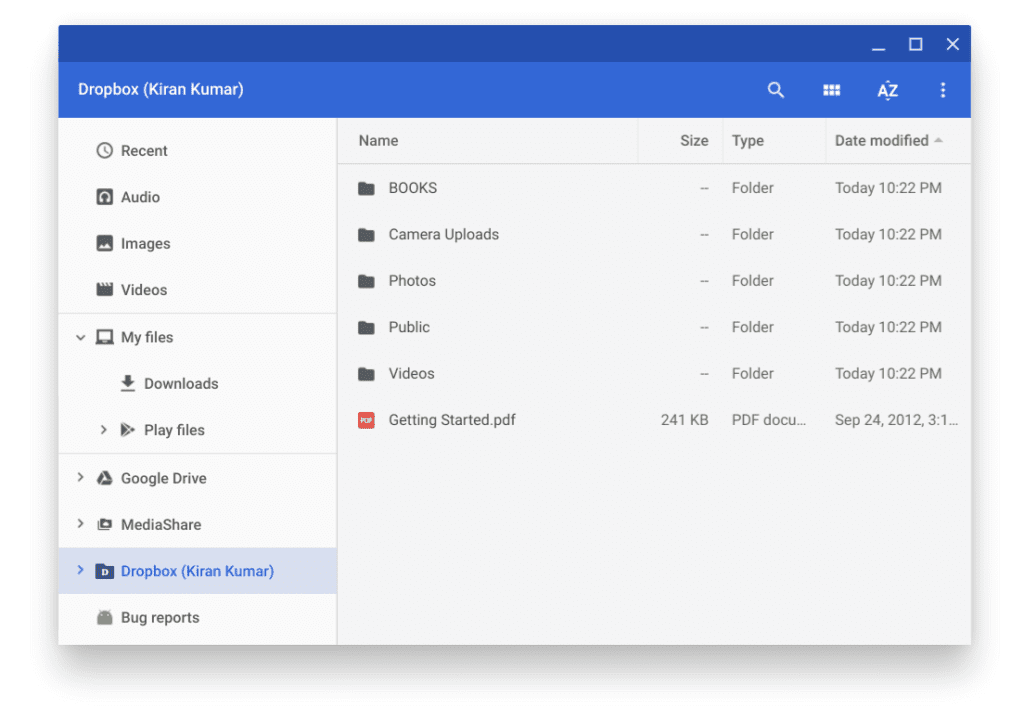
Dropbox added to the Files App
Conclusion
That’s all about adding the SMB, NFS, or your cloud service to your Chromebook for quicker access to it. Although most of the cloud services provide an excellent web interface to access your files, the benefit of integrating it with the Files app on your Chromebook has a comfort of its own. If you are a single user of your Chromebook’s Google account, this should be a no brainer option.
2 comments
It does not appear that this approach has an option for Box.com?
I am not real happy about about my computer backing itself up…(I don’t) know where it put my stuff!! and I am not happy at all about these updates (they do not tell you what they are going to do, and if you do not like what they did you cannot go back!!