If you are in a similar situation as me, you are probably here to know how to connect your Chromebook to your local access network via the wireless connection. Here are the detailed steps:
Accessing the Local Network File Shares on Chromebook
1. Adding SMB protocol
Step 1) Before doing anything, please make sure your Chromebook is connected to the same network that your NAS is connected to. You can connect to your network drive using a wireless connection or by using ethernet cable via LAN.
Step 2) Launch Settings by clicking on the System Tray.
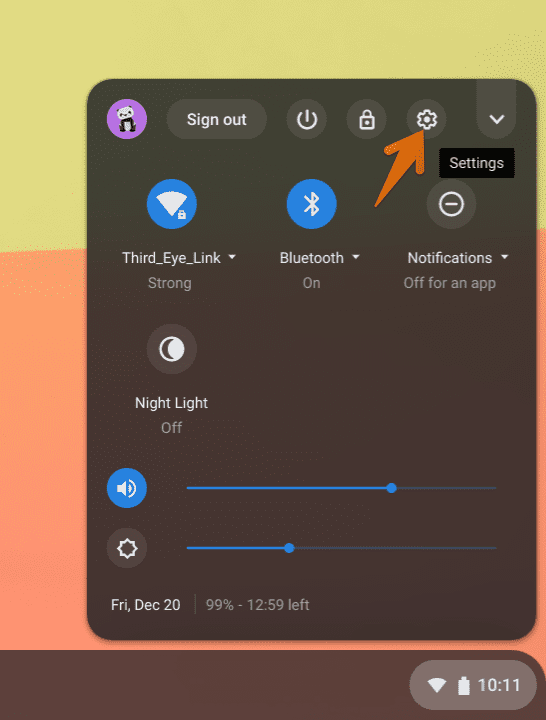
Launch Chrome OS Settings
Step 3) On the left pane, click on Advanced.
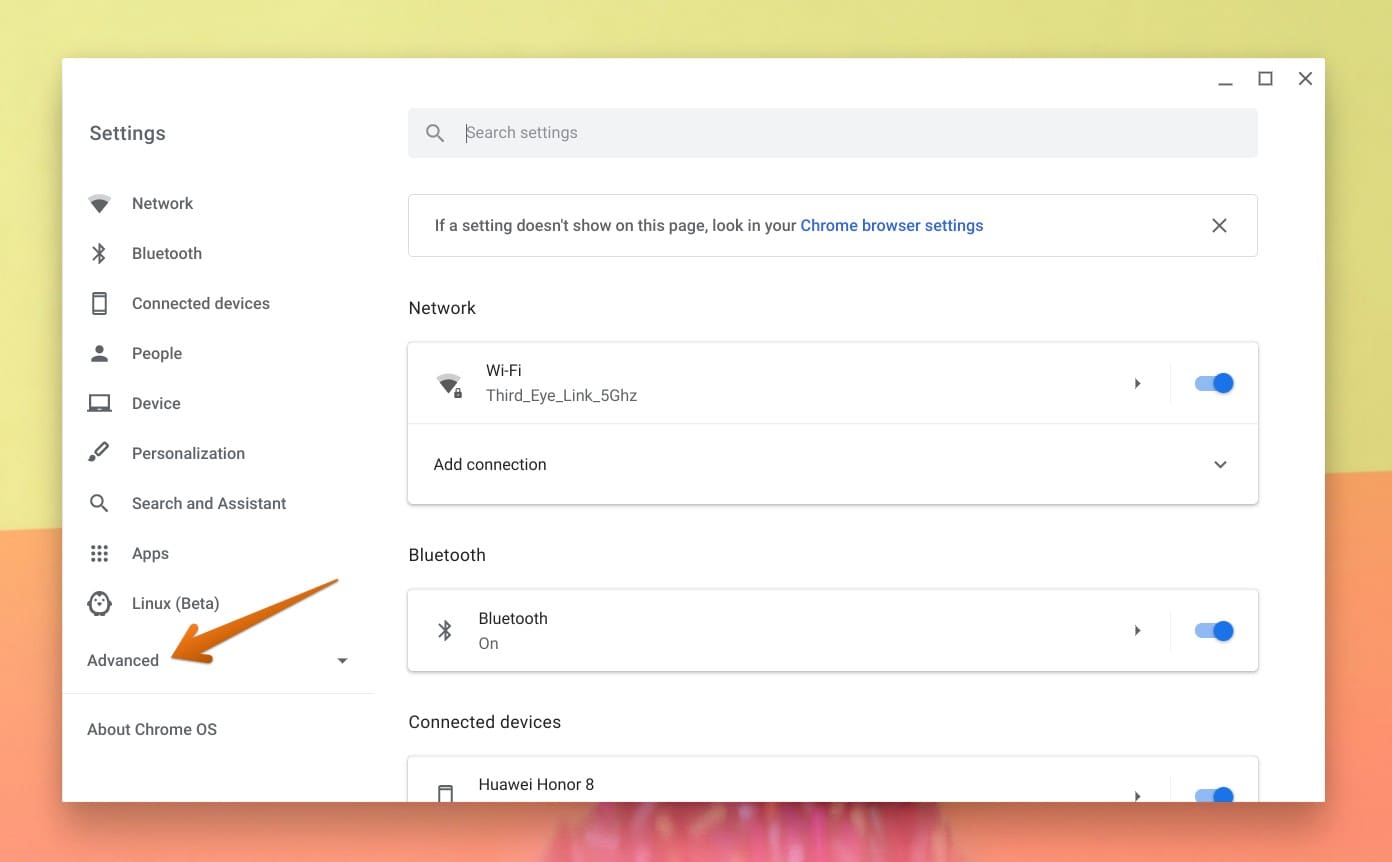
Advanced Settings
Step 4) Click on Files and then Network file shares.
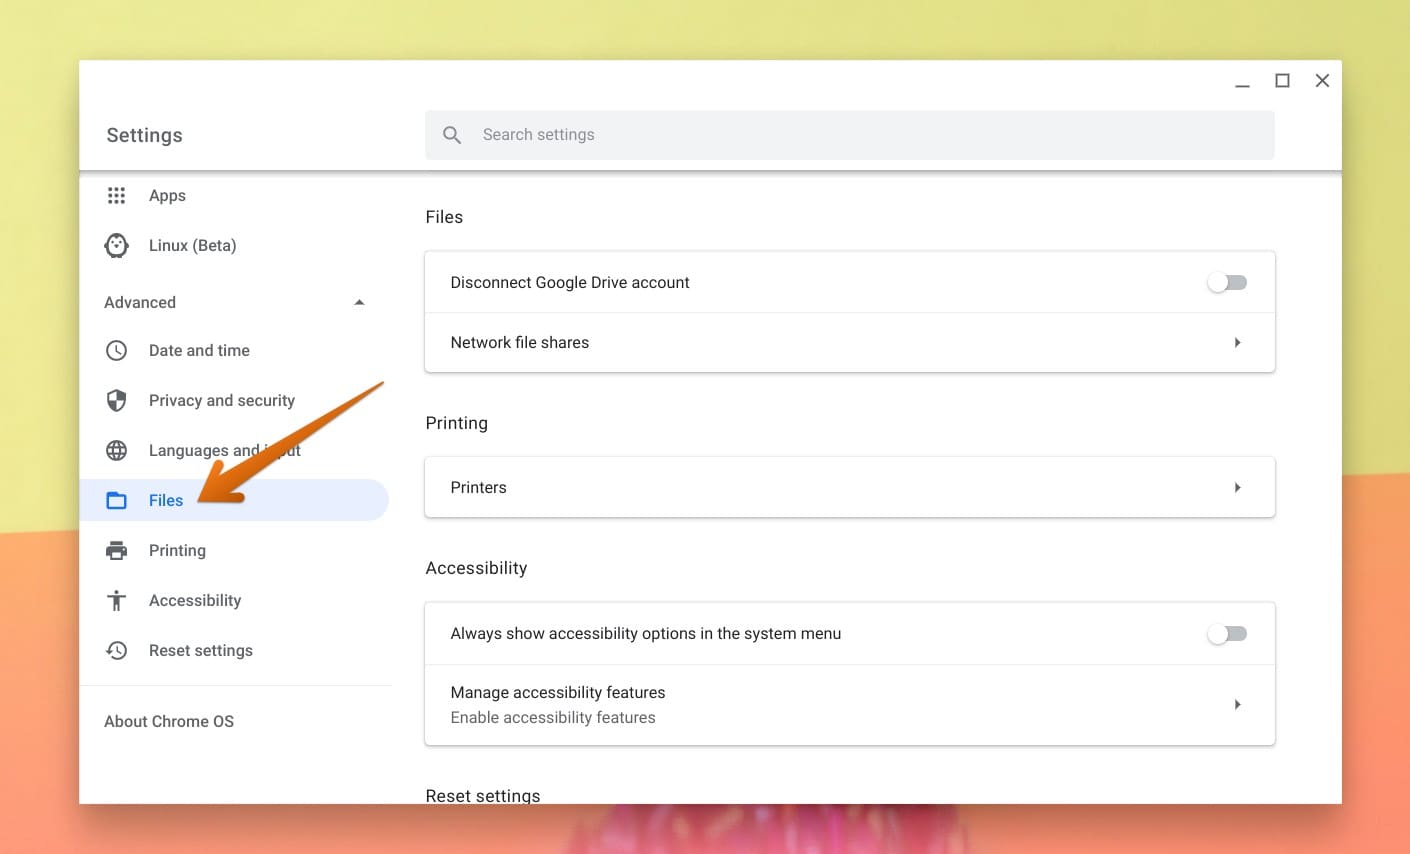
Settings – Files
Step 5) Click on the Add file shares button.
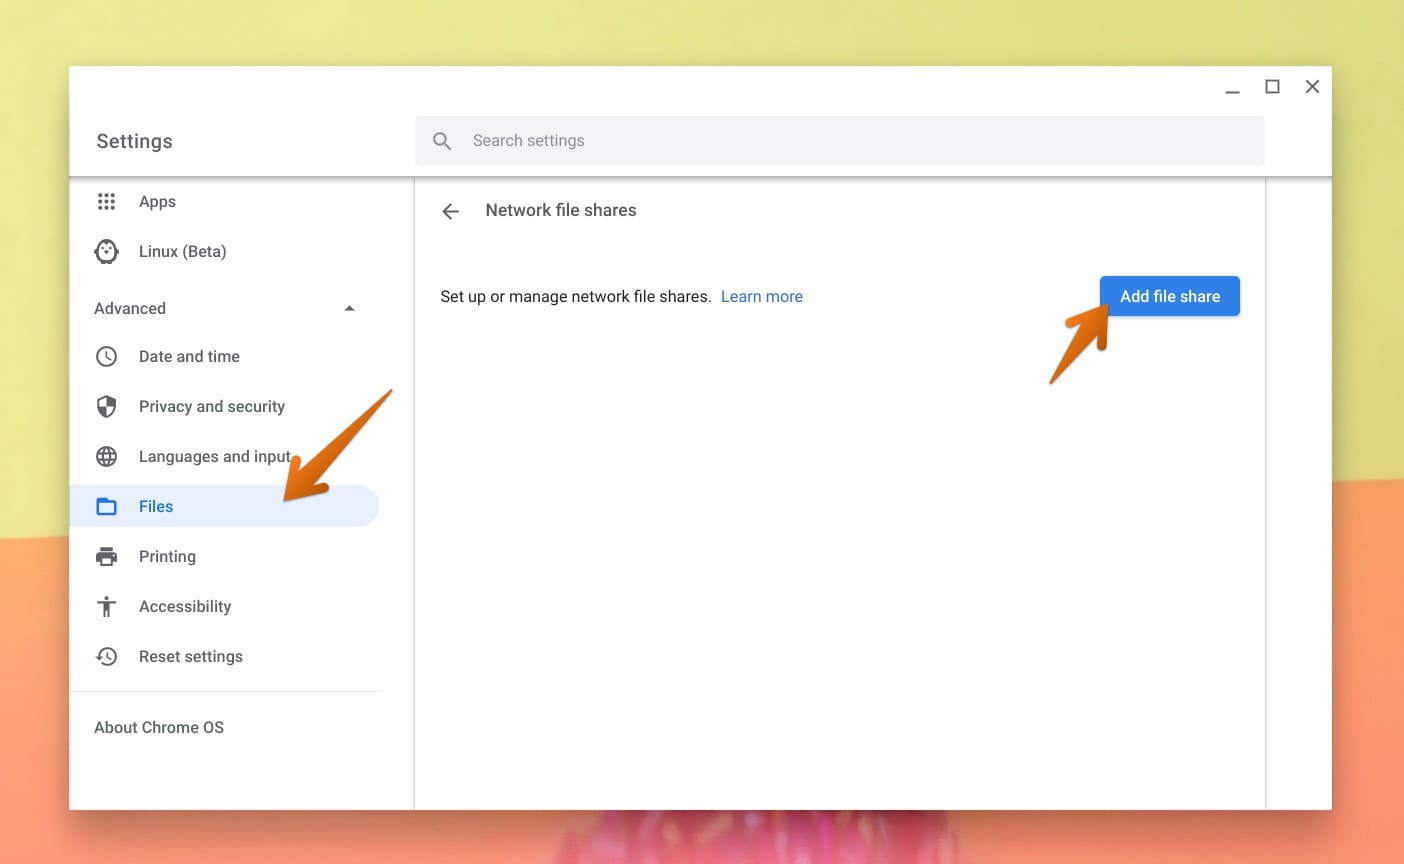
Settings – Files – Add File Share
Step 6) Chrome OS will automatically scan the local network for any SMB drives, and in a minute, you should be able to select it. For example, in my case, it’s called MediaShare. If you are not able to see your network files, double-check if your Chromebook and the network files are on the same network. Click on the Add button, and you should be done.
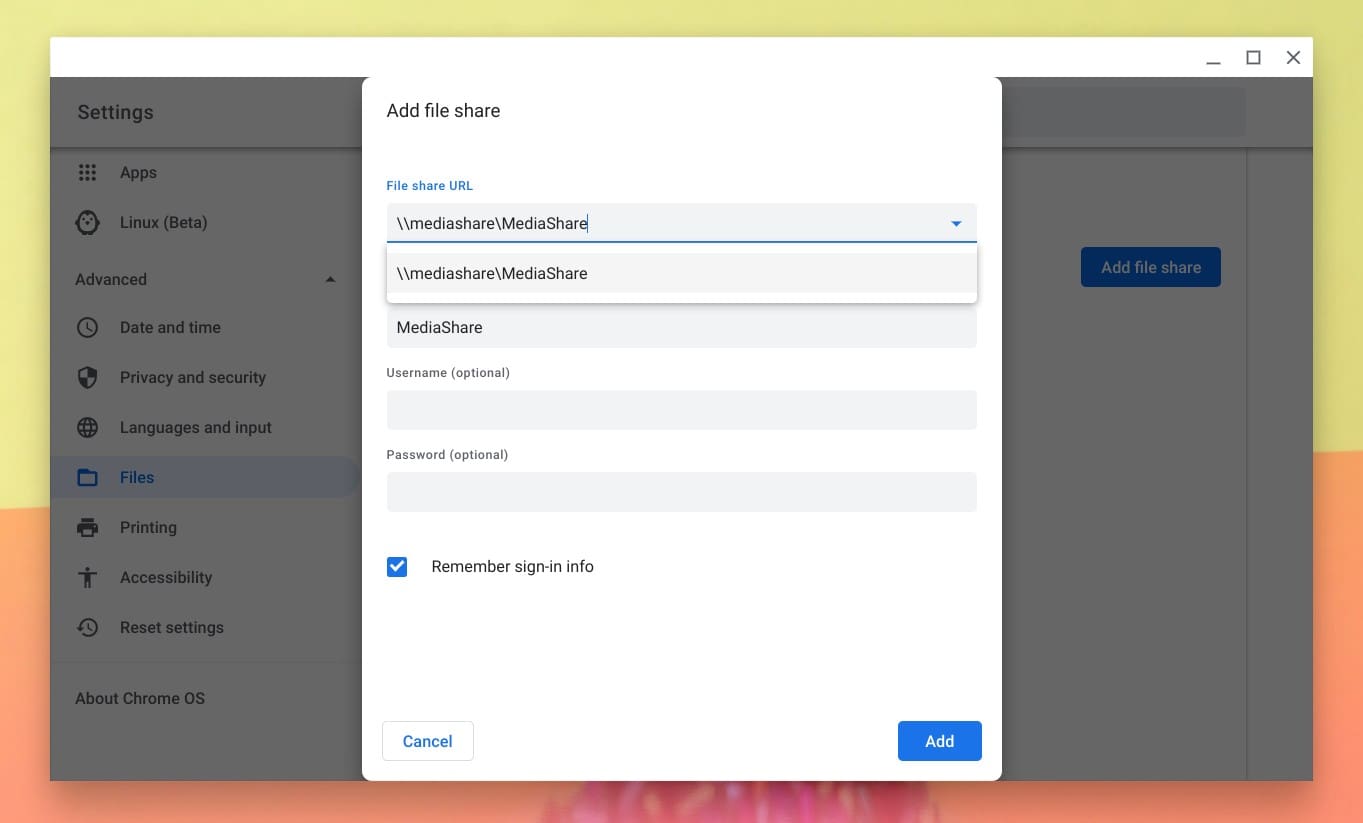
Adding Network Shares
Step 7) Finally, head over to Files from the Launcher menu. You should see the SMB file shares listed on the left pane.
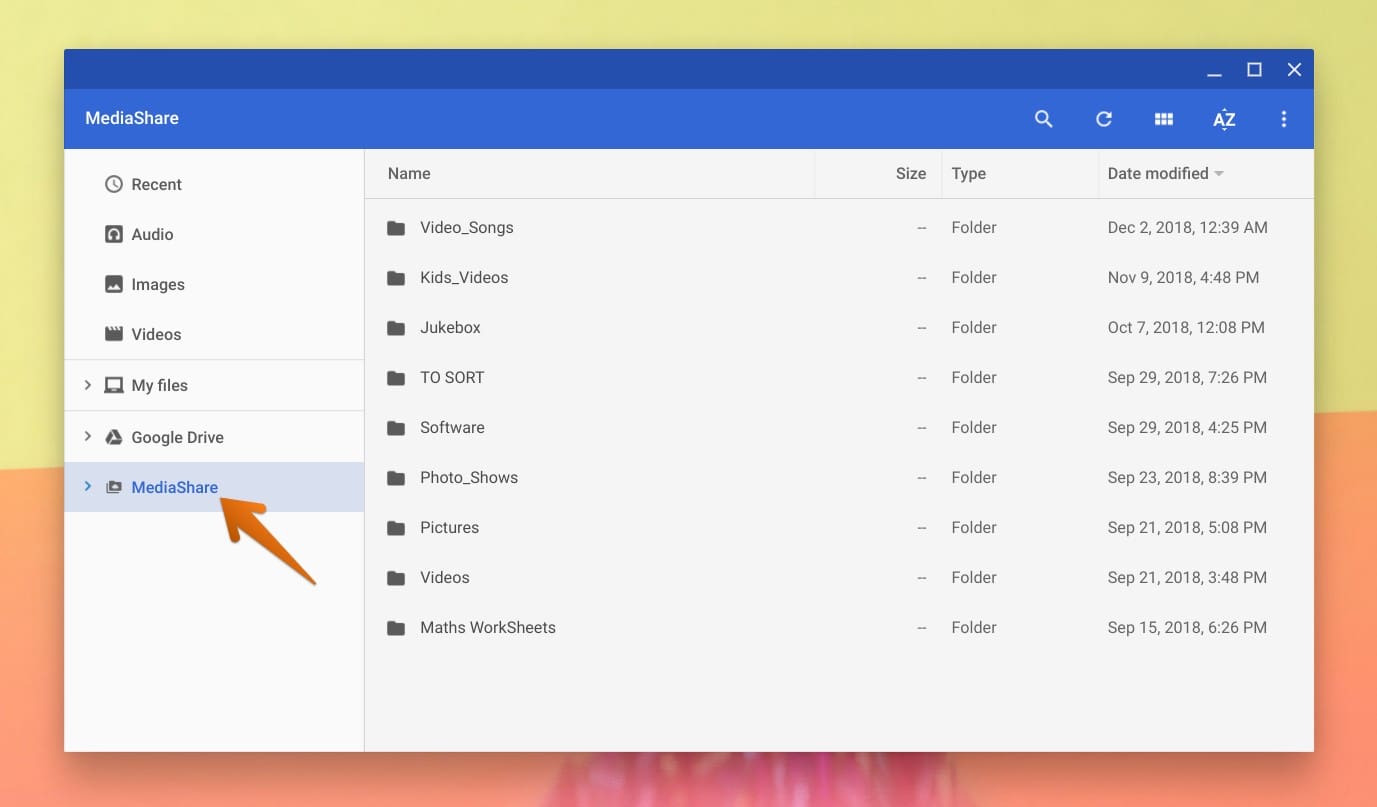
Network Drives
2. Adding NFS drives
Step 1) Click on the Launcher, search for Files in the search box, and launch it.
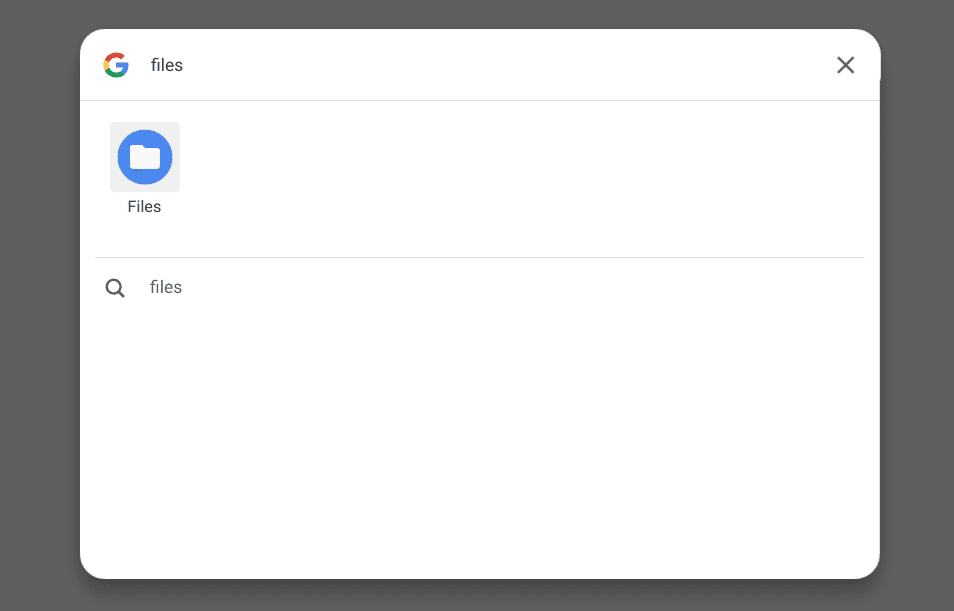
Launch Files
Step 2) In the top right, click on more icon > Add new service > Install new service.
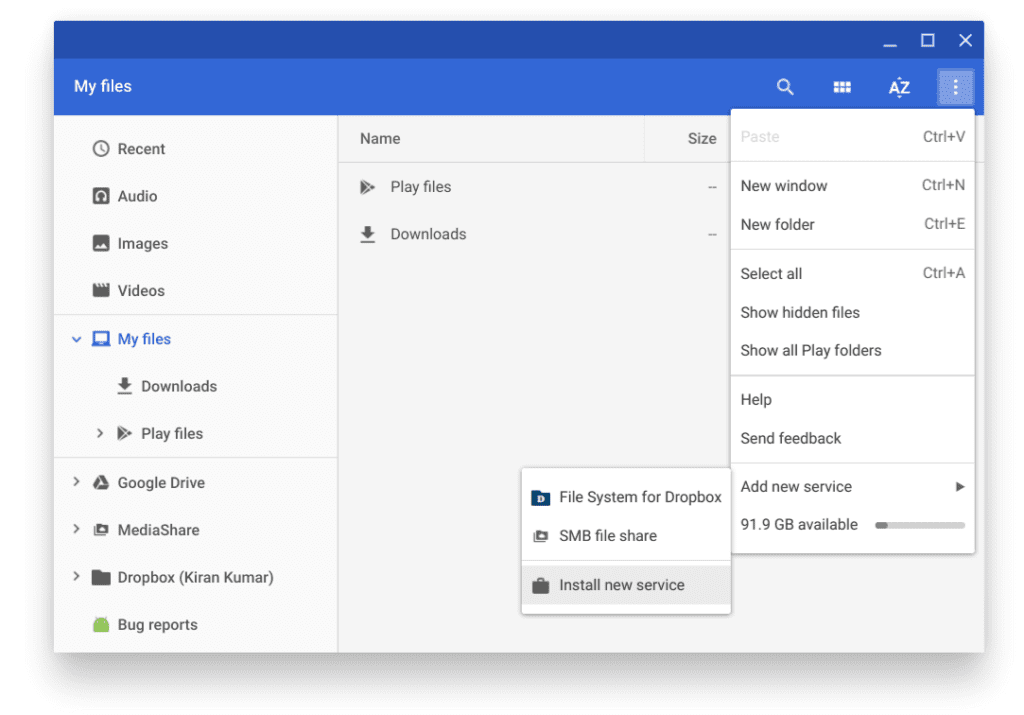
Install new service
Step 3) Click on INSTALL next to Network File Share for Chrome OS.
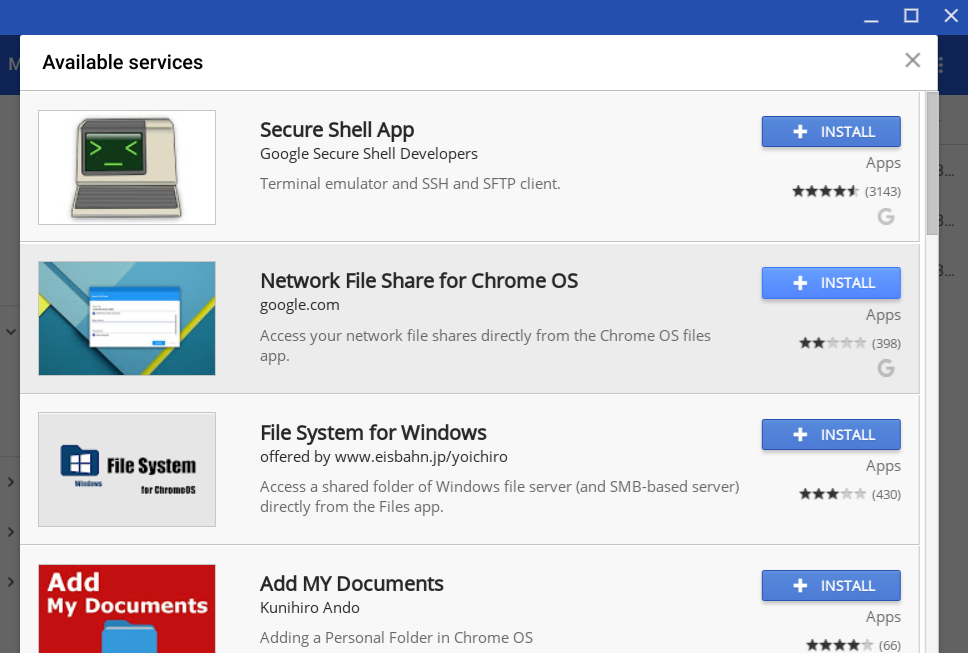
Install NFS for Chrome OS
Step 4) Click on Add app.
Step 5) Your NFS should arrive in the Share Path drop-down list. Give it a minute to scan. If your NFS needs a password, check the box My file share needs a password, and then enter the Username and Password. When done, click Mount.
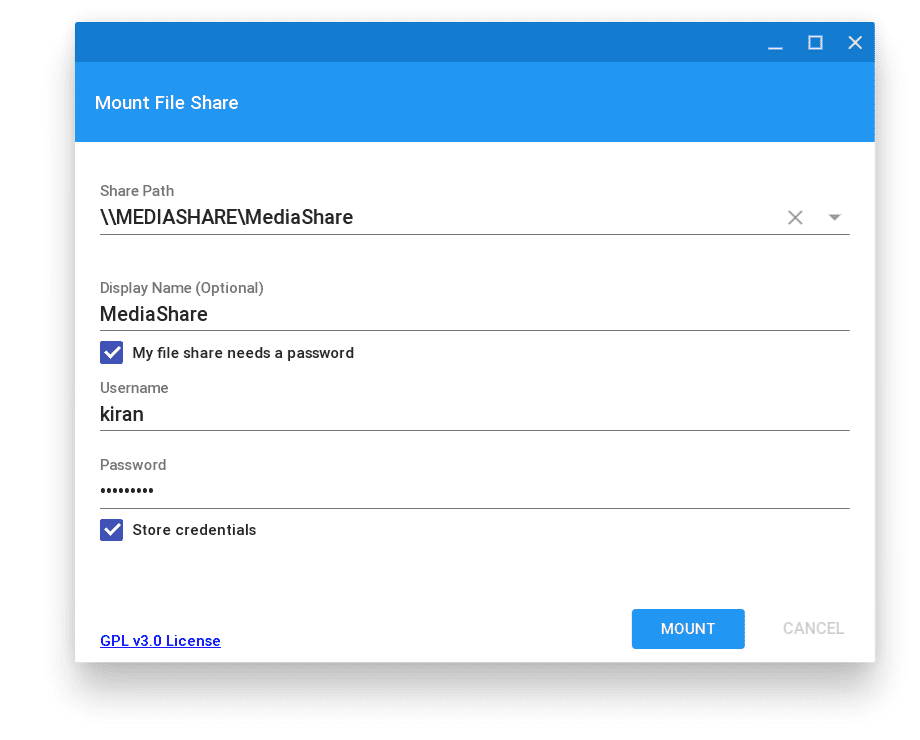
Mount File Share
Step 6) Your NFS drive should be accessible from the Files app.
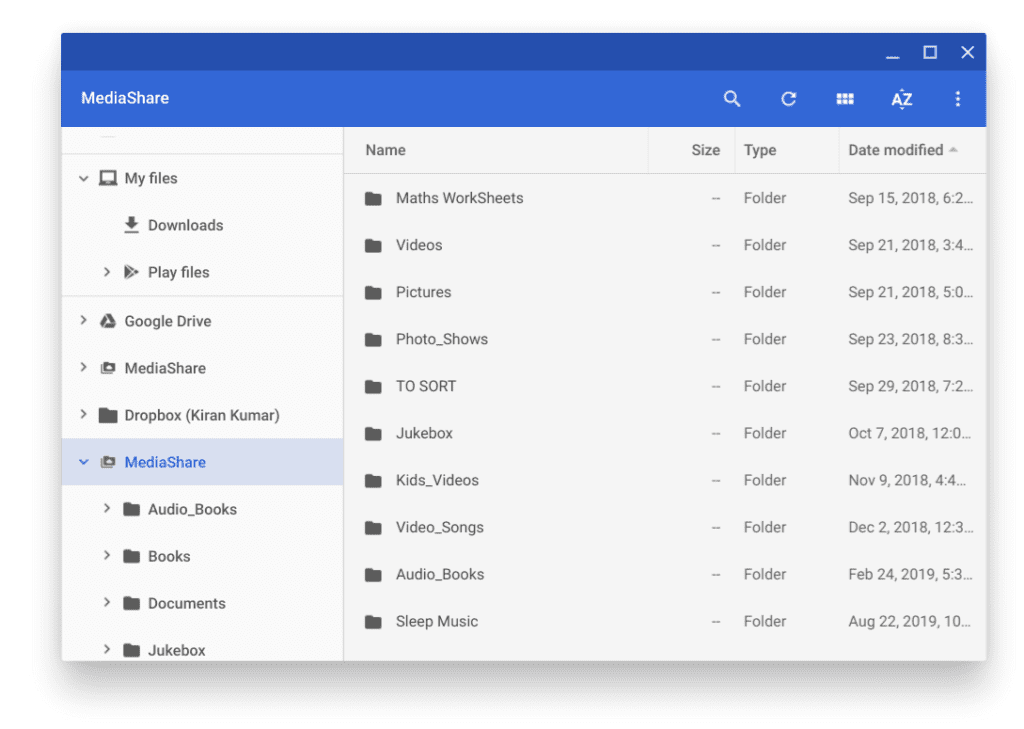
NFS drive added
That’s all about adding the Network File Shares in Chrome OS. I hope you have enjoyed this tutorial.

8 comments
The description says NFS shares when it means SMB shares. They are not interchangeable.
I agree. Thanks for pointing it out. The article will be updated in a day or two to show NFS shares as well.
ROTFL. Just changing “SMB” to “NFS” doesn’t mean it actually works. Get a clue.
Any idea how to access SMB shares mounted in the Chromebook file manager via the Linux prompt?
I was given the option to permit access to Linux when I added the share, and it appeared under /mnt/chromeos/SMB on Linux. However I do get warnings about the “.” directory all through it. But I can read and write OK.
What I don’t see is the option to Add New Service to add NFS… SMB support was already there. Do I need to set a dev option?
Sadly, this article has nothing to do with Linux NFS.
I have a media box WDTV LIVE, my andiod phone and tablets see it but not my new chromebook
I consider to by a Chromebook. But the lack of NFS support in Chrome OS, even if it’s based on Gentoo Linux is a stopper to me. So the 1st google match is this page. But this article is a stub. NFS isn’t Network File Share but Network File System. What you describe here is Samba/CIFS.
So please, update your article and describe the access to a NFS server not to a windows share. Would help a lot.
Thanks.