Chromebooks sport a sleek, simple, and purpose-oriented operating system that’s commonly known as Chrome OS. It’s fast and tends to get the job done efficiently without involving too many processes or other complex programs. You already know how convenient these little magicians are if you own a Chrome OS.
You can also fix potential problems with other Windows-based PCs by downloading the operating system’s installer. You’d require a USB drive with the necessary operating system to do this.
The best part is that you can create a bootable USB drive with a Windows installer using nothing but your Chromebook. You do not need any other PC, such as a Windows-based laptop or a Linux machine. Therefore, this article will write down a straightforward method to get a Windows installer downloaded on a USB on your Chromebook. Doing so will enable you to install Windows on any PC. Let’s get started.
Creating a Bootable Windows Installer USB Drive on Chromebook
To create bootable USB drives on your Chromebook, you need to have a USB with at least 8 GB of space available and a tool called balenaEtcher. This is a dedicated application that can flash ISO images on USBs, thereby making them fully operable and bootable.
Therefore, we’ll first have to get Etcher on your Chromebook, download the Windows 10 ISO from the official website, and then load the latter onto balenaEtcher so the tool can create a bootable Windows installer USB drive. Let’s break all of this down into a three-part process.
Step 1. Installing balenaEtcher on Chrome OS
Downloading and installing balenaEtcher on your Chromebook is relatively painless. However, it is pretty lengthy, so that we won’t be detailing a tutorial for it in this particular guide. It would be best if you headed over to this link, where an in-depth tutorial awaits you, discussing the complete installation of Etcher on Chrome OS.
Please download the software on your device from the instructions written in the interlinked guide to continue. Next, you will need balenaEtcher to create the Windows installer USB drive. As soon as you’ve done that, proceed toward reading from the next section.
Step 2. Downloading the Windows 10 multi-edition ISO
Creating a bootable USB drive with a Windows installer isn’t complex, but it requires attentiveness. The following steps are going to explain how you can do this.
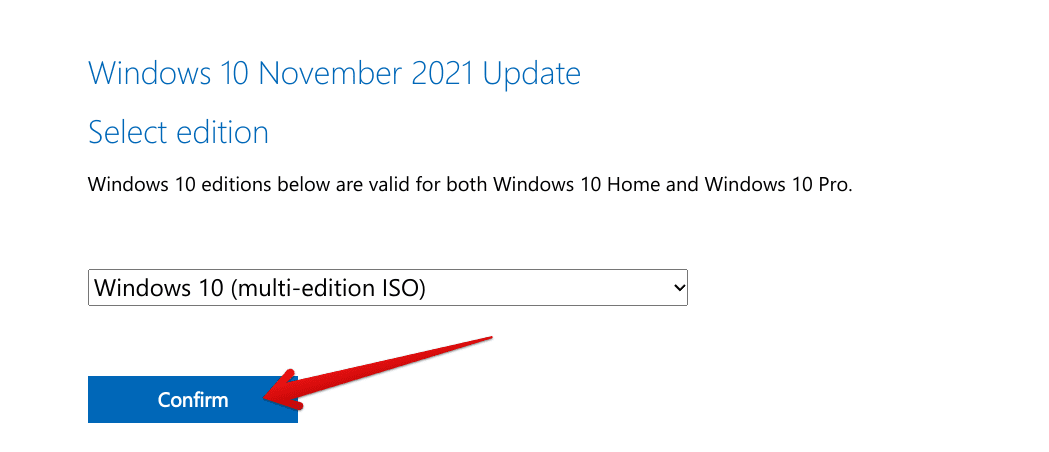
1) The first thing you’re going to have to do is install a Windows 10 Disc Image which you’ll get in an ISO format. Click on this link and head to the official Microsoft install page for that to happen. The website will automatically detect that you’re not using a Windows PC when you’re there.
It’ll allow you to download a multi-edition ISO that will be accommodated later when proceeding with the installation. Scroll down a little when you arrive at the website to find the “Confirm” button. Click on it to get to the next step.

Confirming the installation
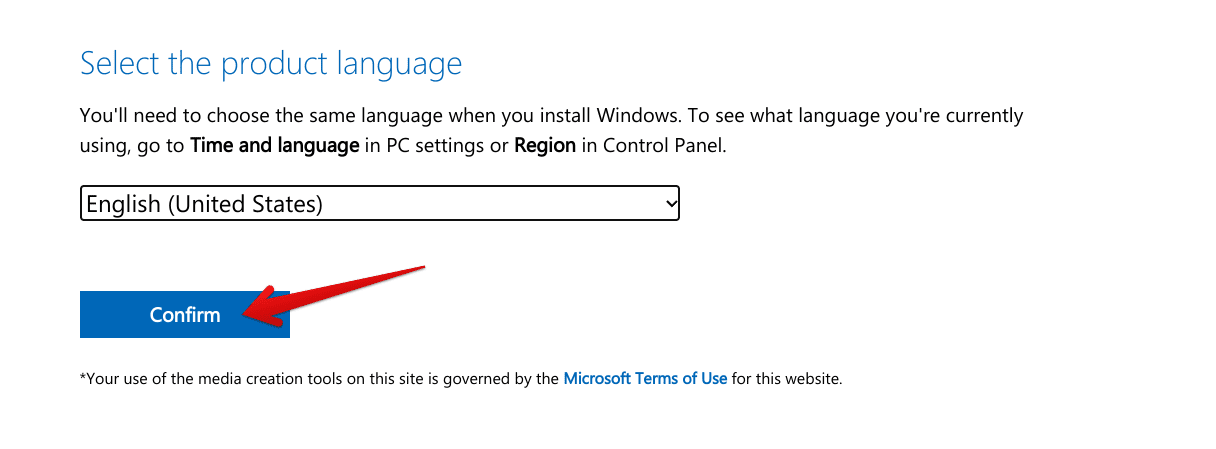
2. After clicking on “Confirm,” the next step is to select the product language. Choose the one that suits you the best and select “Confirm” to proceed.

Selecting the product language
3. You now have to click on the “64-bit Download” button to begin the download of the Windows 10 ISO. Depending on your internet connection, this can surely take a while since the file size is around 5.5 GB.

Download the Windows 10 Disc Image
Good going so far! All you have to do now is wait until the download finishes. Once it’s done that, keep on reading from the next step.
Step 3. Making Linux be able to detect the USB drive.
By default settings of the Chromebook, Etcher will not be able to detect the USB drive plugged into the USB port of your Chromebook. For it to recognize, you must do a couple of steps. Please head to our article and follow the instructions titled “Important: Detecting USB flash drives on Balena Etcher“. After you are done, return to this article.
Step 4. Using balenaEtcher to create a Windows 10 installer bootable drive
You now have to fire up Etcher on your Chromebook, given that you’ve learned how to install the software already. However, as soon as you enter the main user interface of balenaEtcher, you’ll see how it employs a three-step formula, making it easy to flash ISO images to a USB drive. The following steps will illustrate what you need to create a Windows installer USB drive.
1. Click on “Flash from file” within the main balenaEtcher user interface. That will open the “Files” app on your Chromebook automatically. From there, select the Windows 10 ISO that you’ve just downloaded.

Selecting the Windows 10 ISO in balenaEtcher
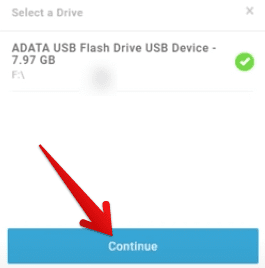
2. Right after that, you have to insert a USB drive that you’d like to flash the Windows 10 ISO to. Remember that the peripheral you’ll use must be free of all contents. If there’s anything important, be sure to back it up to avoid data loss. Next, click on “Select target” to select your USB drive. That should take you to the final step.

Selecting the USB drive
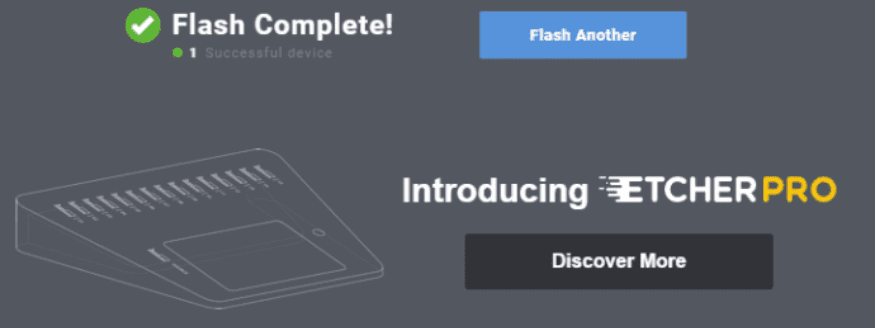
3. The final step is to click on the “Flash!” button, which will promptly begin the process on your end. When balenaEtcher has finished flashing the Windows 10 ISO to your USB drive, you will see a “Flash Complete!” screen, confirming that the operation has been a success.

Flashing process complete
That’s about it! You can now easily take out the USB drive and insert it into whatever device that needs to be flashed with Windows 10. The process was reasonably straightforward, albeit a little lengthy. We hope you’ve got what you came for by visiting this Chrome Ready article. It’s now time to conclude the article.
Conclusion
Chromebooks have a flexible nature, which allows them to execute a wide variety of tasks, and creating a bootable USB drive is one of them. This article shows you how to use your Chromebook to download a Windows installer, get it on a USB, and format it to accommodate any PC you like.
If you’ve carefully followed the instructions above, you know how easy installing Windows on other computers is. We hope that this guide has been helpful for your cause. Chrome Ready wishes you good luck!

4 comments
This option no longer works. I’ve tried it and everytime I get an error.
“click on the gear icon in the upper-right corner of the window”
What window???
chrome recovery tool window> click the gear when it asks for the device.
Can the USB be used in a Windows computer to change the Windows OS or can it only be used on the Chromebook?