Chromebooks have retained their status as monumentally convenient devices over the years for not being able to perform web-based tasks on the fly along with installing top-grade Linux programs, but also running Android apps for multi-faceted usability. While the functionality at hand is certainly sought-after, it helps to know how to manage it properly.
That way, you can stay in control over the different processes taking place on your device, and know how to troubleshoot issues when they arise. In this guide, we’ll learn how to access the Android panel on ChromeOS and tweak its various parameters to target an optimal user experience.
With no further ado, let’s dive right in straight away.
Accessing Android preferences on a Chromebook
Certain apps, tasks, and processes on your Chromebook, such as the Google Play Store, including the subsequent apps that you download from the storefront, all have a main control panel on ChromeOS from where you can exercise control and regulation. To access it, you just have to go through a couple of steps, and that’ll be it.
Heading over to the Settings app
You read the subtitle. Get started by opening the Settings app on your Chromebook. Do this easily via the launcher or from the shelf area if you have the utility pinned there.
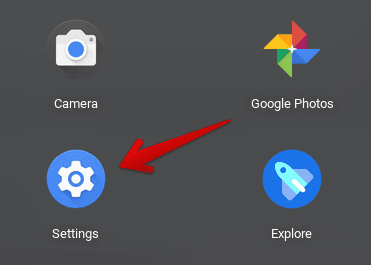
Opening “Settings”
Navigating the Settings app
As you boot into the Settings window, the next step is to click on the “Apps” section on the side column to the left, followed by clicking the “Google Play Store” option as shown below.
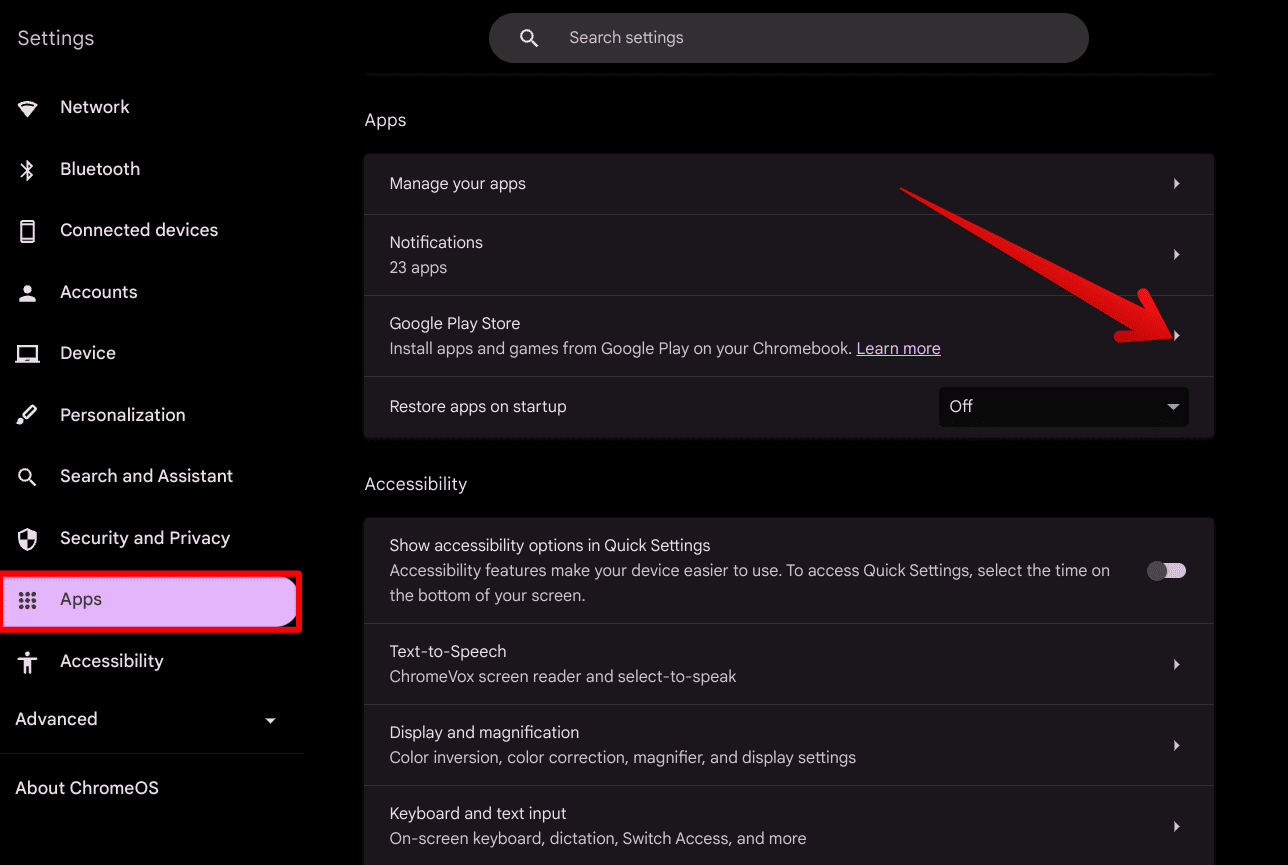
Entering the Google Play Store section
Finding the Android preferences section
Now, simply click on the “Manage Android preferences” button within the Google Play Store subsection and you’ll be able to get to the next step. A window titled “Android Preferences” will launch promptly on your Chromebook, having followed the instructions correctly.
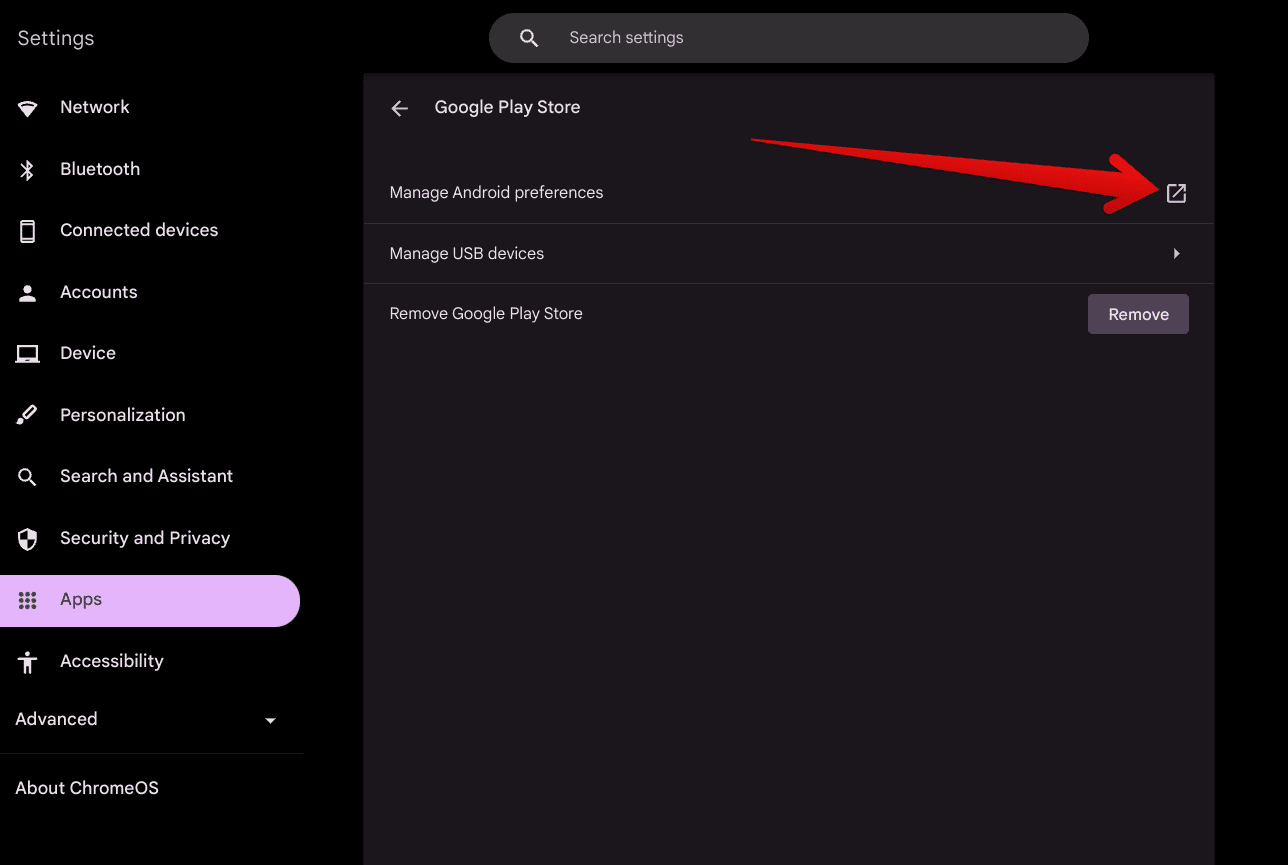
Managing Android preferences
- Tip: For easier access next time, pin the Android Preferences window by tapping on its app icon with two fingers on the trackpad. Once done, numerous options will pop up on the screen, allowing you to choose the “Pin” option.
Taking control of Android settings on ChromeOS
Now that you’re within the Android Preferences section on your Chromebook, you can see how there is a wealth of different options for you to explore and get into. Prior to the latest system update, which is ChromeOS 119, the user interface of this area was followed by an outdated design, but we’re glad that a major aesthetic improvement has been made on this front.
Starting with the Network and internet preference

The “Network and internet” setting in the Android panel
The first setting that you’ll see from the top within the Android Preference window is “Network and internet.” Click on it with your cursor to enter this particular section. Inside, you’ll find the “Data Saver” and “VPN” options, both pertaining to your Chromebook’s Android functionality.
Data Saver helps you cut back on data usage if you’ve inserted a SIM card into your Chromebook while the VPN option lets you set up a manual VPN on your device, though we advise automating things in that regard and relying on something like NordVPN or ProtonVPN.

Subsequent settings to tweak
Managing apps and app-related settings
This is the most important section of your Chromebook’s Android settings compartment, considering how it allows you to manage the applications that you’ve installed on the device from the Google Play Store or via sideloading measures. From the central page of the Android Preferences window, select “Apps and notifications” to move ahead.

The “Apps and notifications” section
Getting to know the section
As you enter the section, you’ll observe numerous application-centric options and choices to check out, including “Conversations,” “Notifications,” which is utterly important, and “Default apps.” For now, click on the “See all apps” button in blue located in the center of the page. That should take you to the next step.
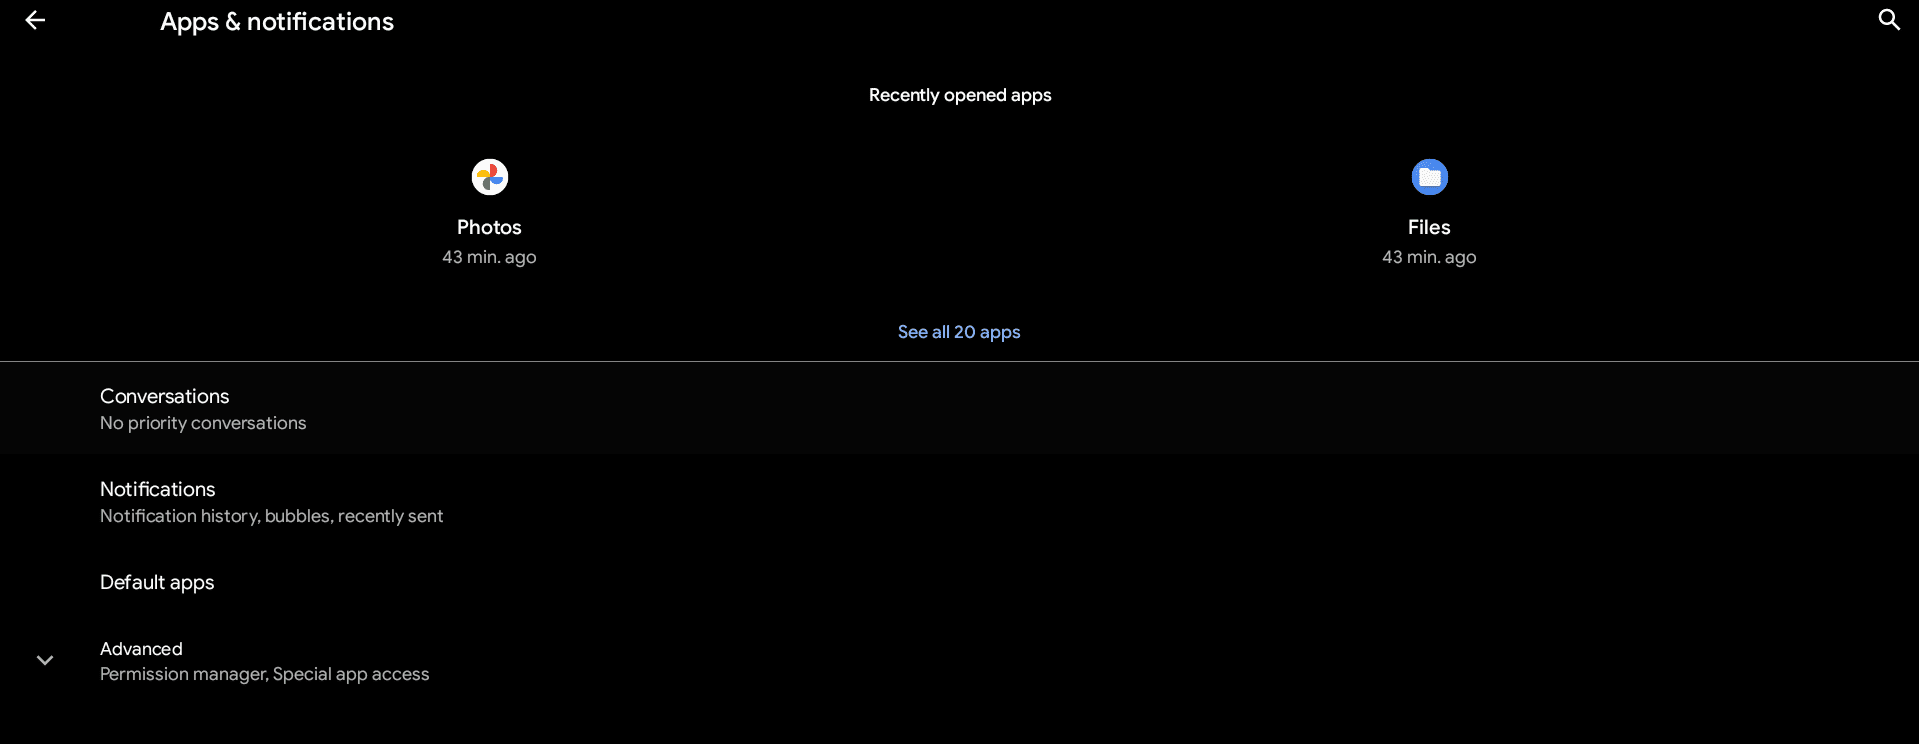
Viewing the entire app list of your Chromebook
Scrolling through the installed apps
Completing the previous step should let you gain access to all of the applications that you’ve got on your Chromebook at the moment, including the system-installed ones. Browse through the catalog to view your complete library. Doing so should get you better insight into the type of apps you have installed, including the ones that you don’t need anymore.
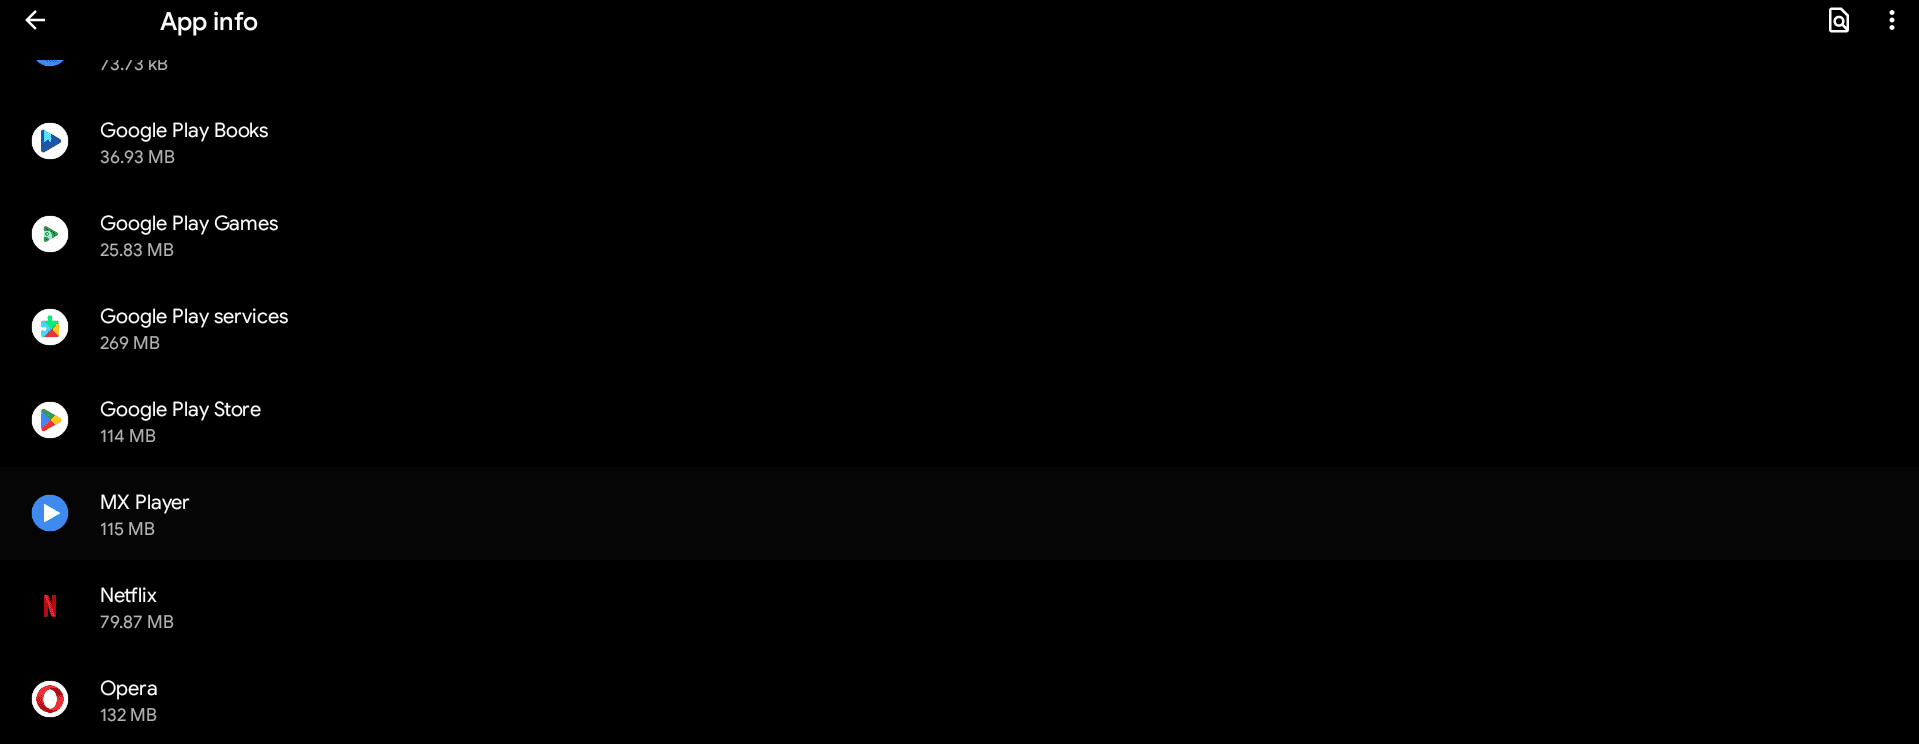
The apps of your Chromebook
Pulling up the details of an app
If you happen to click on an application from the list, it’s going to have its details pop up for you. From here, the controls you have include changing the permissions that the application has, along with being able to tweak its notification settings. Moreover, you can gauge how much storage the app is occupying, clear data, and erase cache as well.
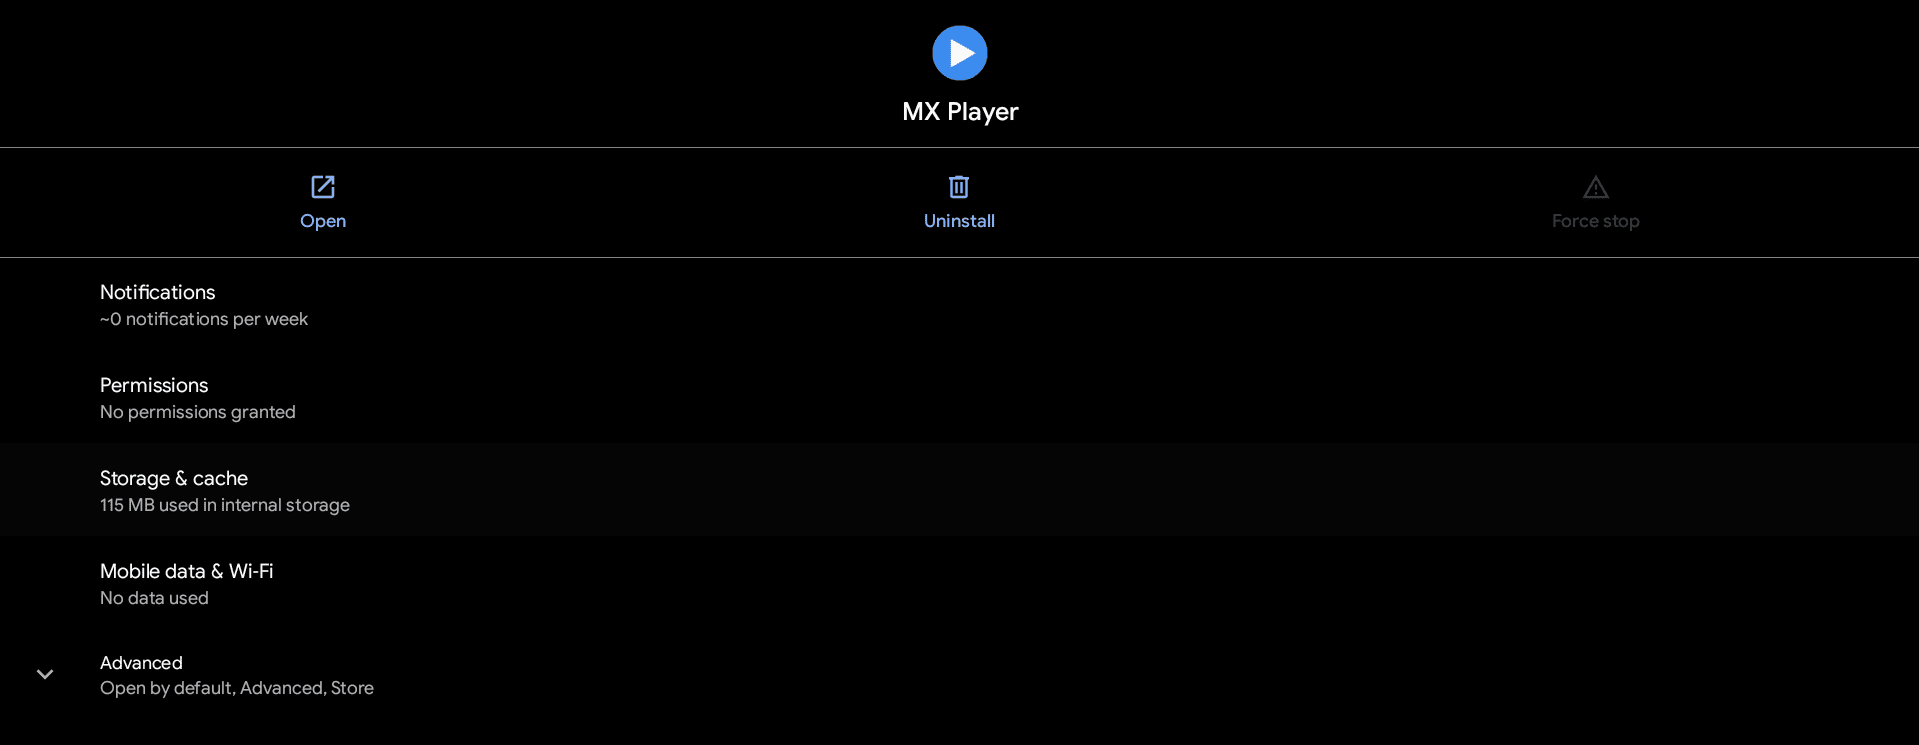
App details
Casting a lens on your Chromebook’s storage
Moving forward, we’ve now got the storage area to shed some light on, which is a significant part of your Chromebook’s mainframe. Making sure that the device you have isn’t loaded to the brim with stuff is essential for retaining consistent performance levels, and with the “Storage” area here in Android Preferences, you can aspire to do just that.

Entering the “Storage” section
Accessing the storage area
As soon as you’ve entered the “Storage” area, you’ll find a rundown of the total space that your Chromebook has, followed by a quick glance at what’s taking up storage on the device. On our side, we have utilized about 22 GB from our set internal storage capacity of 64 GB. Clicking on the section will take you further in on the storage details.

Storage details of the Chromebook
The Storage manager feature
This is a relatively hidden area within your Chromebook’s Android settings that packs an interesting feature to work with—the “Storage manager.” This is an AI tool that uses smart optimization to take care of the space that gets taken up by data on the device. Other than that, you’ll find a complete overview of everything present on the Chromebook that uses those precious MBs and GBs.
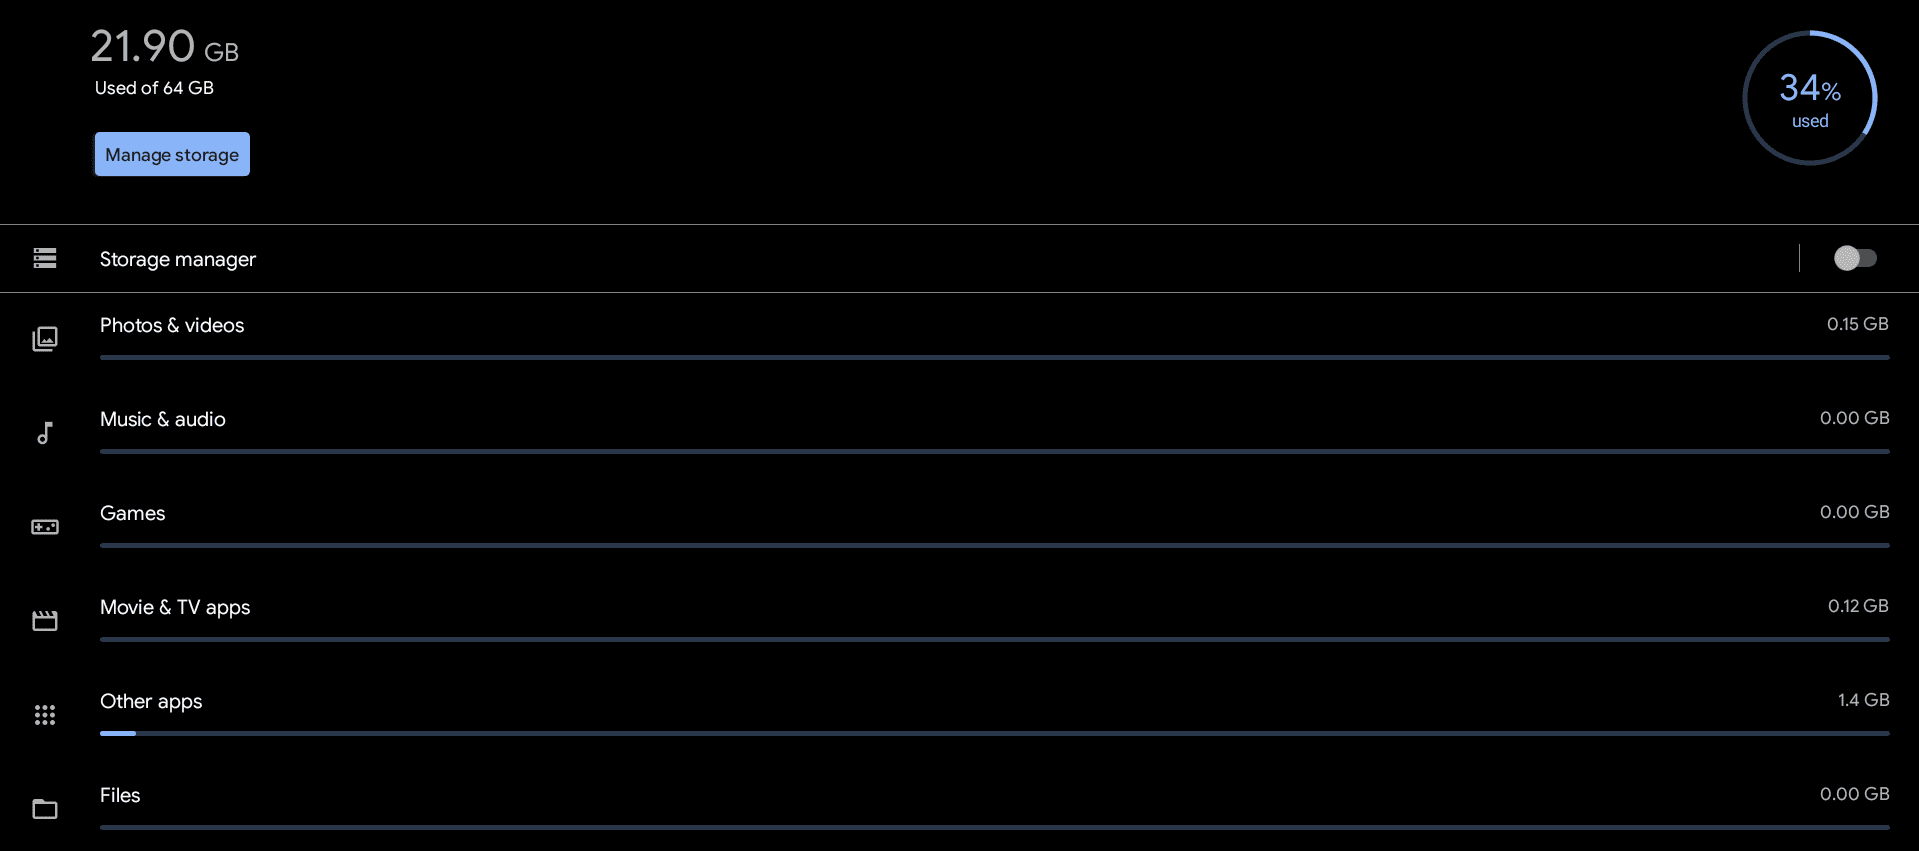
The Storage manager feature
Manage your storage with a couple of taps
Within this area, there’s also the “Manage storage” feature found near the top of the page. It’s yet another tool that will help you optimize your storage by removing duplicate files present on the device. Just make sure to go through each selected entry, and double-check whether the tool doesn’t kill off anything important to you.
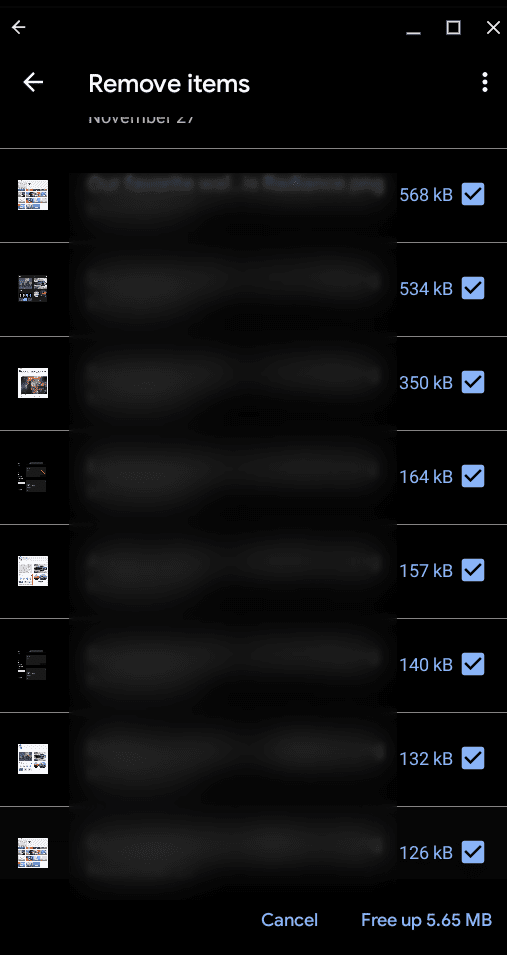
Freeing up space on ChromeOS
Privacy settings that need to be factored in
Your right to privacy is exclusive to you, and your Chromebook is a means to exercise that right, but only with due diligence. The “Privacy” section in your Chromebook’s Android Preference settings revolves around a myriad of options that make it possible to control how applications behave on the device, along with autofill capabilities from the side of Google.

Entering the “Privacy” section
Additional controls to tweak
You’ve got the “Permission manager,” “Notifications on lock screen,” and “Autofill service from Google,” all of which can be oriented in a way that directly and indirectly influences your Chromebook’s privacy. However, we believe two of the most important settings that you should look into are hidden under the “Advanced” dropdown area.

Privacy section in Android settings
Opting out of ads and data report sending
There are “Ads” and “Usage and diagnostics” options present within Android Preferences that you can further explore. The ads button leads you to another page, with a subsequent option that can let you opt out of ads personalization. Similarly, with the “Usage and diagnostics” area, you can seamlessly disable the sending of reports to Google that may contain information relating to your Chromebook’s usage, particularly the Android part.

Ads and diagnostics
Taking care of the Location preference
Sharing your location with Android applications isn’t always a great thing to do, especially when you don’t trust the app on the other side, and you subsequently wish to stay in control of your location preferences. Choose “Location” from the main Android Preferences window, and that should take you to the next step.

Entering the “Location” section
Making sure the right app gets access to your Chromebook’s location only
Now that you’re in, you can first exercise your right to enable or disable your Chromebook’s location services. Next, you can check what apps tried to demand locational access from the device in recent times. Furthermore, it’s also possible to determine what apps can access your location, and go on to put tabs on them if you have to.
Lastly, the “Advanced” dropdown arrow at the bottom of the section concerns Google Location Accuracy, which you can enable to boast better accuracy when using the device’s location features.
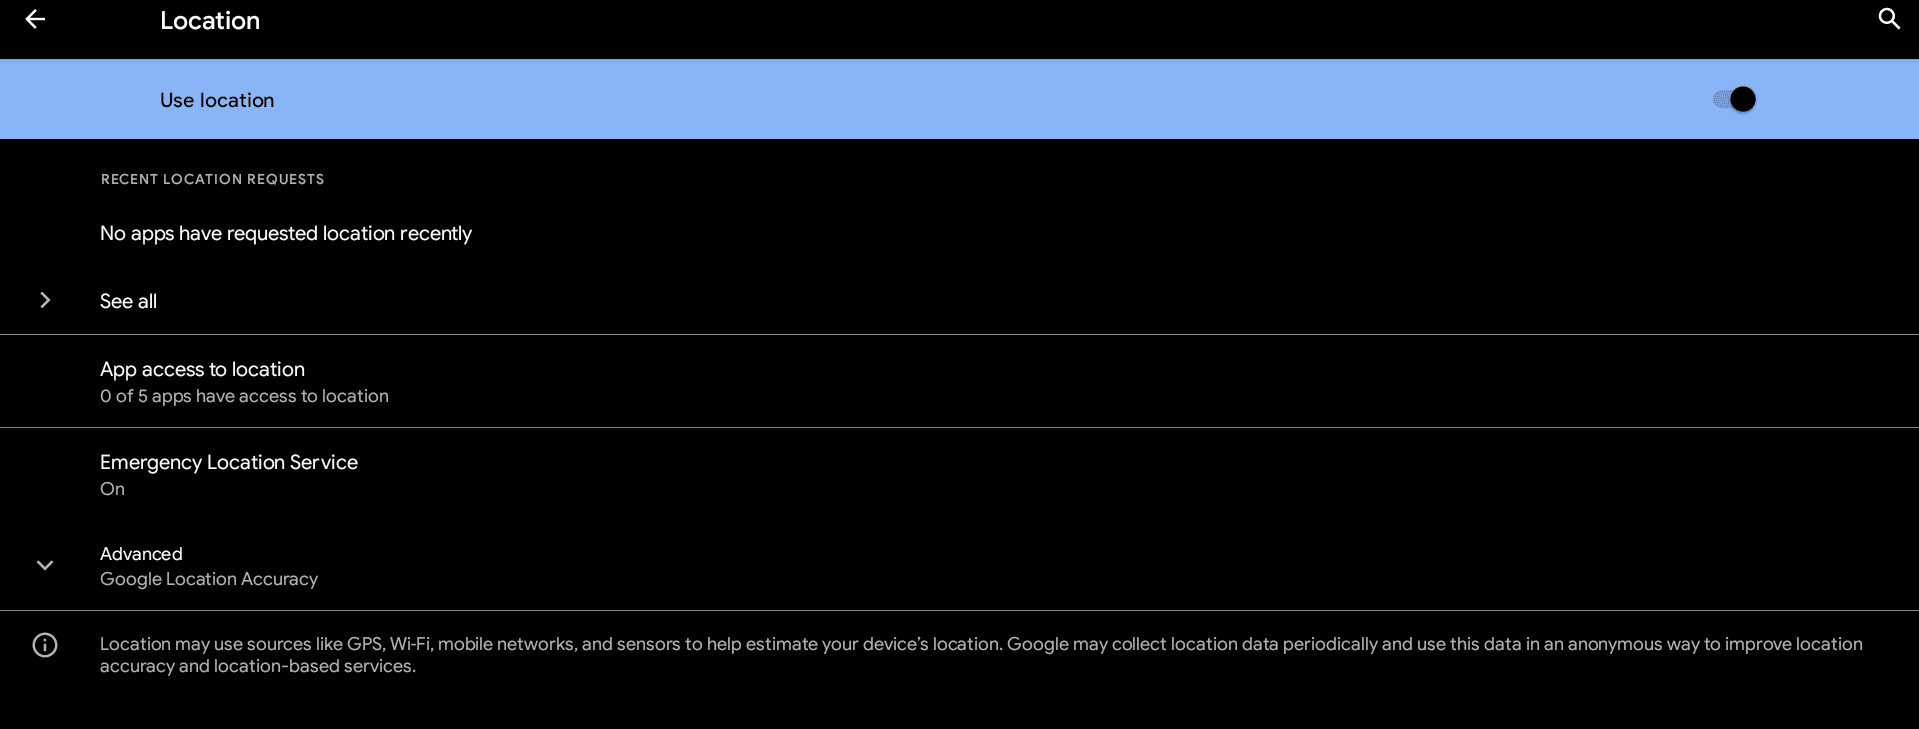
Location settings on ChromeOS
Exploring your Android’s accessibility
Going forward, we’ve now got another Android preference to look into, and it’s none other than the “Accessibility” section that can more or less change the way one uses their Chromebook, with special emphasis on those with visual or other impairments. The idea with the section is to make this sleek operating system usable for as many people as possible.

Entering “Accessibility” in Android Preferences
The diverse range of Android accessibility tools
As you enter “Accessibility,” you can seemingly try out different tools available at your disposal, including the text-to-speech output, font size alterations, and other interaction controls that determine how long of a press registers the click. Lastly, one of the “Experimental” features denotes that you can switch your Chromebook’s Android section to high-contrast text as well, particularly for those with vision problems.
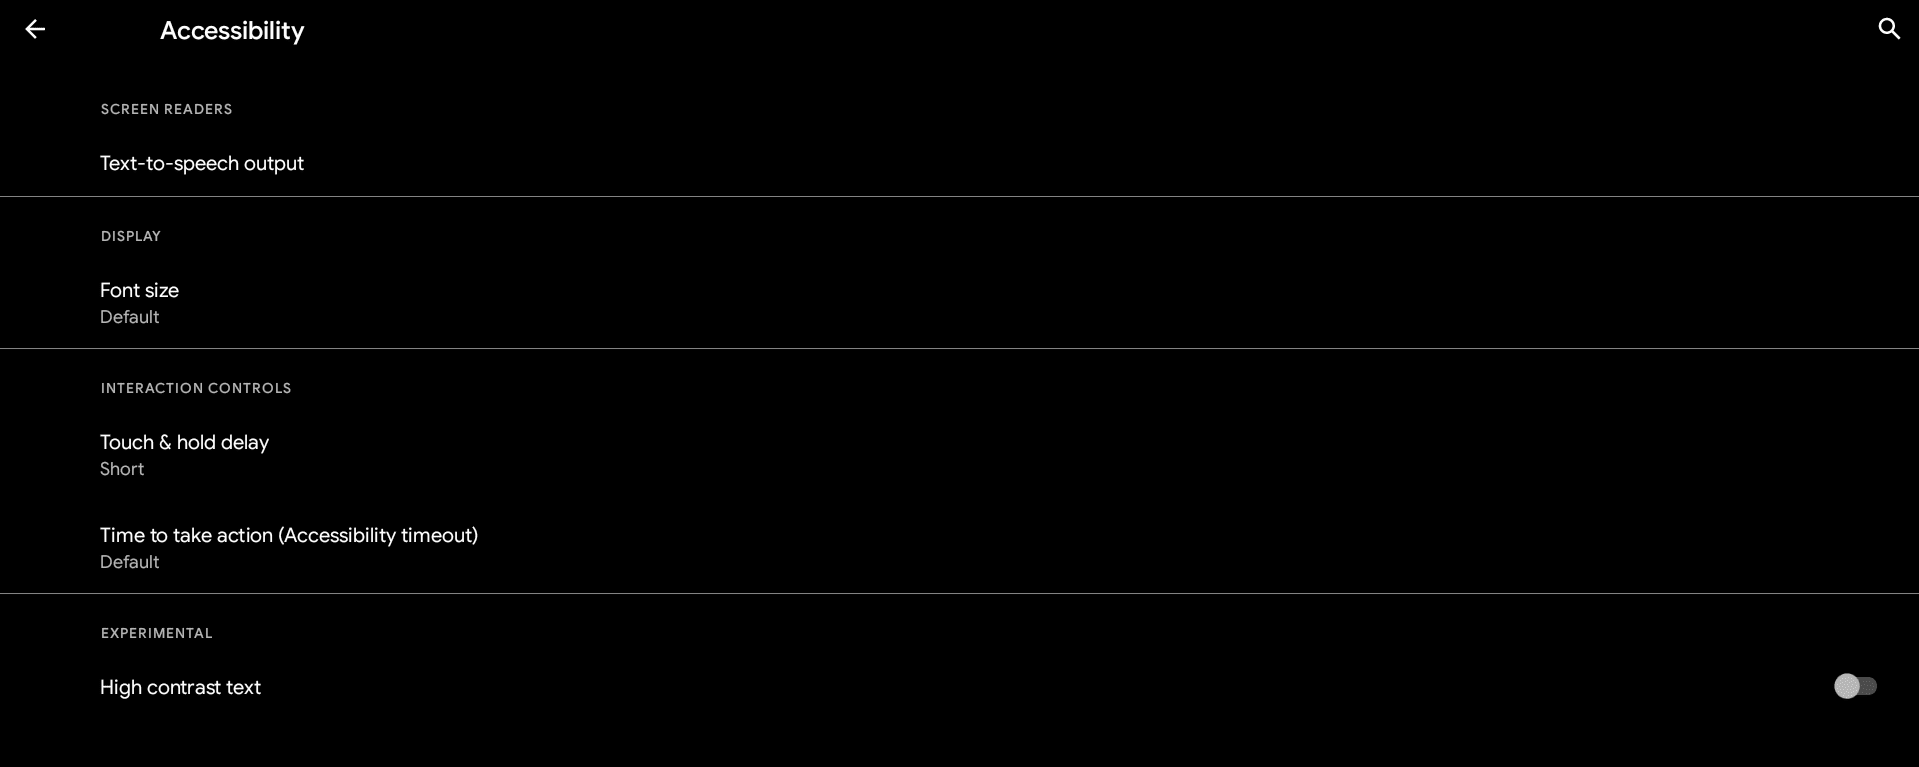
Various accessibility options
A look at some important system settings
Last but not least, we’ve got “System” settings to dig into for your Chromebook’s Android half. Here, you’ll find the option to tweak your physical keyboard when it pops up on the screen for touchscreen devices and set the date and time as per your preference. Move ahead by selecting the “System” option at the bottom of the main Android Preferences page.

Choosing the “System” settings
The Primary “System” settings features
As you enter the section, feel free to check out what the “Languages” subsection has to offer. It’s an involved component that comprises further features, such as “Autofill service,” “Personal dictionary,” and “Text-to-speech output” as well. Other than that, you’ve got the aforementioned date and time, the default setting of which selects the time zone relevant to you automatically.

System settings in ChromeOS
Backing up prevents data loss
Another feature within the “System” area that we felt like deserved a separate section is “Backup.” We highly recommend having it enabled, so you can avoid potential data loss in the case your Chromebook suddenly and permanently expires. Click on “Backup” to bring up a follow-up window on your end, and go through the on-screen instructions to enable it successfully.
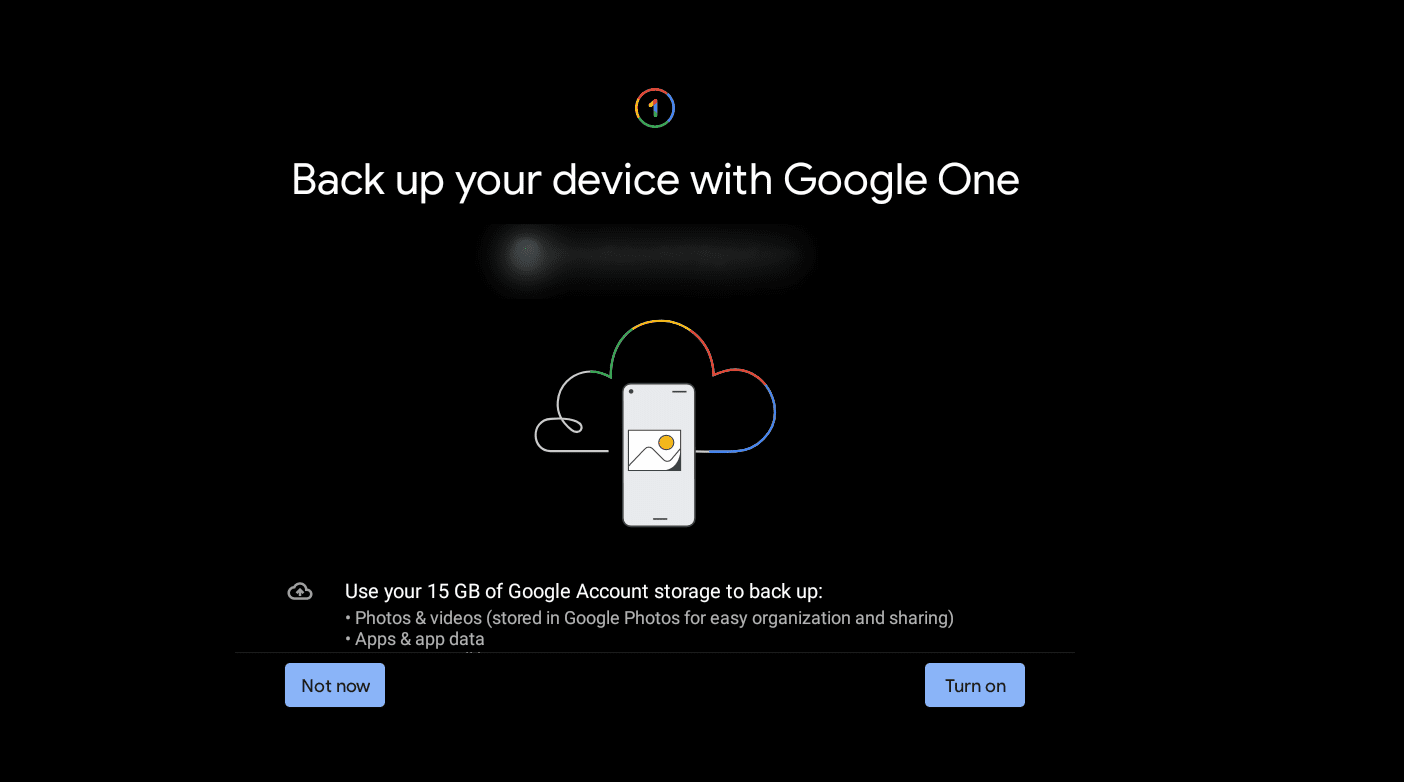
Backing up Chromebook data with Google One
A word to the wise: Google One is the platform to approach if you wish to make the most of cloud storage on your end. It encompasses Google Drive, Google Photos, and Gmail, thereby offering you extra storage to safely and soundly secure the data you hold precious. This includes app data for your Android apps and settings preferences as well.
Conclusion – Staying in control of your Chromebook’s Android side
Chromebooks have made immense headway in becoming the complete package in the day and age we live in today, offering users the freedom to employ Android apps, PWAs, Linux software, and web-based programs in the blink of an eye. However, you, as a user, should also know that most processes on your ChromeOS have certain implications attached to them.
Therefore, you have to be in the know and learn how to manage your device’s preferences, especially on the Android front. And in this guide, we’ve shed light on just that, going over the major settings that pertain to your Chromebook. Let us know in the comments section ahead whether you found this guide useful on your end.
Chrome Ready wishes you good luck!
