Chromium OS is the open-source equivalent of Chrome OS. In fact, the latter is derived from Chromium OS, and then Google adds its proprietary apps, including Gmail, Google Maps, Play Store, and more. If you don’t have a Chromebook yet, but would like to try features of Chrome OS, then test driving Chromium OS is an excellent way to start. You can install it on a USB flash drive and boot directly into it without affecting your current PC configuration.
Installing Chromium OS on a USB flash drive
You can create a Chromium OS USB flash drive on a Linux, Windows, or macOS system.
Requirements
- A USB flash drive with at least 8GB capacity
- Windows, Linux, or macOS PC
Process
Step 1) Plugin the USB flash drive to your computer.
[alert type=yellow ] Note that the USB drive will be formatted during the below process, so make sure to back up any data in it that you want to keep! [/alert]Step 2) Download the latest Chromium OS image from the below link. You should notice several versions there. It includes ARM and 64-bit processor versions. Windows, Linux, and macOS users should download the Camd64OS-XXX.img.7z version, where XXX is the date of the build. As you see, they maintain daily builds.
[button color=”red” size=”normal” alignment=”none” rel=”follow” openin=”newwindow” url=”https://chromium.arnoldthebat.co.uk/?dir=daily”]Download Chromium OS[/button]Step 3) After the download is complete, extract the content of the 7zip file. If you couldn’t decompress the archive, you should install 7zip. After successful decompression, you should see an IMG file.
Step 4) For burning the IMG file to the USB flash drive, we shall use a free application ‘BalenaEtcher.’ It works on Windows, Linux, and macOS, but just make sure you download the correct version for your PC.
[button color=”red” size=”normal” alignment=”none” rel=”follow” openin=”newwindow” url=”https://www.balena.io/etcher/”]Download Etcher[/button]Step 5) Launch Etcher.
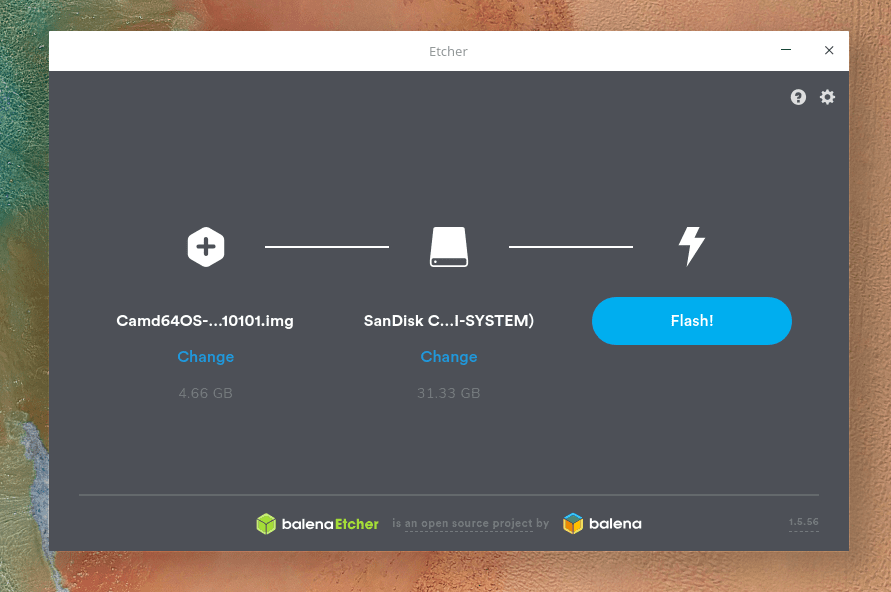
Step 6) Etcher should automatically detect the USB flash drive. Click on “Select Image” and then browse and select the extracted Chrome OS IMG.

Etcher – Burn Chromium OS to a USB drive
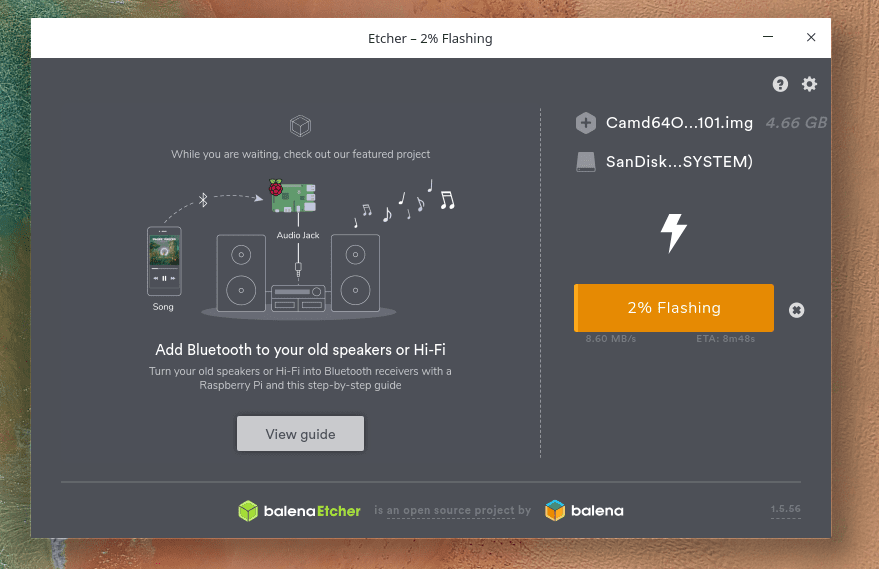
Step 7) Click “Flash!” and wait for the flashing process to finish.

Etcher – Flashing Progress
Step 8) After the flashing is complete, close all the programs and shutdown the PC. You can leave the USB flash drive plugged-in as we will be using the same PC to test the new Chromium OS USB drive.
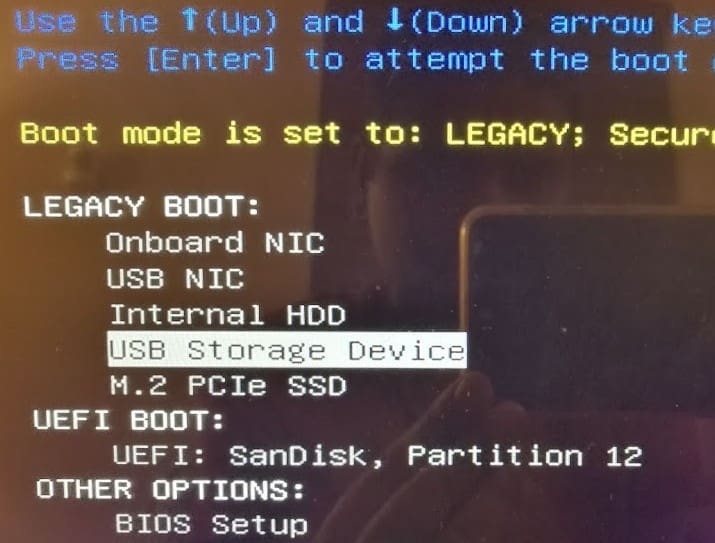
Step 9) We shall now boot your PC into the USB drive. Typically, Windows machines let you choose the boot drive when you press the F12 key during startup. macOS users need to press and hold the option key during the boot. Below is an example of a Windows/Linux based PC.

Select USB Storage
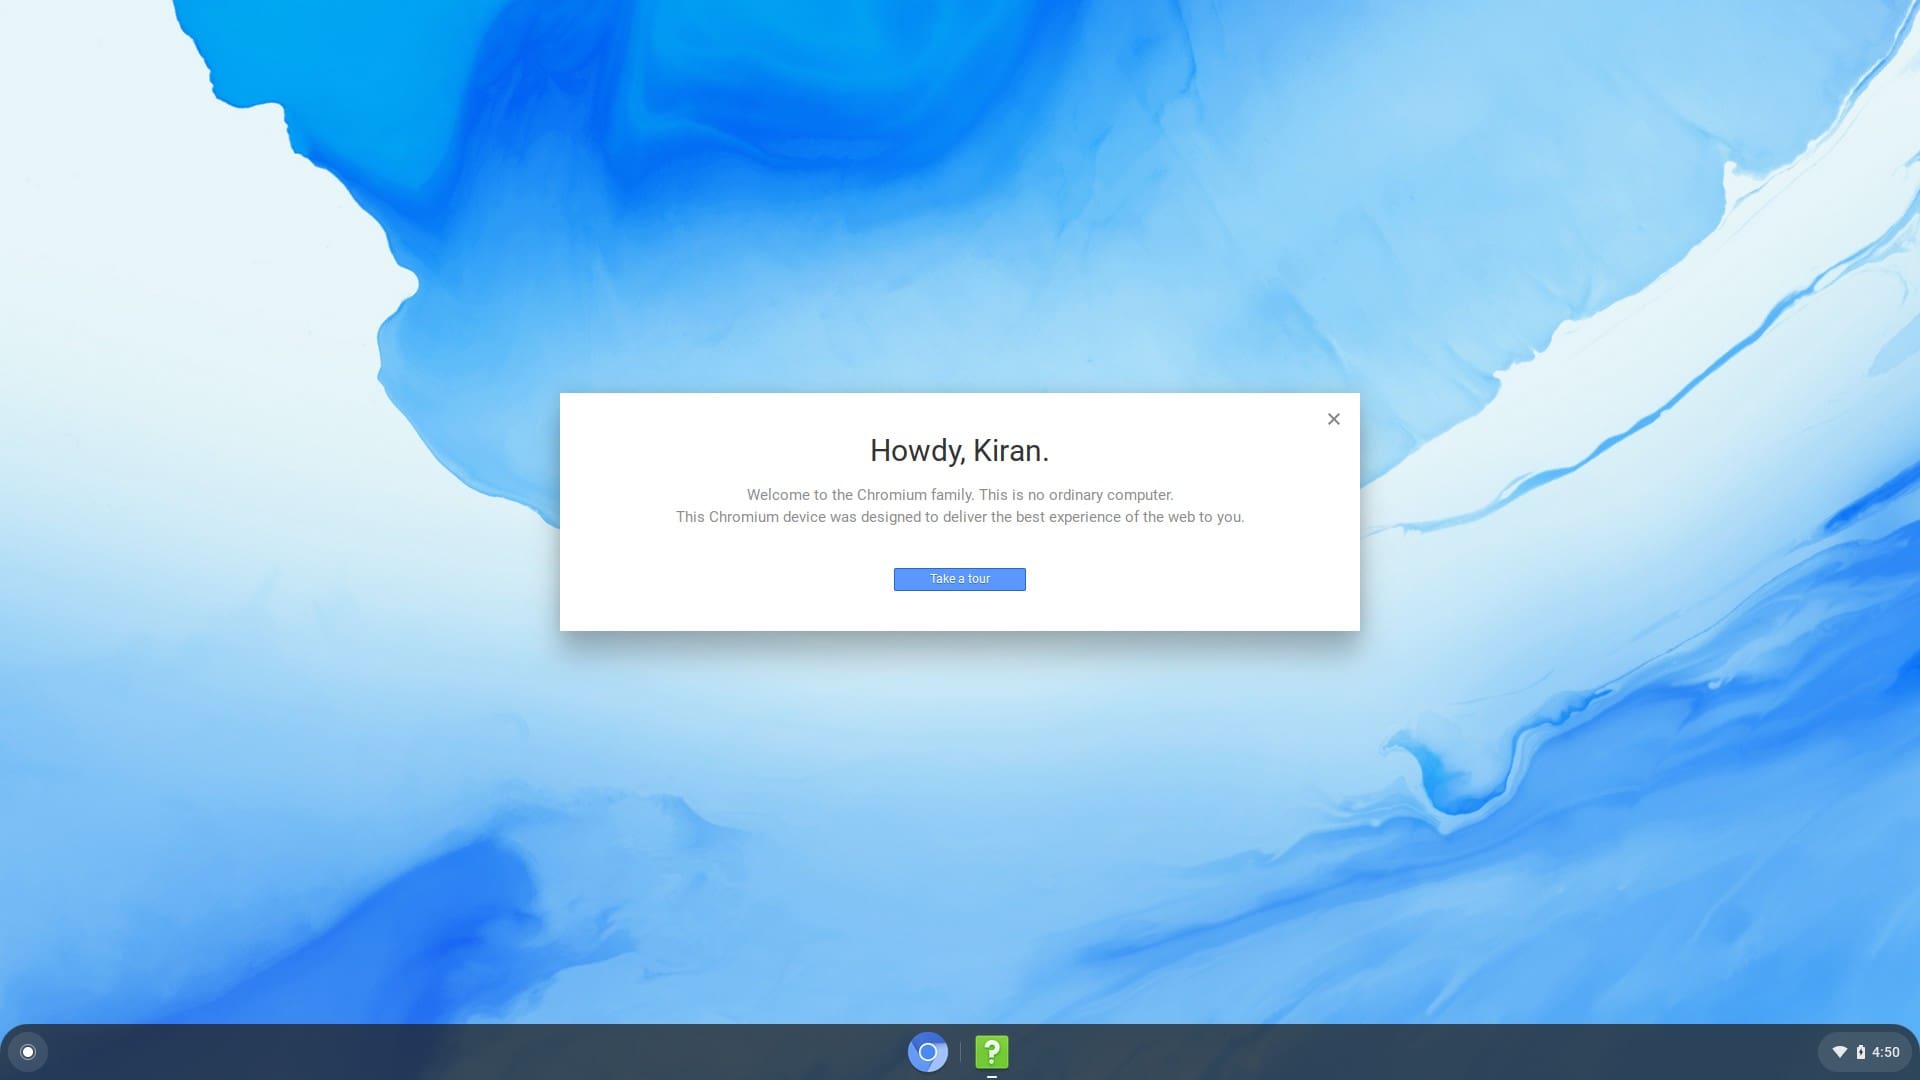
Step 10) Your PC should boot into Chromium OS.

Chromium OS Welcome Screen
Enjoy!

3 comments
I have a windows computer that I installed a separate SSD drive into for extra storage space. Is it possible to use this instead of a USB drive?
thank you’
Impossible to make an USB boot key on Windows 10…
Etcher create 10 partitions on my LEXAR usb key and nothing happens when i try to boot on it…
Is there a easiest way to go on Chromium ?
I know, flash an USB drive is the easiest thing in the world, but mama, i’m on it since one week without getting it -_-‘
Each .bin file i took gave the same result, each usb key i have, each micro sd card i have gave it too…. It making me crazy !