Data security and user privacy have become a considerable concern as digital technology becomes increasingly advanced. Nowadays, every device or operating system comes with tonnes of security features. The Firewall is one of the most popular and is regarded as the backbone of computer security. A firewall can be a software program or a device that monitors outgoing and incoming traffic overall pre-defined set of rules in the computing world. I believe the term Firewall is not very new, and you must have heard it anywhere or when playing with your computer security settings.
Do I need a Firewall on ChromeOS?
The most straightforward answer to that question is Yes! You do need a Firewall for your Chromebook. But hold on; I believe the next question you have in your mind is – How do I install a Firewall on ChromeOS? Well, you don’t need to. Chromebooks come pre-installed with a Firewall and tonnes of other security features. ChromeOS is based on the Linux kernel, and this built-in Firewall utilizes Linux iptables.
How do I access Firewall Settings on ChromeOS?
One of the main reasons developers decided to remove the Firewall configuration window for later Chromebooks is that “Chromebooks are built with security in mind.” For the last 10+ years, Google has run a bug bounty program for Chromebooks and Chromevox, but there are no valid security issues submissions from bug hunters so far (as of writing this post).
So in 2016, Google doubled the reward from $50,000 to $100,000. Although in computing security, we say “nothing can’t be hacked,” time has proven ChromeOS was genuinely designed with safety in mind, and there is no need for installing any anti-virus programs or additional firewalls. However, that doesn’t mean you are safe from attacks like social engineering, which you cannot prevent on the OS level.
Configuring Firewall on early Chromebooks
Tip: If you are using a newer version of Chromebook, none of the steps described here will work on your system. That’s mainly because newer Chromebooks don’t have a Firewall settings option.
But for curious people and for those by any chance who still have the 2011 Pioneer Chromebook, these steps may help!
Follow the steps below to configure the Firewall on ChromeOS. Also, ensure you understand network ports, DMZs (Demilitarized Zone), and other security protocols before tweaking any settings on your ChromeOS.
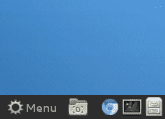
1. Log in to your Chromebook and open the Menu window by clicking the “gear” icon on the bottom left. That will open a window similar to what you see on Windows 7 when you press the “Win” key.

Menu button
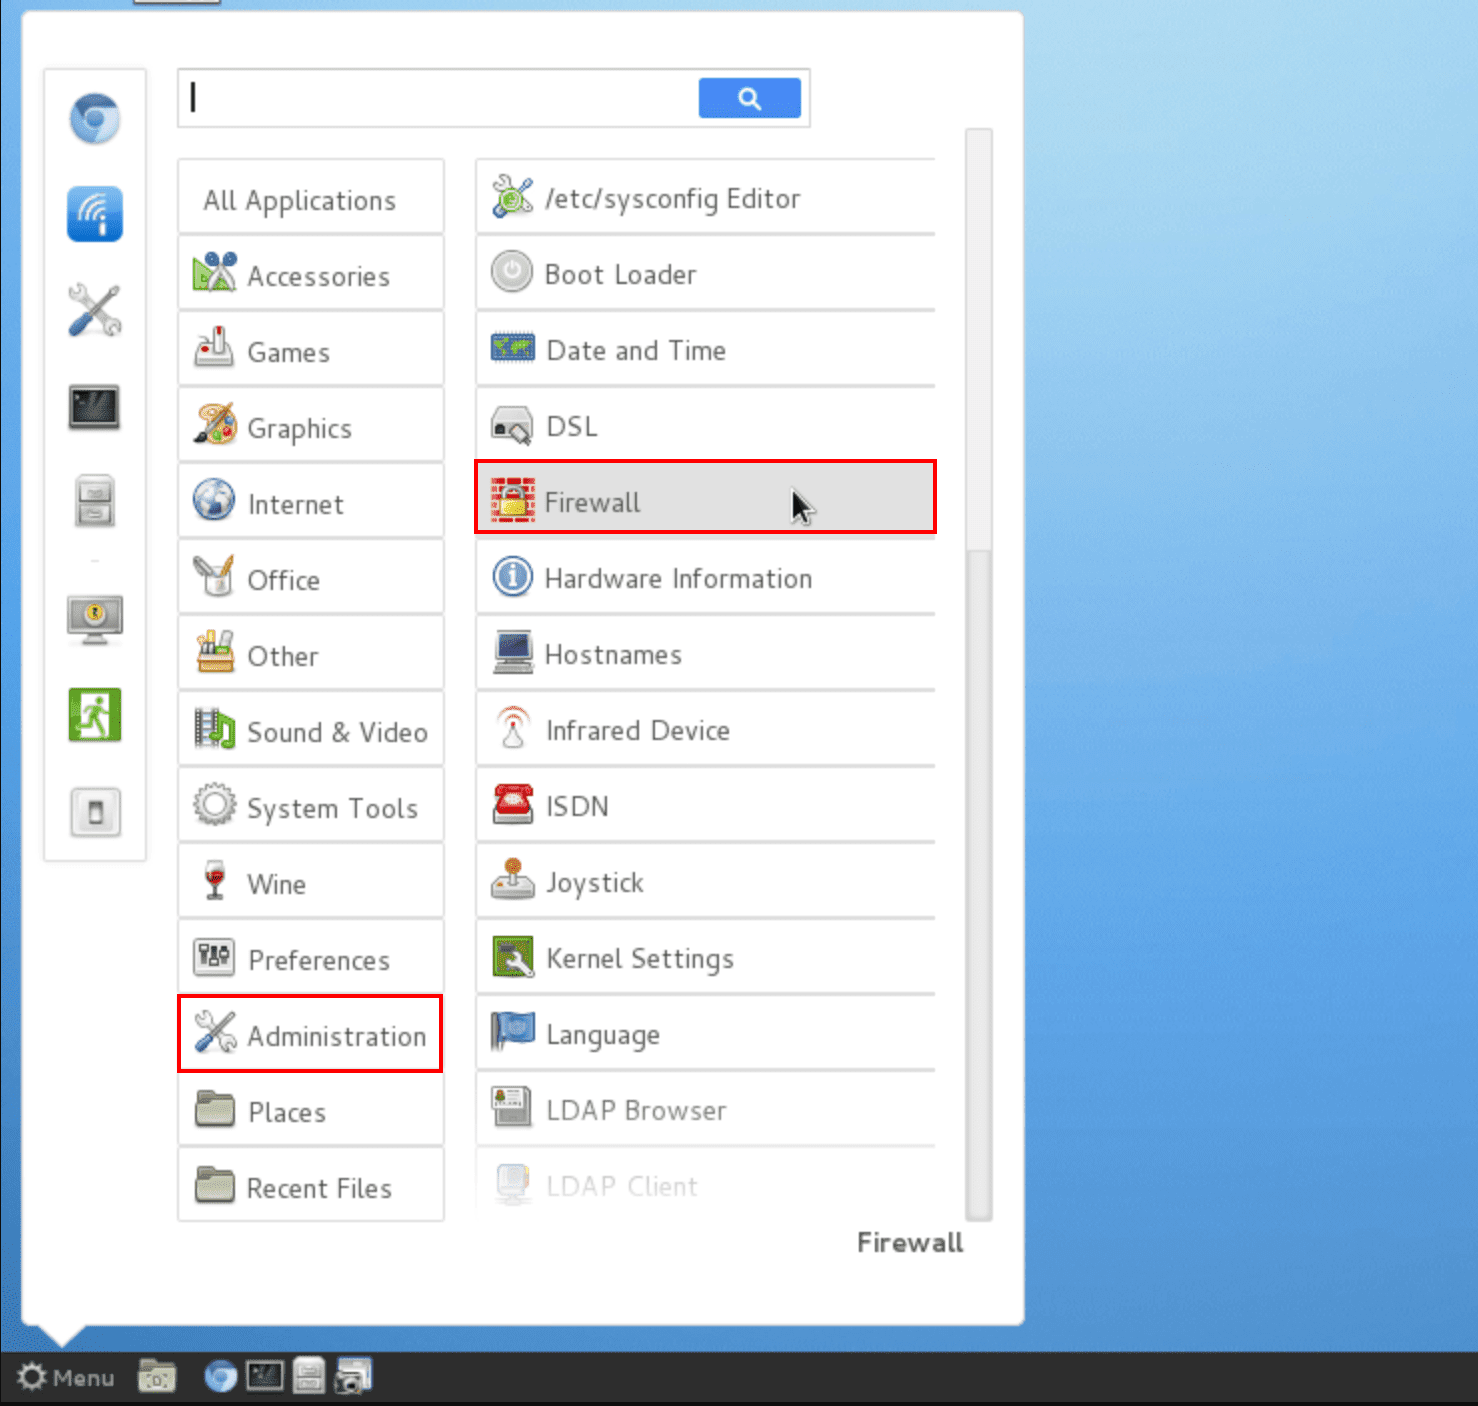
2. Click or hover your mouse over the administration” menu item and select Firewall from the list of sub-menu items that will appear on the left.

Launch Firewall settings
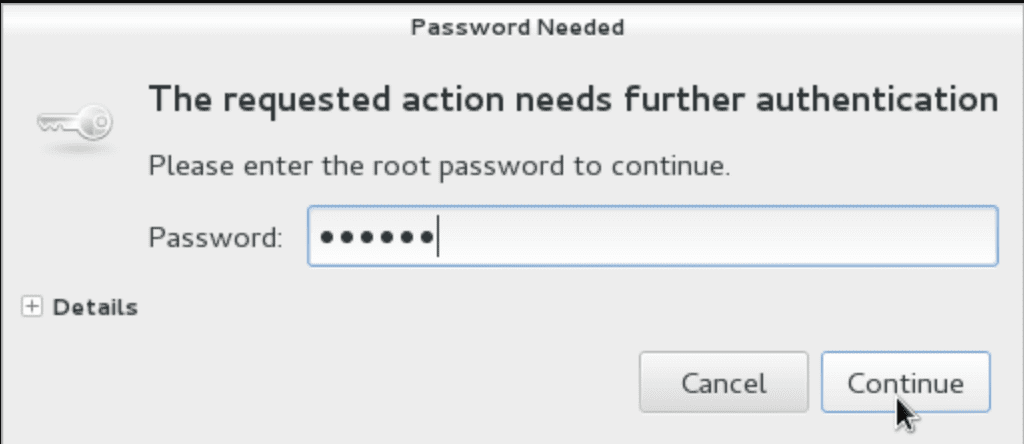
3. Here, you will be prompted to enter your user password. Type the password and click “Continue.”

Enter Password
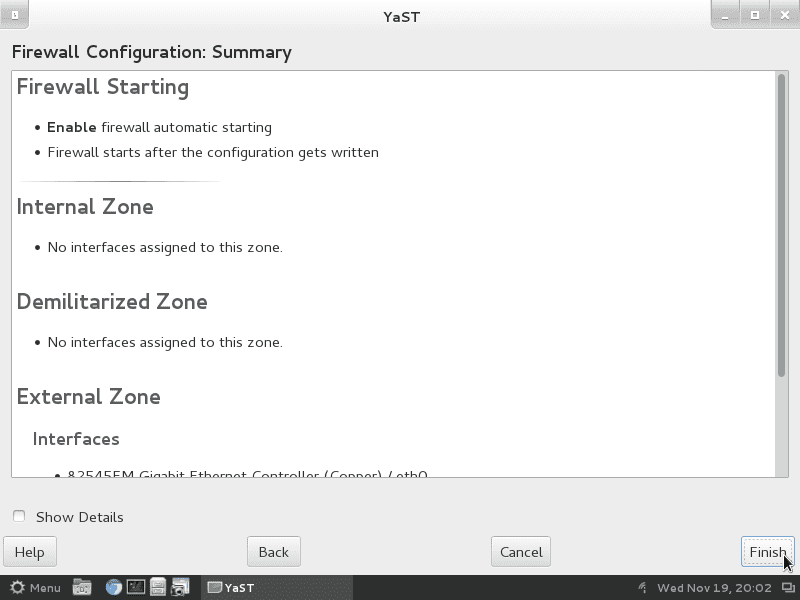
4. The Firewall configurations will open as shown in the image below.

Firewall configuration window
Unlike the Firewall present on other platforms like Windows, the ChromeOS firewall doesn’t give you much authority. You only have a couple of options that you can tweak. To start, enable the Firewall to start automatically by clicking the “Enable Firewall automatic starting” radio button. Next, you can scroll down and configure other items like interfaces, allowed services, etc. When done, click the Finish button at the bottom to apply the changes. You will see a prompt t enter your user password. Type the password and click Continue to save the changes.
Conclusion
Although ChromeOS doesn’t allow users to tweak the Firewall settings, this shouldn’t scare you from using a Chromebook. According to Google, no single Chromebook outside their testing labs has ever been infected with a virus, compromised, or hacked. Therefore, users only need to focus on insecurity risks that cannot be prevented on the OS level – most commonly, social engineering attacks. I hope this post has given you all the information you might need about Chromebook Firewalls.
Please comment below if you want to share any information with our readers.
