Do you need a VPN for your Chromebook?
A VPN or Virtual Private Network creates a private network from a public network, thus giving you the anonymity and online privacy you might require. The private network can be explained in the form of a tunnel between your Chromebook and the VPN server. Therefore, any traffic flowing through this tunnel is encrypted and cannot be spied on by another regardless of being on the same public internet connection.
Additionally, a VPN can be used to hide your IP address. When your data reaches the VPN server, any other node on the network will see the VPN server’s traffic and not your computer. That has mainly been used when one wants to spoof their location. That not only gives you access to streaming content banned in your location but also hides your online activity from sneaky intelligence agents. However, the latter is dependent on the VPN company you chose since some keep their users’ logs.
Therefore, if you want to have ultimate security over the data coming and being generated by your Chromebook, a VPN would be a good option.
Setting a VPN on a Chromebook has never been that easy; if you have tried installing one before, you will agree with me. Luckily, this guide will show you how to set up and get started with the Proton VPN on your Chromebook.
Installing Proton VPN on your Chromebook
Some of the standard methods used for setting up a VPN on a Chromebook include; Installing a Chrome extension and using an Android application. Unfortunately, the former will not suite us since Proton doesn’t have a Chrome extension.
When asked about having a browser extension, the company’s technical team was quoted on Reddit, saying, “At the moment, this is not one of our priorities, but as we continue to develop ProtonVPN, we may consider a browser extension.” That leaves us with only one option, using the Android application, which they have.
To get started, your Chromebook needs to have support for Android applications. You can check this by searching for the Google Play Store app in the applications menu.
Click on it to launch and search for Proton VPN at the search bar.
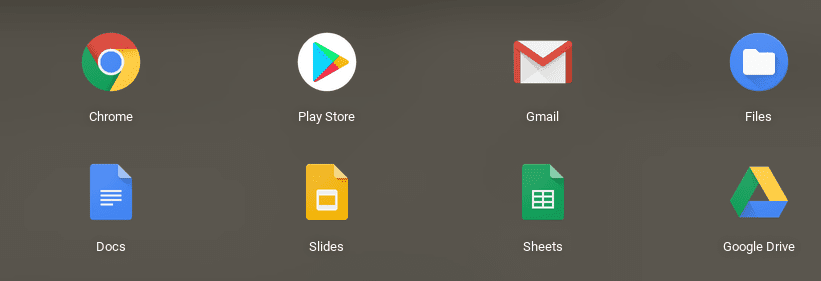
Google Play Store
Click on the Install button to download and install the application.
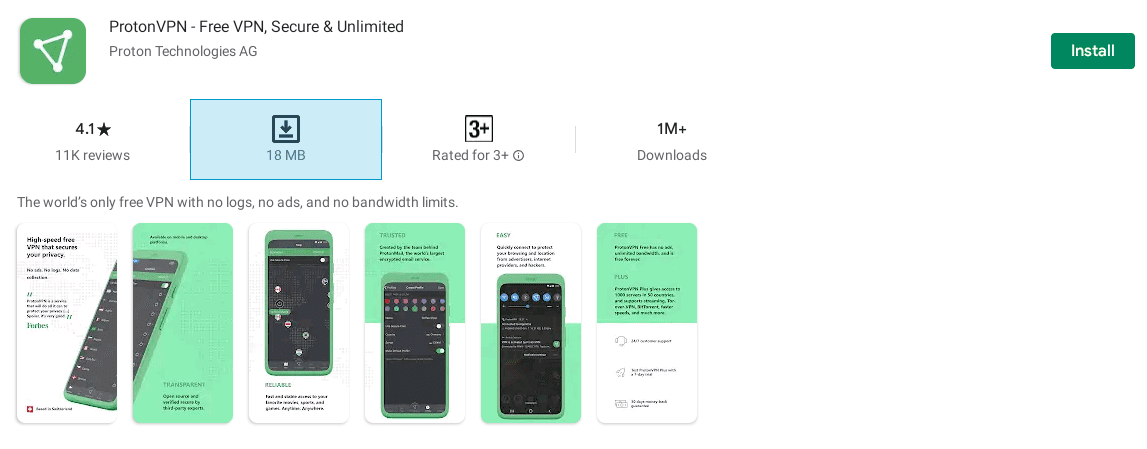
Proton VPN Install
Launch Proton VPN from the application menu.

Launch Proton VPN
You should see the Proton Welcome screen. Click Next until you get to the Sign Up/Login window.
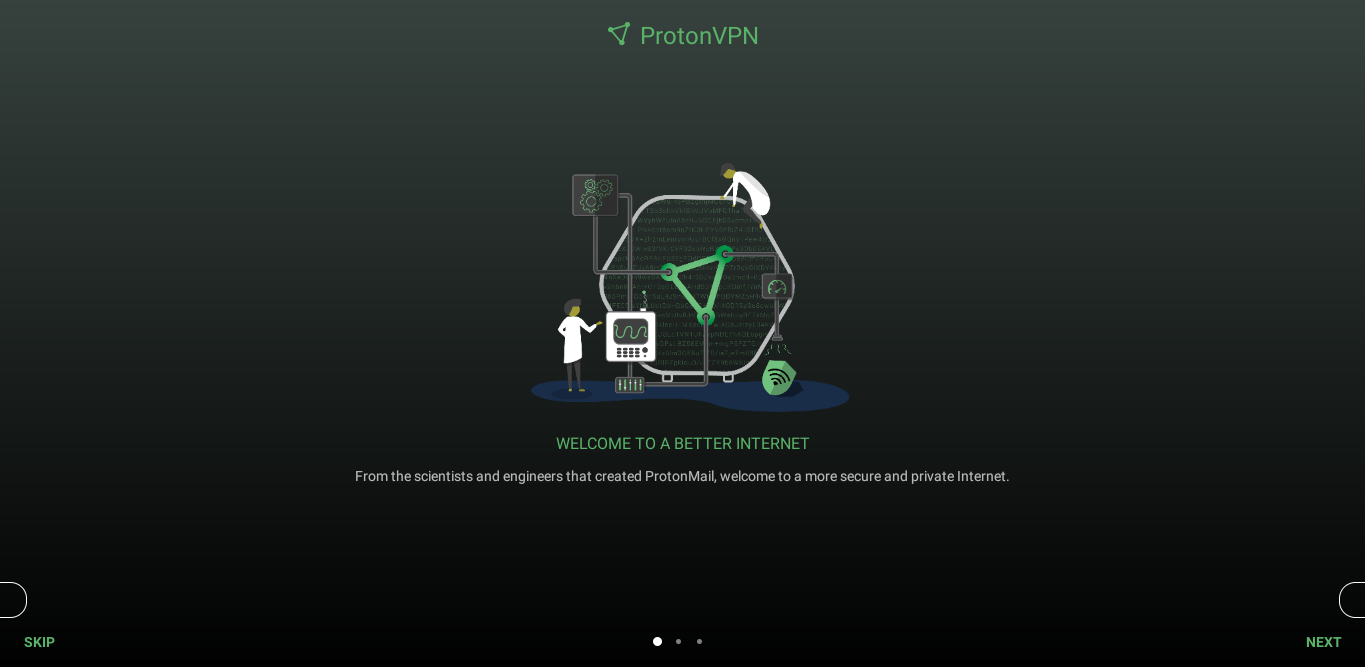
Proton VPN Welcome screen
If you don’t have an account yet, click on the Sign Up option. A new tab will open in your browser where you will be required to create an account. You will need to select the package that you want. For this post, we will stick with the Free plan. Once done, click on the Login option and enter your username and password.
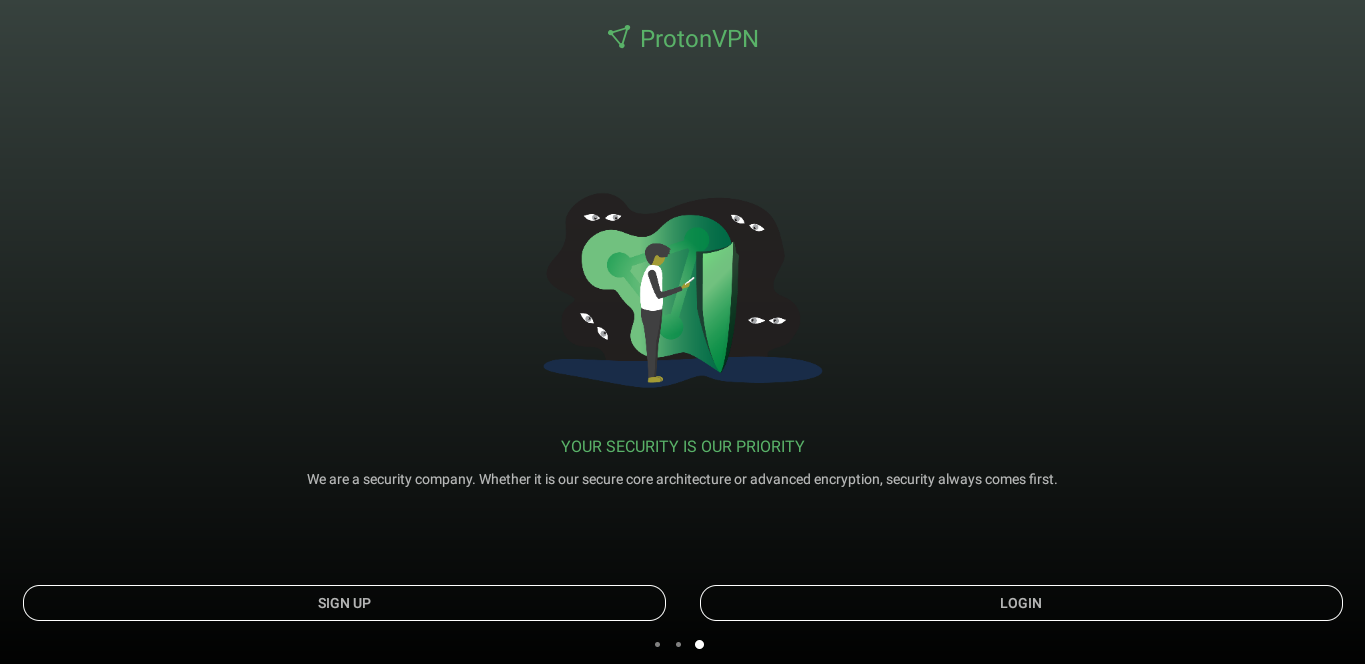
Login Proton VPN
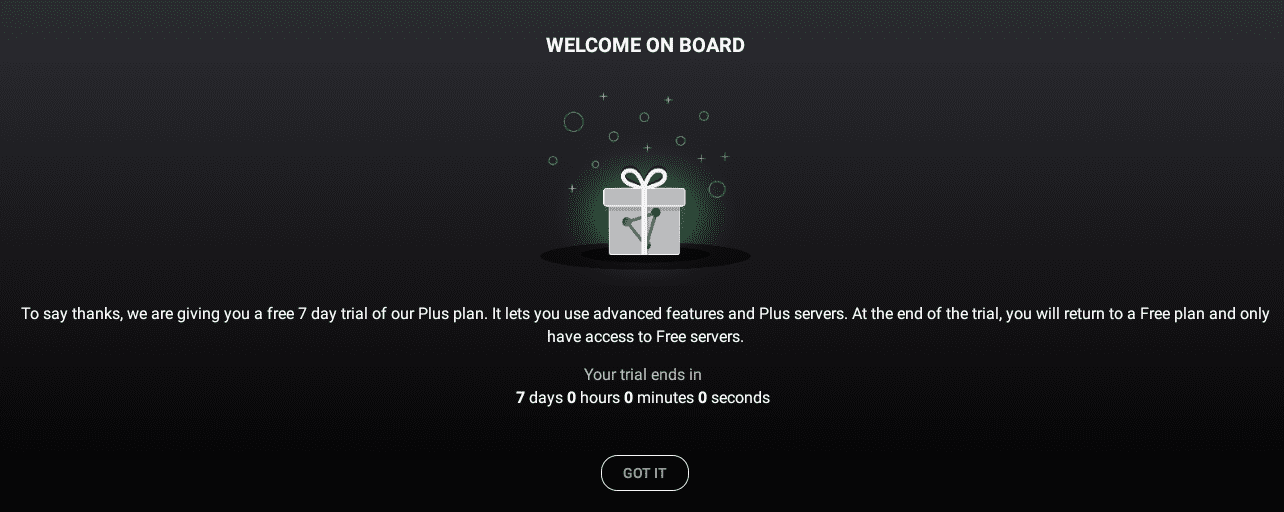
As of writing this post, Proton offers new users a seven-day trial period to use the plus plan, which comes with more features. Click Got it, to continue.
Proton Offer
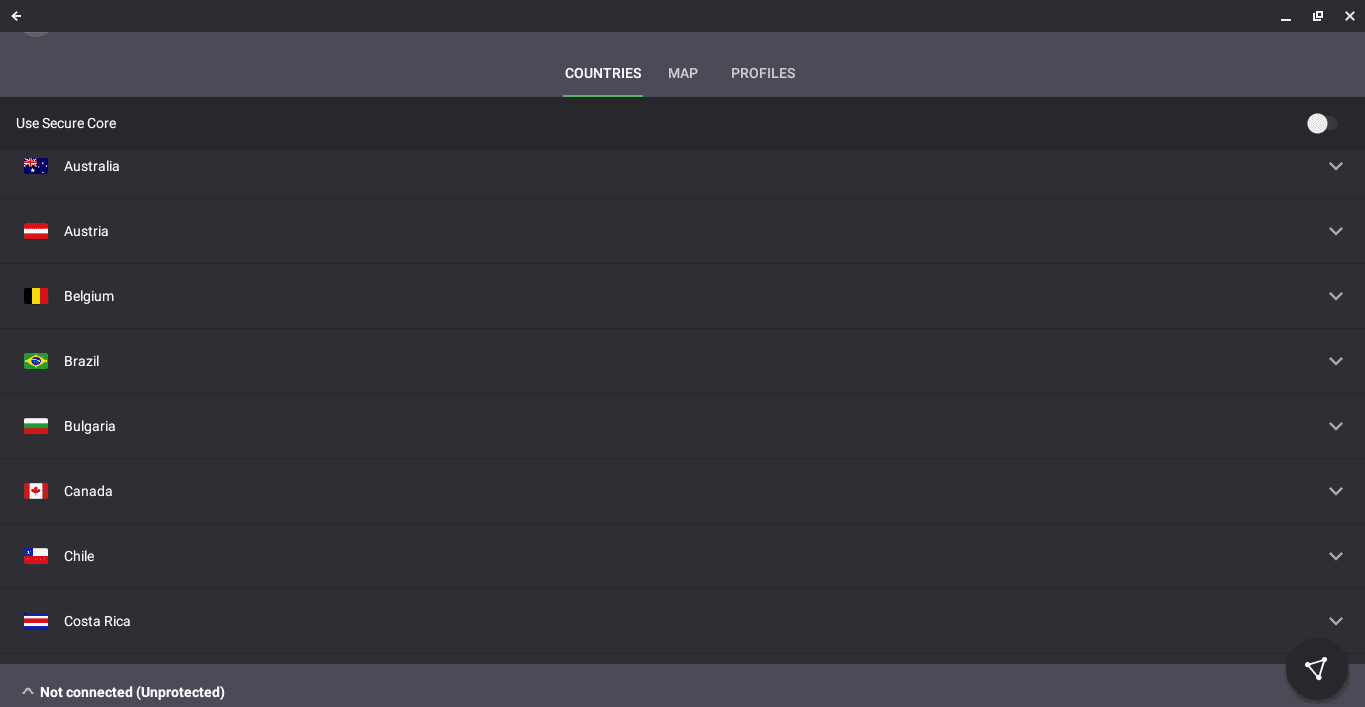
The Proton main window will open, showing three tabs – Countries, Maps, and Profiles. We will stick with the Countries tab for now.
Proton Countries
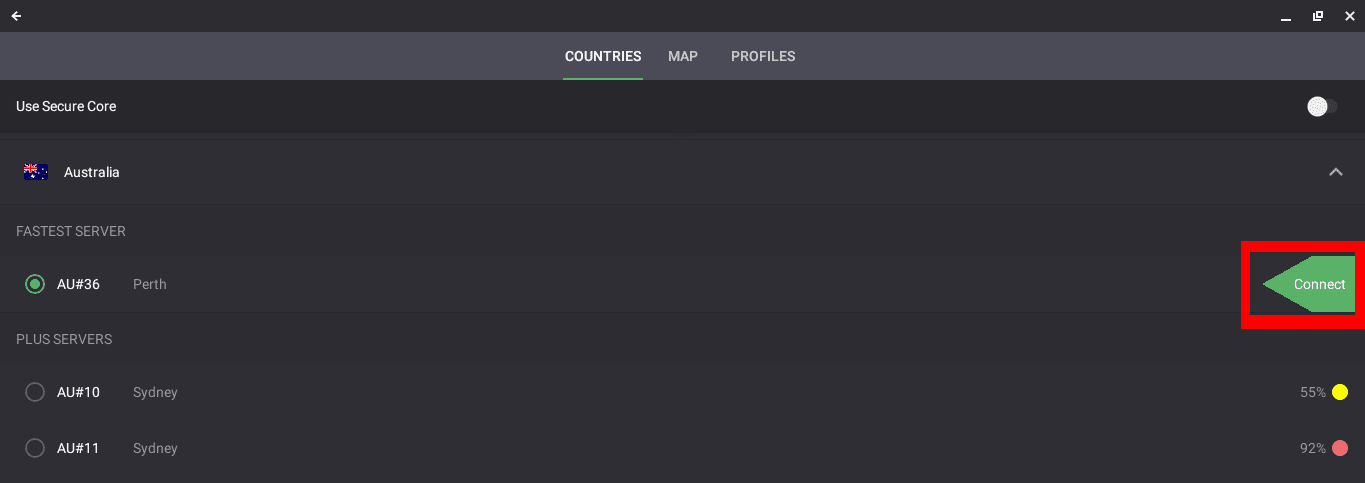
Select the country which you want to use for your VPN server. In my case, I will use Australia and select one of the fastest servers listed. Click the Connect button.
Connect Proton
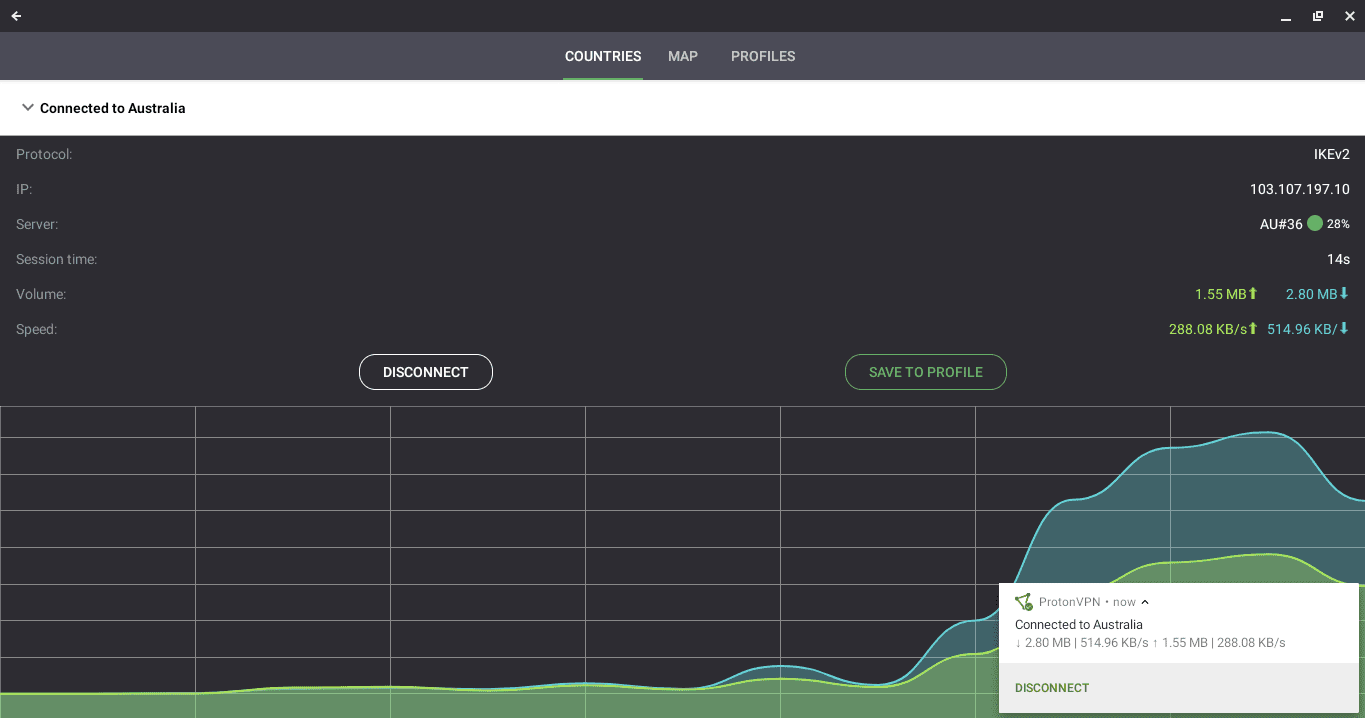
Once you have established a successful connection, you should see a graph screen showing your internet statistics, Protocol, IP address, volume, session time, volume, and speed.
Proton Connection
You can also see this in the notification bar. Next to your WiFi connection, you will need a key icon. You will also see the VPN connection is ON.
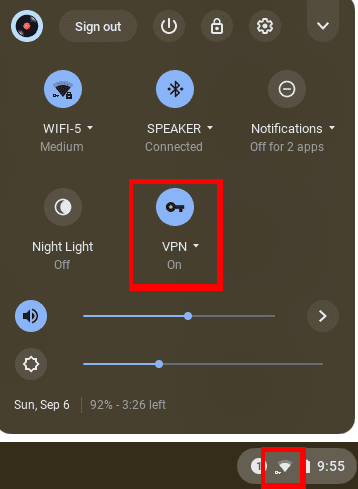
VPN Connection
You can click on the VPN settings and see the server you are currently connected to. You can also disconnect your VPN from here.

VPN Connected
To confirm your connection, open your browser and visit this URL, whatismyipaddress.com. From the image below, you can see my public IP address shows am in Australia.
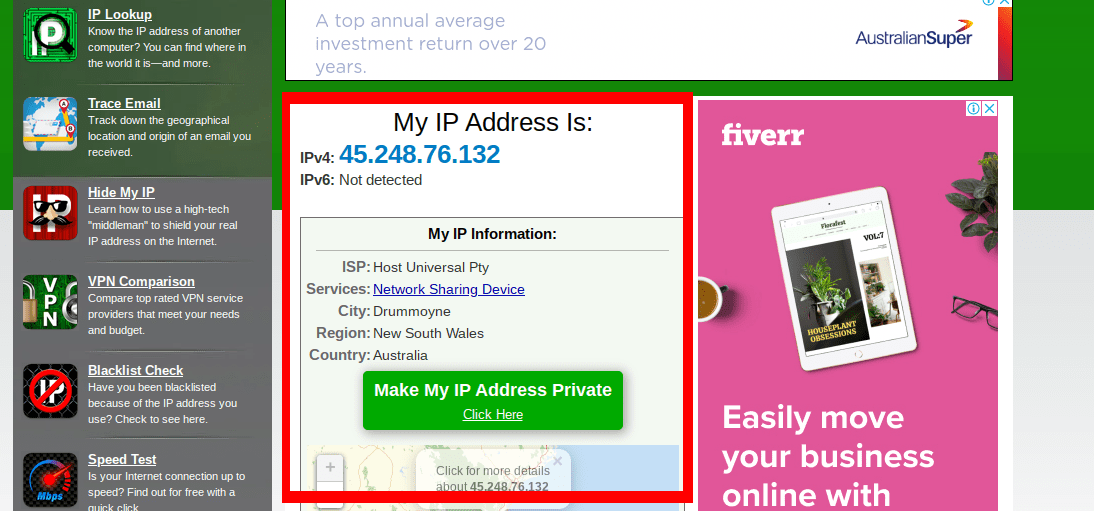
Check IP
Conclusion
This article has given you a step by step guide on setting up Proton VPN on your Chromebook. Feel free to ask any questions regarding the whole setup process.
