Therefore, you have applications like Google Drive, Dropbox, OneDrive, Spotify, and other cloud services readily available at your disposal to take the load off of the Chromebook’s main storage. Quite fortunately, there’s something for each file type – may those be documents, audio files, or even photos and videos.
However’s, that’s not the end of the story, for each Chromebook comes slapped on with USB ports and SD card slots alike. Using this hardware feature, you can connect your Chrome OS to external hard drives very easily, transfer files, and manage everything smoothly so the system won’t slow down for you when it matters the most.
This article will guide you to connect and use any external drive with your Chromebook, so continue reading to leave here knowledgeably well-equipped.
Connecting an External Drive to Your Chromebook
If you focus on your device’s left and right sides, you’ll notice at least one USB port and one SD card slot. With the help of a proper adapter, you can effortlessly access your microSD card from your Chromebook as well, if you need to, that is. Anyhow, it’s the courtesy of these ports and slots that you can effortlessly use your hard drives, especially when they’re the only source of the files you’re looking for. The following steps emphasize the connecting process.
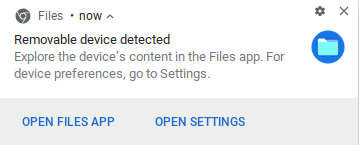
1) Begin by inserting your external drive inside the Chromebook’s USB port. As soon as you do that, the following prompt will make its way onto your screen.

External Drive Detected
This means that your drive was successfully detected by Chrome OS and is now usable.
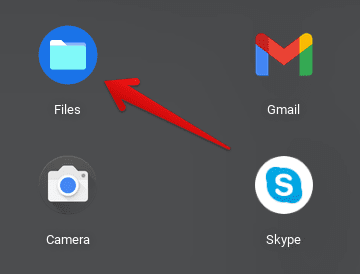
2) Continue by heading over to Files on your Chromebook. Do this by opening up the Launcher and clicking on this program’s icon. You can also open it by clicking on the “Open Files App,” as shown in the prompt above.

Opening Files
3) Next, you’re going to notice how your inserted external drive appears on the left column and below everything else. Whatever name your drive may be, click on it to proceed. Note: The drive is the one that has an “Eject” button beside it.

Accessing the External Drive
4) That’s it for the connecting. If you’ve made it this far, know for sure that you’ve successfully set up your external drive with your Chromebook. Nicely done!
Using Your External Drive on Chromebook
An external drive mainly plays the role of a storage backup option for any system. Hence, you can transfer files back and forth from your system to the drive and vice versa, or copy and cut files from your system to the drive for good. Here’s how to do that.
1) To copy a folder or an individual file from your external drive, hover over to its location and double-tap to reveal more options. Then, click on copy. As a shortcut, you can also tap on the folder once and press CTRL + C. This would automatically copy all the contents within the folder.

Copying Files From the Drive
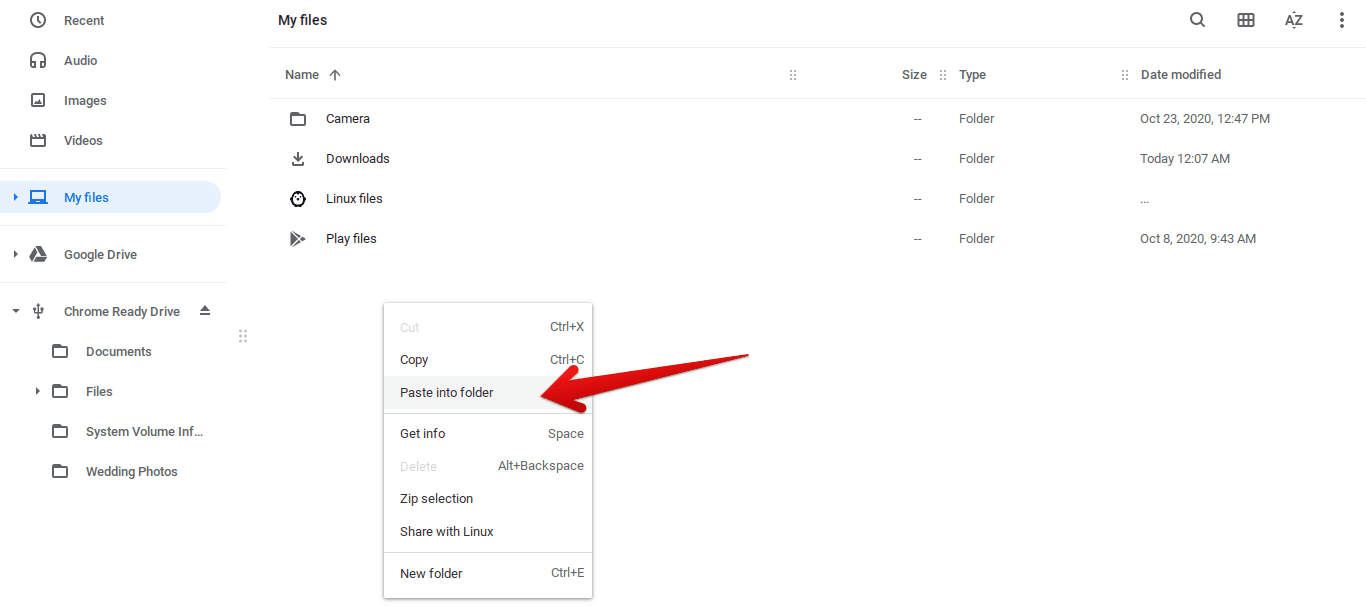
2) The next step is straightforward. Paste the copied content onto anywhere in your Chromebook. To do this, you can click on My files and paste everything there. You can also paste what you’ve copied inside an existing folder on your system in the same way; You’ll have to double-click on this folder and click on paste. Moreover, you can always press CTRL + V as an easier alternative.

Pasting Files to Chromebook
3) After you click on “Paste into folder,” the process will begin shortly and finish in a couple of minutes. The screenshot below illustrates the prompt after it’s done.

All of this can happen reversely as well. None of the steps would change, except for their direction. You’ll first have to begin by copying the desired content in your system and simply pasting them onto your connected external drive. Oh, and don’t forget ejecting your drive after you’re done! This prevents any damage to your external connection and also safely removes the drive without any loss of data.

1 comment
Thank you very much 💞