For this particular post, we will use the camera app that comes installed with the Chromebook. However, you can use any other camera app from the Google Play Store.
How to Take a Photo on a Chromebook
Step 1. Launch the Camera app from the applications menu. Click on the launcher button on the bottom-left and type “camera.”
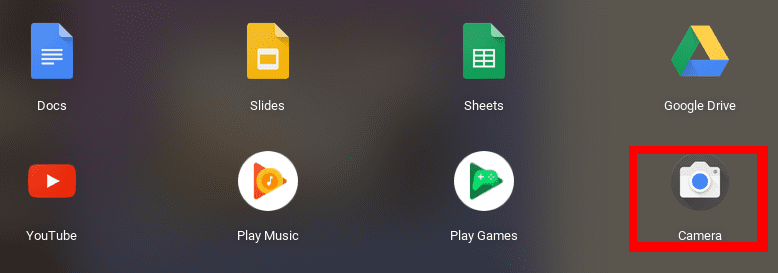
Launch Camera app
You will see the camera window open.
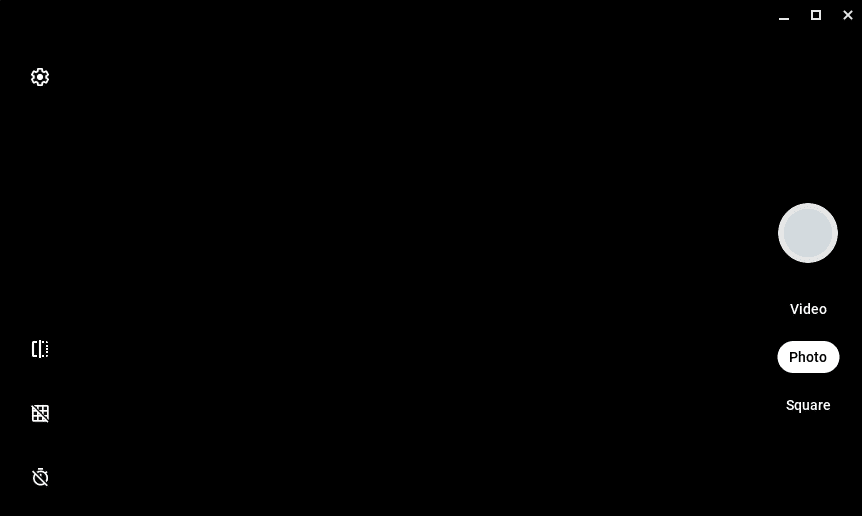
Camera window
Step 2. To take a photo, select the Photo option then click the shutter button located on the right side of the window.

snap a picture
By default, the camera app takes pictures in landscape orientation. To use the portrait orientation, click on the Square option on the right.

Portrait orientation
Step 3. Once you hit the shutter button, you will see a thumbnail of the last photo you took on the bottom-right. You can click the Shutter button multiple times if you want to take many pictures.
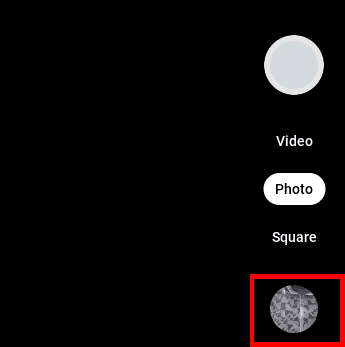
Picture thumbnail
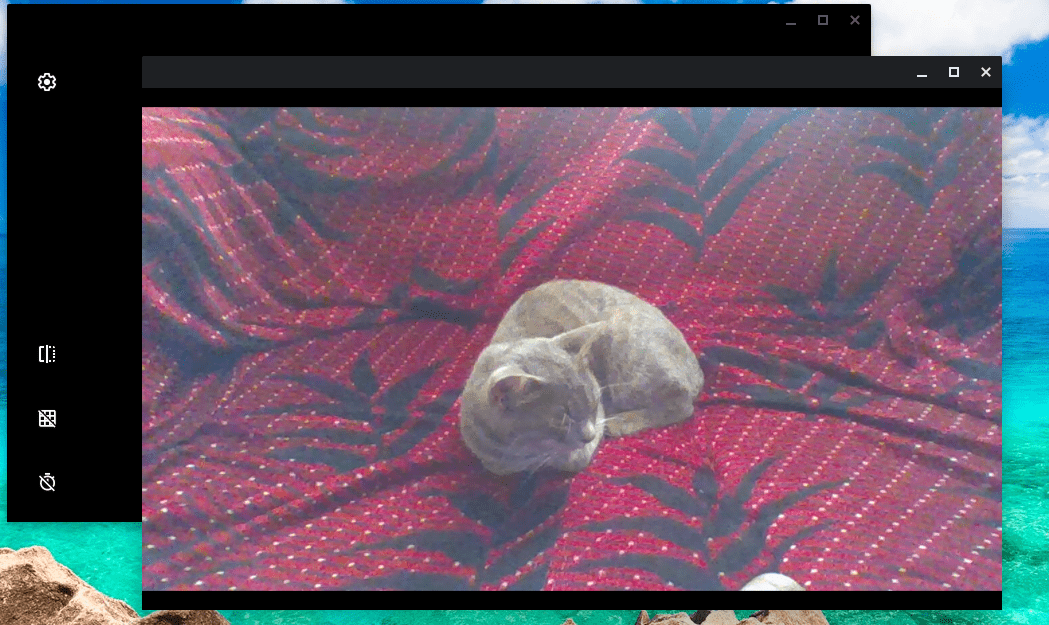
On the left pane, you will see three additional options you can use when taking pictures. They are listed as follows:
Mirroring: Flip the camera’s perspective from left to right.
Grid: Shows grid lines on the camera window to help you take explicit pictures.
Timer: Enables you to take pictures with a delayed timer.

Additional options
Note: If you have an external webcam connected via the USB port, you will see a fourth option that will enable you to switch between the built-in camera and the external webcam.
For advanced settings, click on the Gear icon to open the camera settings menu. Some of the options you will find here are:
Grid type: 3×3, 4×4, or golden ratio.
Timer duration: You can increase this from 3 seconds to 10 seconds.
Camera resolution: Change the camera resolution that you wish to use for photo and video.

Camera settings
How to Record a Video on a Chromebook
Some of the steps that we will use are similar to taking a photo since we will be using the same Camera app.
Step 1: Launch the camera app from the applications menu.
Launch Camera app
Step 2. On the camera window, select the video option.
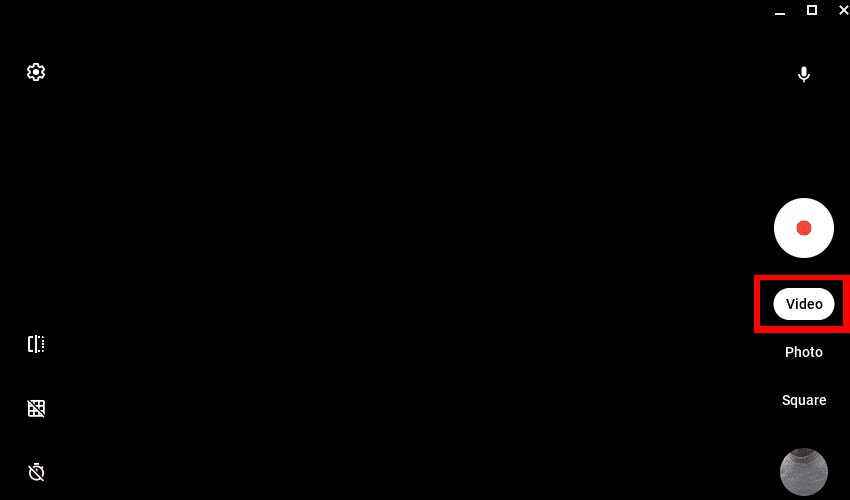
Video option
Step 3. To start recording a video, click on the Shutter button.

Start Video record
When you are through with recording, click on the Shutter button to save the video.

Save video
When taking a video, we also have the same options as we saw when taking a photo. They include Mirroring, Grid options, and Timer settings. You can also access advanced settings using the gear icon.
However, there is one more added option for the video – The mute/unmute mic option. This feature enables you to record a video with or without audio.

Mic option
How to locate your Photos and Videos
After taking your photos and recording videos, you need to go through them, share with friends, or even do some little editing. We will show you two ways you can use to view your photos and videos:
- From the camera application
- Use the File manager.
View Photos and Video from the Camera app
When you take a picture or a video, you will see a thumbnail at the bottom-left camera window.
Picture thumbnail
To view the image or video, click on the thumbnail, and the file will open. You can use the left/right arrow button to scroll and see other photos or videos.
View image
View Photos and Video from the File manage
To get started, launch the file manager from the applications menu and navigate to the Downloads directory.
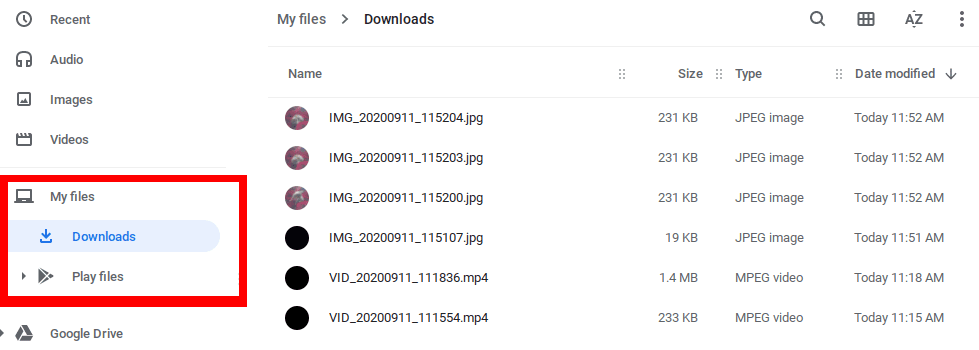
Downloads directory
Here, you will see all the photos and videos you have taken. To open a file, double click/tap on it. Alternatively, you can click on it and select the Open bottom at the top. You will see various applications you can use to open your photo or video.
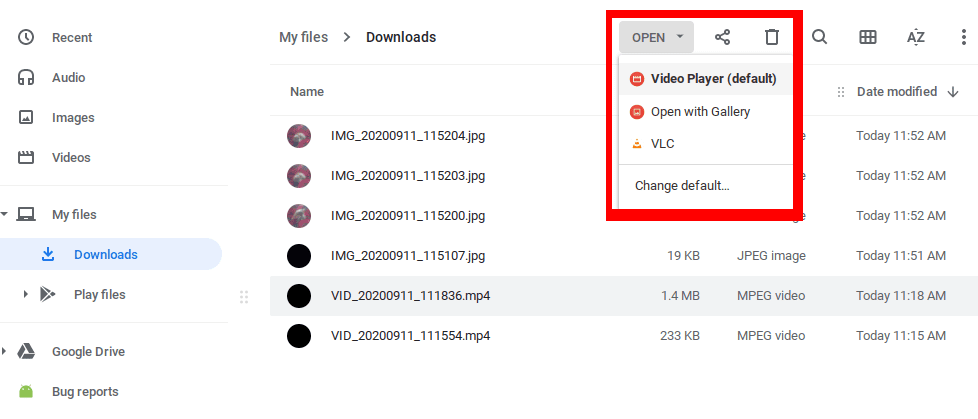
Open with options
Conclusion
That’s a complete guide on how to take photos and record videos on your Chromebook. The built-in webcam that comes with Chromebooks is excellent and reliable. However, you can use other external webcams connected to your device via the USB port. Note: Not all external Webcams support Chrome OS, but many do. You are also not limited to the default Camera app. You can install other apps from the play store or even use a Chrome extension to take your Photos and record Videos.