I can guess you are here because, just like me, you have a penchant for dabbling in the artistic yet logical world of game development. Isn’t it a delight to consider the possibility that you can create a captivating gaming experience right from your Chromebook? Well, you’ve landed at the right place! I’m excited to share my journey and a step-by-step guide on how to make a game on a Chromebook, which once seemed almost impossible to me. So grab a cup of your favorite beverage, and let’s go on this exciting journey together!
Embracing the limitations of a Chromebook
Before we dive into the depths of game development on a Chromebook, it is essential to appreciate the humble beginnings of this device. Initially perceived as a device primarily suited for light browsing and document editing, the Chromebook has since blossomed into a gadget capable of so much more. However, it is still a fact that Chromebooks are not as powerful as conventional PCs, and hence we must approach game development with a clear understanding of its limitations and strengths.
What I love about Chromebooks:
- Affordability: Most Chromebooks are reasonably priced, making it accessible to many.
- Portability: With its lightweight and compact design, it’s a joy to carry around.
- Battery Life: Oh, how I adore not being tethered to a power outlet all day long!
What makes me frown:
- Limited Storage: It forces you to be innovative, but sometimes a bit more space wouldn’t hurt.
- Compatibility Issues: While it has improved, there are still some applications and tools that don’t play nice with Chrome OS.
Choosing the right game development software
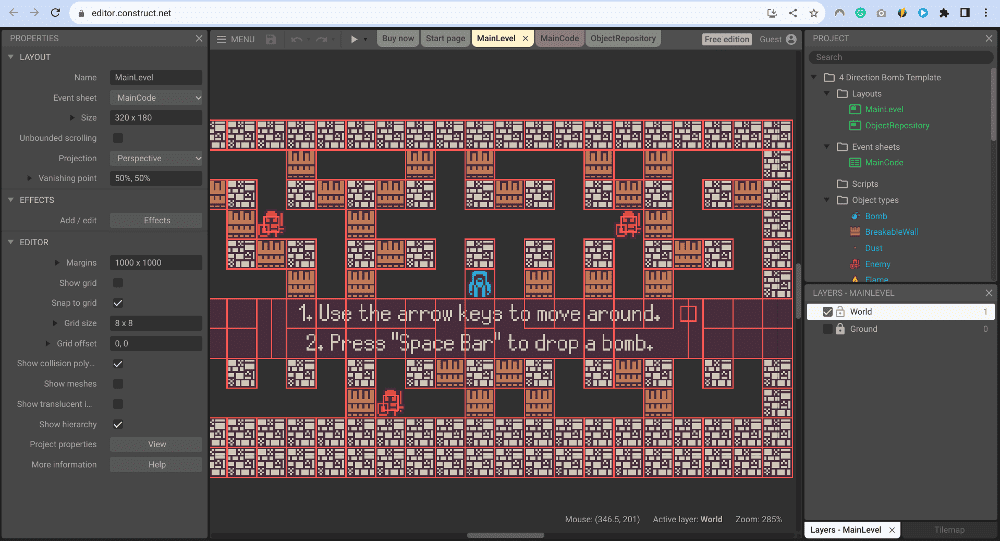
Construct 3 on Chrome
Having accepted our Chromebook’s characteristics with grace, we can now move forward to choose the right game development software. After a considerable amount of research and trial and error, here are a few platforms that I found to be quite accessible and user-friendly:
- Twine: This is a fantastic open-source tool for creating interactive and non-linear stories. I find it quite user-friendly, especially for beginners.
- Construct 3: It operates directly in your browser, making it a perfect fit for Chromebook users.
- Unity (Editor in the Cloud): Though traditionally not supported on Chromebooks, Unity’s editor in the cloud can be accessed through a browser, broadening the scope for budding game developers. Refer: How to install and use Unity on Chromebook
Let’s get started: Your first steps in game development
Step 1: Ideation and planning

Planning your story
Before we jump headlong into game development, it is crucial to spend time in the ideation phase. Think about the kind of game you want to create. Is it a riveting adventure game or a serene puzzle game? Jot down your ideas in a notebook, create storyboards, and perhaps sketch characters if your game includes them. This stage gives a personal touch to your game, and trust me, it’s utterly rewarding!
Step 2: Setting up your Chromebook
You would be eager to start crafting your game by now, but first, let’s prepare your Chromebook for the adventure ahead. Ensure it is updated to the latest version to have a smooth and secure development experience. Setting up Linux (Beta) on your Chromebook can also open doors to a wider range of development tools, a step that I found to be a game-changer!
Refer: How to set up and configure Linux on a Chromebook
Diving into the development phase
This section is where the real fun begins! We are going to explore various phases of game development, from creating a blueprint to bringing your characters to life.
Crafting the game blueprint
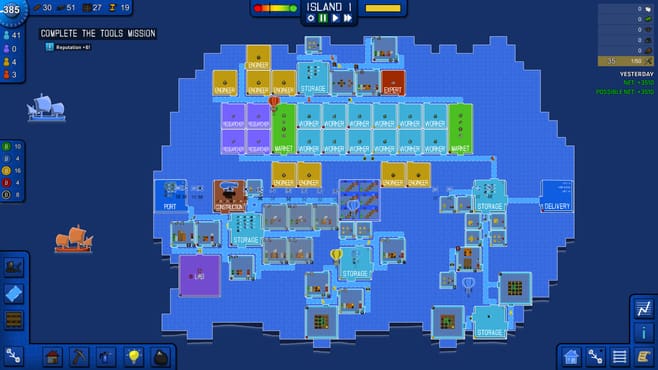
Game Blueprint (Courtesy: macgamestore.com)
Just as an architect wouldn’t start building without a blueprint, a game developer should also have a detailed plan. Here, you outline the game’s structure, define levels, characters, and the challenges that players will encounter. It’s a stage where your game starts taking a tangible form, at least on paper.
Setting the scene
As a person who loves attention to detail, setting the scene is my favourite part. This stage involves designing the game environment, which includes crafting the landscapes, buildings, and other settings where the game action will occur. Tools like Construct 3 offer drag-and-drop features, which means you don’t have to be a coding wizard to create a visually appealing game environment.
Developing characters
If your game involves characters, this stage is where you bring them to life. It’s all about defining their appearance, abilities, and the role they play in the game. It’s like playing God in your little gaming universe, and it’s exhilarating!
Coding and logic
While tools like Construct 3 greatly reduce the need for extensive coding, you cannot escape it entirely. This phase involves writing scripts to control the game’s behaviour and logic. If coding seems intimidating, worry not. There are numerous online resources to guide you, and with practice, it becomes more comfortable, I promise!
Testing and debugging
No creation is perfect in its first iteration. Once you have your basic game set up, it’s time to play it yourself. Keep an eye out for bugs and glitches. Sometimes, the errors can be frustrating, but solving them can be equally gratifying. Patience is your best friend at this stage.
Launching and marketing
You’ve created a game, congratulations! But the journey doesn’t end here. Now it’s time to share it with the world. Whether you choose to publish it on platforms like Google Play or share it through a website, spreading the word about your game is essential. As someone who has been through this journey, I would urge you to celebrate each download, as it represents someone enjoying your creation.
Practical example: Crafting a mini text-based adventure game with Twine
Are you ready to kickstart your game development journey right from your Chromebook? If you share my excitement for creating immersive experiences, join me in crafting a simple yet captivating text-based adventure game using Twine. This simple guide will help you unfold a magical story where every choice unveils a different path, leading to a variety of endings.
Getting to know Twine
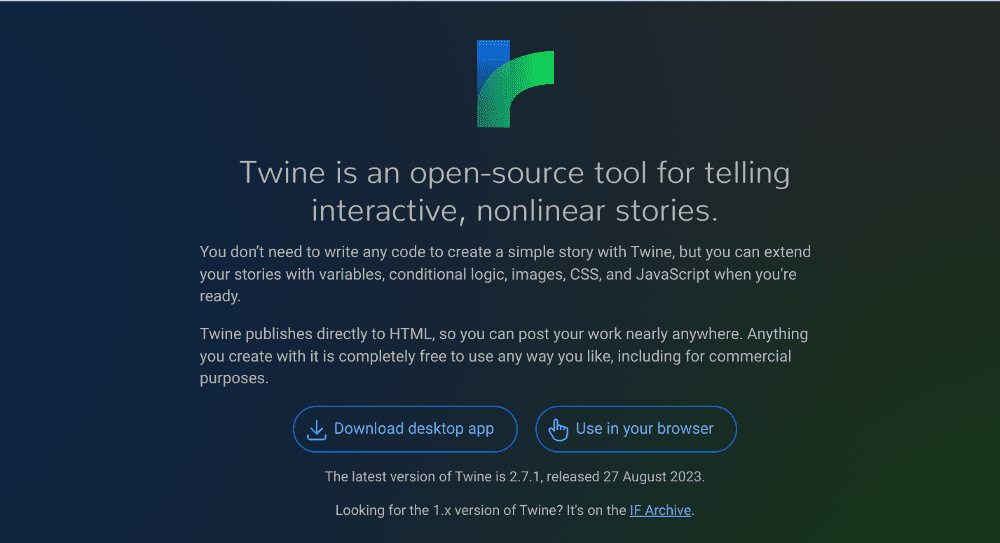
Twine open-source tool
Before we dive in, let’s acquaint ourselves with Twine. Twine is an open-source tool for creating interactive, non-linear stories, which can serve as a simple yet immersive kind of game. You might remember “Choose Your Own Adventure” books from your childhood – well, we are about to create a digital version of that.
Setting up your story
Installing Twine: Navigate to the Twine website and install the version compatible with your Chromebook. It runs on web browsers, so it should be a hassle-free setup.
Creating your story: Once you have opened Twine, click on +Story to create a new story. Name your story something exciting – I chose “The Enchanted Forest”.
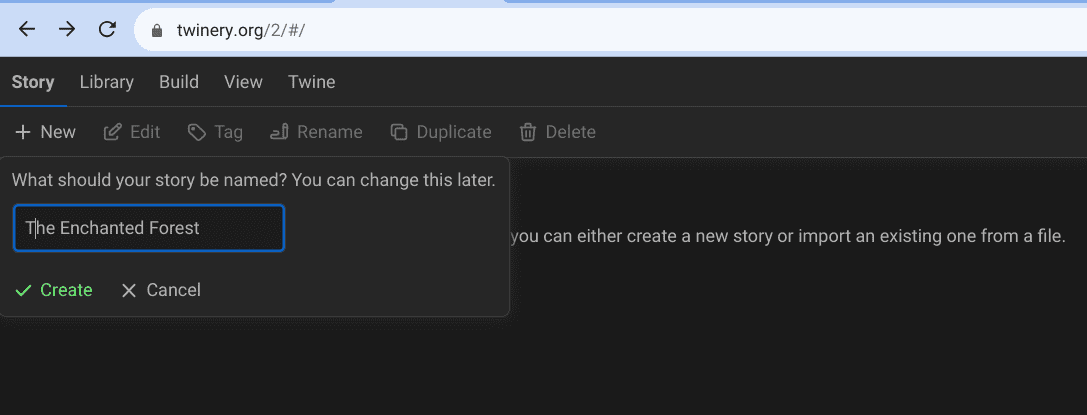
Creating a story on Twine
Setting the scene: You’ll now see a story map with a single passage named “Untitled Passage”. Click on it to open the passage editor. Here, write a brief introduction to your story. For instance, “You find yourself at the entrance of an enchanted forest. Light barely penetrates the dense canopy of the trees. What will you do?”.
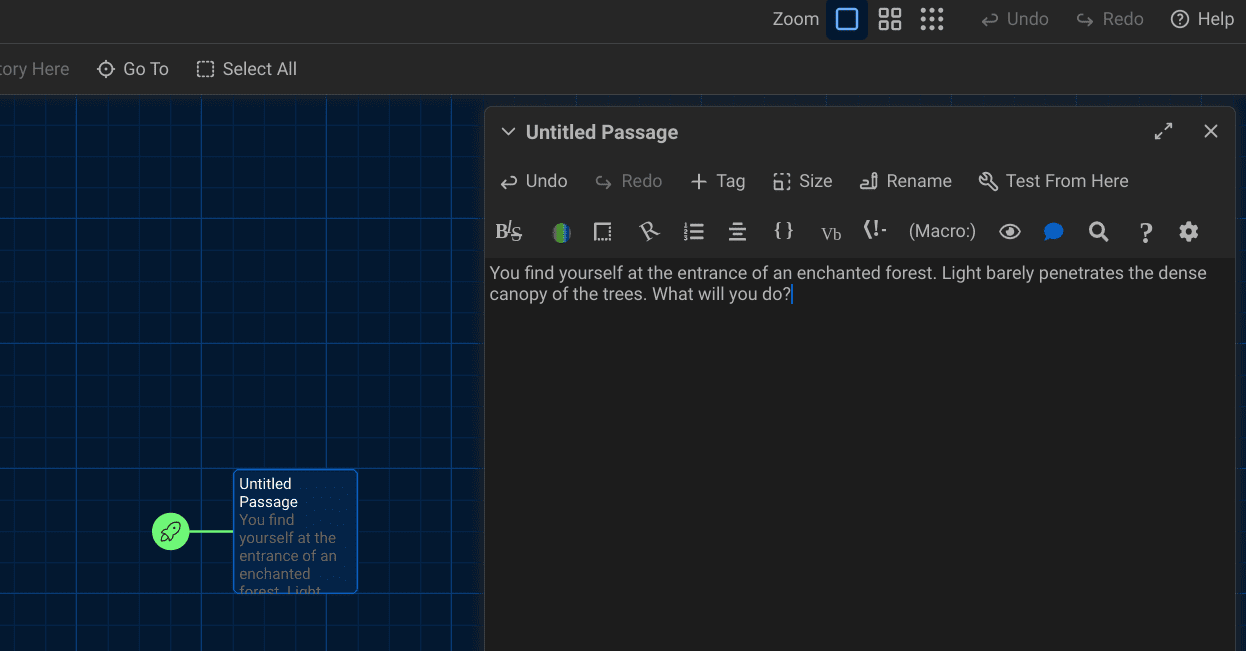
Setting a scene in Twine
Adding choices
Now, let’s add some choices for the player to make. At the end of your introduction, write the choices in the following format:
[[Explore deeper into the forest->Explore]]
[[Leave the forest->Leave]]
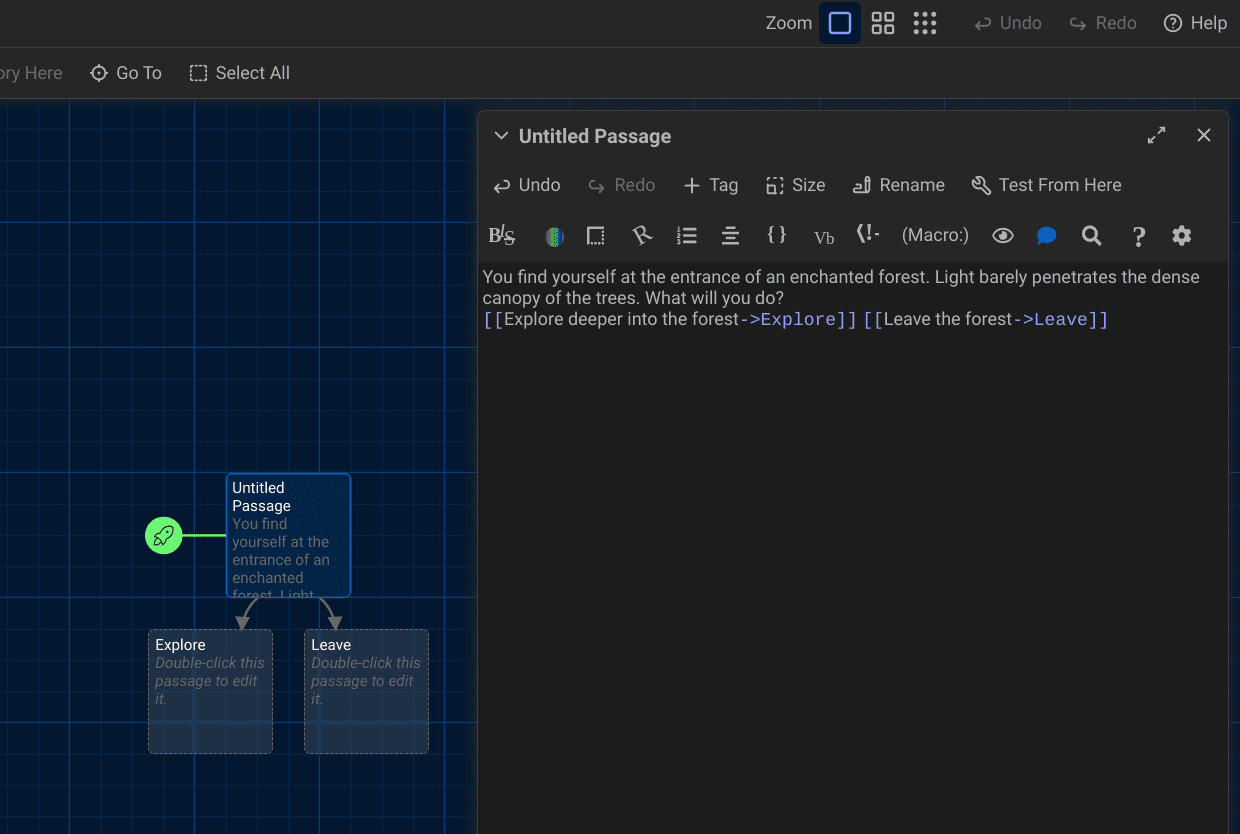
Adding Choices to a scene
Once you’ve written these choices, close the passage editor. You will now see two new passages linked to the first one, named “Explore” and “Leave”.
Developing the paths
Click on the “Explore” passage to open it. Here, we will continue the story. For instance:
You venture deeper and come across a clearing with a mysterious pond. The water sparkles with an otherworldly light. What do you do next?

[[Take a sip from the pond->Sip]]
[[Ignore the pond and continue exploring->Ignore]]
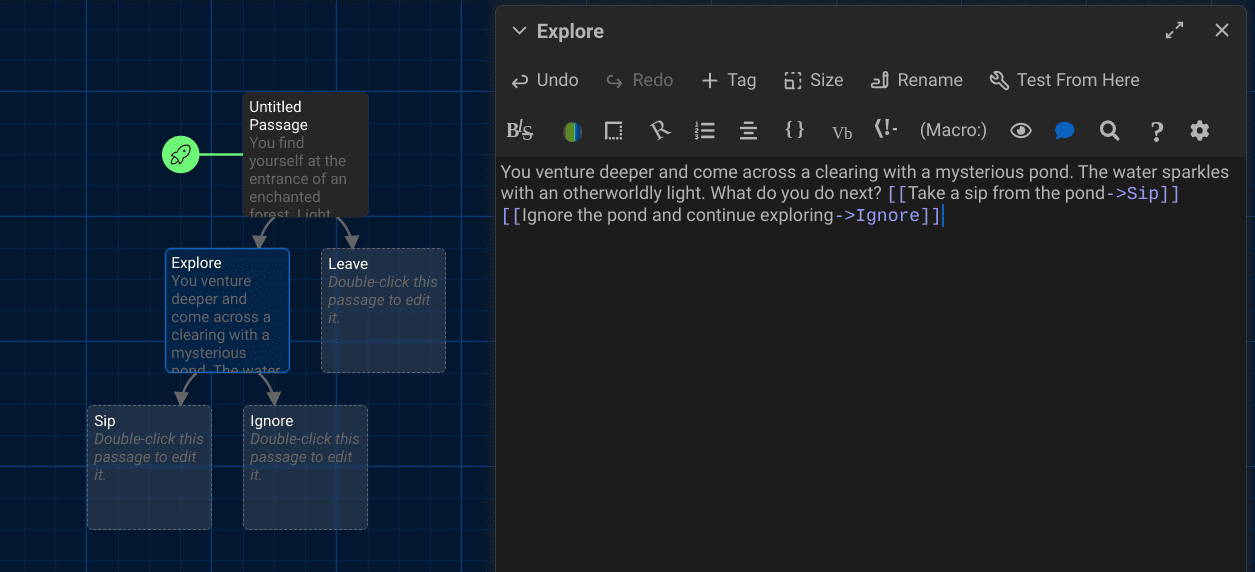
Developing paths
Similarly, develop the “Leave” passage with its own set of choices and consequences. You could have a scenario where the player encounters a friendly forest creature who offers guidance or finds a hidden treasure.
Fleshing out your story
Continue adding passages and choices until your story has a few different paths and outcomes. Make sure to include various endings, both happy and sad. It’s the variety of endings that makes these kinds of games replayable and exciting.
Testing your game
Before you share your game with the world, play through it several times yourself, choosing different paths each time to ensure everything works as intended. This phase might reveal areas where you can enhance the story or fix broken links.
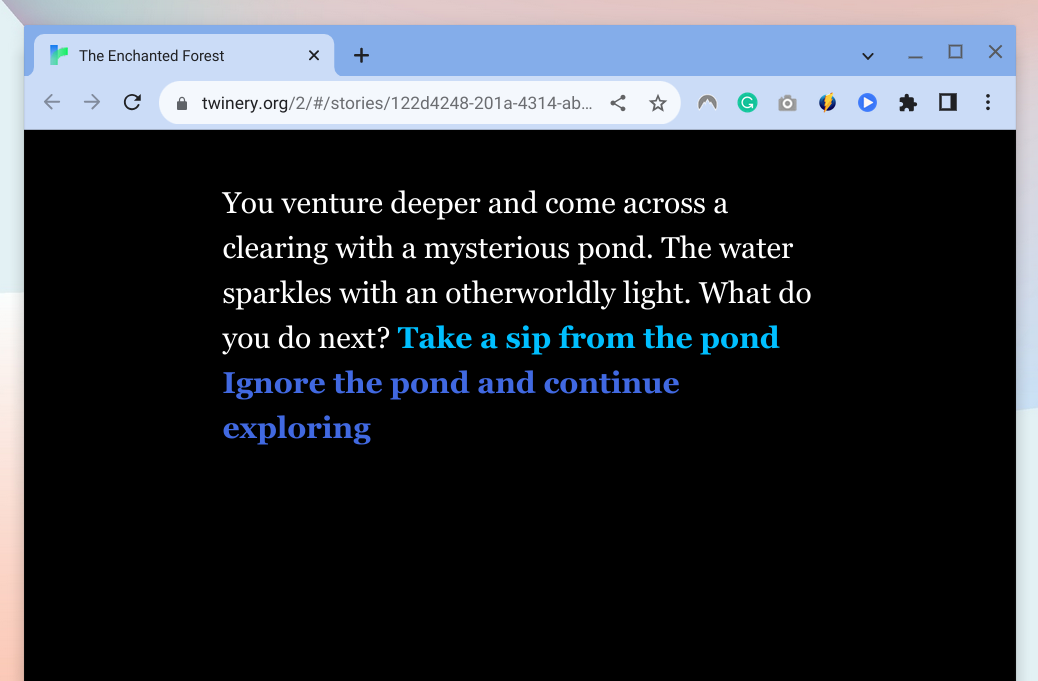
Testing game on Twine
Publishing your game
Once you’re satisfied with your game, you can publish it to a file from the Twine editor, making it ready to be shared with others. Invite your friends to explore the enchanted forest you created and witness their choices and outcomes.
Reflections on your first game
Creating this tiny text-based adventure game could be your stepping stone into the world of game development. It might seem simple, but crafting a branching narrative requires careful thought and creativity. As someone who appreciates the beauty of a well-told story, I found this aspect of game development particularly satisfying.
Taking it further
If you find yourself enjoying this process, consider expanding your game with more complex narratives, or perhaps learning some HTML and CSS to customize the appearance of your game further. This is just the beginning, and there’s a vast world of game development waiting for you to explore.
I hope this example has provided a clear and practical guide to starting your game development journey on a Chromebook. It might be a humble beginning, but, even the grandest adventures start with a single step. So here’s to your first step into the mesmerizing world of game development!
Final thoughts: The joy of crafting your game
I must say, embarking on a game development journey with a Chromebook has been a refreshing and enriching experience. It may not be a powerhouse of game development, but it certainly provides a fantastic platform for beginners to dip their toes in the vast ocean of game creation. The journey has been a mix of joys and frustrations, of easy victories and hard-fought battles. But as I look at the game that I created, I can say with certainty that it has been worth it.
So, Chrome Ready readers! roll up your sleeves and delve into the world of game development on your Chromebook. It’s a journey of creativity, learning, and immense satisfaction. Every great game developer started as a beginner. Your Chromebook could be the humble beginning of a fantastic game development journey.
As we reach the end of this detailed guide, I would like to leave you with this – the joy of creating a game goes beyond coding and graphics; it’s about crafting an experience, weaving a story, and most importantly, enjoying the process. So, here’s to the joy of crafting your game on a Chromebook! Happy game developing!

1 comment
awesome thank you a lot