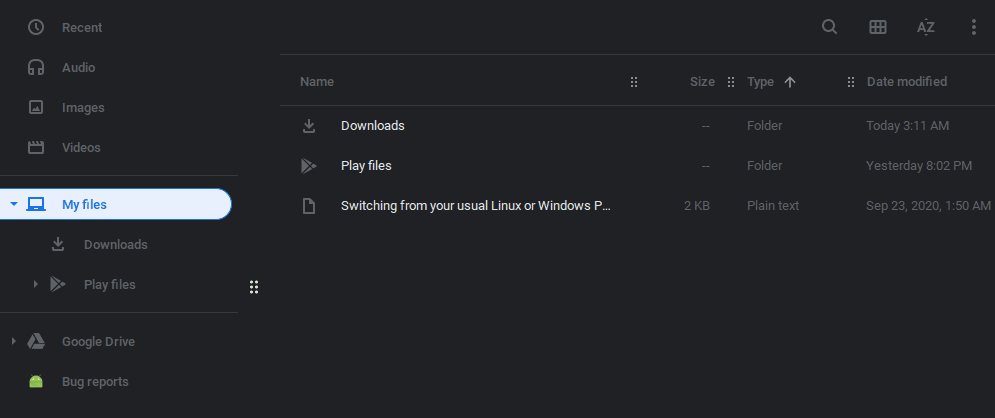
If you have worked with Linux systems, you will notice some of the distribution like Ubuntu and desktop environments like the Gnome already have the ‘dark mode’ option.
Even though the ‘dark mode’ option is not yet available, that doesn’t mean it won’t be there soon. So as we wait for the official release of Chrome OS Dark Mode, is there a walk around to have dark mode enabled on your system? Yes! Read along.
To enable dark mode, we will need to get a little bit technical. We will add various flags to the chrome OS using the Crosh utility.
Crosh (Chrome Shell)
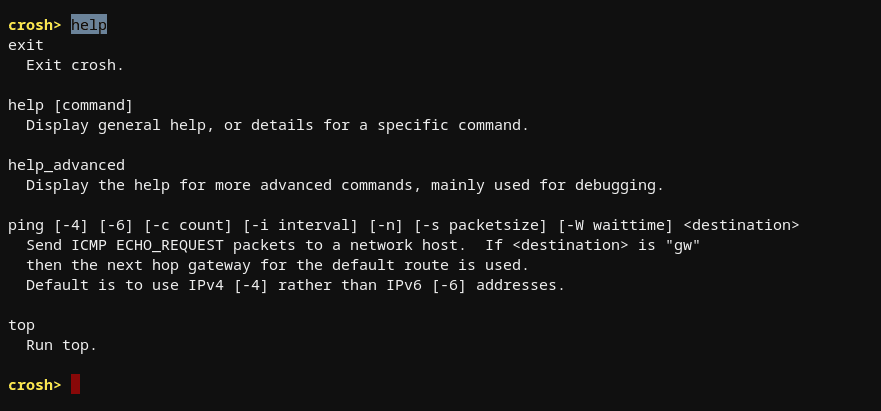
Crosh stands for the Chrome OS shell environment. You can consider it as a command-line or terminal for the Chrome OS. However, unlike the Linux Terminal, you don’t need to turn on developer mode to use crosh. For this post, we will execute all our commands here.
To get started with crosh, use the keyboard combination Ctrl + Alt + T. You should see a new tab open on your Chromebook with a command-line interface and a prompt.

Crosh shell
Some of the commands you can execute here include:
- exit: Exit the crosh shell
- help: Display the crosh help
- battery_test 1: Test battery discharge rate
- memory_test: Perform extensive tests on available memory

help command
Those are only but a few examples. Now that you have a clear understanding of crosh, let’s get started on how to enable Chrome OS dark mode.
Enable Developer Mode
By enabling developer mode on your Chromebook, you will wipe all the local data. Therefore, please make a backup of all your essential files if you want to proceed with this procedure. Additionally, the developer mode is considered less secure and any modifications made are not supported by Google.
To enable developer mode, please read our master guide article here, which will give you a step by step procedure.
Disable the root file system verification
Step 1: Launch crosh. Use the combination Ctrl + Alt + T.
Step 2. Open shell. Do this by executing the shell command on crosh. You should see the prompt change, as shown below.
shell

open shell
Step 3. Execute the commands below one by one.
sudo crossystem dev_boot_signed_only=0
sudo /usr/share/vboot/bin/make_dev_ssd.sh --remove_rootfs_verification

execute commands
With the second command, you might get an error like, “You are trying to modify the live system image.” However, it will give you the command you need to execute. Just copy it and rerun it. You should be good to go.
Step 4: Restart your Chromebook.
Adding Dark Mode flags
Once your device has rebooted, follow the steps below t enable dark mode.
Step 1. Relaunch crosh. Ctrl + Alt + T.
Step 2. Open shell by executing the shell command.
shell
Step 3. We need to edit the /etc/chrome_dev.conf file and add some lines. Crosh uses the vi editor. Use the command below to open it.
sudo vi /etc/chrome_dev.conf

vi editor
Step 4. Use the arrow button to navigate to the bottom of the file. Paste the following lines:
--enable-features=WebUIDarkMode
--force-dark-mode

Add lines
When done, hit the ESC button once and type :wq (note: include the colon) then press Enter to save and exit.
Step 5. Restart the UI with the command below to apply changes.
sudo restart ui

Restart command
That’s it! When you log in to your Chromebook, you should see the dark mode feature enabled on your system.

Dark mode
Remove dark mode
If you want to remove the dark mode feature, open the vi editor again and delete the lines we added.
sudo vi /etc/chrome_dev.conf
You will then need to restart the user interface.
sudo restart ui
Conclusion
I hope you have successfully enabled dark mode on your Chromebook. However, I wouldn’t recommend enabling developer mode on your device only to enable dark mode. Your Chromebook is more exposed and vulnerable in this state. If you face any issue with the procedure above, feel free to ask in the comments section.
