Headers and footers can significantly enhance the structure and professionalism of your documents. When you are working on a research paper, a business report, or want to add a personal touch to your project, headers & footers provide a consistent and organized way to display essential information. In this detailed guide, we will walk you through the process of creating and customizing headers and footers in Google Docs.
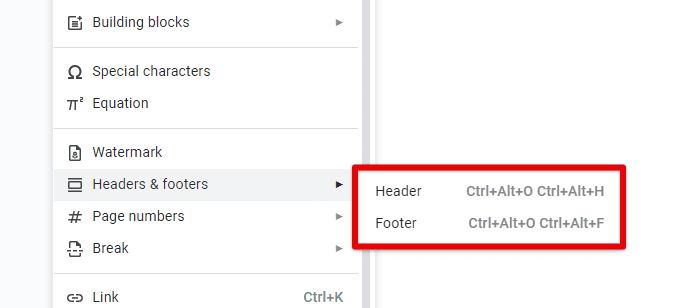
Headers and footers in Google Docs
They serve multiple purposes in a document and can include elements such as page numbers, document titles, author names, company logos, and more. By strategically placing this information at the top or bottom of your pages, you can provide a polished and cohesive look to your work. Additionally, headers and footers can help readers navigate through a document more efficiently and maintain a professional appearance throughout. In this article, we will explore various features and customization options available in Google Docs to help you create visually appealing and informative headers and footers. The program also includes text replacement features to help users save time and improve typing accuracy. Learn how to customize autocorrect in Google Docs.
What are headers and footers?
Headers and footers refer to the content that appears at the top and bottom of each page, respectively. They provide a consistent and informative space where you can include essential elements to enhance the overall structure and readability of your document. Let’s explore the purpose and benefits of using headers and footers in Google Docs:
Enhancing document structure: Headers and footers serve several purposes that contribute to the overall structure and organization of a document. They allow you to:
Provide identification: Headers often contain information such as the document title, author name, date, or version number. Footers commonly include page numbers, copyright information, or document-specific details. By including these details, you help readers quickly identify the document’s context and navigate through its pages efficiently.
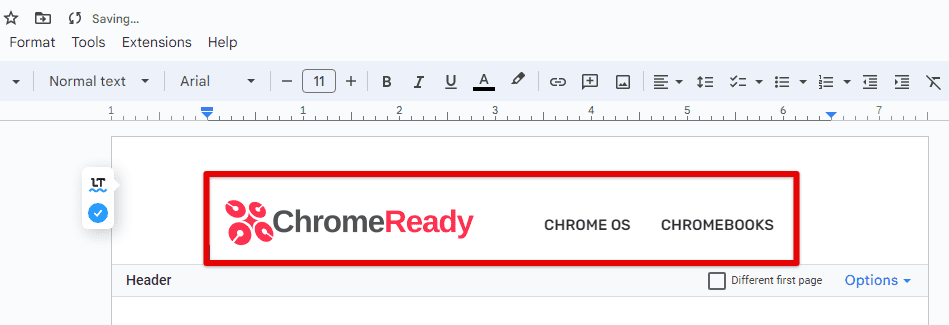
Provide identification
Maintain consistency: Headers and footers ensure consistency throughout your document by displaying the same content on each page. This consistency helps maintain a professional appearance, especially when dealing with multi-page documents.
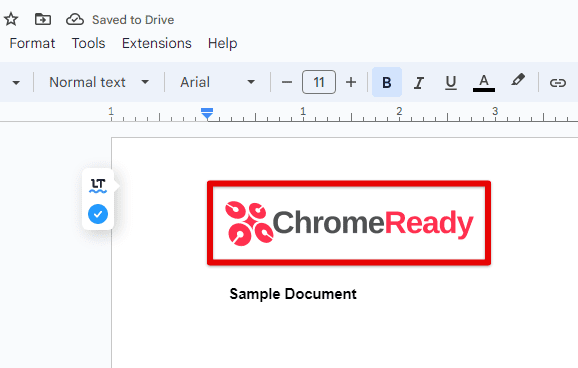
Maintain consistency
Segment information: Headers and footers can be used to divide a document into logical sections. You might have different headers and footers for the introduction, main body, and conclusion. This division aids in the overall organization and readability of the document.
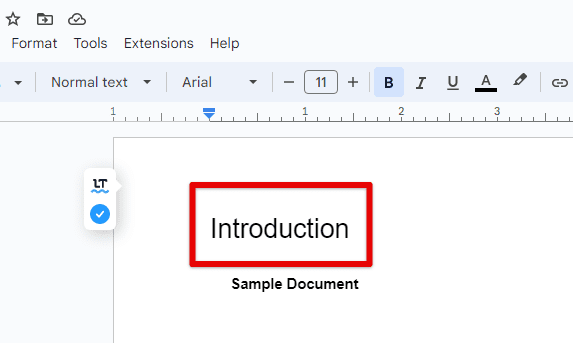
Segment information
Benefits of using headers and footers: Utilizing headers and footers in Google Docs offers a range of benefits:
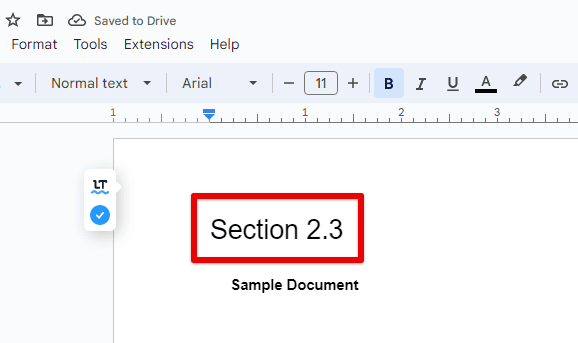
Improved document navigation: By including page numbers in the footer, readers can easily locate specific sections or refer to page references. This feature is particularly useful in lengthy documents, research papers, or reports.
Improved document navigation
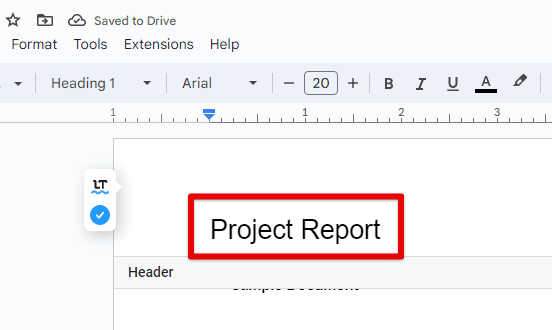
Professional appearance: Headers and footers allow you to add a professional touch to your documents. By incorporating elements like logos, organization names, or branding details, you can create a consistent and visually appealing look across all pages.
Professional appearance
Document customization: Headers and footers in Google Docs offer numerous customization options. You can adjust the font styles, sizes, and colors of the text within headers and footers to match your document’s overall design. Additionally, you can insert images, such as company logos or relevant illustrations, to enhance the visual impact.

Document customization
Document accessibility: Headers and footers play a vital role in making documents accessible to different audiences. For instance, including alternative text descriptions for images within headers or footers ensures that visually impaired individuals using screen readers can access the information effectively.

Document accessibility
Collaboration and documentation: They can also facilitate collaboration and document management. By including details like the document title, author name, or revision history, it becomes easier to identify the document’s version or track changes made by different collaborators. When you have to work on a document with colleagues who use different software or need to convert a file into other formats for personal use, Google Docs keeps you covered. Learn how to import and export files in Google Docs.
Accessing header and footer options
There are multiple methods available to navigate to the header and footer settings, providing you with flexibility and convenience.
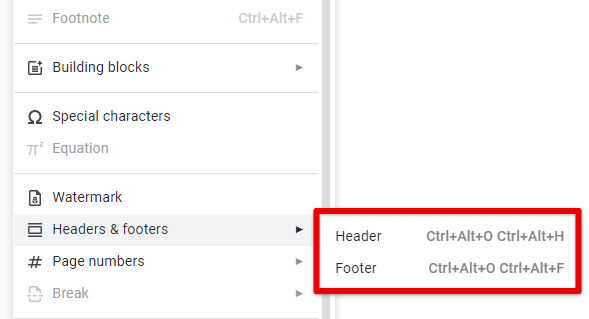
Using the menu bar: Begin by opening the Google Docs application and creating or opening a document. Locate the menu bar at the top of the screen. From the menu bar, click on the “Insert” option. In the drop-down menu that appears, find “Header” or “Footer”. Click on the respective option based on where you want to make modifications.
Using the menu bar
Once you’ve clicked on “Header” or “Footer,” you will see different pre-defined choices. Select one of the options, or click on “Edit Header” or “Edit Footer” to customize it further. Custom templates can save time and effort by providing a pre-formatted, reusable framework for your documents, spreadsheets, and presentations. Here is a guide on creating custom templates in Google Docs, Sheets, and Slides.
Using the context menu: In your Google Docs document, right-click anywhere on the page. A context menu will appear with various options. From the context menu, hover on “Header” or “Footer” and click on the desired option. Similar to Method 1, you can select a predefined header or footer style or choose “Edit Header” or “Edit Footer” for personalization.

Using the context menu
Keyboard shortcut: Start by opening Google Docs and accessing the desired document. Press the following combination of keys based on your operating system:
Windows/Linux: Press “Alt + Shift + O” to access the header options or “Alt + Shift + F” for the footer options.
Mac: Press “Option + Command + O” for the header options or “Option + Command + F” for footers.
Once the subsequent settings are displayed, select a predefined style or click on “Edit” to proceed.
Inserting and formatting text
Inserting and formatting text in headers and footers allows you to add important information and customize its appearance. By following the step-by-step instructions below, you can easily insert text into headers and footers and format it according to your preferences:
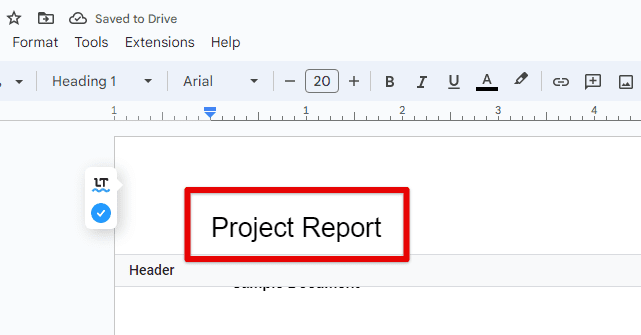
Inserting text: Using one of the methods described earlier, navigate to the header or footer section where you want to insert text. Click on the insertion point within the header or footer section where you want to add text. The insertion point is represented by a blinking vertical line. Start typing the desired text. It can be a document title, author name, page information, or any other relevant details.
Inserting text
To insert dynamic elements such as page numbers or document properties, click on the “Insert” menu in the menu bar. Navigate to “Page number,” “Date & time,” or “More” for additional options, and select the desired element to automatically insert it into the header or footer. Continue adding text or dynamic elements by clicking on different insertion points within the header or footer section.
Formatting text: To format existing text within the header or footer, highlight the desired text by clicking and dragging your cursor over it. If you’re formatting newly added text, no additional selection is required. In the menu bar, click on the “Format” menu to reveal the formatting options.
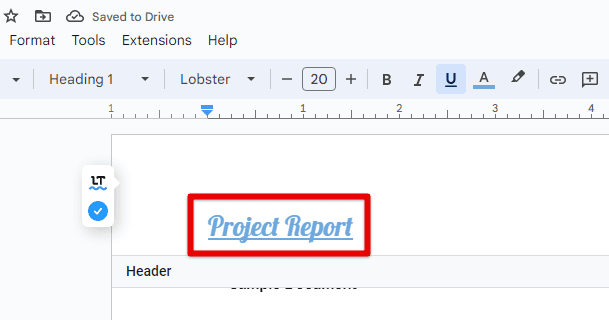
Formatting text
In the formatting options, select the desired font style from the dropdown menu. You can choose from various available fonts or click on “More fonts” to access a wider selection. Next to the font style, you’ll find the font size dropdown. Click on it and select the appropriate size for your text.
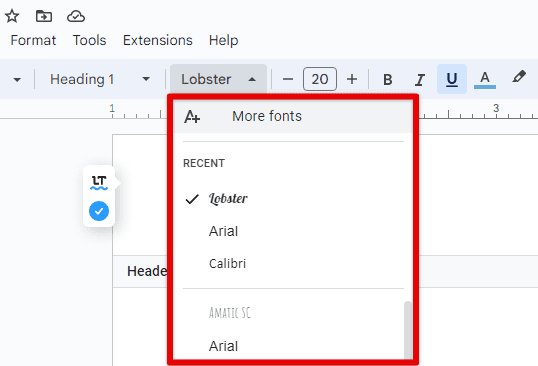
Changing font in header
Use the alignment options in the formatting menu to align your text left, center, right, or justify it. To change the color of your text, click on the “Text color” icon in the formatting menu. Pick a color from the palette or click on “Custom” to enter a specific color value. The formatting menu provides other options such as bold, italic, underline, strike-through, subscript, and superscript. Use these options to further enhance the appearance of your text.
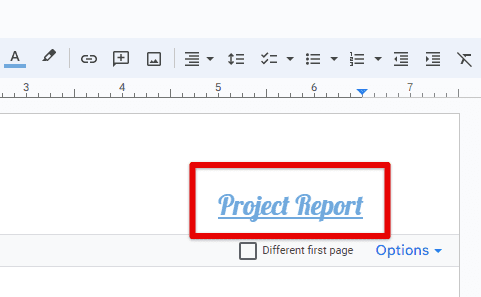
Adjusting header alignment
Once you’ve selected the desired formatting options, the changes will be applied to the selected or newly entered text within the header or footer. If you have additional text that requires formatting within the same header or footer or in other sections, repeat the above steps as needed.
Adding page numbers
Adding page numbers to headers or footers allows you to easily track the pagination of your document. Use one of the methods mentioned earlier to navigate to the header or footer section where you want to add page numbers. Click on the insertion point within the header or footer section where you want to place the page numbers. The insertion point is represented by a blinking vertical line.

Adding page numbers
In the menu bar, click on the “Insert” menu. From the options that appear, select “Page number.” In the submenu that appears, choose whether you want the page numbers to appear at the top of the page (header) or the bottom of the page (footer). You can select either “Top of page” or “Bottom of page.”
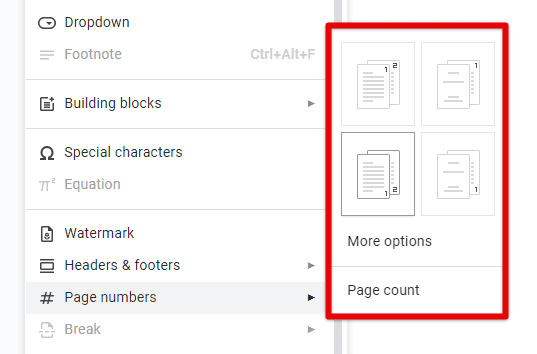
Inserting page numbers from menu bar
After selecting the placement, another submenu will appear with various numbering format options. Choose the format that best suits your needs, such as “1, 2, 3,” “i, ii, iii,” “A, B, C,” or “Page X of Y.” Once you’ve selected the numbering format, the page numbers will be automatically inserted into the header or footer section.
Customizing the format and style: If you wish to customize the format and style of the page numbers in an existing header or footer, use the methods described earlier to navigate to the respective section. Click and drag your cursor over the page numbers you want to format to select them.
In the menu bar, click on the “Format” menu to reveal the formatting options. Utilize the font style and font size dropdown menus to select the desired font and size for the page numbers. Use the alignment options in the formatting menu to align the page numbers left, center, right, or justify them within the header or footer.

Customizing the format and style
To change the color of the page numbers, click on the “Text color” icon in the formatting menu. Choose a color from the palette or click on “Custom” to enter a specific color value. The formatting menu provides additional options such as bold, italic, underline, strike-through, subscript, and superscript. Utilize these options to further customize the appearance of the page numbers.
Inserting images and objects
You have the flexibility to insert images, logos, or other objects into headers and footers, allowing you to enhance the visual appeal and branding of your documents. Follow the step-by-step instructions below to insert and customize images and objects within headers and footers:
Inserting images and objects: Use one of the methods mentioned earlier to navigate to the header or footer section where you want to insert the image or object. Click on the insertion point within the header or footer section where you want to place the image or object. The insertion point is represented by a blinking vertical line.
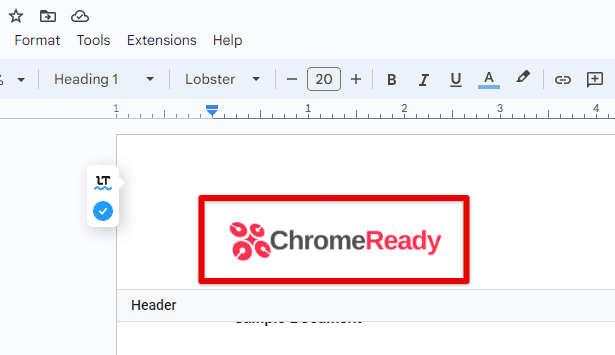
Inserting images and objects
In the menu bar, click on the “Insert” menu. From the options that appear, select “Image” to insert an image from your computer, “Drawing” to create a new drawing object, or “Chart” to insert a chart object. Follow the subsequent steps based on the option you choose:
Inserting an image: Click on “Image” from the Insert menu. Select the Image Source: In the dialogue box that appears, select the source of the image. You can choose from options like “Upload from computer,” “Take a snapshot,” “By URL,” or “From Drive.” Select the appropriate option and follow the prompts to insert the image.
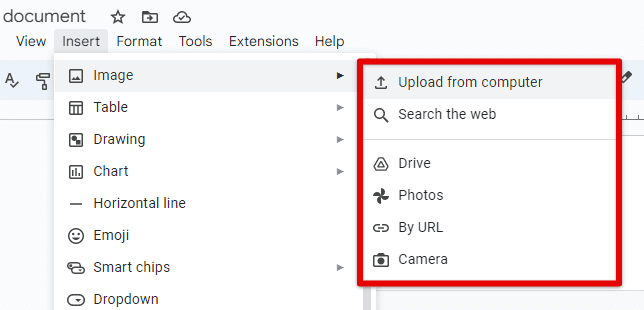
Options for inserting an image
Inserting a drawing object: Click on “Drawing” from the Insert menu. Create the Drawing Object: In the drawing editor, use the available tools to create your desired object. You can draw shapes, insert text boxes, add lines, or include images within the drawing object. Once you’re satisfied, click on “Save and Close” to insert the drawing object into the header or footer.
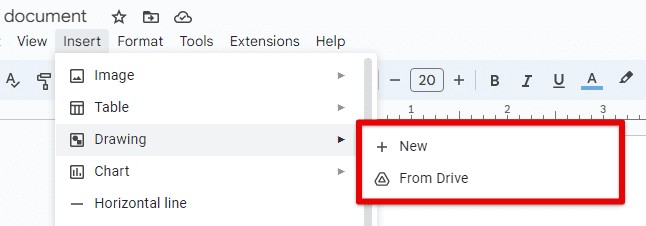
Options for inserting a drawing object
Inserting a chart object: Click on “Chart” from the Insert menu. Create or Import the Chart: In the chart editor, either create a new chart by entering data or import an existing chart from Sheets. Customize the chart as needed, and once you’re done, click on “Insert” to add the chart object to the header or footer.
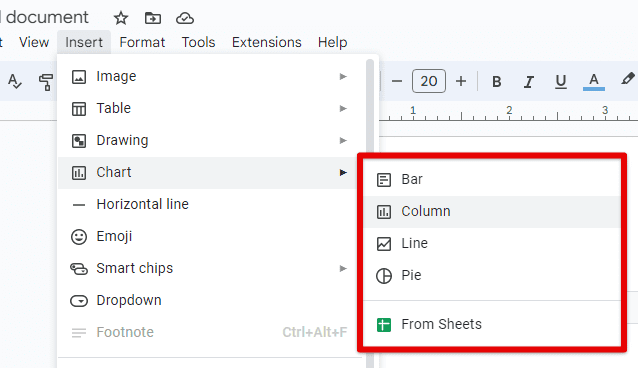
Options for inserting a chart object
Adjust the size, position, and alignment: To adjust the size of the inserted image or object, click and drag the corners or edges of the image or object. Maintain the aspect ratio by holding the Shift key while resizing. Click and drag the image or object within the header or footer section to position it where you desire. Utilize the alignment options available in the menu bar to align the image or object within the header or footer section. You can align it to the left, center, or right.
Formatting and customizing: Click on the inserted image or object within the header or footer section to select it. In the menu bar, click on the “Format” menu to reveal the formatting options. The available formatting options vary depending on the selected image or object. You can modify aspects such as brightness, contrast, transparency, color adjustments, and more.
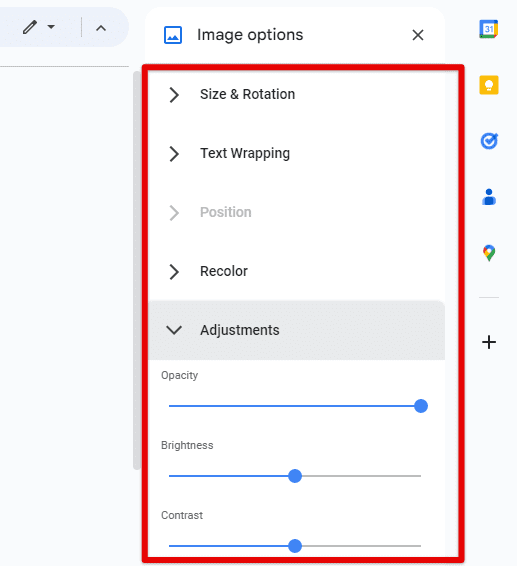
Image formatting in headers and footers
Once you’ve made your formatting selections, the changes will be applied to the selected image or object within the header or footer. If you have multiple images or objects within the same header or footer or across different sections, repeat the above steps as needed.
Creating different headers and footers in sections
It is also possible to create unique headers and footers for different sections of your document, allowing you to customize the content and design based on your specific needs. This can be achieved by utilizing section breaks and configuring separate headers and footers. Follow the step-by-step instructions below to do so:
Understanding section breaks: A section break is a formatting element that divides your document into distinct sections, each with its own formatting properties, including headers and footers. Google Docs offers two types of section breaks:
Continuous section break: This type of section break allows you to create a new section without starting a new page. It maintains the same page layout and formatting.
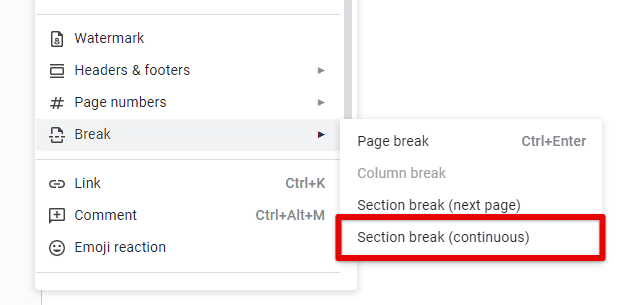
Continuous section break
Next page section break: This type of section break starts a new section on the next page, allowing you to apply different formatting or layouts to the subsequent section.
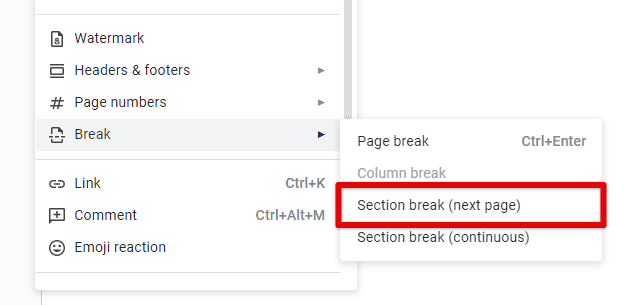
Next page section break
Inserting section breaks: Launch Google Docs and open the document in which you want to create different headers and footers for sections. Place the cursor at the location where you want to insert the section break. This will be the starting point of the new section.
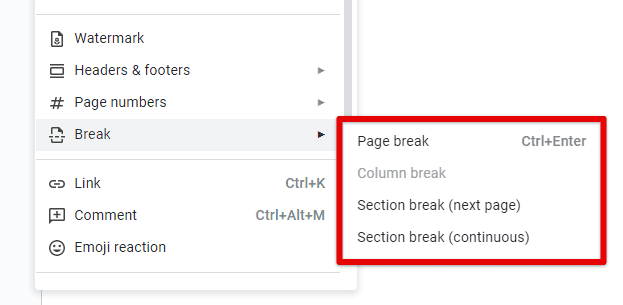
Inserting section breaks
In the menu bar, click on the “Insert” menu. From the options that appear, select “Break” to reveal the different break types. In the submenu, select either “Continuous” or “Next page” depending on your desired section break type. Click on the preferred option.
Setting up different headers and footers: Click anywhere within the section where you want to set up a unique header and footer. This will ensure that the changes apply to that particular section. Use one of the methods mentioned earlier to navigate to the header or footer section. Ensure that you are within the section for which you want to configure a distinct header or footer.
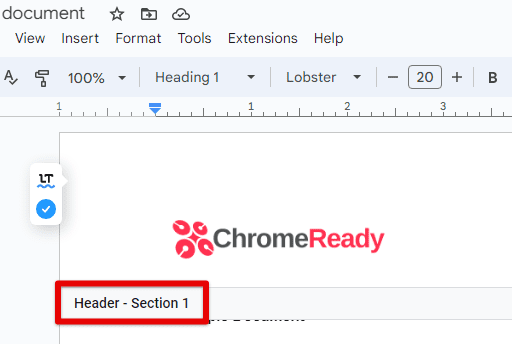
Setting up different headers and footers
Customize the header or footer based on your preferences. You can insert text, images, objects, page numbers, or any other elements specific to that section. To configure different headers and footers for other sections, navigate to each section individually by clicking within the section, and then customize the header or footer as desired.
If you want to adjust the page layout, such as margins or orientation, for a specific section, click anywhere within that section and go to the “File” menu in the menu bar. From the dropdown menu, select “Page setup” and make the necessary changes. This will only affect the selected section and not the entire document.
Using different headers and footers on first page
There is an option to create a distinct header and footer for the first page of your document. This allows you to include unique content or formatting specifically for the initial page, such as a title or author information. Launch Google Docs and open the document in which you want to create different headers and footers. Use one of the methods mentioned earlier to navigate to the header or footer section.
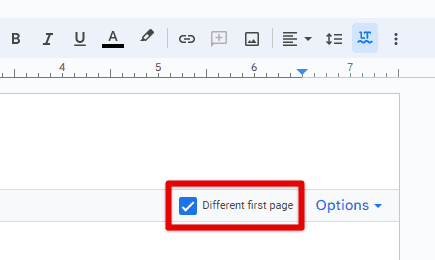
Different first page option
In the menu bar, click on the “Insert” menu. From the options that appear, select “Header & page number” or “Footer & page number” (depending on which section you want to modify). In the submenu that appears, check the box labeled “Different first page.” This setting allows you to customize the header and footer specifically for the first page while keeping the subsequent pages unaffected.
With the “Different first page” option enabled, you can now insert and format content within the header and footer sections exclusively for the first page. Add text, images, objects, or any other elements that you want to include on the initial page.
Note: Any changes made to the header and footer on the first page will not be reflected on the subsequent pages. To set up headers and footers for the rest of the document, follow the instructions provided in the earlier sections of this article.
Setting up headers and footers for subsequent pages: Use one of the methods mentioned earlier to navigate to the header or footer section. Once you are in the header or footer section, make any necessary modifications to the content and formatting for the headers and footers on subsequent pages. This can include inserting page numbers, text, images, or any other desired elements.
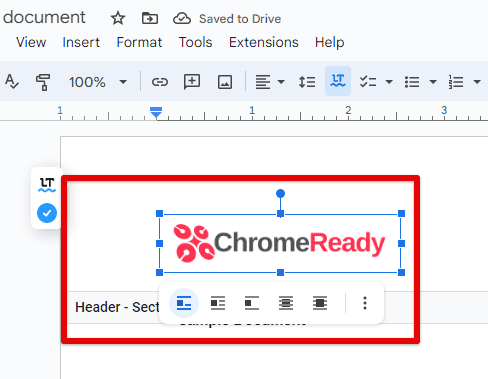
For subsequent pages
If you have multiple sections with different headers and footers, navigate to each section individually and customize the header and footer content accordingly. In case you wish to adjust the page layout, such as margins or orientation, for the entire document (including subsequent pages), go to the “File” menu in the menu bar. From the dropdown menu, select “Page setup” and make the necessary changes. These modifications will apply to all pages except the first page, which has a different header and footer.
Linking across sections
Linking headers and footers across different sections ensures consistency and efficient management of your document. Linked headers and footers allow you to create a seamless flow of content and design elements throughout your document.
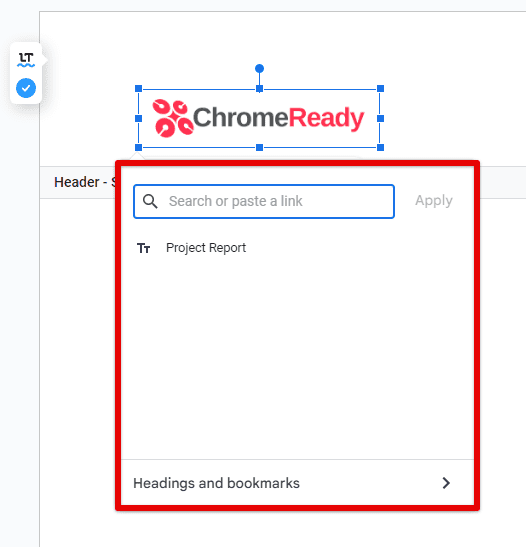
Linking across sections
Linked headers and footers: Linked headers and footers are elements that are connected or synchronized across multiple sections of your document. Any changes made to a linked header or footer in one section will automatically apply to all other linked headers or footers in subsequent sections. The use of linked headers and footers offers several advantages:
Consistency: Linked headers and footers ensure a consistent look and feel throughout your document. Changes made to one instance of a linked header or footer will be automatically reflected in all other linked sections, eliminating the need for manual updates.
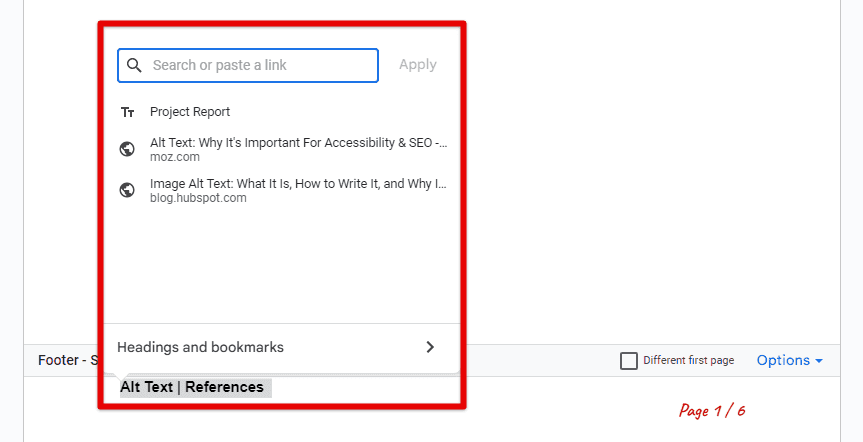
Consistency
Time-saving: By linking headers and footers, you can make changes once and have them applied across multiple sections, saving you time and effort.
Efficient document management: Linked headers and footers simplify the management of complex documents with multiple sections, as they allow for centralized control and easy updates.
Launch Google Docs and open the document in which you want to link headers and footers across sections. Use one of the methods mentioned earlier to navigate to the header or footer section. In the header or footer section, click on the “Link” button located in the menu bar. By clicking on it, you establish a link between the current header or footer and the one in the previous section.
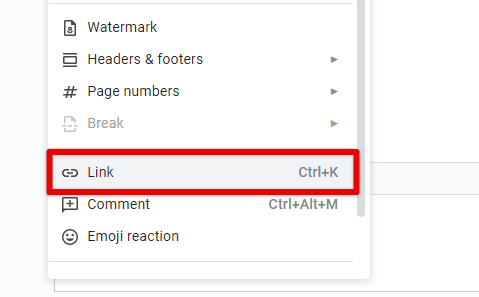
Link button in the menu bar
After clicking on the “Link to Previous” button, a gray line will appear below the header or footer, indicating that the link is active. This line serves as a visual confirmation that changes made to the linked header or footer will be applied to subsequent sections. Make any desired changes to the header or footer content, formatting, or design. These changes will be automatically reflected in all other linked headers or footers in subsequent sections. If you have additional sections with headers or footers that you want to link, navigate to each section individually and repeat steps b to e to establish the link.
Conclusion
Mastering the art of creating and customizing headers and footers in Google Docs is an essential skill for anyone looking to enhance the structure, readability, and professionalism of their documents. Throughout this article, we have explored various aspects of working with headers and footers, including their definition, purpose, customization options, and advanced features.
To address more complex document needs, we discussed creating different headers and footers in sections. This involved understanding section breaks and implementing unique headers and footers for each section. By harnessing the power of headers and footers in Google Docs, you can elevate the visual appeal and organization of your documents. So go ahead, unleash your creativity, and make your documents stand out with compelling headers and footers in Google Docs.
