This will be a comprehensive guide on importing and exporting files in Google Docs. Google Docs is a popular cloud-based word-processing software that allows users to easily create, edit, and collaborate on documents. One of its key features is its ability to import and export files from various formats. When you have to work on a document with colleagues who use different software or need to convert a file into other formats for personal use, Google Docs has got you covered.
In this guide, we will provide a detailed overview of different import and export formats supported by Google Docs and provide step-by-step instructions on moving around files from this platform. We’ll also share some best practices to ensure a seamless experience working with different file formats. So, let’s get started right away!
Google Docs import and export
Google Docs is a cloud-based word-processing software that allows users to create, edit, and collaborate on documents online. One of its key features is its ability to import and export files from various formats, making it a versatile tool for those who regularly work with different types of documents.
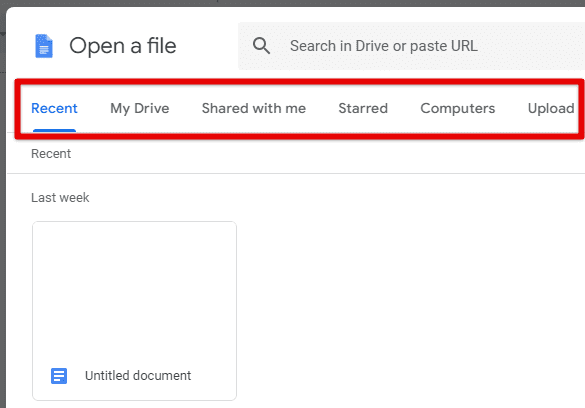
Google Docs import and export
Docs support a wide range of formats for importing, including MS Word, PDF files, plain text, and more. This allows users to bring in documents from different sources and work on them within the Docs environment. Google Docs also allows importing spreadsheets and presentations, which can be helpful while working with data and visual aids.
The same is the case with exporting files as well. Google Docs lets you export your documents into native MS Word format, PDF files, HTML files, and many others. This allows users to export their documents in a format most suitable for their needs and requirements, whether for sharing with colleagues, printing, or uploading to a website.
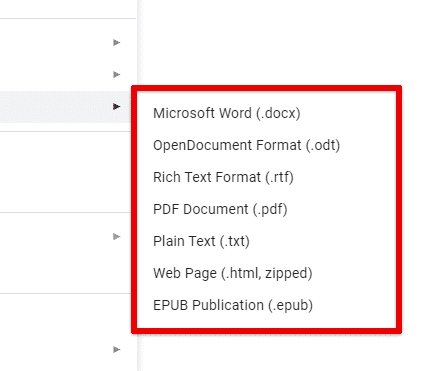
Exporting documents from Google Docs
The import and export capabilities of Google Docs make it a helpful platform for working with different types of files. Having the ability to convert files between various formats seamlessly, users can save time and effort while ensuring that their documents are easily accessible and shareable with others. This makes Google Docs a comprehensive formatting tool that meets the needs of modern document workflows.
Supported import formats in Google Docs
As described earlier, you can import various file formats in Google Docs. This enables users to bring in documents from various sources and work on them within the Docs environment. Following are the file formats that are currently supported for importing in this service:
MS Word (.doc, .docx): Google Docs can easily import Word documents, retaining most formatting and layout, including images, tables, and footnotes. This is probably one of the most widely used and standard file formats for importing and exporting documents in Google Docs.
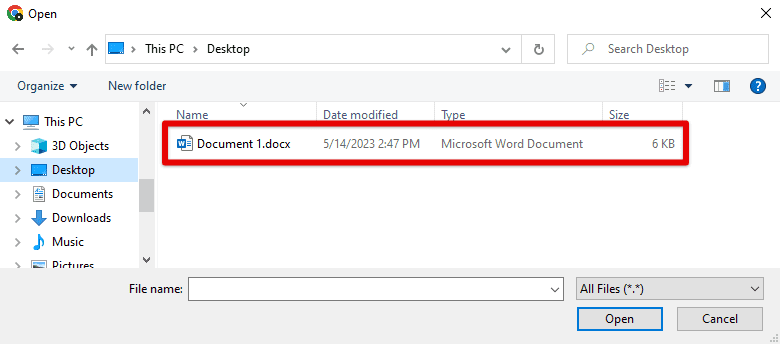
Importing MS Word documents
Portable Document Format (.pdf): PDFs can be imported into Google Docs, although the formatting may not be retained. Text in PDF files is usually converted to plain text, and images and other elements may need to be added manually afterward.
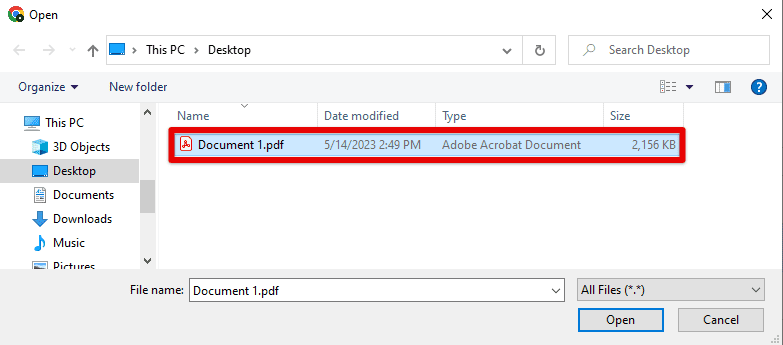
Importing PDFs
Plain Text Files (.txt): Google Docs also supports the import of simple text files, which is helpful for users who need to work with raw text without any formatting whatsoever.
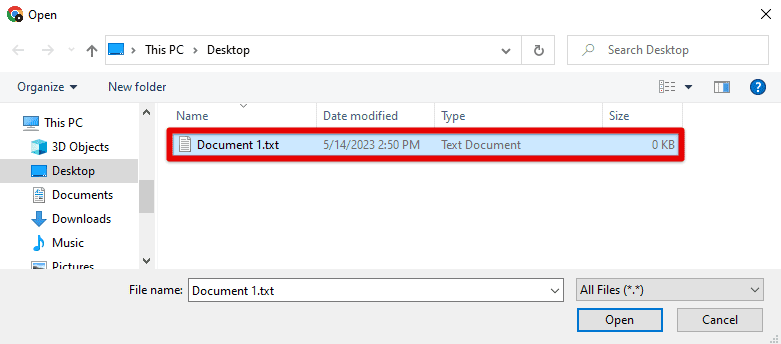
Importing plain text files
Rich Text Format (.rtf): You may import RTF files commonly used for cross-platform document sharing.
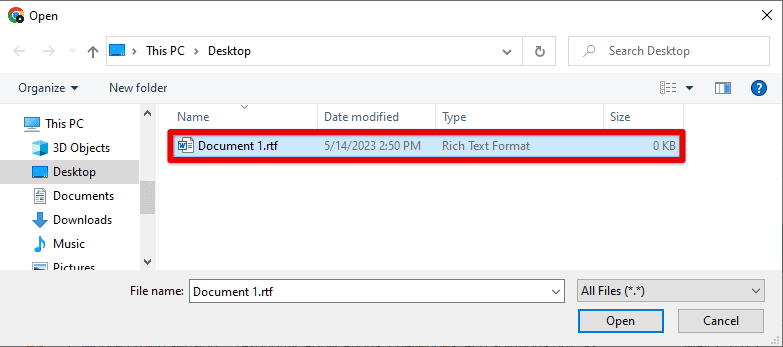
Importing rich text format
OpenDocument Format (.odt): ODT is an open-source file format used by several word processing software, including LibreOffice and OpenOffice. Google Docs can import ODT files, although some formatting may be lost in the process.
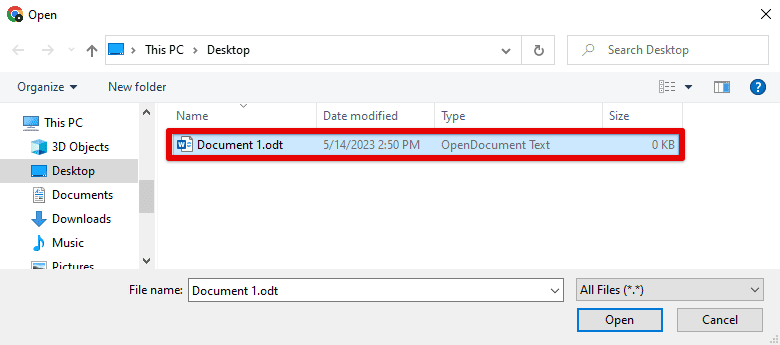
Importing open document format
HTML Files (.html, .htm): Google Docs also lets you import HTML files. You might need this for creating web content or working with HTML codes.
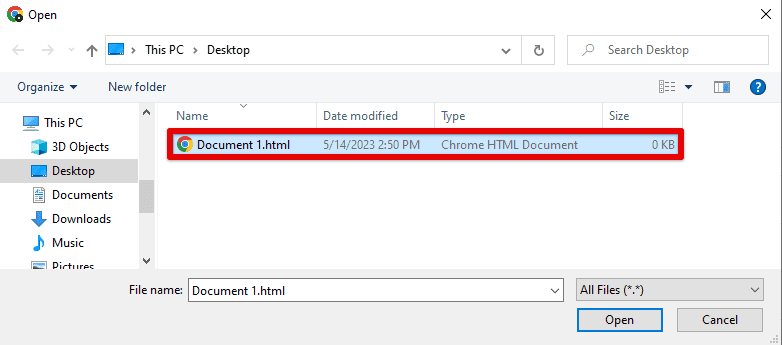
Importing HTML files
EPUB Files (.epub): EPUB is another popular file format used for eBooks worldwide. You can import EPUB files as is in Google Docs.
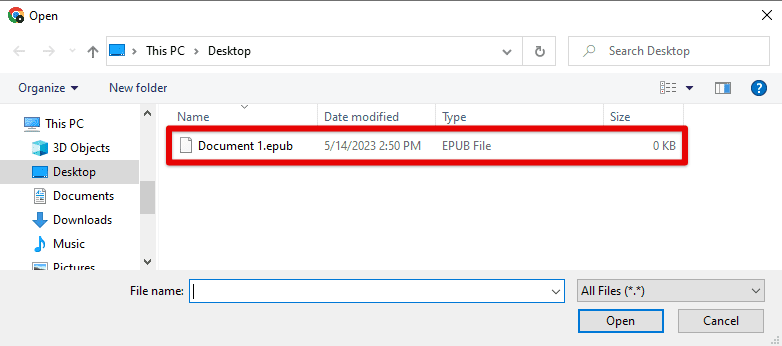
Importing EPUB files
Markdown Files (.md): Google Docs supports importing Markdown files, a lightweight markup language used for formatting text on several different platforms.
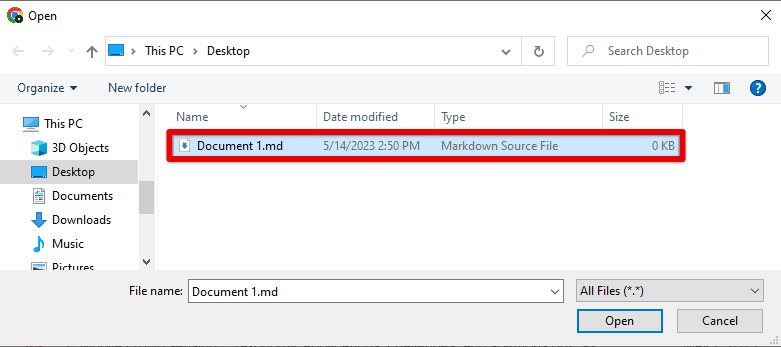
Importing markdown files
CSV Files (.csv): CSV is your go-to file format if you are storing and working with data in spreadsheets. Docs lets you import CSV files while retaining most of their inherent formatting in tables.
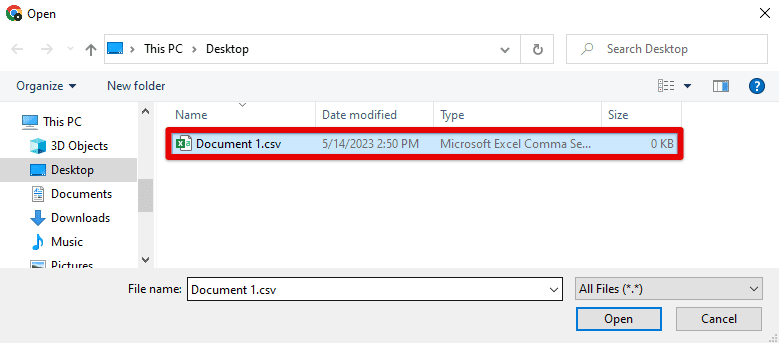
Importing CSV files
The supported import formats provide users with many options for bringing in existing documents. This also enables you to work effectively with colleagues and team members who use various software. Word processors are a great tool to build upon your creating and editing methods, but typing errors have always been a frustrating distraction from this process. Our detailed article on customizing autocorrect and text replacement in Google Docs is here.
Importing files from MS Word
Following is a step-by-step guide on how to import Word documents into Google Docs. First, open Google Docs and create a new document or open an existing one. Next, click “File” in the top left corner of your screen.
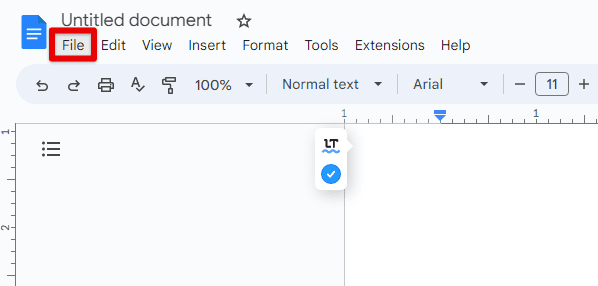
File tab in Google Docs
From the dropdown menu, select “Open” and then go to “Upload”.
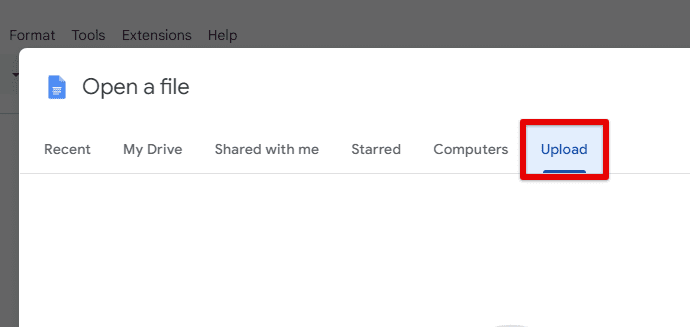
Uploading a new file in Google Docs
You will then be prompted to select the Word document you want to import. Navigate to the location where the Word document is saved on your computer and select it.
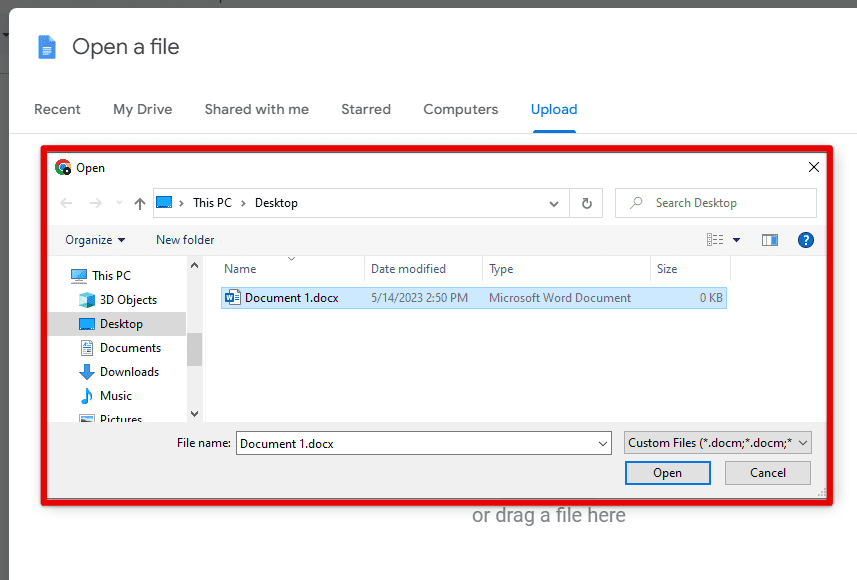
Uploading MS Word document in Google Docs
Once you select the file, click “Open” to start the upload process. Google Docs will then convert the Word document into a Docs file, and you can view and edit it within its environment. If you want to change the document, you can use Google Docs’s editing tools. You can also add comments and suggestions for other collaborators to view and respond accordingly.
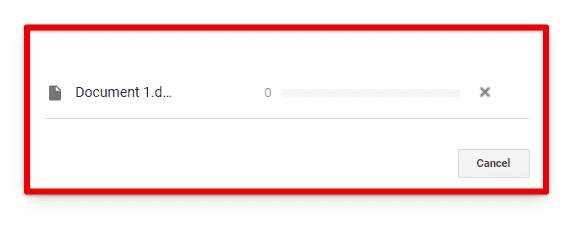
Uploading the document
Note: Some formatting and layout may not be retained when importing Word documents into Google Docs. Google Docs will do its best to maintain the original formatting, but it may not always be perfect. Therefore, it’s generally a good idea to review the document and make any necessary adjustments after the upload has finished. Doing so makes sure that it looks the way you want it to.
Additionally, some features that are available in Word may not be available in Google Docs. Word has a more extensive selection of fonts and formatting options. While Google Docs has many of the same features, some may be slightly different or unavailable.
Importing PDFs and images
Google Docs supports the import of PDF files and images, which can be helpful for those who need to work with scanned documents or graphics. Following is a step-by-step guide on how to import PDF files and images into Google Docs:
Open Google Docs and create a new document or open an existing one. Click on “File” in the top left corner of the screen. From the dropdown menu, select “Open” and then go to “Upload”.
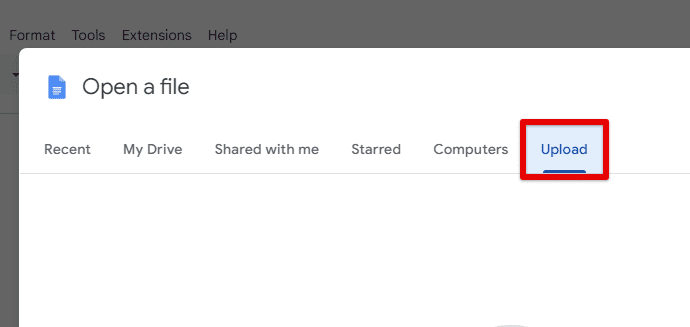
Uploading a PDF in Google Docs
You will be prompted to select the PDF or image file you want to import. Navigate to the location where the file is saved on your computer and select it. Once the file has been selected, click “Open” to start uploading. Google Docs will then convert that PDF or image into Docs, and you can view and edit it within its environment. If you want to change the document, you can use Google Docs’s editing tools. You can add text boxes and annotations for image files to provide additional context or information.
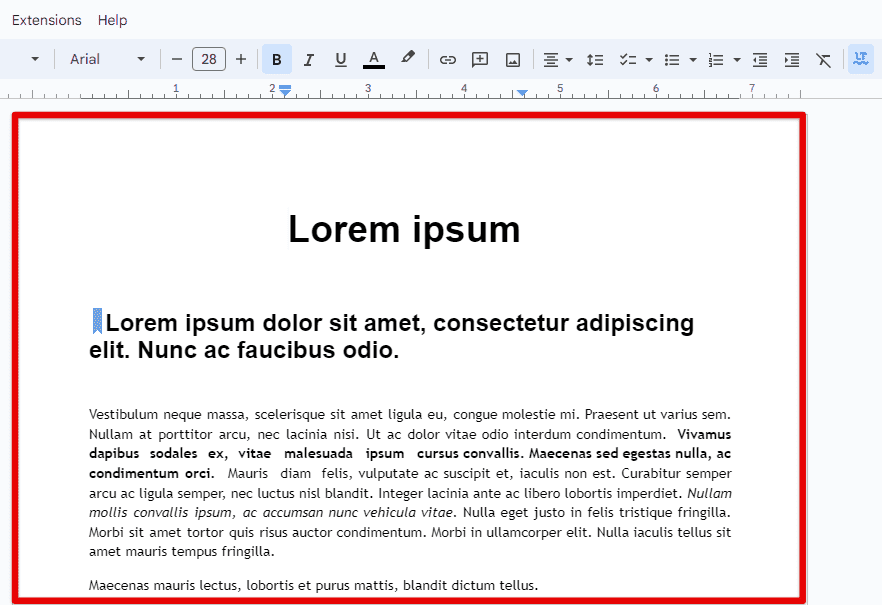
Editing the imported PDF
Note: PDF files are typically converted to plain text, and images may need to be manually added after the upload. Additionally, if a PDF contains scanned images, the quality may not be as good as the original. The text, which is mainly recognized and is editable in the native format, gets transformed into a plain image in Google Docs.
You must use the “Open with” feature in Google Drive to import PDF files with editable text. Right-click on the PDF file, select “Open with” and then choose “Google Docs”. Doing so opens up the PDF in Google Docs, while maintaining the formatting as required.
Importing spreadsheets and presentations
Google Docs enables you to import spreadsheets and presentations inside its environment. This can be useful for working with data or creating visual aids. Following is a detailed guide on how to import these file formats into Google Docs:
Importing spreadsheets:
Open Google Docs and create a new document or open an existing one. Click on “File” in the top left corner of the screen. From the dropdown menu, select “Open” and then go to “Upload”.
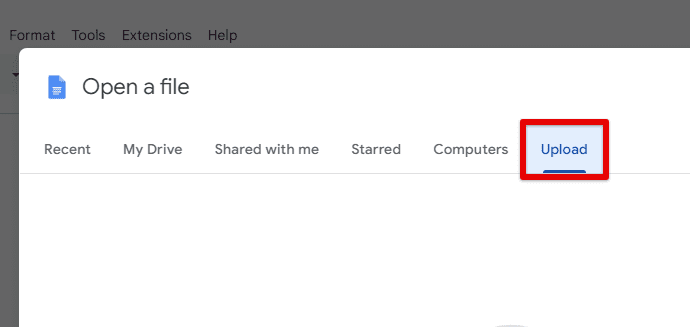
Uploading a spreadsheet in Google Docs
You will be prompted to select the spreadsheet file you want to import. Navigate to the location where the file is saved on your computer and select it. Once you choose the file, click “Open” to start the upload process.
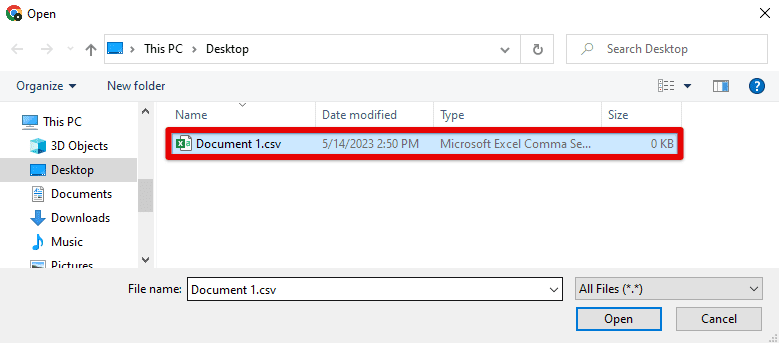
Starting to upload the spreadsheet
Google Docs will convert the spreadsheet into a tabular format, and you can view and edit it as regular word tables. If you want to make any changes to the contents of that spreadsheet, you can do so by using the editing tools for tables. You can add formulas, charts, and other visualizations to the data.
Importing presentations:
Open Google Docs and create a new document or open an existing one. Click on “File” in the top left corner of your screen. From the dropdown menu, select “Open” and then go to “Upload”.
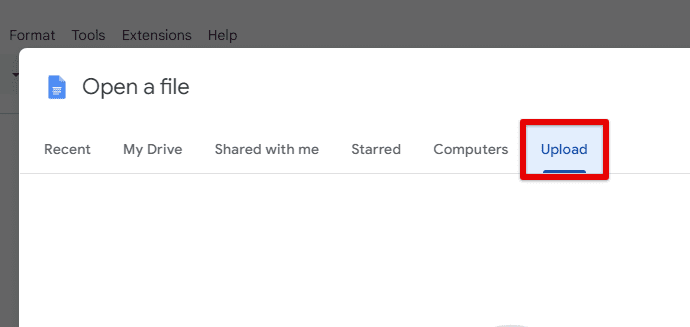
Uploading a presentation in Google Docs
You will then be prompted to select the presentation file you want to import. Navigate to the location where the file is saved on your computer and click on it. Once you choose the file, click “Open” to start the upload process. Google Docs will convert that presentation into images; you can view and edit them with built-in tools.

Editing the imported presentation
You can also add new slides, change the look of existing images, and add other effects.
Note: Most of the features in Excel or PowerPoint will not be available in Google Docs since a word processor does not inherently support these file formats. Although, you might still find the cross-format support helpful for shifting between the two programs.
Supported export formats in Google Docs
Like importing stuff, Google Docs also supports several file formats for exporting documents. Following are the most common formats in which you can download Google Docs files:
MS Word (.docx): This is the default format for MS Word documents. By exporting to this format, you can easily share your Google Docs with colleagues who use Microsoft Office or Word in particular.
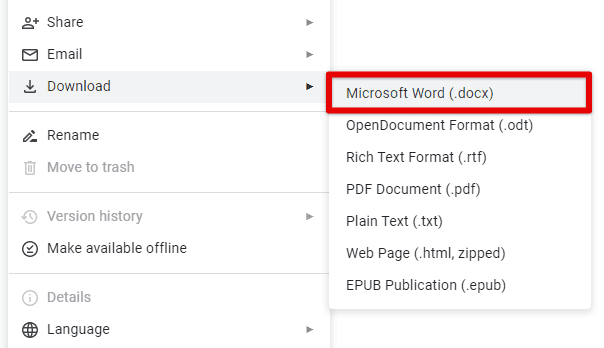
Exporting as MS Word
PDF (.pdf): PDF is a widely-used format for sharing documents that need to be printed or shared electronically while preserving the formatting.
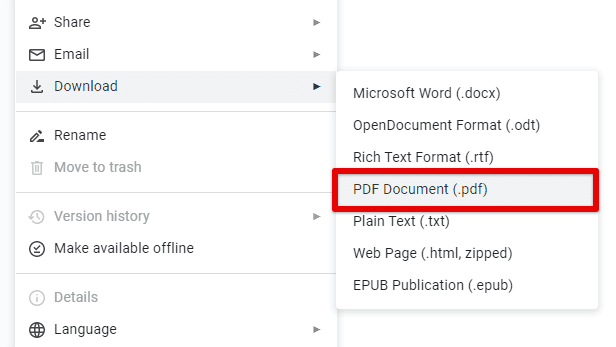
Exporting as PDF
Rich text format (.rtf): RTF is a format used to exchange text between different word processing programs. It offers a simple arrangement that several other programs can open.
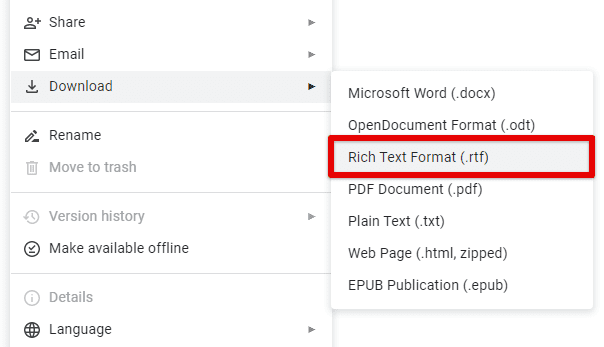
Exporting as rich text format
Web page (.html, zipped): HTML is the language used to create web pages. By exporting your Google Docs documents to HTML or zipped formats, you can easily embed them on a website or blog.
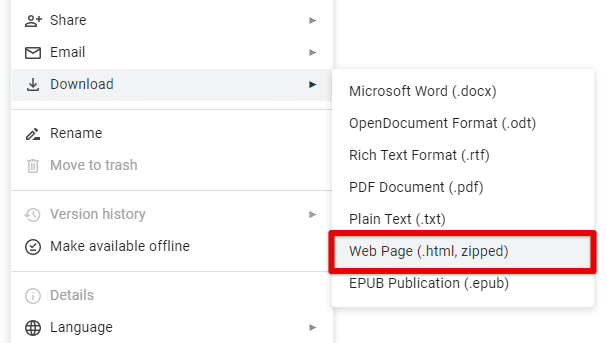
Exporting as the web page
OpenDocument text (.odt): As described earlier, ODT is an open-source format used by many word processors, such as OpenOffice and LibreOffice.
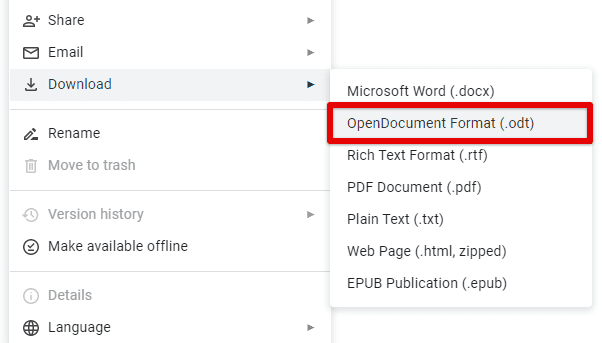
Exporting as open document text
EPUB (.epub): EPUB is mostly employed for e-books. By exporting your Google Docs to EPUB, you essentially create an e-book that can be read on various devices that inherently support this format.
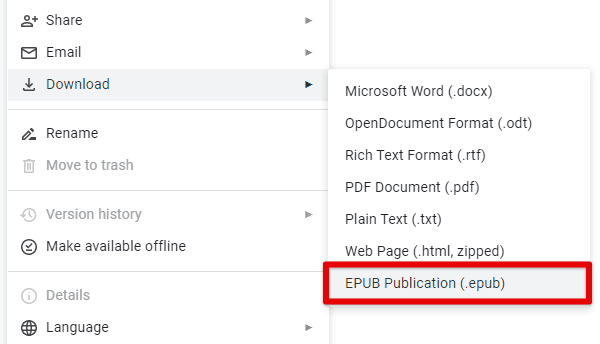
Exporting as an EPUB publication
Plain text (.txt): Documents are exported as plain text when no formatting is to be maintained. You can then use the exported text in different placeholders without worrying about source configuration.
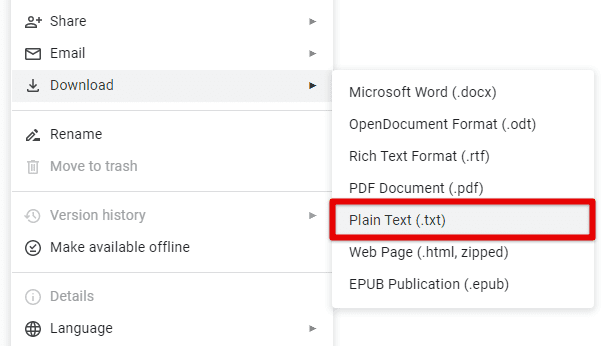
Exporting as plain text
Exporting a Google Docs document to any of these formats is relatively easy. Just open the document you want to export. Click on “File” in the top left corner of the screen. From the dropdown menu, select “Download”. Choose the format you want to export from the list of available options. The document will then be downloaded instantly in the chosen format.
Exporting Google Docs to MS Word
Word documents are probably the most widely used export format for Google Docs. This has been the case since ever because both of these programs correspond to each other’s features quite well.
To do so, open the Google Docs document you want to export. Click on “File” in the top left corner of your screen. From the dropdown menu, select “Download”.
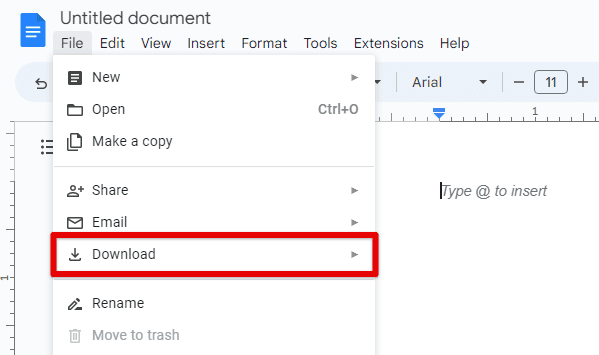
Downloading a document from Google Docs
Choose “Microsoft Word (.docx)” from the list of available options. The document will be downloaded instantly in the .docx format. Until recently, Google also included support for .doc, but it is no longer the case. If you want the file to be in .doc, there is no other option but to convert it after the download manually.
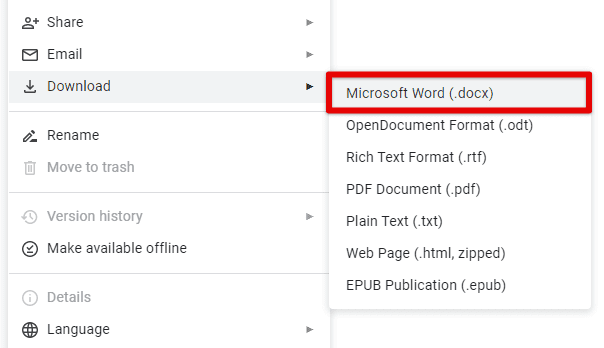
Downloading as MS Word document
Now that you have the Word document, it’s important to note how the formatting might have been affected. Following are a few considerations to keep in mind:
Fonts: Google Docs may use fonts that are unavailable or installed in your MS Word. When you open the document, it may default to a different font altogether.
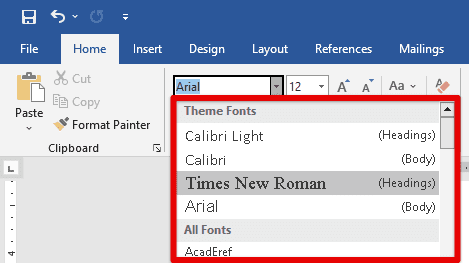
Fonts
Tables: If your Docs file contains tables, some formatting may be lost when you export to Word. It’s a good idea to double-check your tables in Word and make any necessary adjustments. Have you ever created a long-form document? You would know how challenging it can be to navigate its contents. Learn how to create a table of contents in Google Docs.
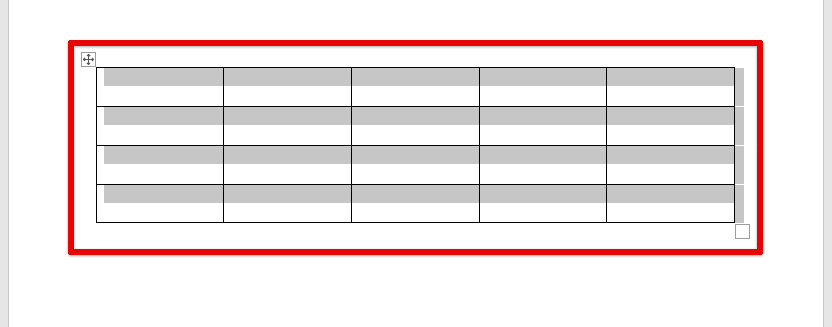
Tables
Images: Images may not be positioned the same way. Also, if you had some custom borders or paddings enabled, they will most likely be removed.
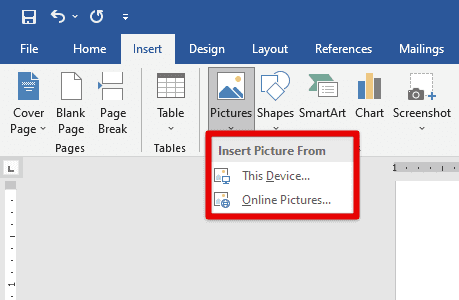
Images
Footnotes and endnotes: You must manually recreate them in MS Word unless they were added in as regular text in the first place.
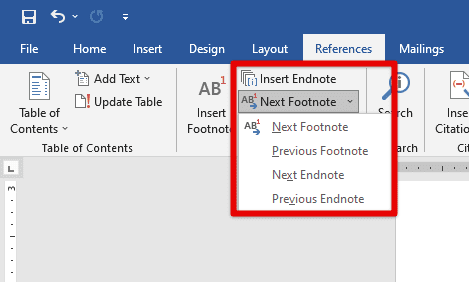
Footnotes and endnotes
While considering these considerations, you are now ready to successfully export Google Docs to a Word document with minimal formatting issues.
Selecting the right export format
When exporting a Google Docs document, select the correct format so that the exported file meets your needs and preferences. Following are some tips and best practices for doing so:
Check formatting: Before exporting a Google Docs document, it’s imperative to check the formatting. Ensure that the document looks how you want it to and that there are no errors or formatting problems. If there are any issues, consider fixing them before you proceed with the export.
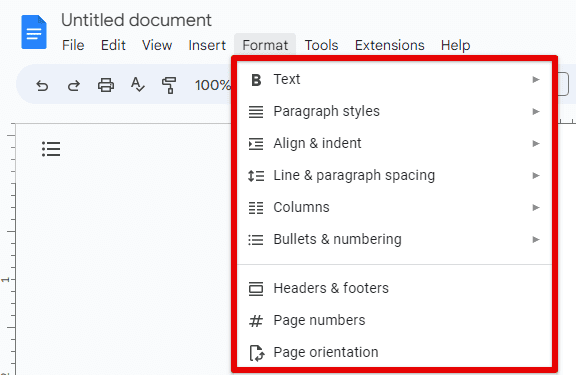
Google Docs formatting
Consider the purpose: When selecting an export format, consider the purpose of the exported file. If you’re sharing the file with others who use Microsoft Word, exporting it to a Word document may be best. If you share the contents on a website instead, exporting to HTML may be the best option. You can also select publishing to the web directly.
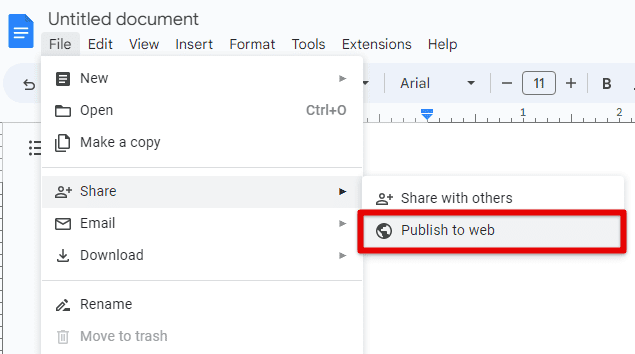
Publishing to web
Think about compatibility: Consider the compatibility of the exported file with the software and devices used to view it. PDFs are usually the best option when you’re exporting a document to be viewed on a mobile device, as they can be easily managed irrespective of screen dimensions.
Pay attention to file size: Different file formats can result in different file sizes. If you’re sharing the file via email or other online platforms, keep in mind the exported file size, as most cloud-based accounts have limits.
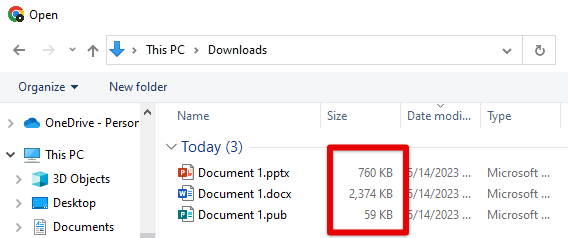
File size
Remember specific requirements: While sharing the exported file with others, do not forget any particular requirements. Let’s say you are sharing a document with a publisher. They may have specific formatting requirements that must be followed at all times. In such cases, you are better off creating the document in its native format instead of exporting it from Google Docs.
Conclusion
Google Docs offer many import and export options in terms of supported formats. It lets you deal with PDFs, plain text, HTML, rich text format, EPUBs, and, most importantly, Word documents. By following the steps and considerations outlined in this guide, you can now easily import and export these formats while ensuring that the exported files look and function the way you want them to. Having superior flexibility and a variety of support, Google Docs enables seamless compatibility with all formats mentioned above. Are you facing security issues, or are you concerned about the privacy of your documents? Learn how to password-protect and encrypt Google Docs.
