Have you been meaning to use your Chromebook as a media server but finding it difficult for things to follow through? We wouldn’t blame you since your options are limited on ChromeOS. With that being said, there are still specific workarounds that you can pursue to accomplish the task at hand.
Your solutions revolve around utilizing a dedicated Google Play Store app called Media Server, followed by using Plex—the popular media streaming platform. Last but not least, you can use Google Drive to your advantage by generating a download link for relevant media.
This guide will explain these three methods to start using your Chromebook as a media server. Let’s get started right away.
Using ChromeOS as a media server
Since ChromeOS lacks dedicated drivers and isn’t compatible with the same file types as Windows, you cannot set up a media server on Chromebooks like you would on a Windows PC. In addition, media servers are dedicated devices that must be bought separately to be set up and work at a high success rate.
Chromebooks, of course, cannot have such functionality on that scale but can allow you to share multimedia content with other devices, such as televisions and other appliances, over a specific server. This can be done with the help of an Android app that you can download from your Chromebook’s Google Play Store.
Among that options are a couple of others, outlined in the subsections ahead accordingly. Make sure to follow the instructions carefully for favorable results.
Option #1. Using the Media Server Play Store app
First, we’ll try our hand at the Media Server application found on the Google Play Store, install it on our Chromebook, and verify how it operates. But before we proceed, it’s worth checking whether your device supports Android app compatibility if you haven’t ever used the Play Store feature on it.
Our guide on Chromebooks that run Android apps can help you out in that regard if you’re sporting a dated Chromebook model manufactured before 2018. Furthermore, some users may have compatible Chromebooks but have yet to activate the Google Play Store. Make sure to check that out to proceed smoothly.
The steps outlined will guide you in installing the Media Server app on your Chromebook.
1. Begin by opening the Google Play Store app on your Chromebook. This can be done via the ChromeOS launcher or from the shelf if the app has been pinned there.
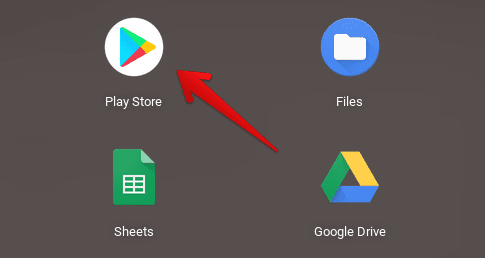
Opening the “Google Play Store”
2. The next step is to use the in-app search bar to look for the Media Server app. Type away the app’s name and press the “Enter” key. That should take you straight to the program at hand’s official app page on Play Store.

Searching for Media Player on Google Play
3. You should now be able to install the application immediately by clicking the vividly apparent “Install” button. However, depending on your internet connection’s speed, the download can take some time, so sit tight until you’re notified about the installation’s success.

Installing the Media Server Android app on ChromeOS
4. The Media Server app will be installed on your Chromebook momentarily now. Check out the launcher area for the tool when the process wraps up. You’ll be able to launch it from there quickly in the future.
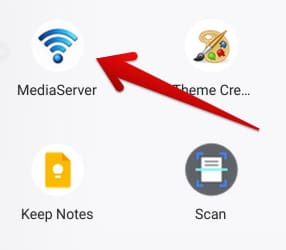
The Media Server app installed on ChromeOS
As the software marks its presence on the device, start immediately to start using your Chromebook as a media server. When you first launch the tool, Media Server will ask for the required permissions for it to run. Once you go through the section, the next step is to toggle the files you want to add to your forthcoming server.
For this purpose, you can sift through the available options and choose from the folders on your Chromebook. Then, simply or disable them to move forward. The app will also categorize the files available on the device’s local storage, so you can enjoy greater convenience in deciding which data will get streamed to the server.
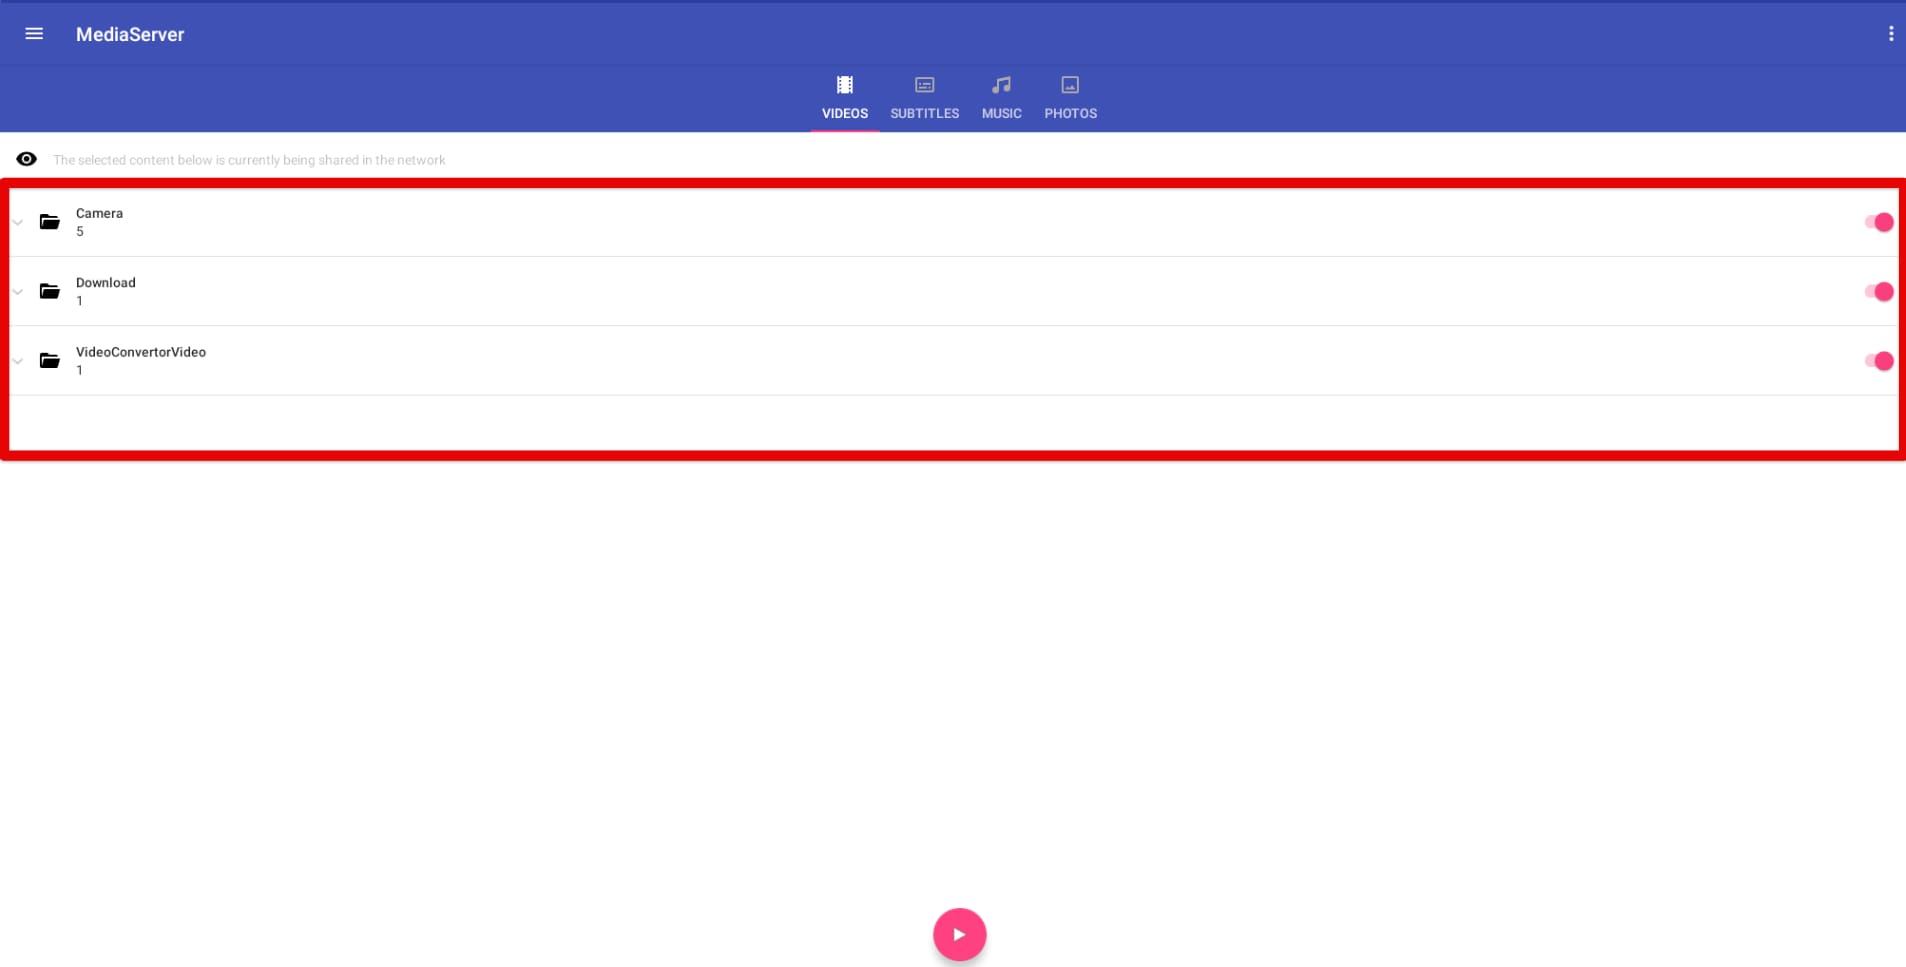
Toggling the files for sharing
When you’re finished deciding, get to the next step by clicking the “Play” button at the bottom of the screen. That will prompt the Media Server app to commence the streaming process with any client using UPnP or DLNA protocols.
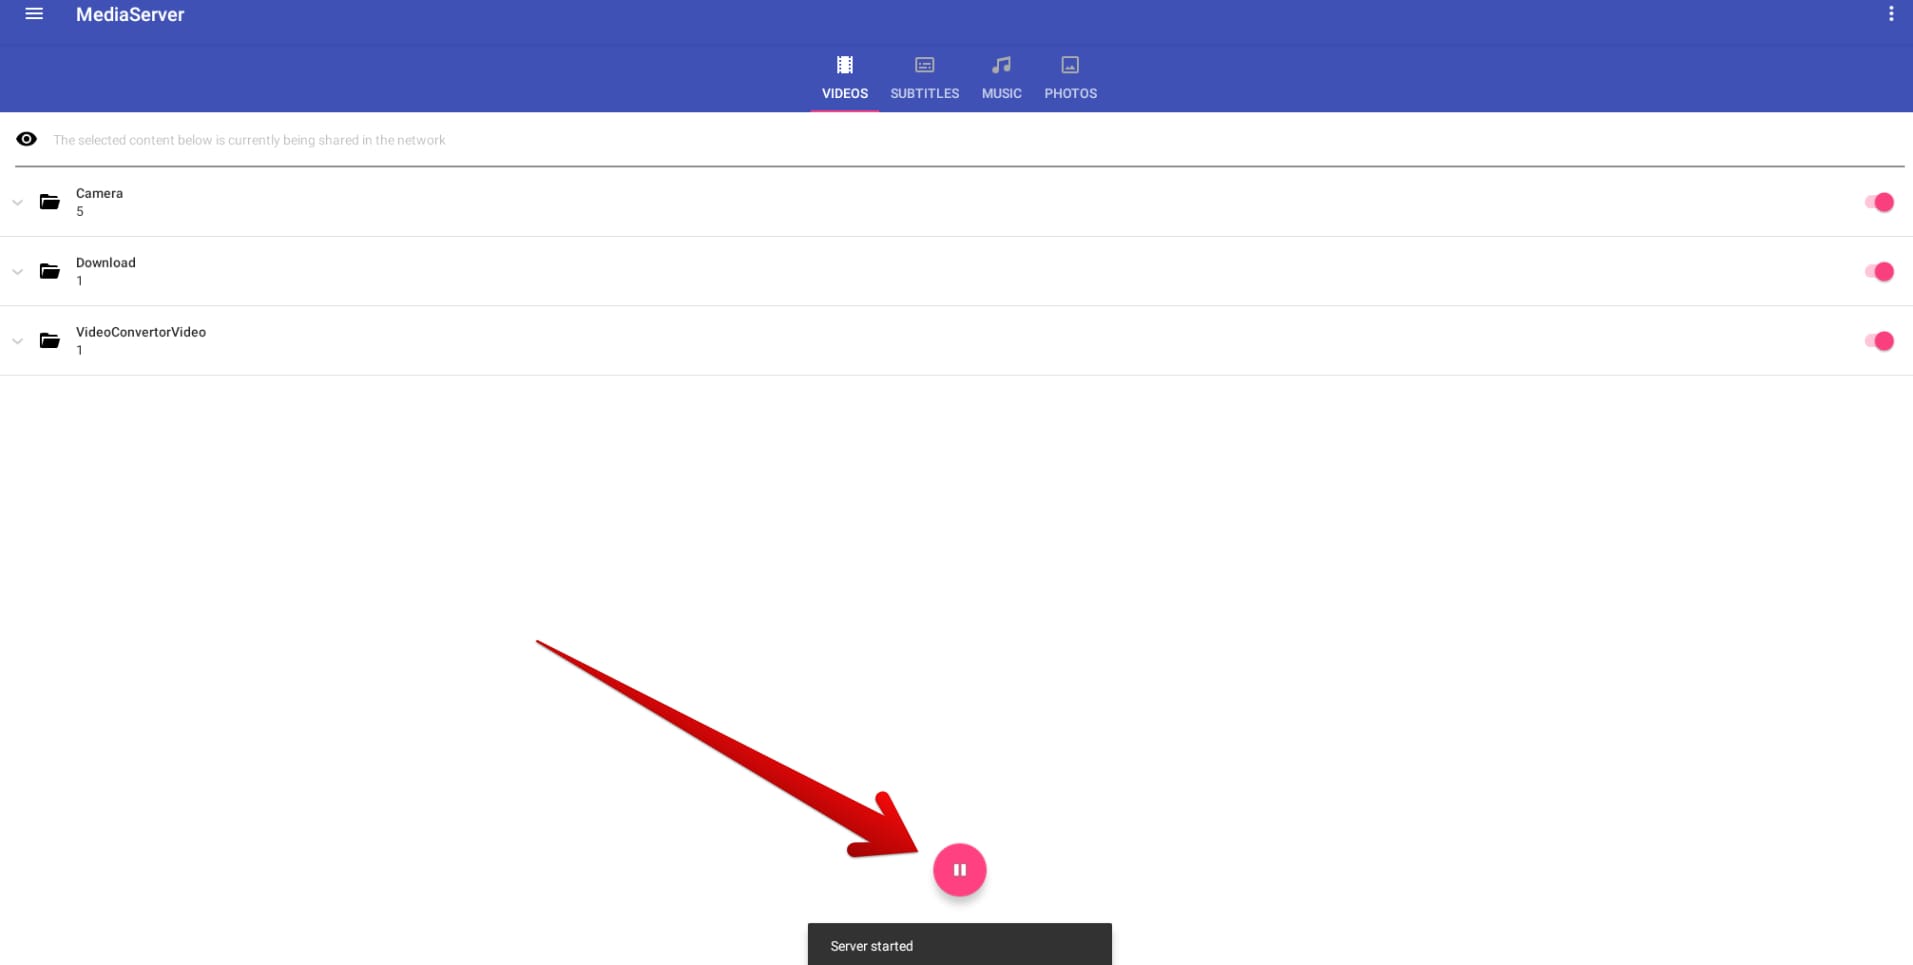
Starting the server
After you activate the server, any DLNA-compatible device nearby will start picking up the signal, allowing you to form a stable connection afterward. Do, however, wait until 10 seconds before the server appears on the device that you wish to access the server on.
The developer offers some troubleshooting tips in case things don’t work out smoothly. For starters, it’s advised to deactivate and then reactivate the server with the help of the “Play” and “Stop” buttons in the Media Server application to make the server show up on other devices.
Additionally, you should check the UPnP configuration of the router and authenticate whether it’s been toggled on in case the app isn’t working. This internet standard revolves around the intercommunication between devices connected to the same connection, so it’s worth digging more into it.
Moreover, files you cannot see on your Chromebook won’t work with Media Server either. File compatibility is a must on both ends, so it’s pointless to dodge this shortcoming on ChromeOS with the help of the software—it just won’t work.
Option #2. Downloading Plex
Plex is yet another glaring option when using ChromeOS as a media server. It’s a well-reputed media streaming platform that comprises a vast catalog of movies, television shows, live television, and a gigantic bundle of channels for users to get into. The Plex app has over 10 million downloads on the Play Store alone.
Now, downloading and installing Plex from Google Play isn’t enough to get you going with using the Chromebook as a media server. You will still require the mainline Plex Media Server app installed on your Windows PC for this procedure and a paid subscription to the streaming platform, which is about $4.99 monthly.
Once you take care of those parameters, you will grab the Plex Android app on your Chromebook from the Google Play Store. To sort that out, head to the Play Store app and look for “Plex” using the in-app search bar. Once done and dusted, you’ll be taken straight to the program.
Click the “Install” button on the app page to download the streaming app. Depending on your internet’s speed, the download can take a bit, so sit tight. You can scroll through some of the other Play Store offerings, such as the best painting apps and video players for your Chromebook.

Installing the Plex app on ChromeOS
As soon as the installation wraps up, head to the launcher area, and you’ll find the Plex app installed there. Launch it to catch the program in action and use it as a media server.
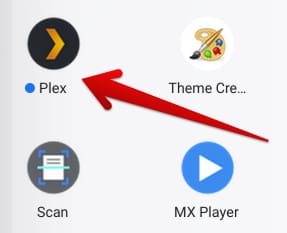
Plex installed
After starting Plex, you must first sign in with an existing account or register for a new one. Both options are doable since Plex allows you to create a new account by integrating with your Google or Facebook account, but choose the one that suits you the best.
Once you arrive at the app’s home page, click the “More actions” button in the top-right corner of the screen to reveal the “Activate Plex” option. Clicking on it will make an overlay appear on the screen, allowing you to purchase the paid subscription to the program and unlock the media server application.
Sign in with a relevant account if you’re already subscribed to the service. Acquiring the Plex Pass should be able to take off the constraints from the application and allow you to relish it in a full-blown manner, first unlocking access to the media server that you’ve already set up on a Windows PC and next letting you download your content easily.
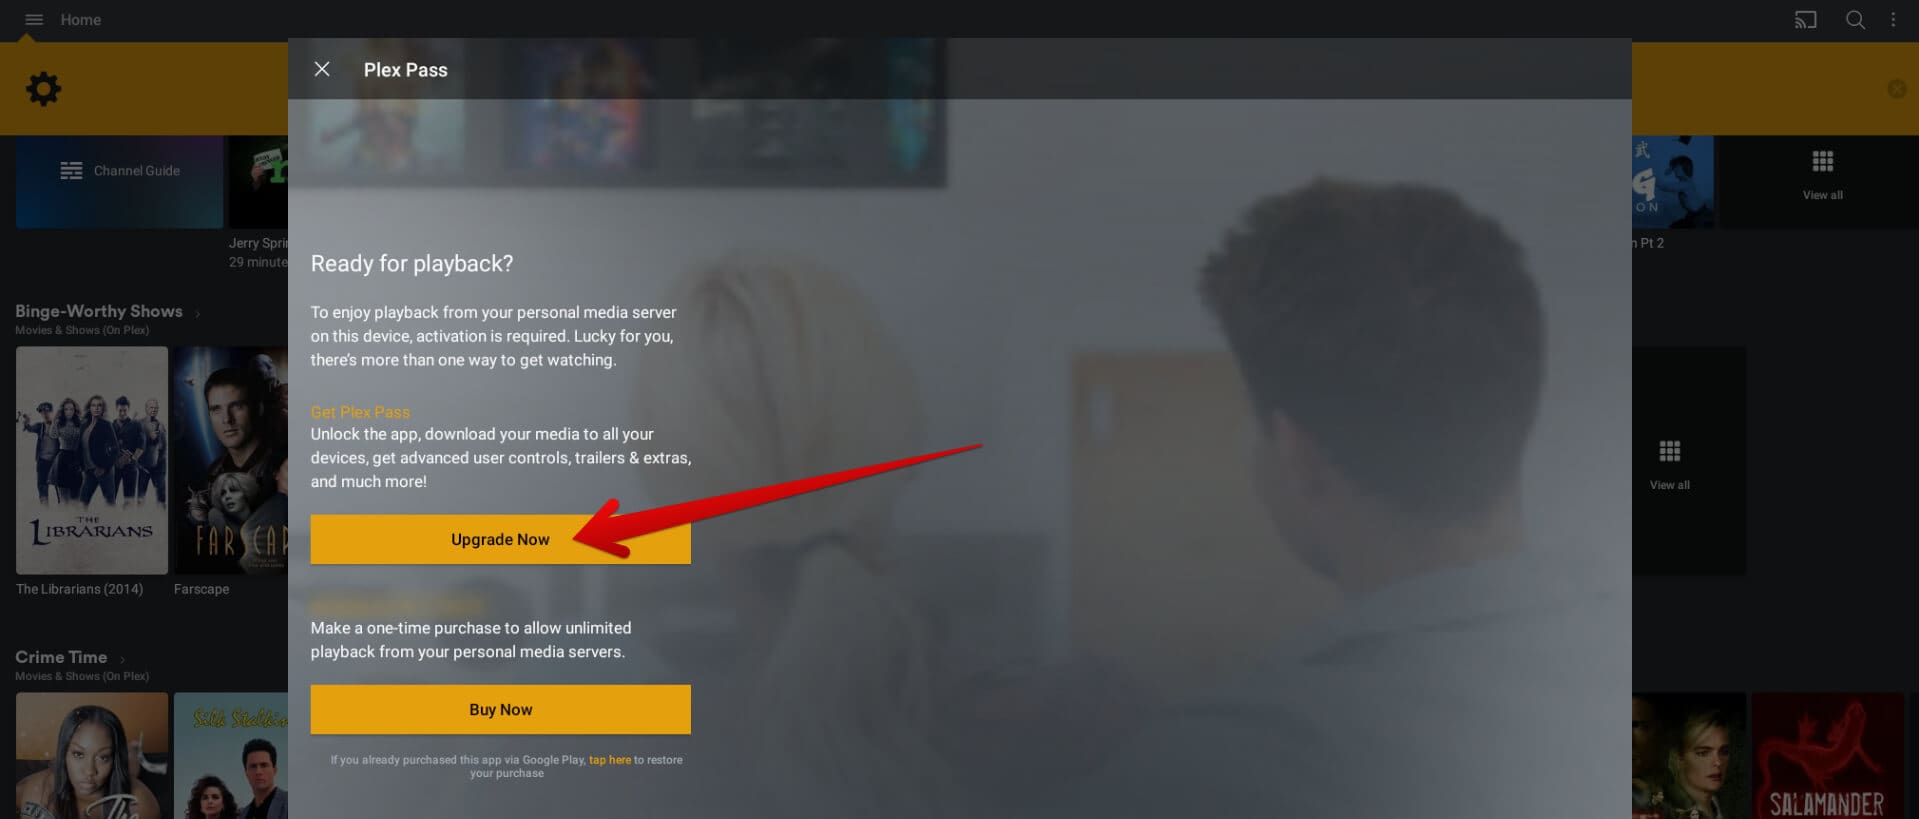
Upgrading to Plex Pass
An alternative to sharing your content: Try Google Drive
Although this option does not explicitly relate to using your Chromebook as a media server, Google Drive can help you get your content around by generating a download link. To do that, you must create an album in Drive first, load it with content you wish to share with others and set a privacy link to it.
A new album can be created by tapping the “New” button in the upper-left section of Drive’s interface. Once done, more options will surface on the screen, allowing you to choose either “File upload,” “Folder upload,” or “New folder.” You can opt for any of these options and follow things up accordingly.
Once you’re done creating a new folder and pumping it full of content, right-click the created entry for more actions. Then, choose “Get a link,” and an overlay will surface on the screen. Make sure to switch to the editorial access beforehand to avoid any potential problems in the future.
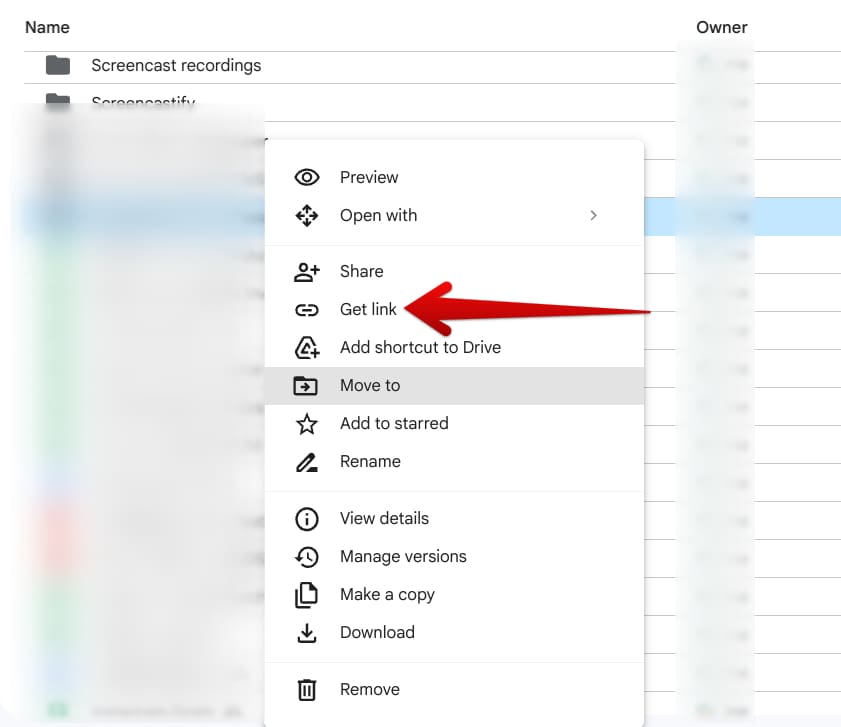
Getting the link to the sorted content
Once your album is ready to be shared, please copy the link and paste it with the relevant people. Whoever accesses your Drive files via the link can download the present files painlessly.
Conclusion
Chromebooks are some of the most accessible devices on the planet right now, facilitated by their integration with both the Google Play Store and Linux terminal that revamp the basic functioning of these sleek devices and improve their overall stature. Due to the courtesy of these two features, ChromeOS is now a more feature-rich operating system than ever before.
However, when it boils down to compatibility with Windows-grade programs, Chromebooks aren’t quite there yet, and for a good reason. An otherwise scenario would defeat the whole purpose of ChromeOS’ simplicity, so going out of the operating system’s way to accomplish a task will have its knocks and complaints.
In this guide, we’ve learned how you can use your Chromebook as a media server in multiple ways. First, we recommend trying out the Media Server app from the Google Play Store to see if it works successfully on your end. Then, let us know in the comments ahead whether the enlisted solutions did the job for you.
Chrome Ready wishes you good luck!
