ChromeOS is one of the most user-friendly operating systems on the planet right now, known for its tendency to keep things simple daily. And since Chromebooks work with a singular Google user account, it’s also easy to sync your data and back up everything important to you, but that’s not your only option.
In this guide, we’ll explain how to back up your Chromebook data and restore it afterward. The procedure is plain and simple, and you can’t go wrong with it. Outside of the primary method of syncing ChromeOS data, some other options will also be outlined for your convenience. So let’s get started with no further ado.
Backing up and restoring ChromeOS data
Thanks to the Google account you use to sign into your Chromebook daily, it’s not difficult to set up automatic syncing on ChromeOS. That way, whenever you switch devices and get your hands on a new Chromebook, all your preferences, including wallpapers, apps, settings, and even your Wi-Fi networks, will carry over effortlessly.
However, that particular route does not take care of your Chromebook’s local storage since that type of data has to be tended to manually. You can back up your files through recommended cloud storage options or plug a USB into your Chromebook and move the files from the device to the external thumb drive.
Depending on your requirement, read through the following subsections and learn how to back up and restore your Chromebook data painlessly.
Option #1. Using Google account’s sync method
This is the method that we recommend users get into for backing up their Chromebook’s data and other information that concerns them, so it’s possible to restore all of your saved data in a flash when it’s time to log into another Chromebook. Get started by opening the “Settings” system app on the device.
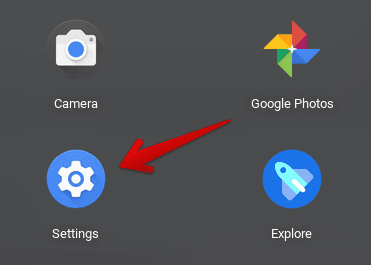
Opening “Settings”
Head to the “Accounts” tab next by clicking on it from the sidebar to the left side of the screen. After getting redirected to the section accordingly, click on the “Sync and Google services” area to move forward.

Accessing the “Sync and Google services” section
As you’re taken into the “Sync and Google services” section, move forward by choosing the “Manage what you sync” area next.
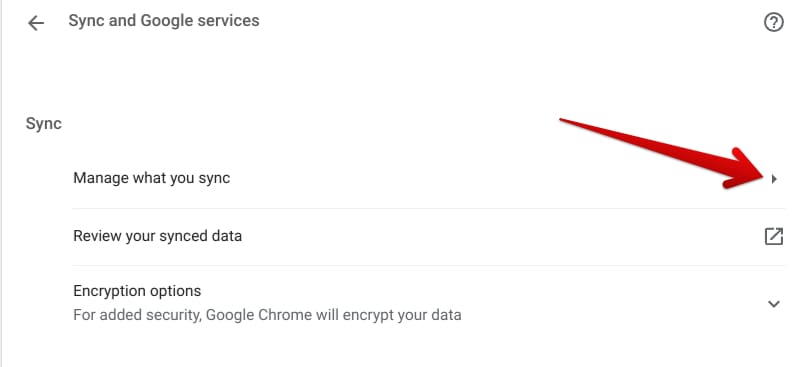
Managing sync options on ChromeOS
Finally, make sure the option here is set to “Sync everything>” You can also switch things up by clicking the “Customize sync” button and choosing the data that you’d like to sync on your Chromebook. It’s possible to toggle the sync functionality for your installed apps, settings saved Wi-Fi networks, and even the wallpaper you’ve set on the home screen.
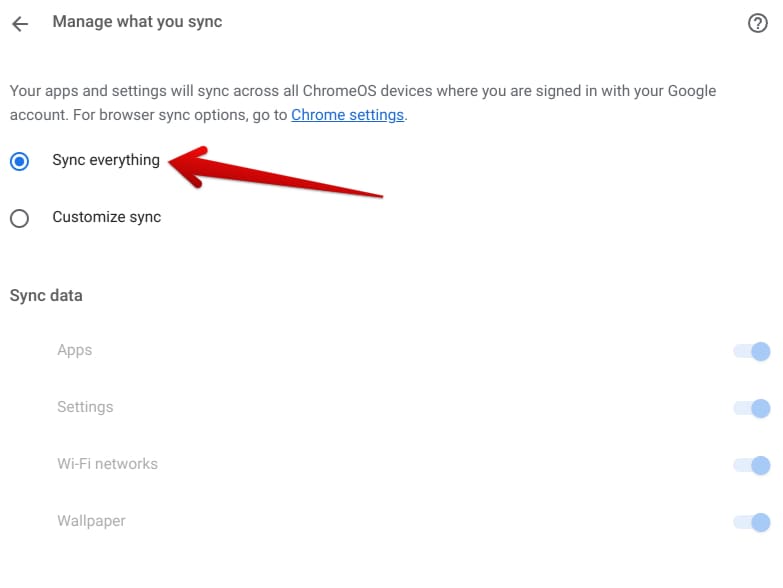
Adjusting sync options for data backup
That takes care of most of the scenario here, but there are still some preemptive measures to take care of. For starters, if you had the sync feature disabled before, give your Chromebook some time before it can back up your data completely, and don’t go Powerwashing the device immediately.
Moreover, what you covered above is relevant to one half of the spectrum here, and the other half is Google Chrome. Your Chromebook’s default web surfer lives in a world of its own and, thus, has to be tweaked accordingly to exercise effective backup. In any case, you should enable Chrome’s backup feature for a smooth transition to your new device.
That’s because Google Chrome comprises your browsing history, saved bookmarks, passwords, autofill data, addresses, settings and preferences, personalization options, installed extensions,
To tune that into motion, open the Chrome browser and access its settings page.
- Pro tip: Press “Alt” and “E” together, followed by the “S” key on your Chromebook’s keyboard to instantly open Chrome’s settings.
After arriving at Chrome’s settings, the next step is to access the “Sync and Google services” section, which sits right at the top of the “You and Google” area.

Accessing the “Sync and Google services” section of the Chrome browser
Get to the next step by clicking the “Manage what you sync” option in the “Sync and Google services” area.
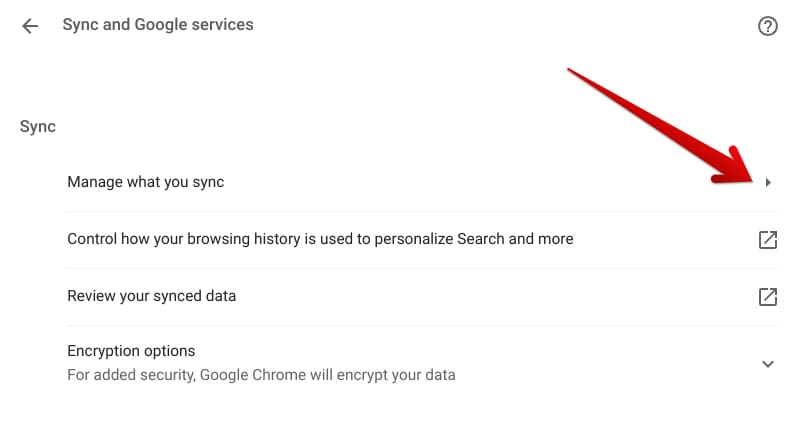
Managing sync parameters in Chrome
On this page, you can sync various Google Chrome processes, including bookmarks, extensions, history, passwords, and open tabs. Select each parameter you’d like to carry over to your other device with the “Customize sync” and leave out the ones you don’t want to back up.
If that’s not the case and you prefer to sync everything related to your browsing with Chrome, choose “Sync everything” and leave the area. Give Chrome a minute to authenticate the procedure; you should be ready in no more than a moment.
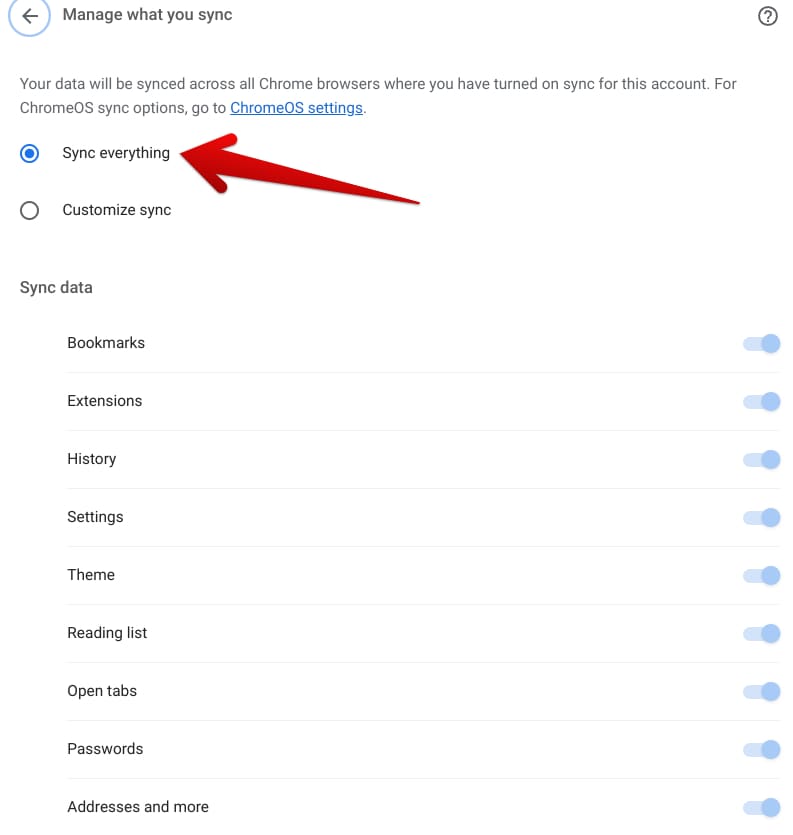
Tweaking the sync feature in Chrome
As for the restoration part, you don’t have to worry about that anymore. Log into whatever device you want to with the same account as you backed up the data on, and all of your stuff and information will come rolling back to you in an instant, both relating to the Chrome browser and the rest of your Chromebook.
Apart from this, we’ve hinted at it earlier that ensuring whether your Google account is in sync isn’t going to take care of the rest of the files on your device locally. So for this purpose, you must turn to other solutions, such as Google Drive or Dropbox. Don’t worry; we’ll cast a lens on both of these programs ahead in great detail.
Option #2. Backing data up to Google Drive
Fortunately, ChromeOS integrates with Google Drive, thereby instilling convenience for Chromebook users on the go and providing them with readily available access to their cloud storage account. You can benefit from this greatly if you plan on backing up your data without relying on other third-party options.
To get started, ensure your Drive account isn’t disconnected from your Chromebook. Head to the “Settings” app, click on “Advanced” in the sidebar to the left, and choose “Files” next. Once done, disable the toggle beside “Disconnect Google Drive account,” and you should be good to go,
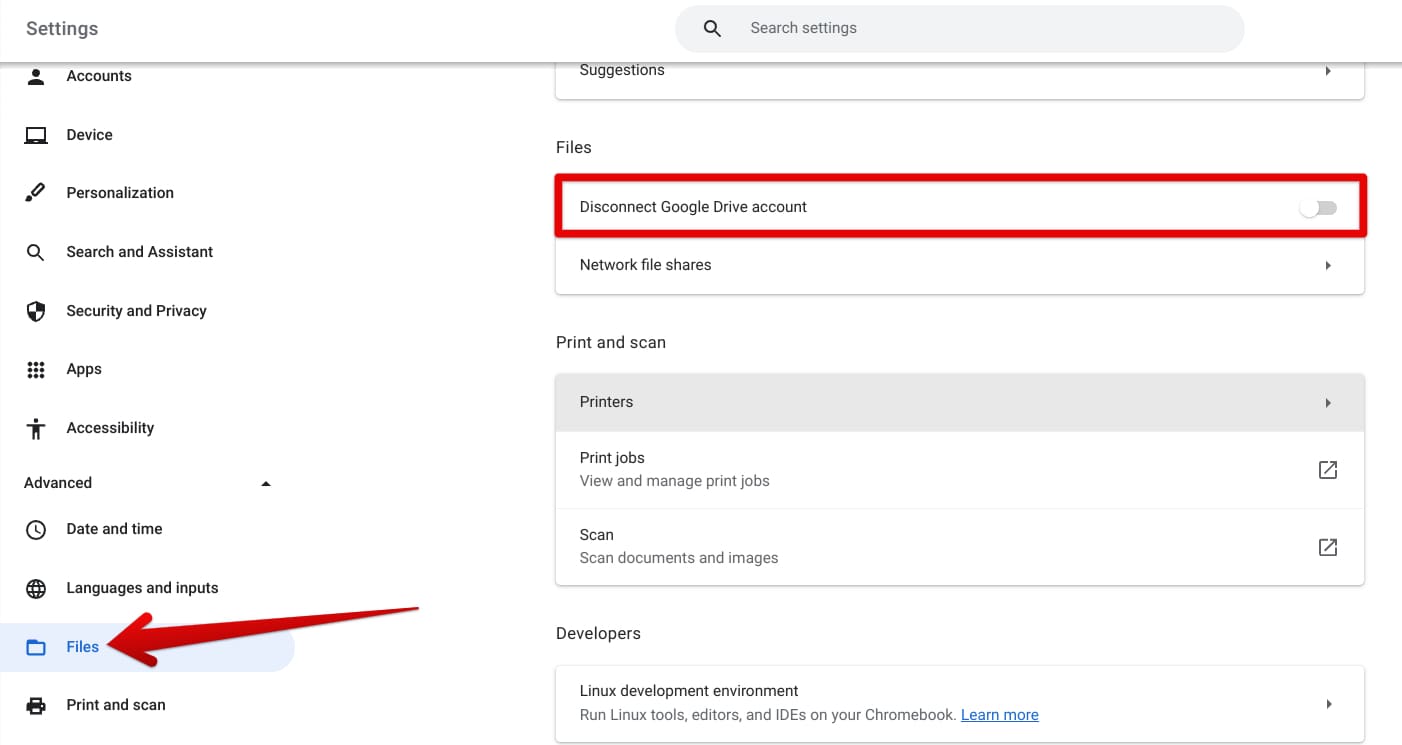
Disabling the “Disconnect Google Drive account” feature
Once taken care of, make your way to the “Files” system app on your end, and you’ll soon be able to observe the “Google Drive” folder on one side of the interface window. The idea now is to move files from your Chromebook’s local storage to your Drive account, and you’ll do that via the usual copy-and-paste technique.
Select any file sitting anywhere on your Chromebook to get started. You can drag the file to the “Google Drive” folder or paste it after copying—whatever does the trick. When you put a file from your local storage inside the “Google Drive” area, a box will appear in the bottom-right corner, confirming that the syncing is about to begin.
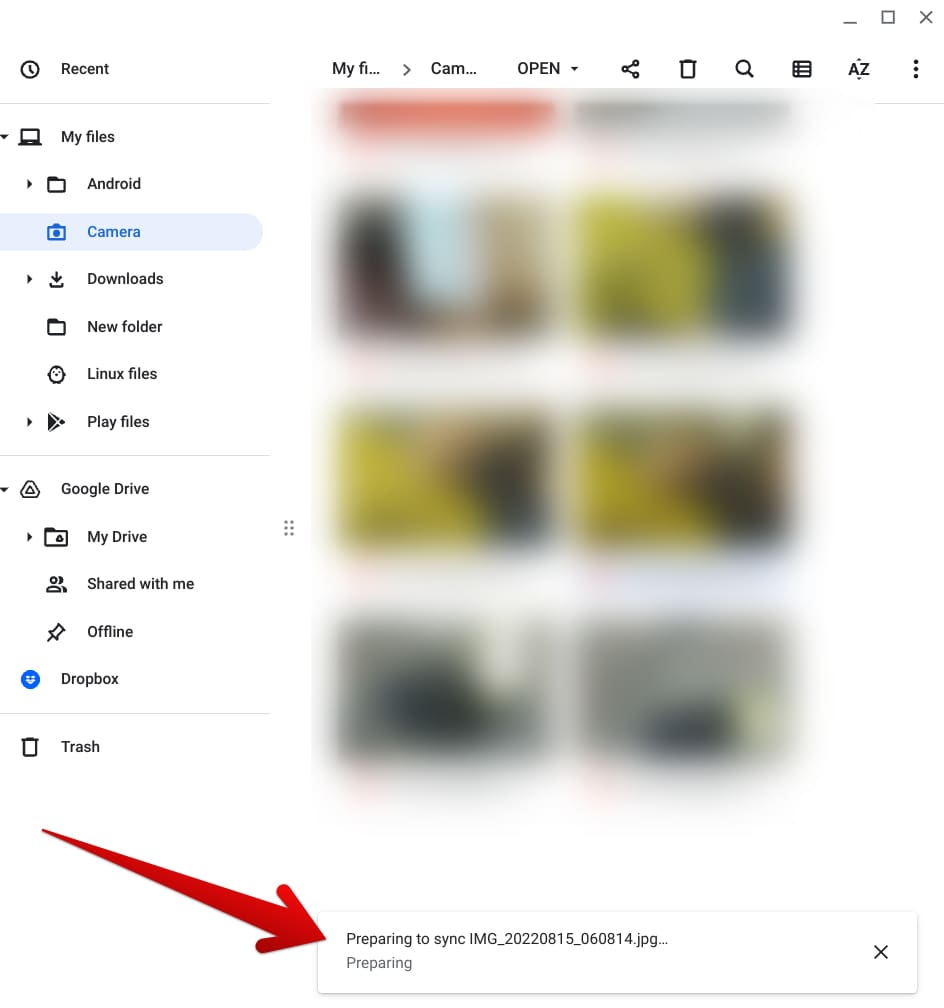
Locally stored file syncing to Google Drive
You may then head over to the Drive folder and track the progress of the sync yourself, depending on the number of files you’ve decided to back up. All of the selected data will be part of your Drive account from here on out, so ensure your storage space is adequate enough to host the forthcoming sync.
- For the uninitiated, a free Google account starts every user off with 15 GB of free storage. Anything beyond that has to be bought.
Google One can help you manage your storage in that case and provide additional space purchasable options if needed. Do look into the interlinked guide for more details. For now, though, let’s go over the third and final option you can look forward to for backing up data on your Chromebook.
Option #3. Using Dropbox for data back-up
Dropbox is another world-renowned name in the cloud storage industry, known for its reliability and a wide array of features. The reason we’re mentioning this application in the guide is only one, and that is direct integration. Like Drive, Dropbox can act as a native program on your Chromebook, provided that you install its Android app on the device.
Check out our in-depth tutorial on installing Dropbox if you don’t have the software on the system already for step-by-step instructions. Open the app and log in with an existing account when you get it. Sign up for a new one if you haven’t registered on Dropbox before. It’s fast, simple, and can be done with your Google account too.
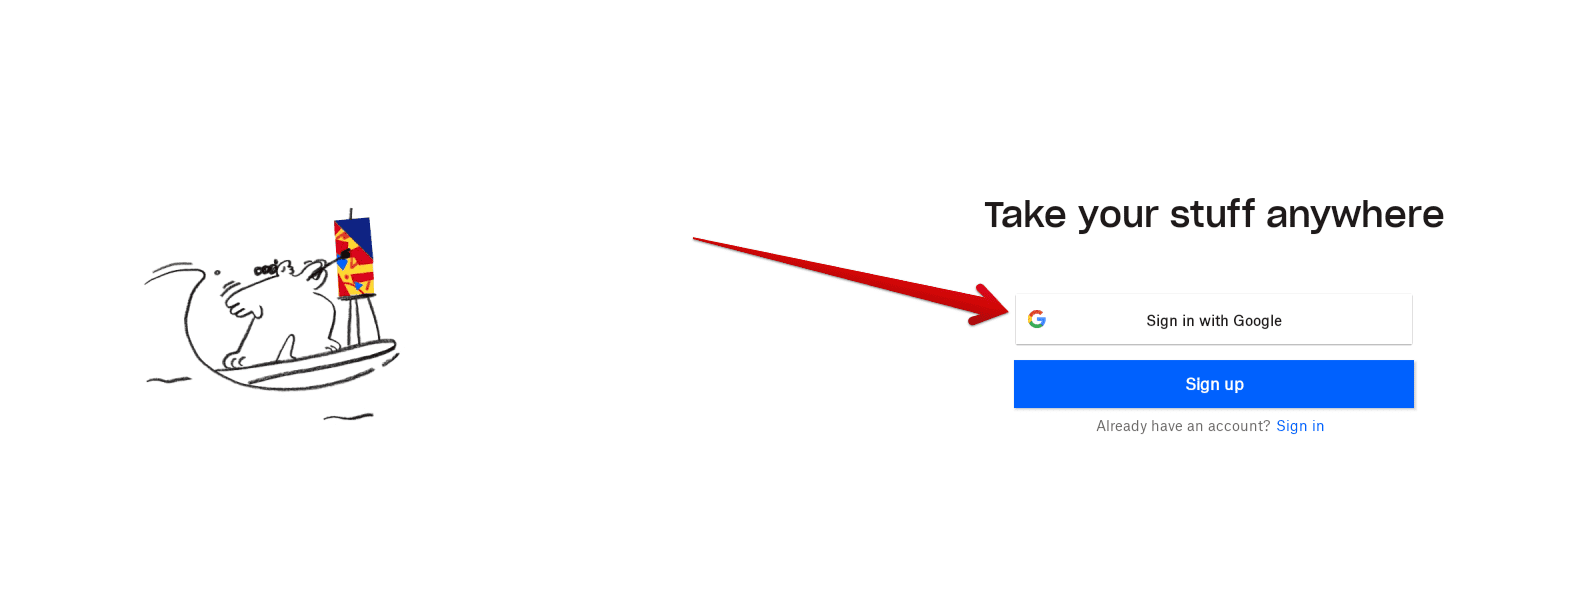
Signing into Dropbox with Google
As soon as the prerequisites are met, head to the Files app on your Chromebook, and you’ll find Dropbox already being added to the file manager. All you have to do now is replicate your actions like before—take files from your local storage and drop them in the Dropbox folder. It’s as easy as that to back up your Chromebook data.
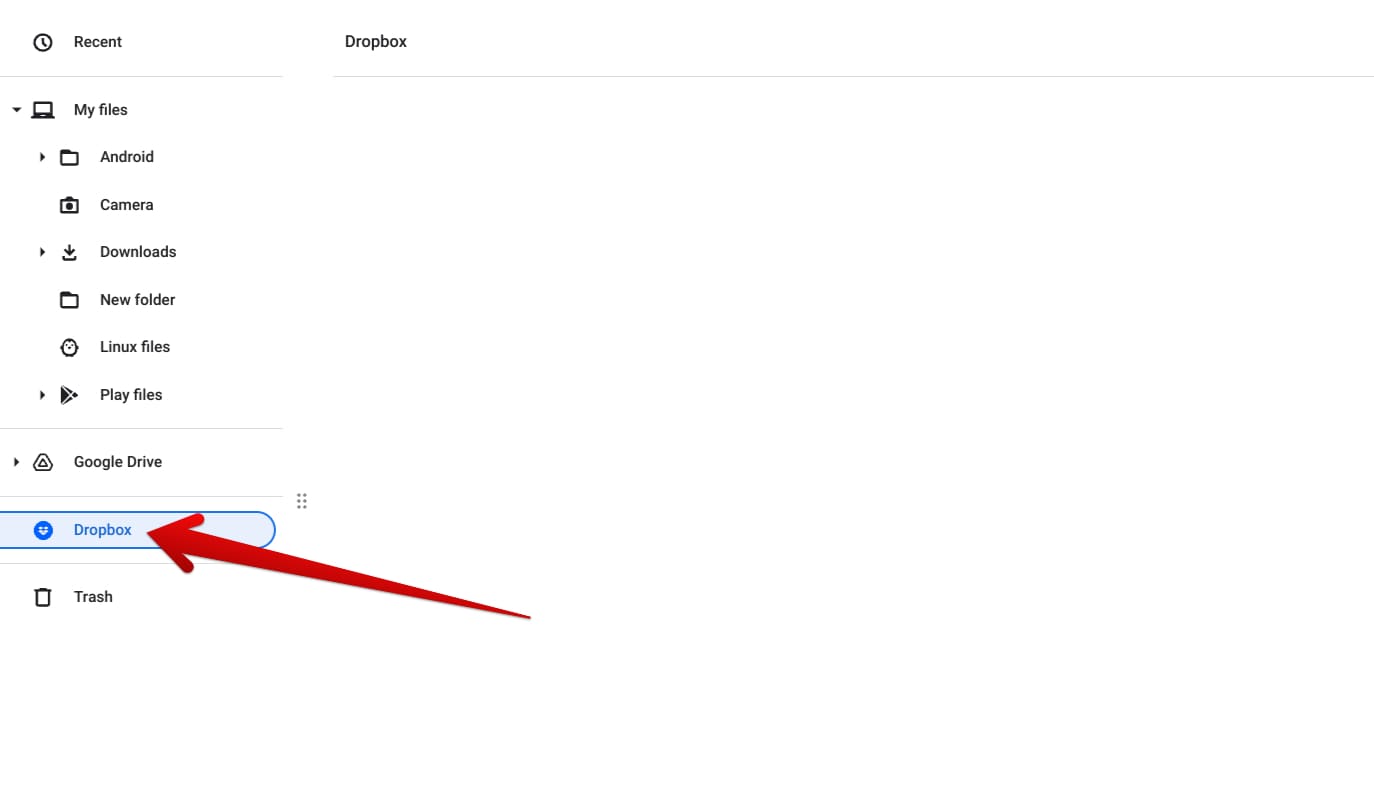
Dropbox integrated with ChromeOS
Since Dropbox is a cloud-based application, you can access your backed-up files on any device as long as it can log into the application. Just make sure to use the same account you’ll use to sync your data for viable results.
Conclusion
Chromebooks like to keep simplicity at the forefront of their operative mechanism, making it effortless for its vast user base to enjoy features such as relentless security, the unmatched browsing speed, Google Play Store support, and Linux integration, among others, a load of other hefty benefits.
We’ve looked closely at some ways you can back up your Chromebook data and restore it afterward in this guide, including the regular in-built method, Google Drive, and Dropbox. We recommend readers try all three of these ways for a heightened level of sync on ChromeOS.
Chrome Ready wishes you good luck!
