If you’ve ever created a long-form document, you know how challenging it can be to navigate it quickly and efficiently. Fortunately, there is an easy solution: the table of contents. This table gives readers an overview of a document’s structure, making finding the information they need easier. Creating a table of contents in Google Docs is as simple as it gets, but it’s essential to understand the best practices and customization options to make the most out of it.
This article will provide a step-by-step guide on creating a table of contents in Google Docs and explore advanced techniques to help you take your documents to the next level.
Understanding a table of contents
A table of contents is a section of a document that outlines the organization of the content, providing readers with an overview of its structure. It typically lists the headings and subheadings in a document and the page numbers they appear on. The purpose of a table of contents is to make it easy for readers to navigate through long-form documents and find the information they require.
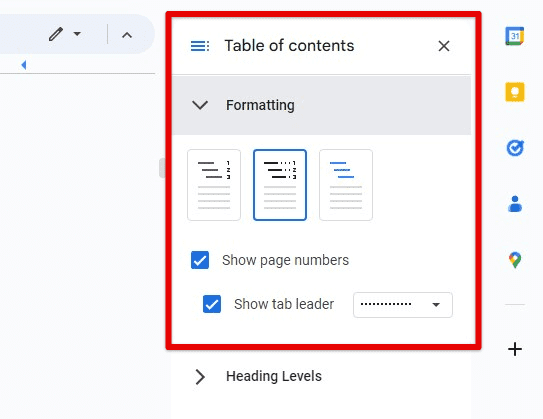
Table of contents in Google Docs
Without a table of contents, readers would have to manually search through different sections to find specific information, which can be time-consuming and frustrating. A well-organized and easy-to-read table of contents can also help readers to anticipate the content they are about to read and provide a clear understanding of how the information is organized. This can be particularly important in technical or academic documents with many subheadings and sections.
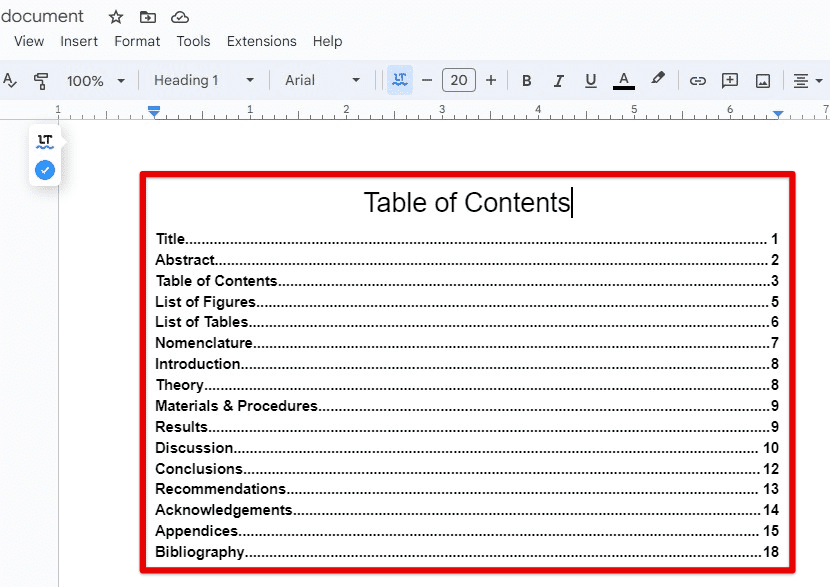
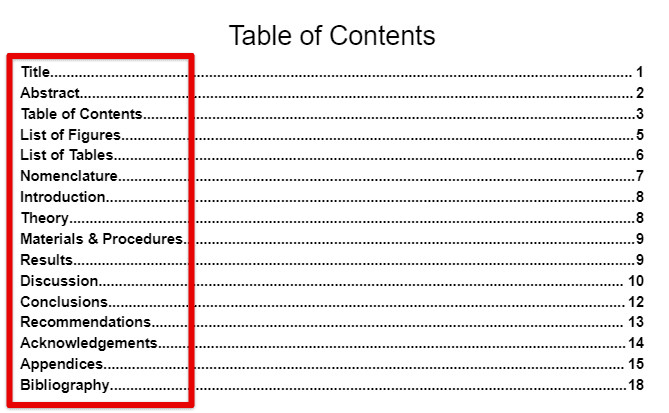
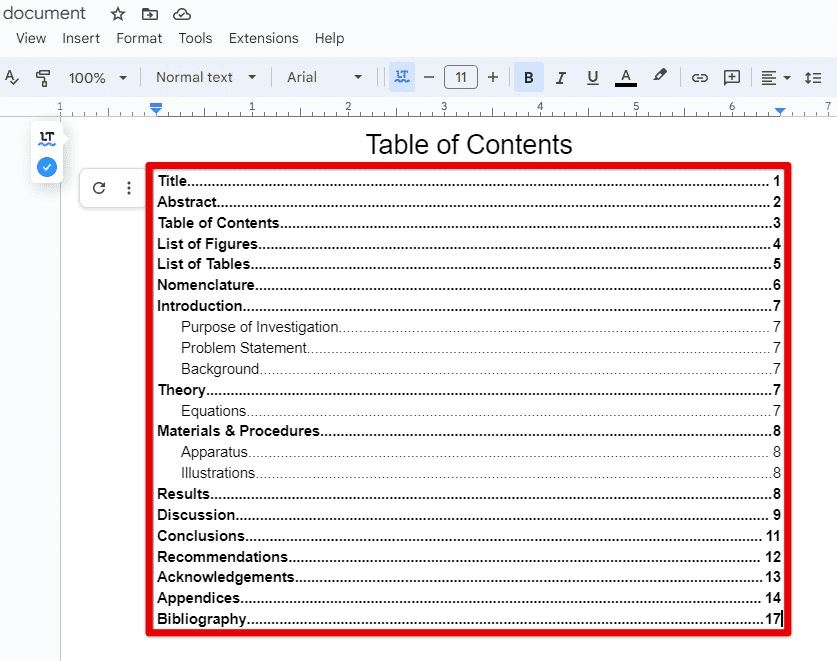
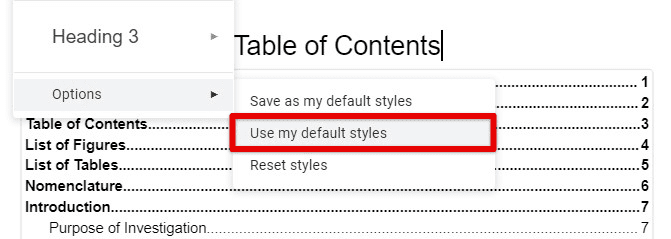
Table of contents in a technical document
A table of contents is essential in long-form documents, such as reports, theses, or books, where the content is divided into multiple chapters. In these cases, a table of contents can provide a quick and easy way for navigation. It can also help to break up the content visually and make the document appear more organized and approachable.
Formatting your document
Formatting your document is essential in creating a table of contents in Google Docs. Proper formatting using headings and subheadings makes it possible to create an automated table of contents that accurately reflects the document’s structure. Following are the steps to format your document in Google Docs:
Before you start formatting your document, organizing your content into sections is essential. Consider the document’s overall structure and break it down into logical sections. Each section should have a clear and concise heading that accurately describes its content.

Breaking down the document into sections
Headings and subheadings help break up your content visually and provide a clear information hierarchy. In Google Docs, you can apply heading styles by selecting the text you want to format and choosing a heading style from the “Styles” drop-down menu.
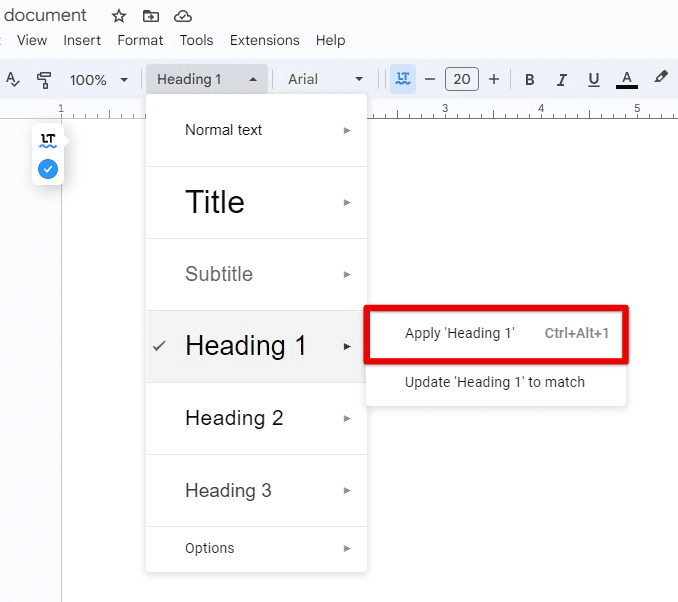
Applying heading styles in Google Docs
To create a professional-looking document, it’s essential to use consistent formatting throughout. This includes using the same font, font size, and spacing for all headings and subheadings. Using consistent formatting also makes it easier to create a table of contents that is visually appealing and easy to read.
Using a consistent formatting
When formatting your headings and subheadings, it’s essential to use proper capitalization. Generally, you should capitalize the first letter of the first word and any proper nouns in a heading. For subheadings, you should capitalize the first letter of each word except for articles, conjunctions, and prepositions.
Proper capitalization
If your document has multiple sections, you may want to number them for easy reference. To do this, add a number before each heading and adjust the formatting to match the other headings in your document. Formatting also includes changing margins to ensure it looks professional and is easy to read. Learn how to adjust margins with ease in Google Docs.
Creating a basic table of contents
Creating a basic table of contents in Google Docs is simple and utilizes the built-in tools. Before making a table of contents, you must decide where to place it in your document. Typically, the table of contents is located at the beginning of the document, but you can place it anywhere you like.
Creating a basic table of contents
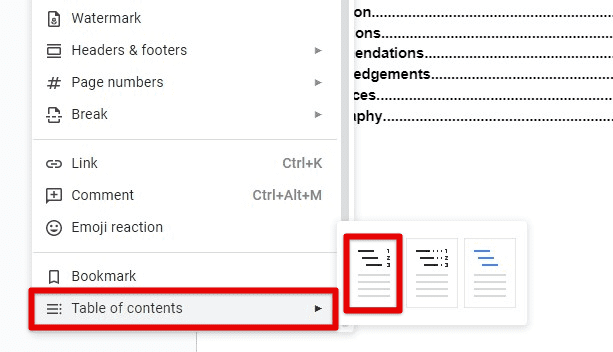
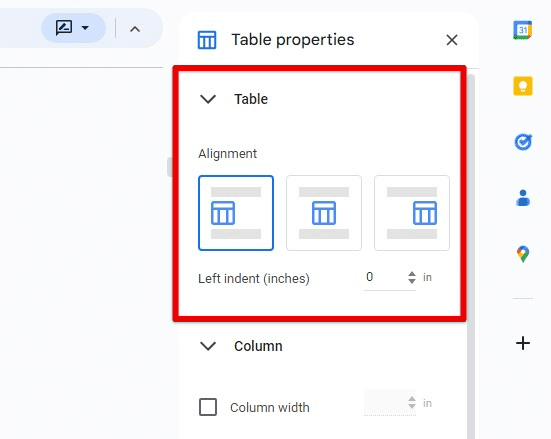
In the top menu of your document, click “Insert,” then select “Table of contents” from the dropdown menu. This will insert a table of contents in that location. By default, the table of contents will include all headings and subheadings. However, you can customize it by clicking on the table and selecting “Options” from the toolbar. From here, you can choose which heading levels to include, adjust the alignment and indentation of the table of contents, and select a different style.
Heading levels and other adjustments
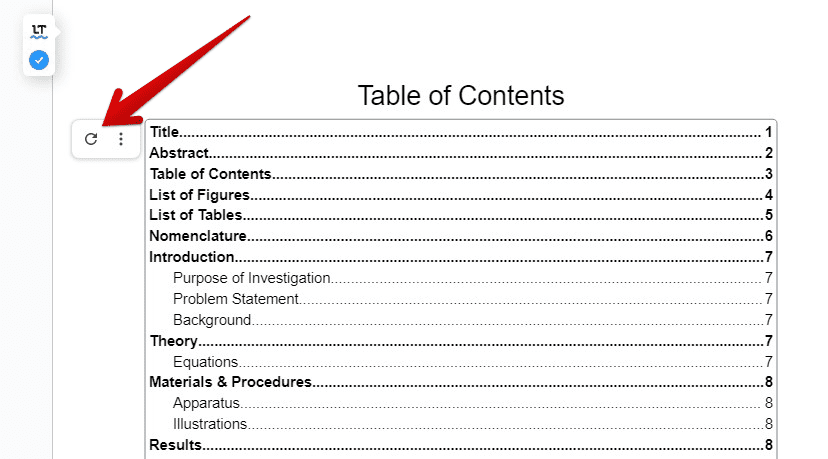
As you make changes to your document, such as adding or deleting headings and subheadings, the table of contents must be updated. To do this, click on the table of contents and select “Update table of contents” from the toolbar. You can choose to update the page numbers only or update the entire table of contents simultaneously. Another option is to click the refresh icon next to the table.
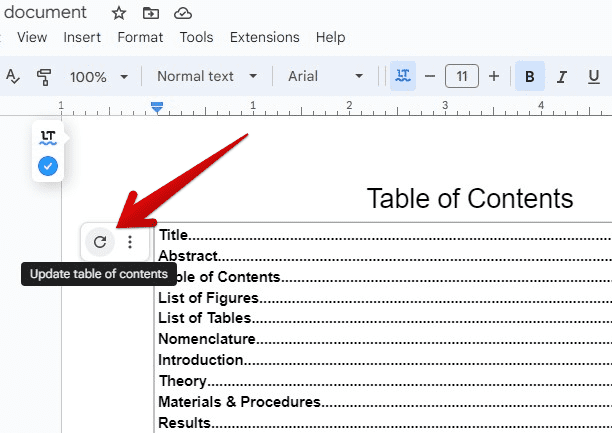
Updating the table of contents
Once you have created and customized the table, it’s a good idea to preview it to make sure it looks the way you want it to. You can do this by clicking on the “Print layout” button in the toolbar at the top of the page. This will show you how the table of contents will appear when printed.
Customizing table of contents
Customizing the appearance and formatting of a table of contents in Google Docs allows you to create one that matches your document’s overall style and branding. Following are the steps to customize a table of contents:
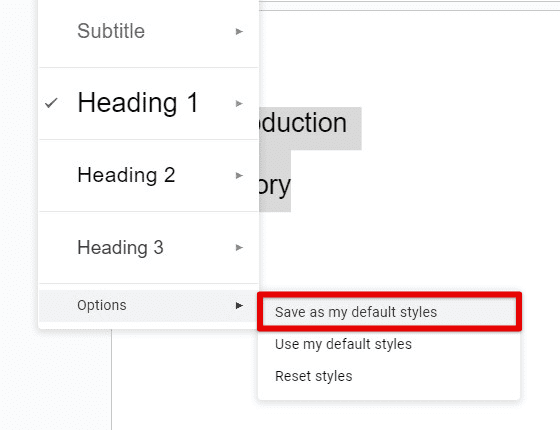
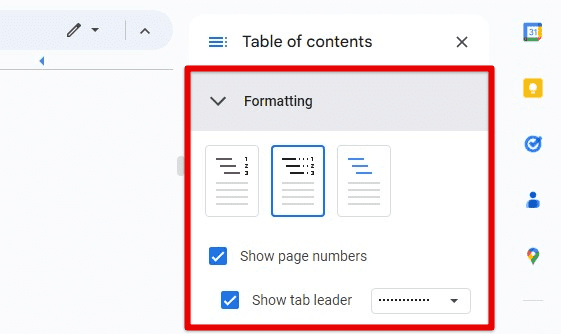
Google Docs offers several built-in table styles that you can pick from. To access these styles, click on the table of contents and the “Options” button. From there, select “Change style” and choose your preferred type. You can preview each style before selecting one.
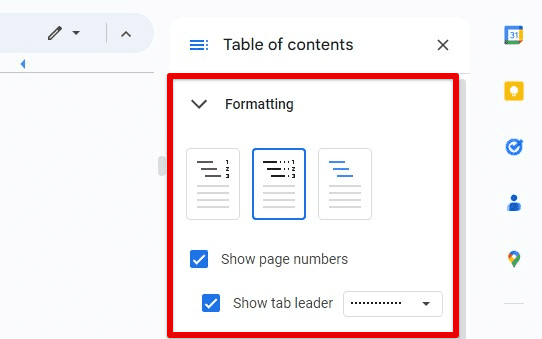
Changing the table of contents style
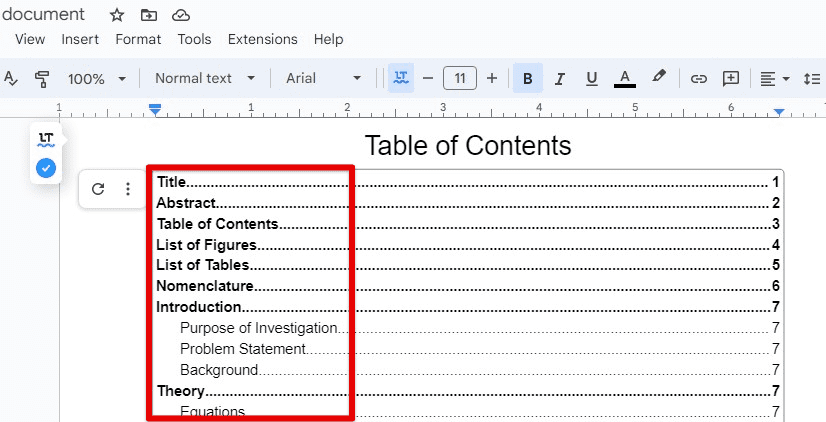
You can also change the font style and size inside the table of contents to match the rest of your document. To do this, click on the table of contents and select the “Font” dropdown menu from the available toolbar. Pick the font style and size that you prefer.
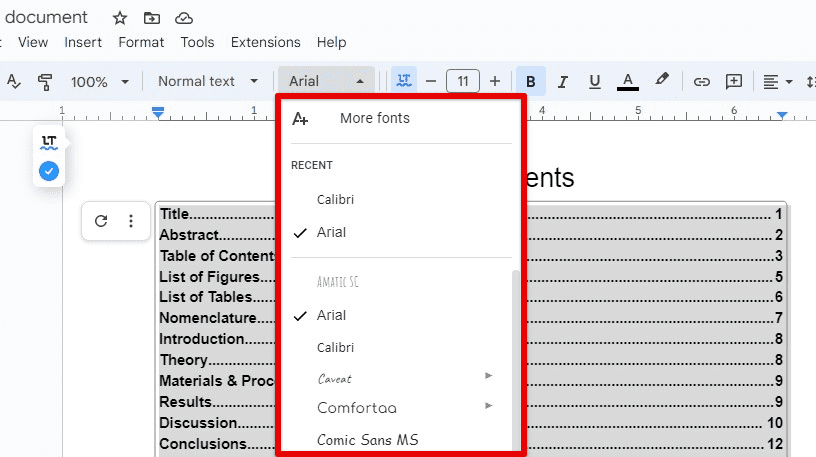
Changing the font style and size
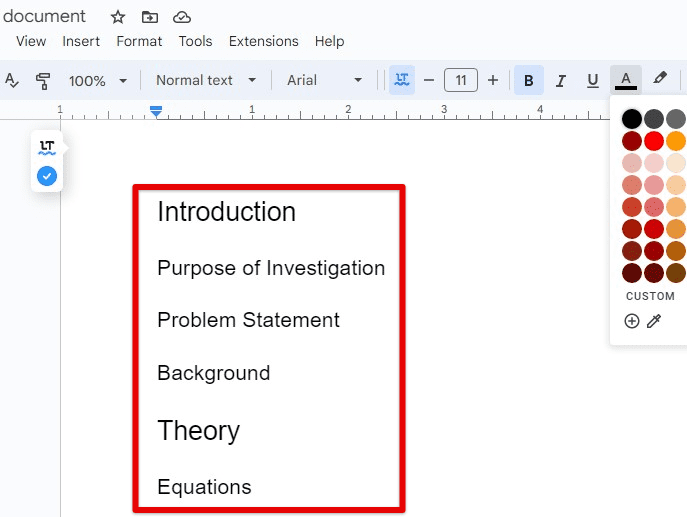
If you want to change the font color instead, click on the table of contents and select the “Text color” dropdown menu from the toolbar. Select the appropriate font color from the palette.
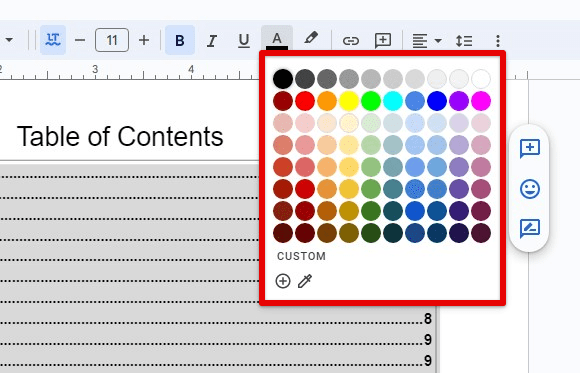
Changing the font color
You may customize the table borders to add visual interest and make it stand out. To do so, click on the table of contents and select the “Borders” dropdown menu from the toolbar. From there, select a border style as well as its color.

Changing the border style
If you want to add a background color or image to the table, you can click on the table of contents and then select the “Background color” or “Background image” dropdown menu. Until recently, the options to add and edit tables in Google Docs were limited. Though, it is not the case anymore. You will now find several tools for quickly adding and customizing tables in Google Docs.
Including additional entries
After creating the table, you may need to add new headings or subheadings to your document. Fortunately, adding these new entries to your table of contents is easy in Google Docs.
To add a new heading or subheading to your document, type the text you want to include, highlight it, and select the appropriate heading level from the “Styles” dropdown menu in the toolbar. When updated, the new heading or subheading will automatically be added to the table of contents.
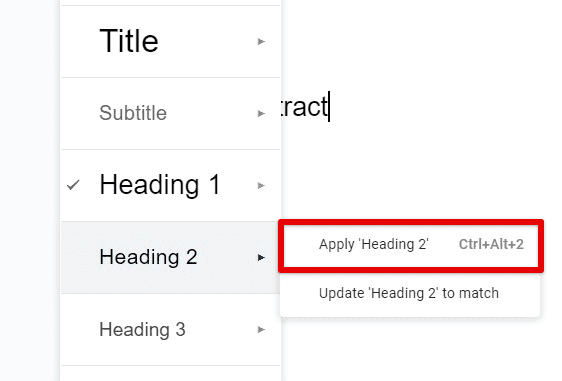
Adding a new subheading
If you want to add a new entry to the table of contents not already included in the document, you can do so manually as well. First, place your cursor where you want the new entry to appear in the table of contents. Then, click “Insert” from the top menu and select “Bookmark”. Give the bookmark a descriptive name corresponding to the section you want to add to the table of contents.
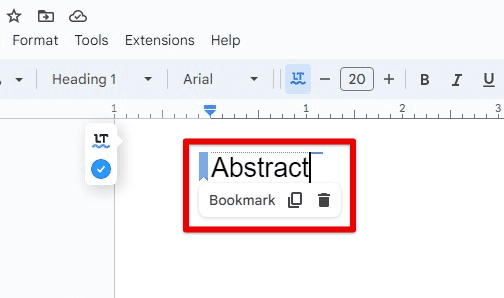
Adding a new entry with bookmarks
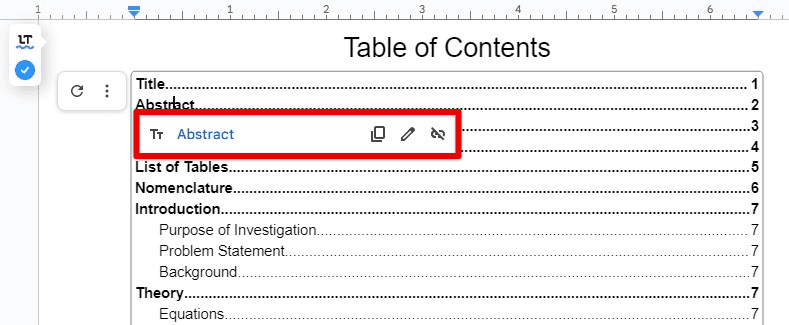
After creating the bookmark, highlight the text in the document corresponding to the new entry in the table. Then, click “Insert” from the top menu and select “Link”. In the “Link” dialog box, select “Bookmark” from the “Link to” dropdown menu, and then select the appropriate bookmark from the “Named anchors” list.
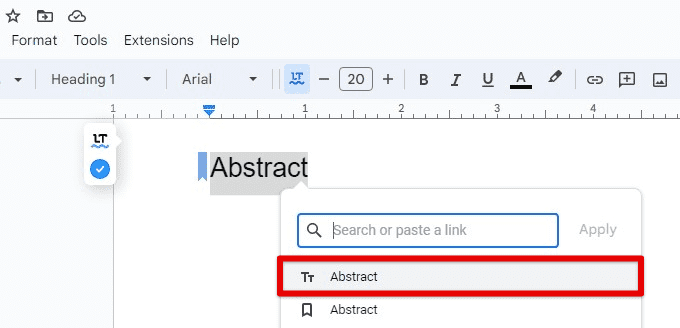
Linking bookmark with the table of contents
Once you have added new entries to your document, you must update the table of contents to include them. To do this, click on the table of contents and then the Update button next to it. The table of contents will be updated to include any new entries recently added.
Updating the table of contents
As you make changes to your document, such as adding, deleting, or rearranging sections, it’s essential to update your table of contents. Doing so ensures that the table accurately reflects the structure of your document at all times. Fortunately, Google Docs makes updating your table of contents easy.
When you are editing a document, be sure to use the appropriate heading levels for each section. This will ensure that your table of contents is correctly formatted and includes all necessary entries.
Using appropriate heading levels
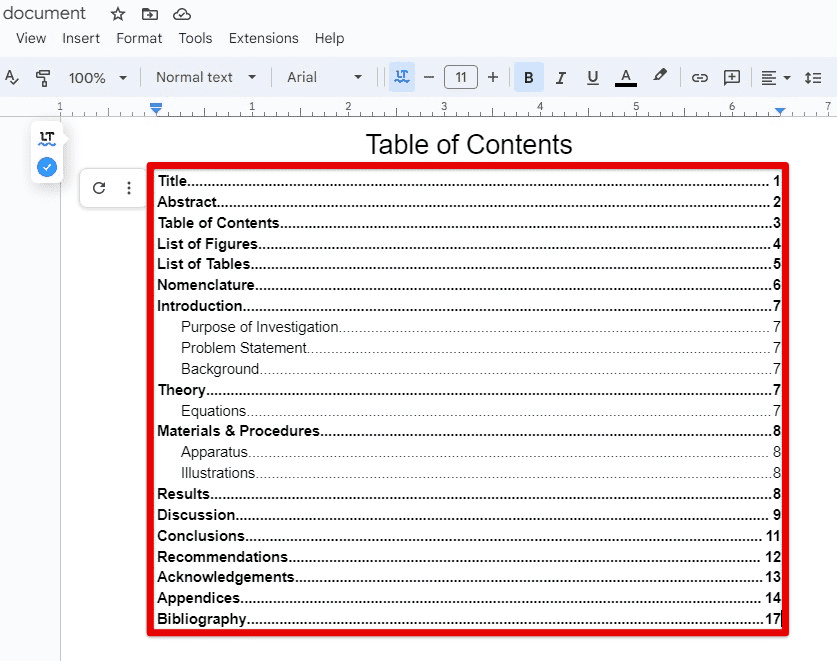
To update your table of contents, click on the table and then click on the “Refresh” button. This updates the table of contents to reflect any changes you made to the document after the last update.
Updating the table of contents after changes
After updating the table of contents, check the formatting so that it is consistent and matches the rest of your document. If necessary, you can customize the formatting of the table of contents using the tools available in Google Docs.
Customizing table formatting
If you need to reorder the sections, you can do so by dragging and dropping the headings in the document. The table of contents will automatically update to reflect the new order.
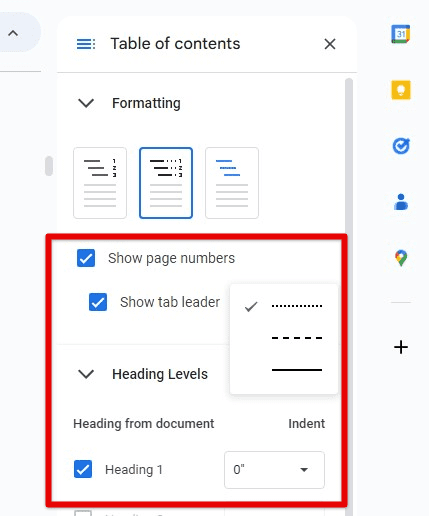
Finally, check the page numbers in the table of contents to ensure they are correctly listed. If you have changed the document that affects page numbers, you may need to update the table of contents again. As you make changes to your document, keeping track of the word count is important to ensure it stays within a certain length. Learn how to check the word count on Google Docs.
Best practices
Creating a table of contents is an effective way to help readers navigate through long-form documents. The following are some best practices to keep in mind when using a table of contents in your document:
Using clear and concise headings: Use headings that accurately describe the content of each section of your document. Make sure your headings are brief yet descriptive enough to help readers understand the content of each section.
Using clear & concise headings
Organizing your content: Organize your document into logical sections with headings and subheadings that reflect the structure of your content. This will help readers quickly find the information they need.
Using consistent formatting: Use consistent formatting for your headings, subheadings, and other text in the document. The consistent design makes it easier for readers to identify different sections quickly.
Using consistent formatting
Keeping it simple: Don’t overcomplicate your table of contents by including too many levels of headings or too much detail. Keep your table of contents simple and easy to read.
Keeping it simple
Updating your table of contents regularly: As you make changes to your document, be sure to update the table of contents to reflect those changes. This will ensure that your table of contents is always accurate and up-to-date.
Using hyperlinks: Consider using hyperlinks in the table of contents to allow readers to jump directly to a particular document section. This can be especially helpful in electronic documents.
Using hyperlinks
Previewing your table of contents: Before finalizing your document, test your hyperlinks and preview the table to ensure it works properly and is easy to read. Have someone unfamiliar with the document test it to ensure it is suitable.
Advanced table of contents techniques
While creating a basic table of contents is relatively easy, there are also advanced techniques that you can use to create more complex tables. These techniques include creating multi-levels and using hyperlinks to attach different parts of the document.
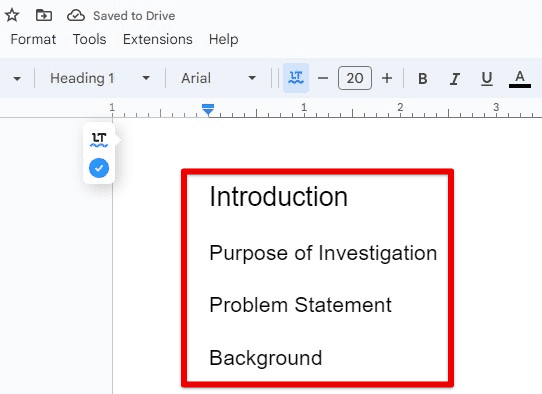
Creating multi-level tables: By default, Google Docs creates a table of contents based on the headings in your document. However, you can create multi-level tables of contents by using different levels of headings. First, format your headings and subheadings with the Heading styles to create one. Then, in the table of contents settings, select the option to show more levels.
Creating multi-level tables
Using hyperlinks in the table of contents: In addition to using the built-in table of contents, you can also use hyperlinks for linking to different parts of your document. First, add hyperlinks to your headings and subheadings using the Heading styles. Then, select the text that you want to hyperlink and click on the Insert Link button in the toolbar. In the Link dialog box, select the option to link to a specific heading in the document, and choose the heading you want to link to.

Using hyperlinks in the table of contents
Customizing the appearance: You can customize the appearance of a table of contents by changing the font, color, and size of the text. To do this, select the table and employ the formatting options in the Google Docs toolbar.
Customizing the appearance
Using templates: If you frequently create documents with tables of contents, you may find it helpful to create a template with a pre-formatted table. Create a new document and format it with your desired headings and subheadings. Then, create a table of contents using the built-in feature, and customize it as desired. Finally, save the document as a template so that you can use it again in the future.
Using templates
Conclusion
Creating a table of contents in Google Docs is an effective way to help readers navigate through long-form documents. Following the step-by-step guide outlined in this article, you can create a table of contents within minutes and customize it to fit your specific needs. Additionally, you can format a more sophisticated and user-friendly document with advanced techniques such as creating multi-level tables, using hyperlinks and customizing their appearance.
Remember to keep updating the table as you make changes to the document and ensure it is easy to read and navigate. Doing so enhances the readability and accessibility of that document, making it easier and enjoyable for all readers.