Today’s world has adapted to cloud storage to a fair extent, with millions of people worldwide relying on remote servers to back up their data. One noteworthy service is Google Photos, a major constituent of the Google Workspace suite. If you’ve got a Chromebook and want to learn Photos’ sync functionality, keep reading ahead.
Chromebooks benefit from native Google Drive integration, where you can access your Drive data from right within the “Files” app on ChromeOS. However, the same cannot be said for Photos unless you transfer images from your Photos account to your Drive handle. This guide will explore how to set up and use Chromebook’s Photos sync.
Let’s dive right into the guide with no further ado.
Setting up and using Google Photos’ sync on ChromeOS
Not too long ago, a truly convenient feature in Google Drive could be toggled on to incorporate native Photos functionality in Chromebooks, similar to how you can add Dropbox in the Chromebook File Manager. Google canned it, unfortunately, for some reason, making users resort to other means to use the sync feature.
Nevertheless, even if the latter is unavailable, there is still a way to achieve the task at hand. All you need to do is install the Google Photos Android app on your Chromebook—if it hasn’t been downloaded already—and orient it in a way so your files are synced to the cloud automatically.
We’ll walk you through the process in steps so it’s easier for you to replicate the operation on your end.
Step 1. Install Google Photos on your Chromebook
You won’t be able to set up and use Chromebook’s Google Photos sync with the web-based service iteration. Unless you want to opt for the harder route and first upload files to your Google Drive handle. Of course, a much more convenient option is to enable sync with the service, and for that, you need the Photos Android app.
Our detailed guide on installing Google Photos on a Chromebook can help you with the installation steps, so we highly suggest you check that out for more info. The gist of it is that you head over to the official Photos app page on your Chromebook’s Play Store and click the vividly apparent “Install” button to commence the download.

Installing Google Photos
Once the app is installed, you can find it in your Chromebook’s launcher section. There’s the option to pin the app to the shelf for easier access.
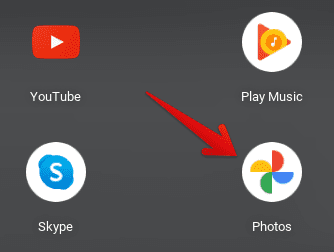
Google Photos installed
With the Photos app installed, it’s time to shift gears and go to the next step.
Step 2. Enabling backup in Google Photos for seamless syncing
Now that Google Photos is up and running on your Chromebook, we can finally enable the highly sought-after backup and sync functionality, so you never have to worry about losing your precious files on your Chromebook again. To get started, launch Photos and grant it the relevant permission to proceed.
- Do note that the permission prompt will only appear if you launch the Photos app for the first time.
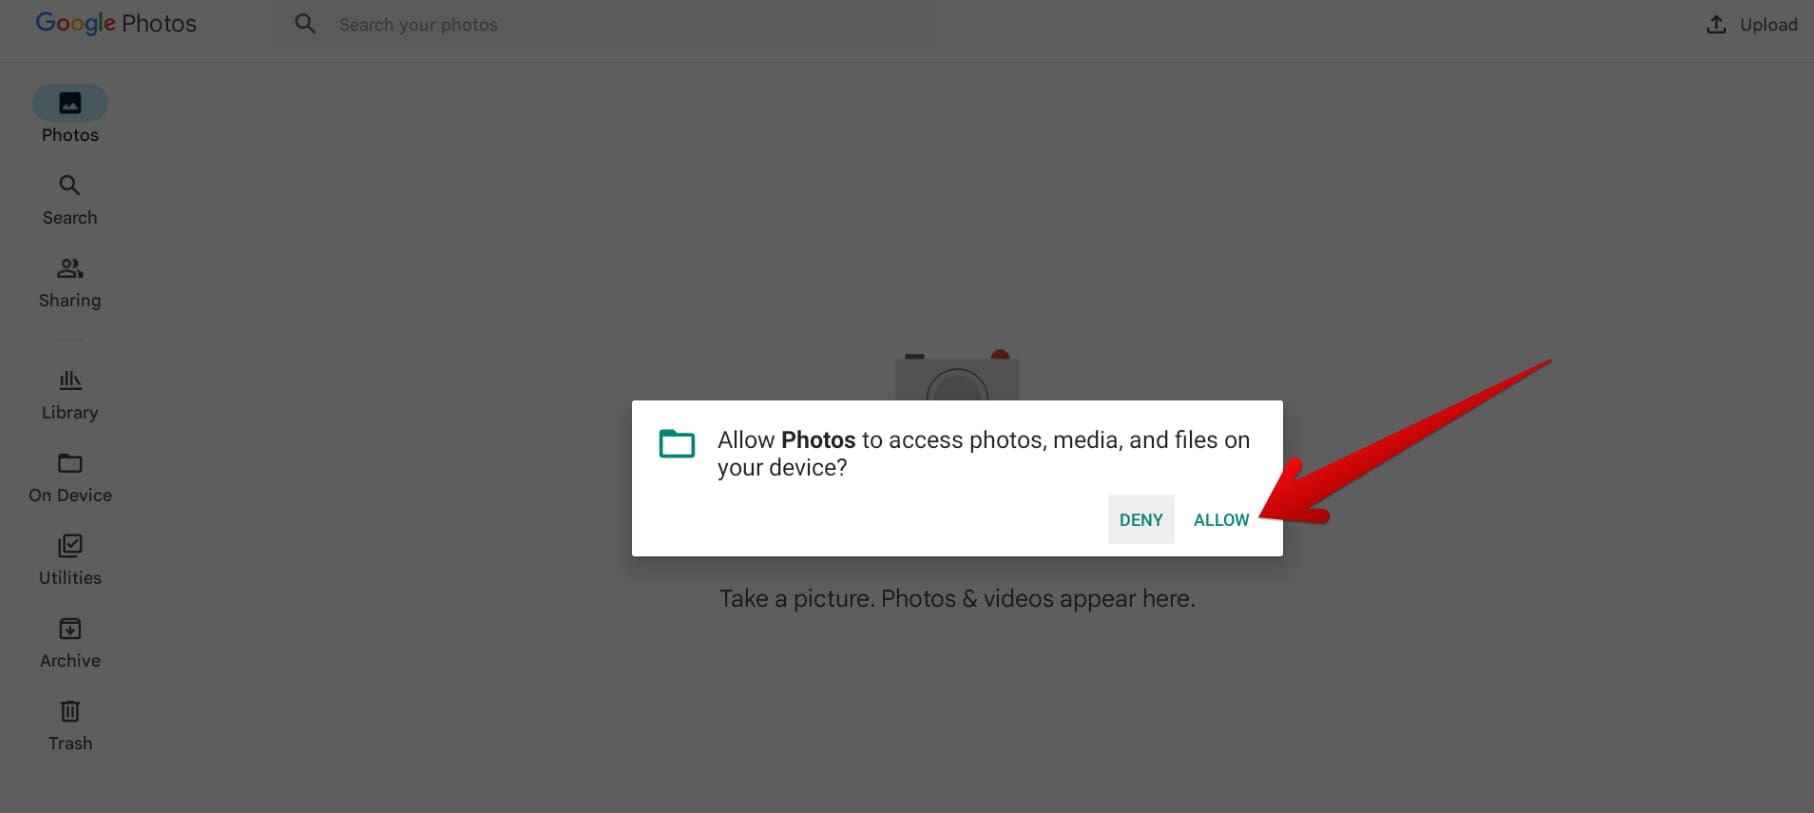
Allowing Photos to access your Chromebook data
Once done, you should receive another prompt asking you to turn on the “Backup” feature, another name for Google Photos’ sync functionality. Tap on “Turn on Backup,” and you should be good to go for now.
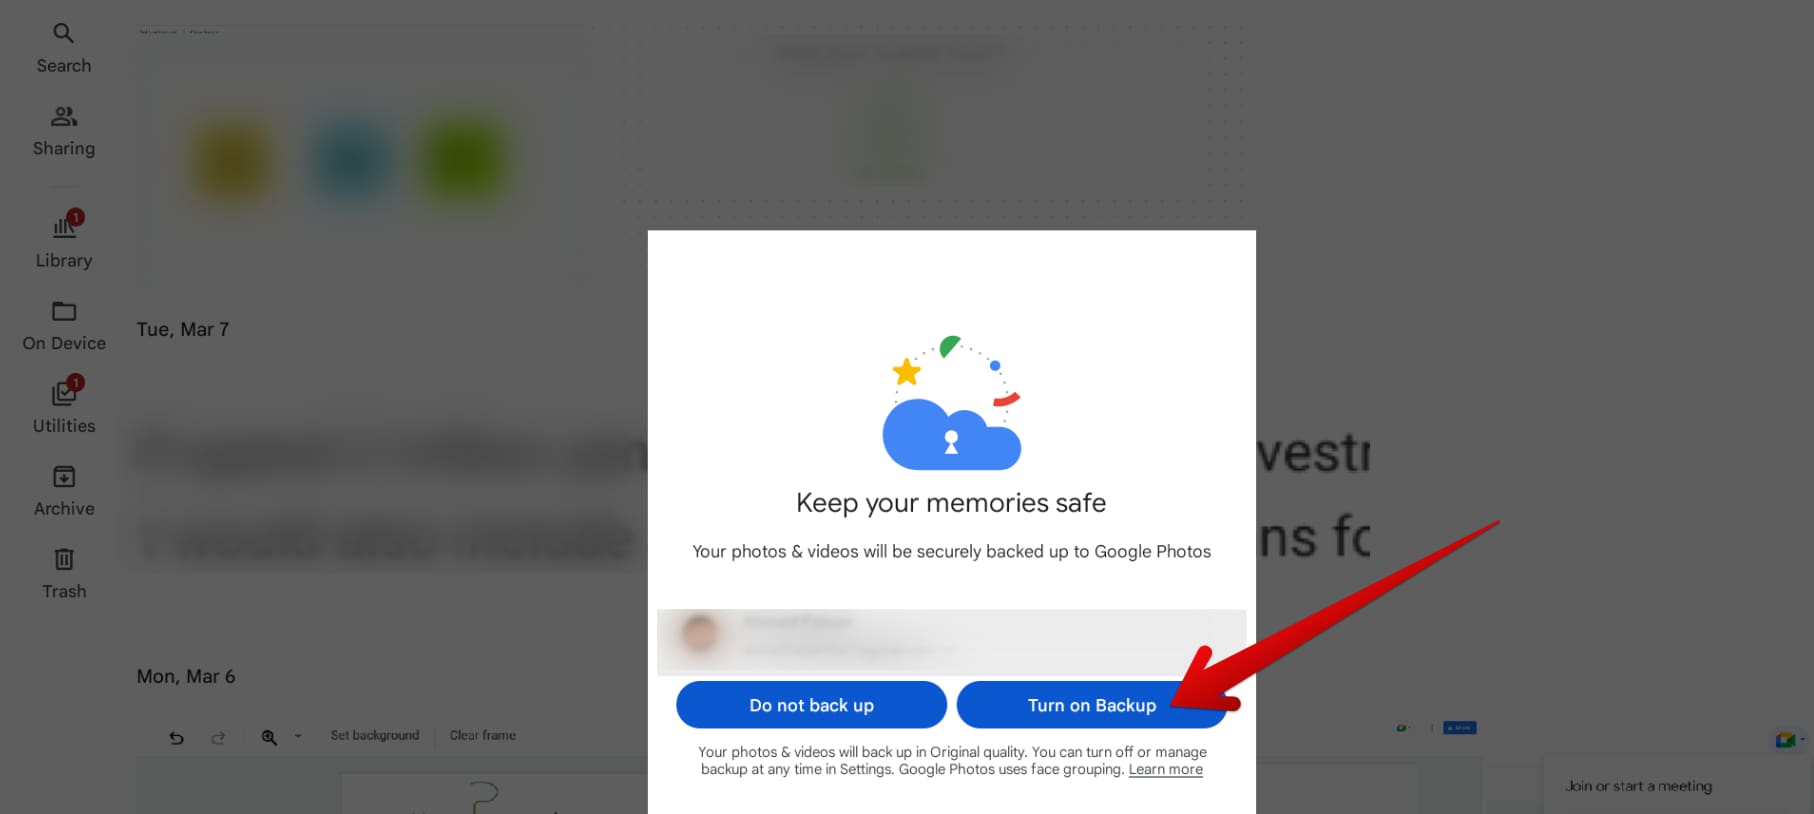
Turning on “Backup” in the Photos app
The syncing should begin momentarily after you complete the previous step. To track your progress and other settings, tap on your profile picture in the top-right corner of the app interface to bring up an overlay on the screen. You can then click “Photos settings” next to reveal a list of different settings about Google Photos.
The next step is to select “Backup,” You should be taken to the relevant section quickly. Here, it’s possible to manage your storage, enable or disable the “Backup” feature altogether, and even start a 100 GB Google One trial if you’re using a free Google account, among other preferences, such as selecting the backup quality and choosing to back up specific folders.
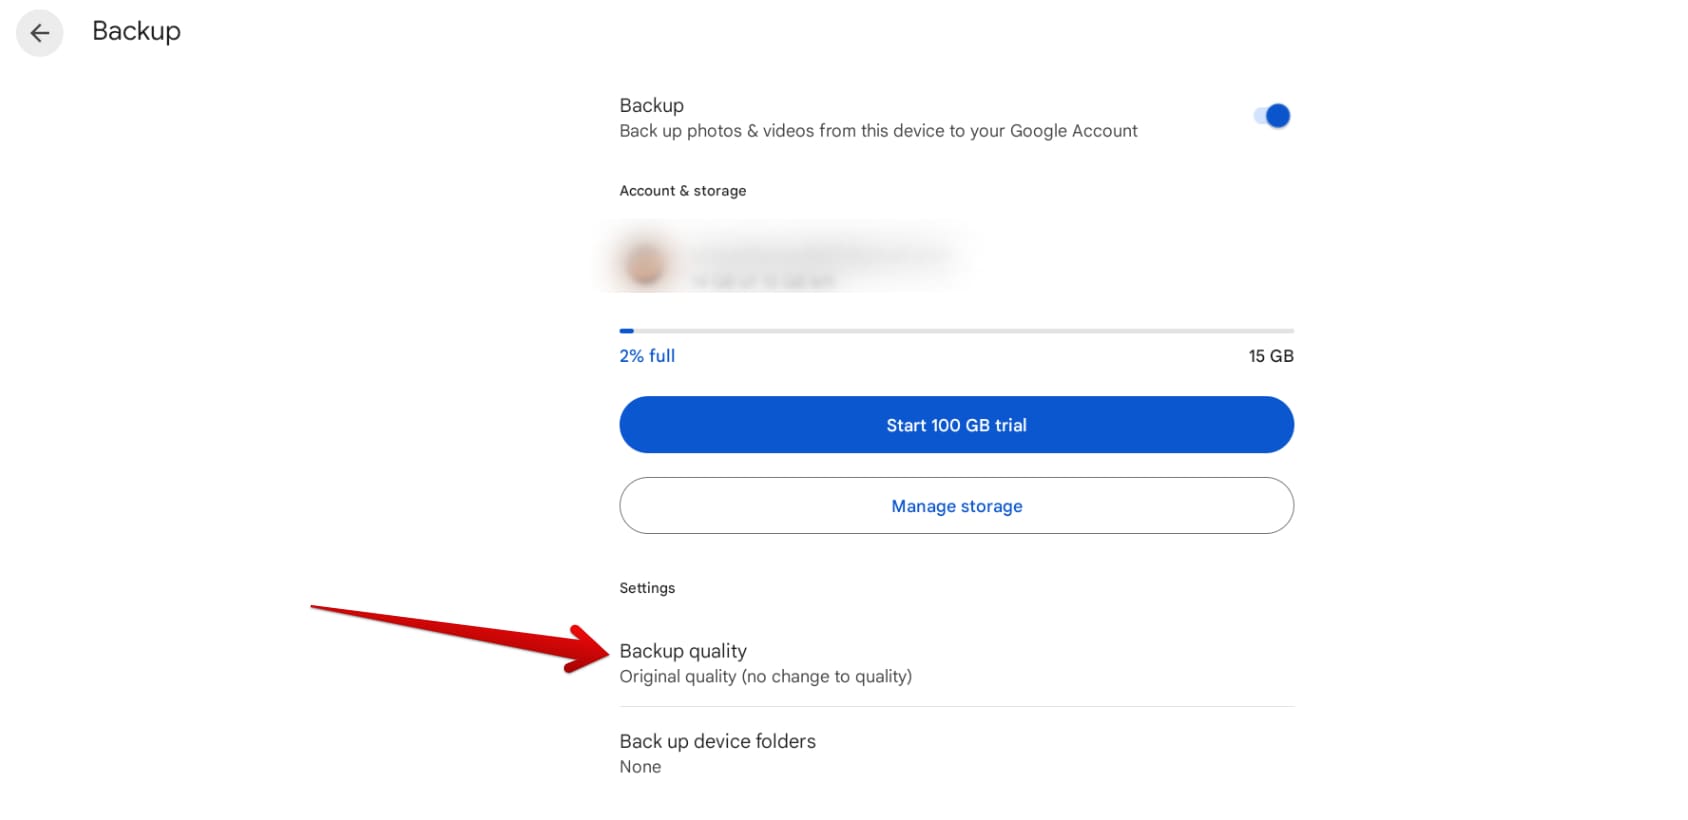
Clicking on the “Backup quality” option
The last feature, called “Back up device folder,” is more of a manual approach toward ensuring the Photos’ sync feature is working for your Chromebook’s stored files. Clicking on the feature button leads you to a page where all of your image-comprising folders on the Chromebook are enlisted, and with each entry, there’s a toggle for your convenience.
You can turn the Google Photos sync feature on or off for specific folders here. Skim through the section here and make your selections accordingly. Once done, you can return to the main “Backup” page to get real-time updates on sync progress. It’s as plain and simple as that to set up and use Chromebook’s Google Photos sync.
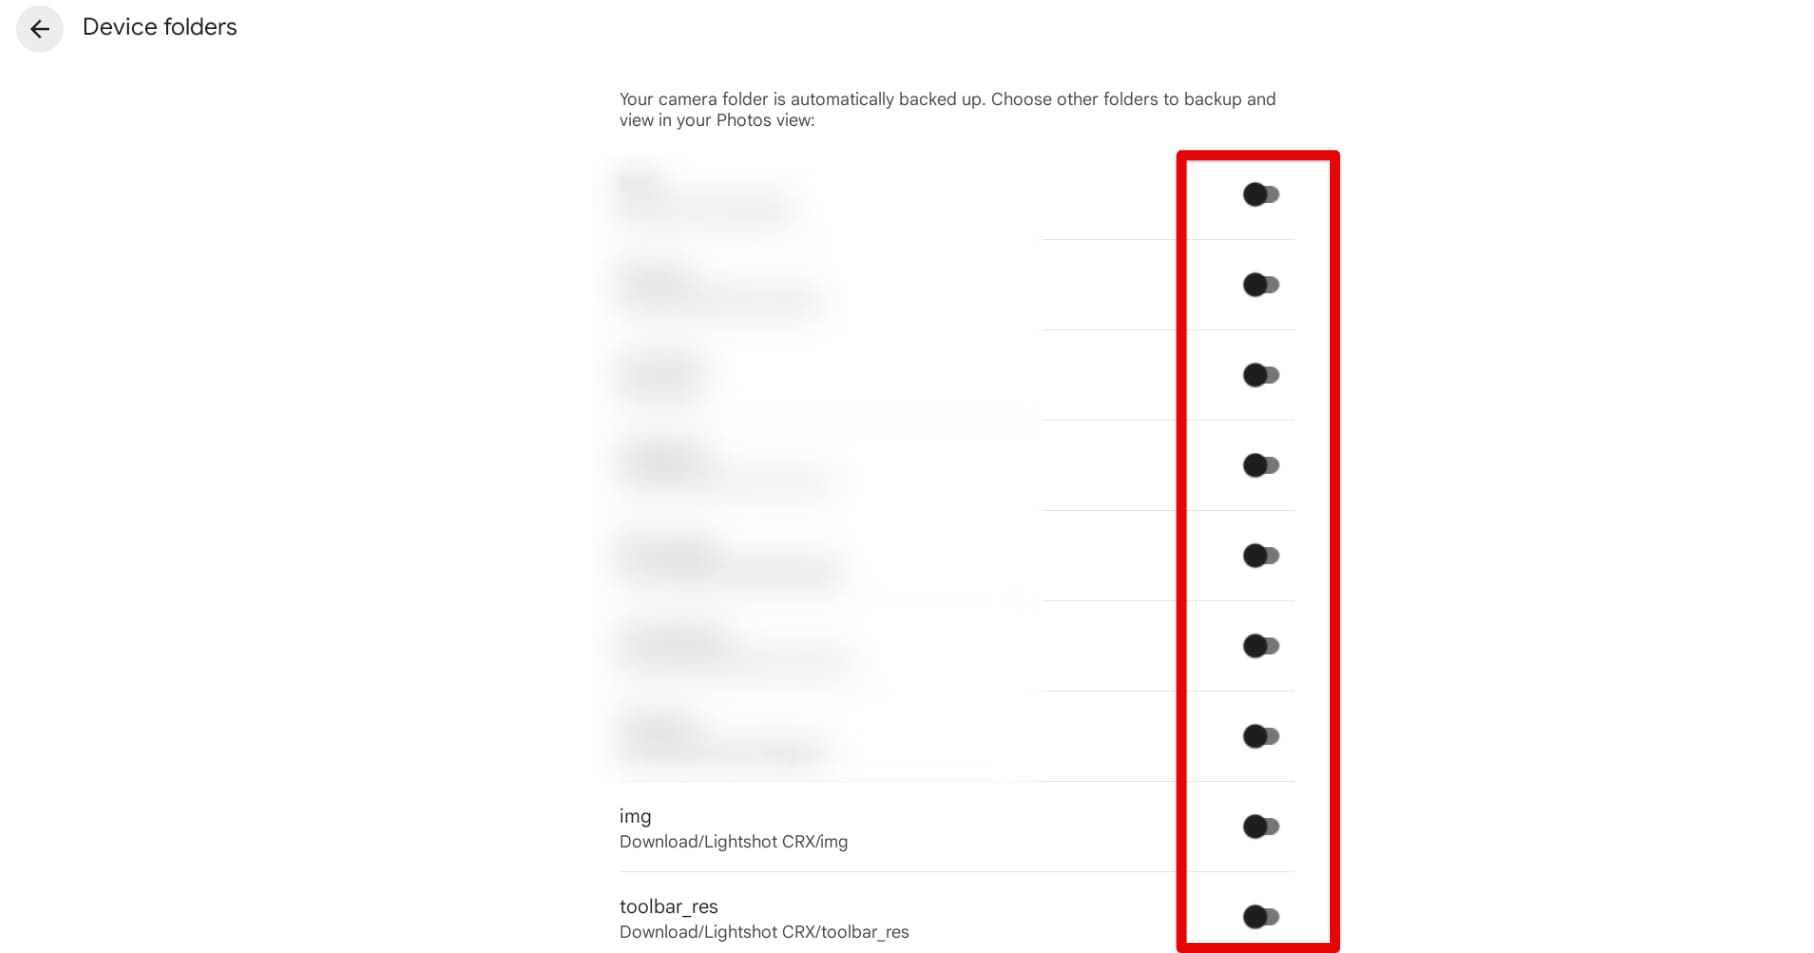
Enabling or disabling image folders to backup with Photos
From this point onward, Google Photos will automate the backup process for your Chromebook’s folders and files without you having to put in any manual effort. Before we top the article off, the following is a detailed section of some of the best Google Photos tips and tricks every Chromebook user should know about.
Best Google Photos tips and tricks
It’s worth noting that Photos is a reasonably feature-rich service comprising several hidden functionalities and tools. For starters, were you aware that you could turn your images into cinematic 3D photos in Photos? Although this feature has some limitations, there is plenty more where that came from.
From utilizing link sharing in Photos to making the best of Google Lens in the cloud storage platform, a comprehensive array of tools exist to employ and live the optimal Photos experience. Furthermore, these 5 tips on using Photos with your family are a great way to enjoy cloud-oriented image sharing with your acquaintances.
If you were wondering whether it is safe to delete photos from your Chromebook after backing them up, it might comfort you to know that the answer is yes; it is completely fine. However, there is a specific time frame in which your synced photos are not deleted. Once that point marches forward, natural cleansing will be kicked into motion.
These are some tricks to help you start with Photos on ChromeOS—high time to conclude the article now.
Conclusion
It’s no secret that the cloud powers Chromebooks and owe their simplicity, security, and speed to remote servers doing the job for them. Services such as Google Photos and Google Drive have made life a lot easier to tackle in personal and professional settings, given how our reliance on local storage is decreasing daily.
In this guide, we’ve gauged how to set up and use the Chromebook’s Google Photos sync feature for a painless user experience. Installing the Photos app on the device and then enabling sync will help you accomplish the task without breaking a sweat. Let us know in the comments section if things went smoothly.
Chrome Ready wishes you good luck!

1 comment
… nice to have an app, but the shortcuts, speeding up the editting, sorting and deletion of photos on the web-app are completely missing in the chromebook app. This makes it useless for me as it is quite annoying to click for each command via mouse/touchad.