With its powerful performance and user-friendly interface, Google Chrome has become the go-to browser for many people. While it offers many features, it does not have a built-in screenshot or screen recording tool. However, third-party tools, web apps, and extensions can fill this gap and allow users to take screenshots and record their screens.
In this article, we will explore some of the most popular and highly-rated tools that can be used for screenshots and screen recording on Chrome. We will provide detailed step-by-step guides on downloading and installing these tools, as well as tips and tricks for optimizing their quality and performance. By the end of this article, you will have a good understanding of how to use Chrome’s screenshot and screen recording capabilities and be able to choose the best tool for your needs.
Chrome’s screenshot and screen recording capabilities
As mentioned earlier, Chrome does not have a built-in screenshot or screen recording feature. This means that users who need to capture screenshots or record screens will have to rely on third-party tools. Fortunately, many tools available for Chrome can fill this gap and provide users with the appropriate functionality.
Taking a screenshot inside Google Chrome
One of the main advantages of using third-party tools is that they offer a wide range of features and customization options that are unavailable with Chrome’s built-in tools. For example, some allow users to capture screenshots of entire web pages, even if they do not fit on a single screen. Others offer advanced editing and annotation features that make highlighting important information in screenshots and screen recordings easy.
Another benefit of using third-party tools is that they often integrate seamlessly with Chrome, making them easy to use and access. Many tools offer browser extensions that can be installed directly from the Chrome Web Store, allowing users to quickly capture screenshots or start recording their screens with just a few clicks.
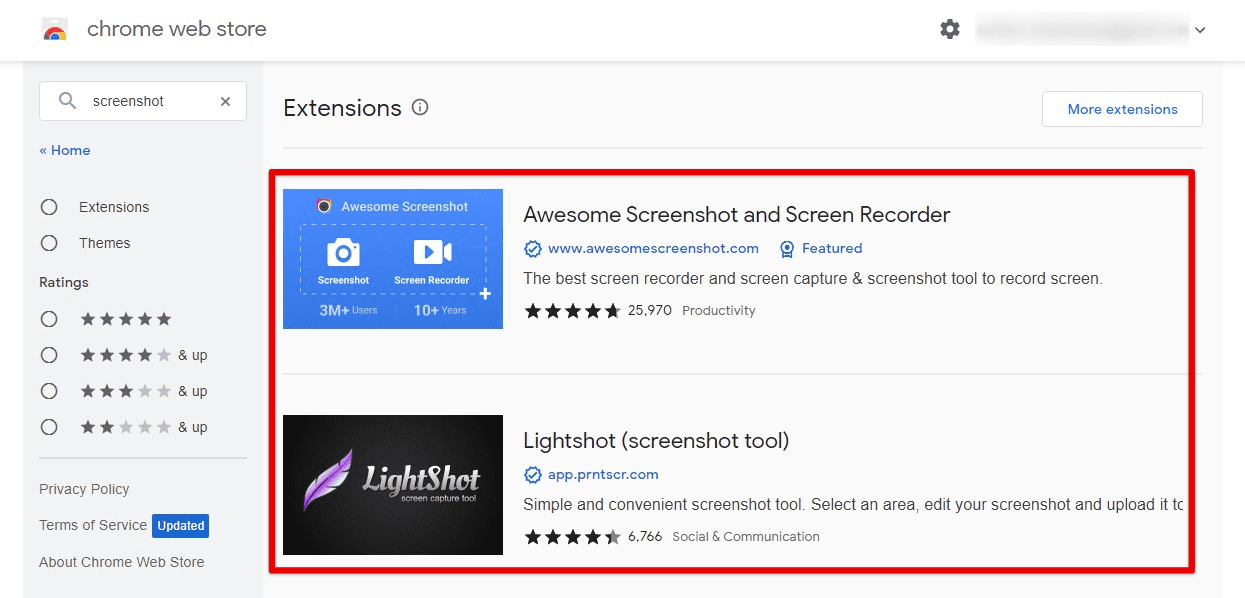
Third-party screenshot tools
When choosing a third-party tool for Chrome, it is vital to consider factors such as cost, ease of use, feature set, and performance. Some tools may offer a free basic version, while others may require a subscription or one-time purchase. Also, a few of these are more user-friendly than others. Moreover, specific tools specialize in capturing high-quality screenshots or recording smooth transitions.
Popular screenshot and screen recording tools for Chrome
There are numerous third-party tools available that can be used for taking screenshots and recording your screen in Google Chrome. In this section, we will introduce some of the most popular and highly-rated tools that can be used for these purposes.
Lightshot – Lightshot allows users to quickly capture screenshots of their browser window or specific screen areas. It offers a range of editing tools, including the ability to crop, resize, and add annotations to screenshots. Lightshot is available as a free browser extension on the Chrome Web Store.
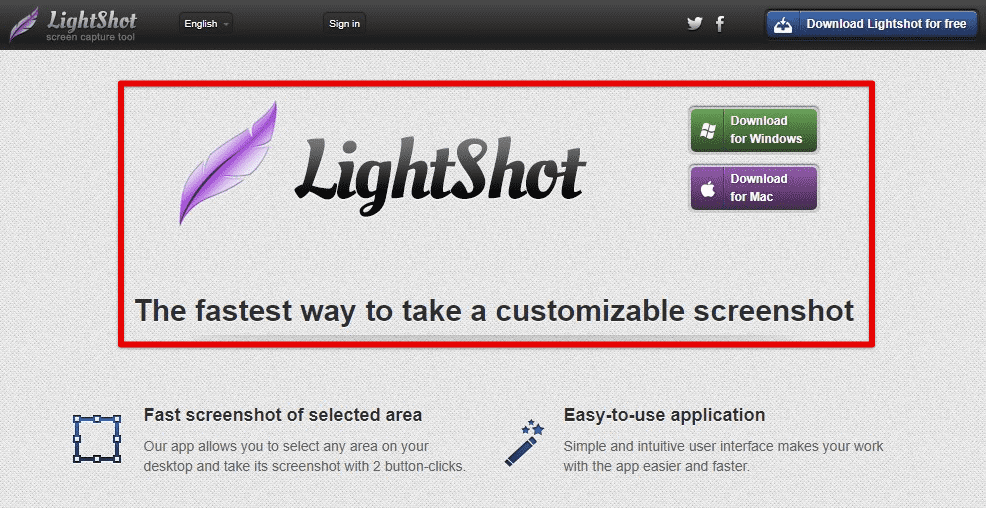
Lightshot
Awesome Screenshot – Another highly-rated screenshot tool, Awesome Screenshot, offers advanced features such as capturing entire web pages, including those that are longer than the screen size. It also provides editing tools and integration with popular image hosting services like Google Drive and Dropbox.
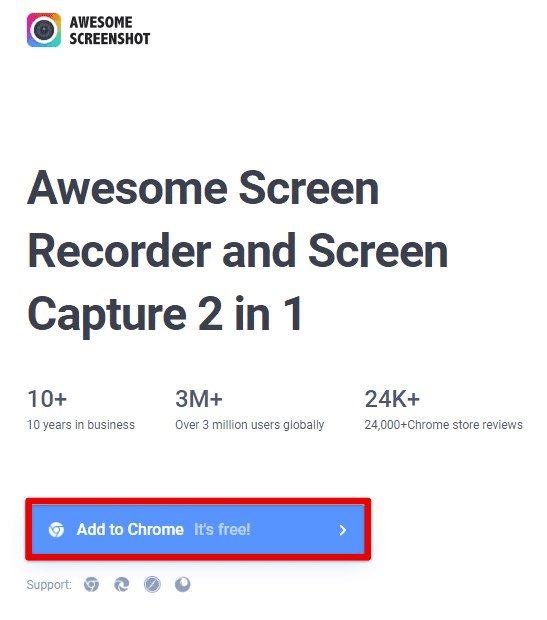
Awesome Screenshot
Nimbus Screenshot & Screen Video Recorder – Nimbus is a versatile tool allowing users to capture screenshots and screen recordings. It offers a range of editing tools, including adding text, arrows, and other shapes to screenshots. Nimbus also makes it possible to record audio alongside screen recordings.
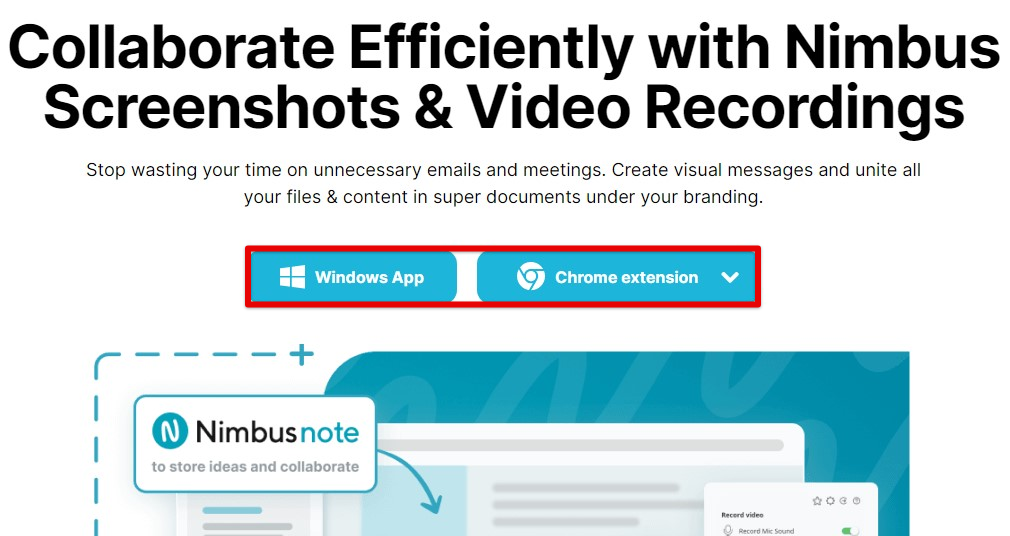
Nimbus Screenshot & Screen Video Recorder
Loom – Loom enables you to capture the screen and the webcam simultaneously. It offers a range of editing tools to trim and crop videos. Loom also integrates with popular video hosting services such as YouTube and Vimeo.
Loom
Screencastify – Screencastify is another highly-rated screen recording application. It is a free browser extension on the Chrome Web Store, with a premium version offering additional features and unlimited recording time.

Sreencastify
These are just a few examples of the many third-party tools available for taking screenshots and recording the screen in Google Chrome. By exploring the features and capabilities of these tools, you can choose the one that best suits your needs and preferences.
Lightshot
Open Google Chrome and navigate to the Chrome Web Store. Search for “Lightshot” in the search bar and select the Lightshot extension. Next, click the “Add to Chrome” button and confirm the installation.
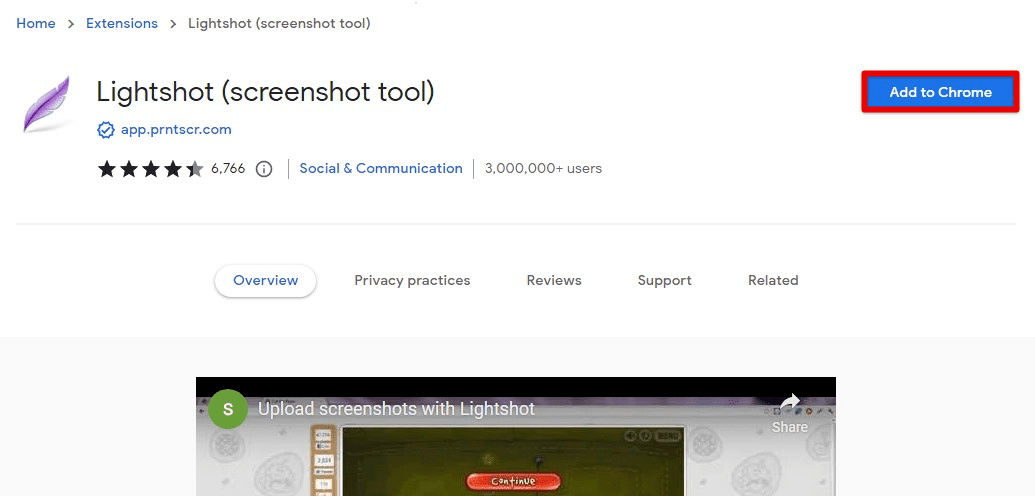
Installing Lightshot on Google Chrome
Once the installation finishes, you will see the Lightshot icon in the top-right corner of your browser window.
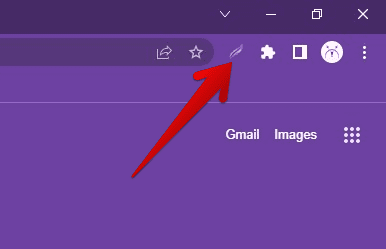
Lightshot installed
To take a screenshot, click the Lightshot icon in your browser window or use the keyboard shortcut (Ctrl + Shift + S on Windows or Command + Shift + S on Mac). Next, click and drag the cursor to select the area of the screen you want to capture.
Once you have selected the desired area, Lightshot will open its editing tools, where you can add text, arrows, shapes, and other annotations to your screenshot. You can also use the editing tools to crop or resize your screenshot and adjust its brightness, contrast, and saturation.
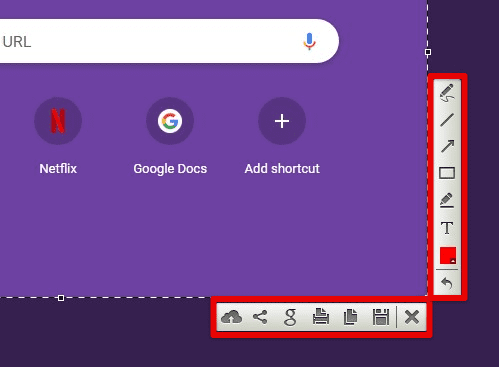
Taking a screenshot with Lightshot
After editing the screenshot, click the “Save” button to save it to your device. When you save a screenshot using Lightshot, it will automatically save it to your device’s Downloads folder. You can also copy the screenshot to your clipboard by clicking the “Copy to Clipboard” button.
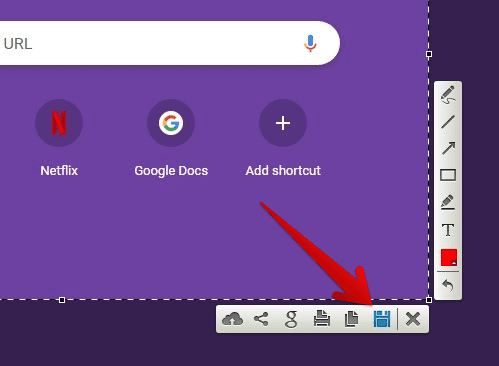
Saving the Lightshot screenshot to the device
To share a screenshot, click the “Upload to prnt.sc” button to upload your screenshot to Lightshot’s online image hosting service. When that screenshot has been uploaded, Lightshot will provide you with a unique URL to share with others.
Awesome screenshot
Open Google Chrome and navigate to the Chrome Web Store. Search for “Awesome Screenshot” in the search bar and select the Awesome Screenshot extension. Click on the “Add to Chrome” button and confirm the installation.
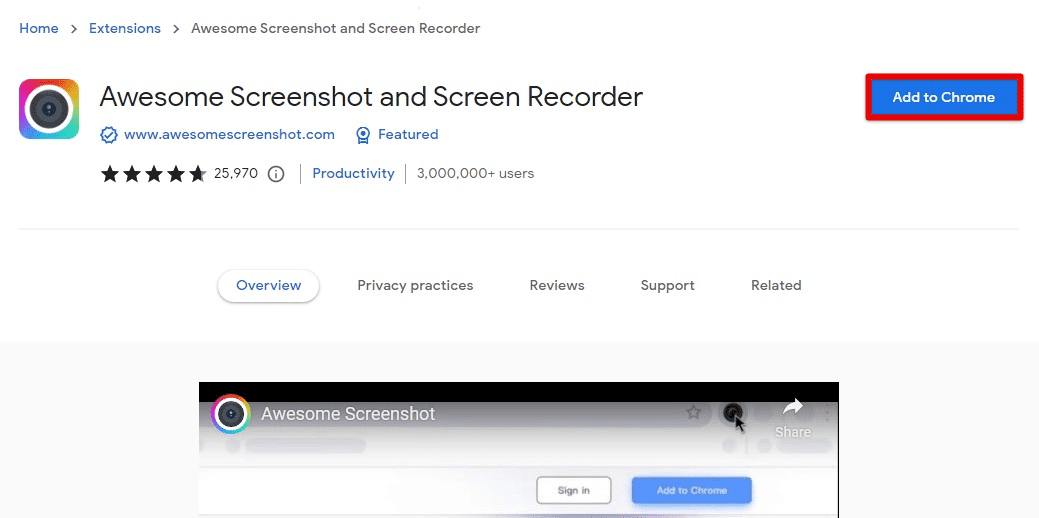
Installing Awesome Screenshot on Google Chrome
Once the installation finishes, you will see the Awesome Screenshot icon in the top-right corner of your browser window.
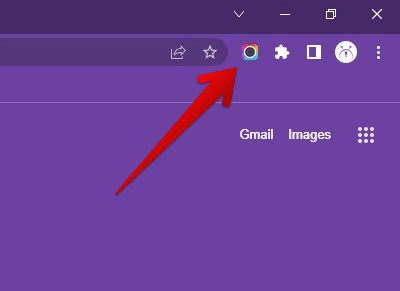
Awesome Screenshot installed
To take a screenshot, click the Awesome Screenshot icon in your browser window or use the keyboard shortcut (Ctrl + Shift + E on Windows or Command + Shift + E on Mac).
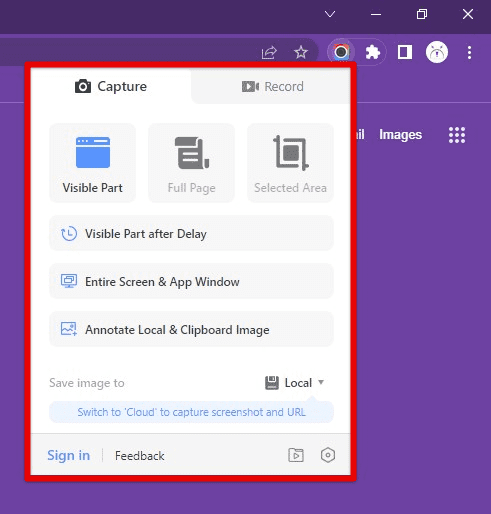
Taking a screenshot with Awesome Screenshot
Select the area of the screen you want to capture by clicking and dragging your cursor. Once you have selected the desired area, Awesome Screenshot will open its editing tools, where you can add text, arrows, shapes, and other annotations to your screenshot. You can also use the editing tools to crop or resize your screenshot and adjust its brightness, contrast, and saturation. If you want to capture an entire web page, scroll to the bottom of the page and click on the “Capture entire page” button.
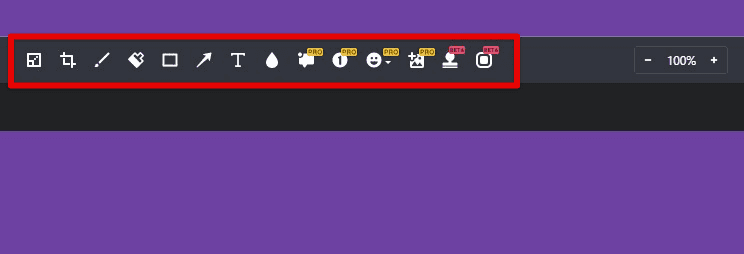
Editing tools for Awesome Screenshot
After editing the screenshot, click the “Done” button to save it to your device. When you save a screenshot using Awesome Screenshot, it will automatically save it to your device’s Downloads folder. You can also copy the screenshot to your clipboard by clicking the “Copy” button.
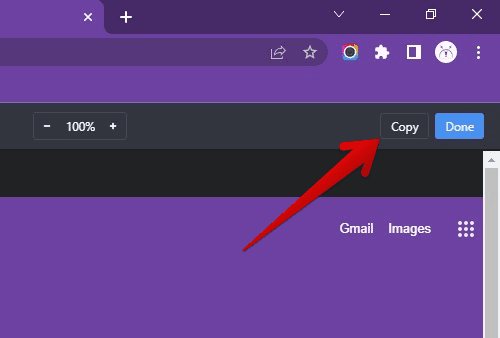
Copying the screenshot to the clipboard
To share a screenshot, click on the “Share” button, which will allow you to share your screenshot via email, social media, or other platforms. You can also save your screenshot to the cloud by signing up for an Awesome Screenshot account.
Nimbus Screenshot & Screen Video Recorder
Open Google Chrome and navigate to the Chrome Web Store. Search for “Nimbus Screenshot & Screen Video Recorder” in the search bar and select the extension. Click on the “Add to Chrome” button and confirm the installation.
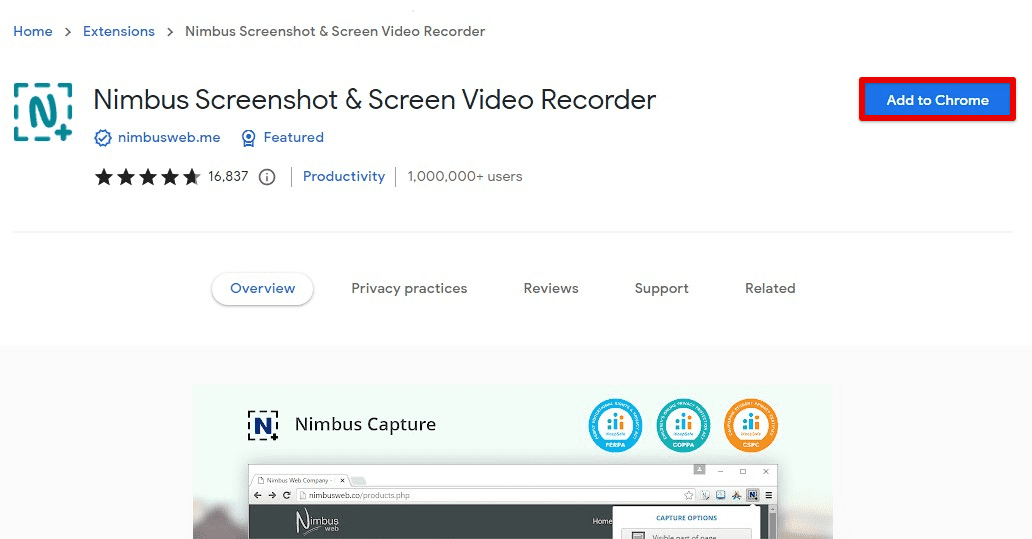
Installing Nimbus on Google Chrome
Once the installation finishes, you will see the Nimbus Screenshot & Screen Video Recorder icon in the top-right corner of your browser window.
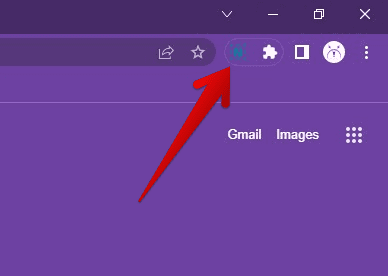
Nimbus installed
To take a screenshot, click on the Nimbus Screenshot & Screen Video Recorder icon in your browser window or use the keyboard shortcut (Ctrl + Shift + S on Windows or Command + Shift + S on Mac).
Select the area of the screen you want to capture by clicking and dragging your cursor. Once you have selected the desired area, Nimbus Screenshot & Screen Video Recorder will open its editing tools. Add text, arrows, shapes, and other annotations to your screenshot. After editing the screenshot, click the “Save to disk” button to save it to your device.
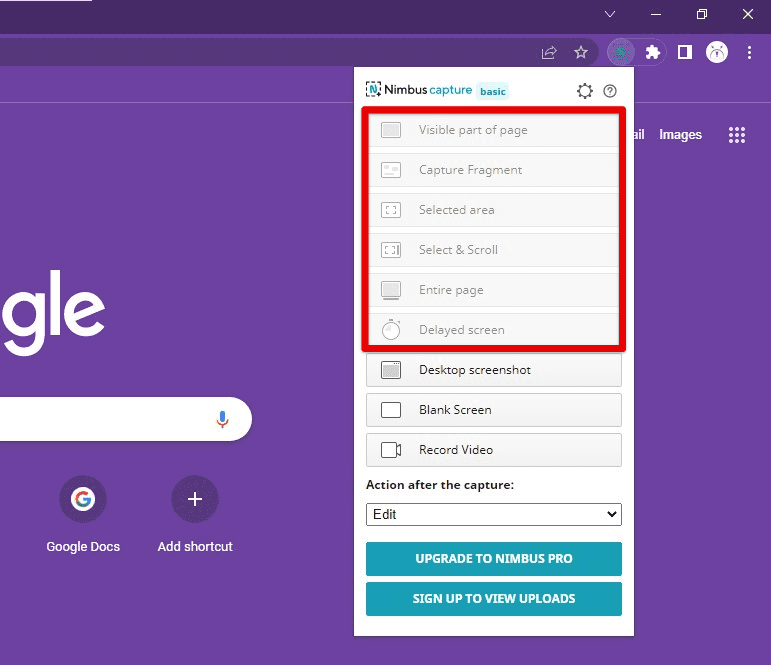
Taking a screenshot with Nimbus
To record a screen video, click the Nimbus Screenshot & Screen Video Recorder icon in your browser window or use the keyboard shortcut (Ctrl + Shift + R on Windows or Command + Shift + R on Mac).
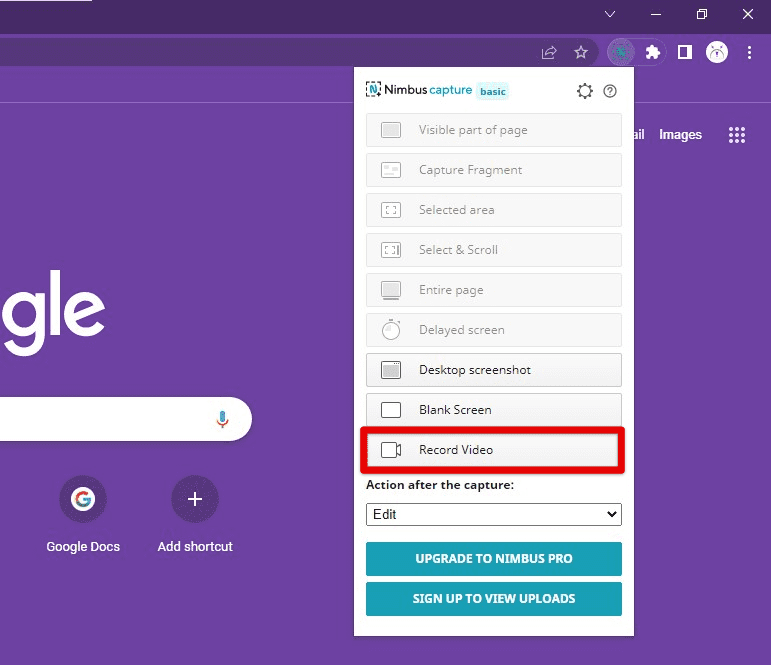
Recording a screen video with Nimbus
Once you have selected the desired area, click the “Record” button to start recording. You can use the editing tools to add annotations to your screen video as it records. When you are finished recording, click on the “Stop” button.
Then, click the “Save” button to save it to your device. When you save a screenshot or screen video using Nimbus Screenshot & Screen Video Recorder, it will automatically save to your device’s Downloads folder.
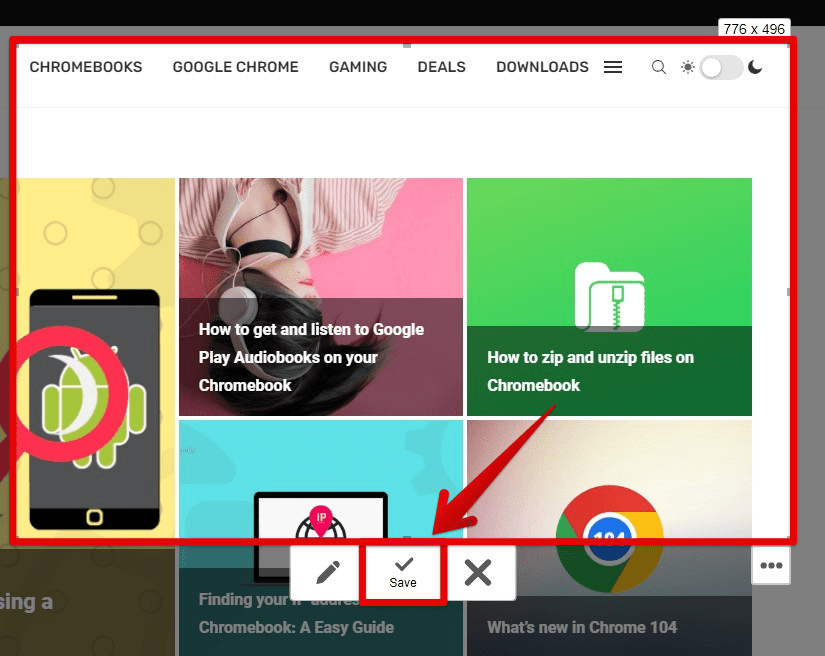
Saving a Nimbus screenshot to your device
To share a screenshot or recording, click on the “Share” button to share your screenshot or screen video via email or other platforms. You can also save your screenshot or screen video to the cloud by signing up for a Nimbus account.
Loom
The first step is to download and install Loom on your Chrome browser. To do this, open your Chrome browser and go to the Chrome Web Store. Search for “Loom” in the search bar at the top of the page. Click on the Loom extension and then click “Add to Chrome”. A pop-up window will appear, asking you to confirm the installation. Click on “Add Extension” to confirm.
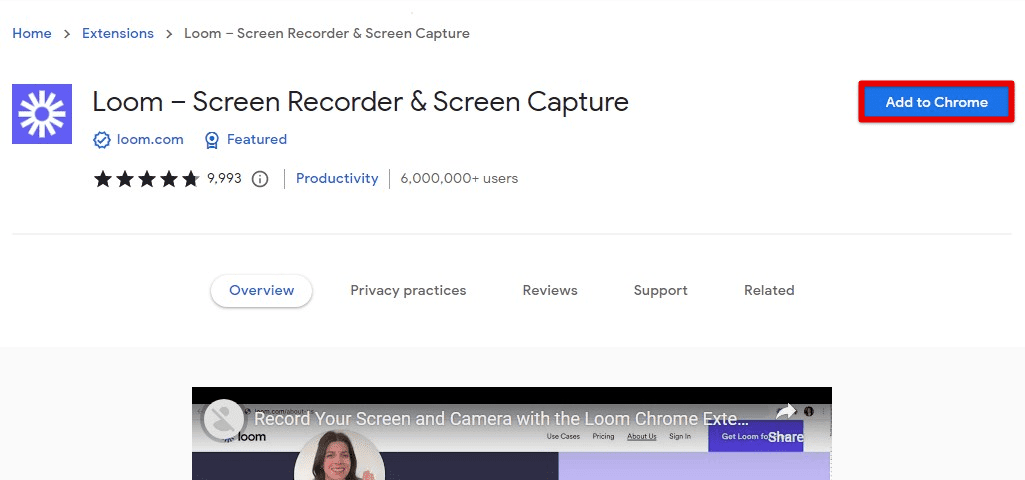
Installing Loom on Google Chrome
Loom will be added to your browser, and the Loom icon will appear in the top right corner of your browser window. After installing Loom, you must set it up before using it.
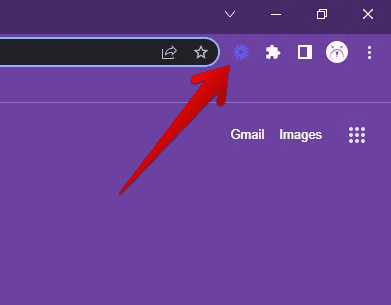
Loom installed
Click on the Loom icon. If you don’t already have an account, click “Sign Up” to create one. You can sign up with your Google, Microsoft, or Slack account or create a new account with your email address and password.
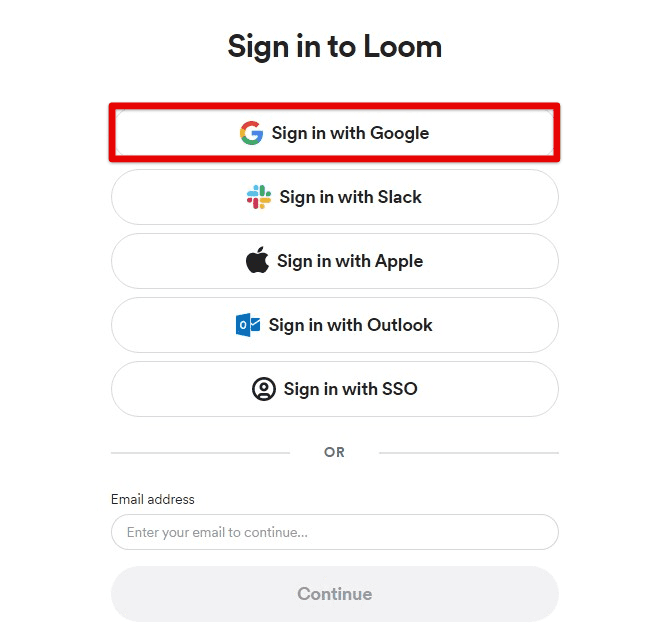
Loom account
Once you’re signed in, you’ll be taken to the Loom dashboard. You can start recording, managing videos, and accessing other Loom features. Now that you have Loom installed and set up, you’re ready to start recording screen videos. Click on the Loom icon. Select the type of video you want to record. You can choose to record your screen, your camera, or both.
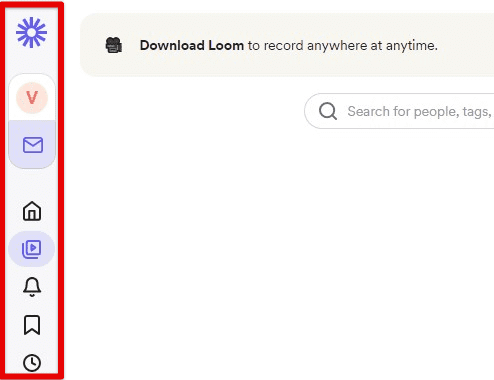
Loom dashboard
Select the area of your screen you want to record. You may decide to record your entire screen, a specific application window, or a custom area. Click on the red “Start Recording” button to begin recording. After you are done, click on the “Stop Recording” button to finish. Loom will automatically upload your video to the cloud, and you’ll be taken to the video page, where you can edit, share, and manage the recording according to your requirements.
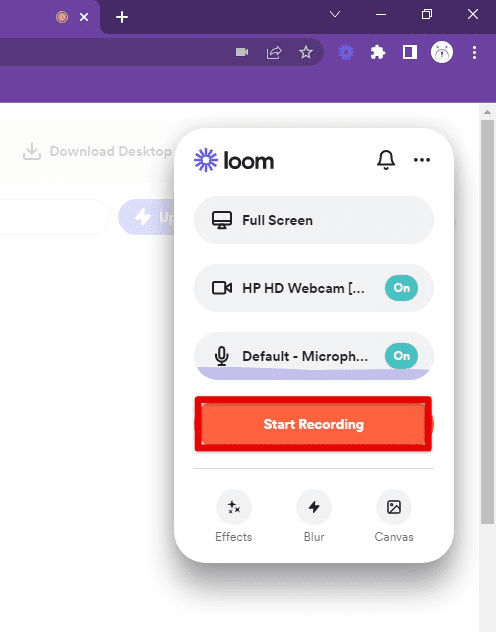
Recording with Loom
Loom provides various editing tools that allow you to trim your video, add captions, and do much more. Click on the “Edit” button from the video page to access the editing tools. Once happy with the final video, click “Save” to save all edits.
Please note that Loom also offers various advanced features for paid users, such as adding a webcam feed, custom watermarks, and GIF creation. However, the free version should suffice for most basic screen recording needs.
Tips for optimizing captured quality and recording performance
When taking screenshots and recording screen videos, it is important to optimize the quality and performance of the output. Following are some tips to help you get the best results.
Adjusting capture settings: Each tool may have different settings that can be adjusted to optimize the quality and performance of the output. For example, you may want to adjust the resolution, frame rate, and compression level to balance between file size and quality. Take your time to explore these settings and find the optimal configuration.
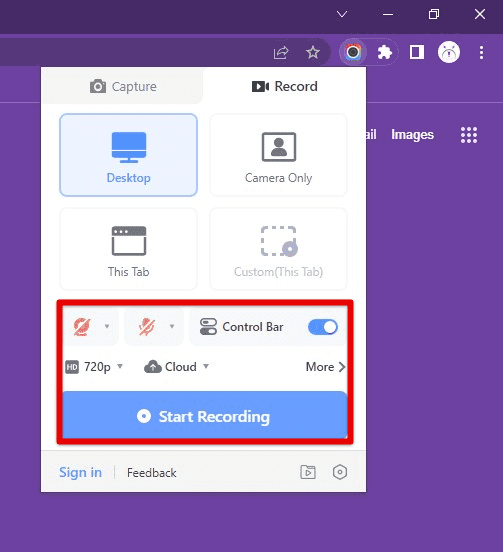
Adjusting capture settings
Using hotkeys: Many screenshot and screen recording tools come with hotkeys that allow you to quickly capture or start recording without opening the tool’s interface. This can save you time and make the process more efficient.
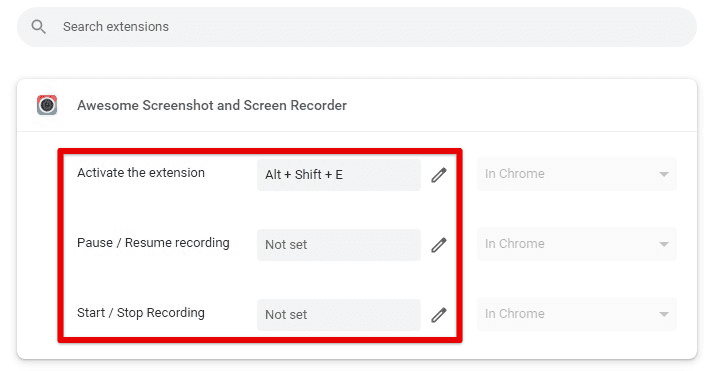
Using hotkeys
Selecting the right format: Depending on your needs, you may want to choose a specific format for your screenshots or screen recordings. If you require high-quality images, you may want to save your screenshots in PNG format instead of JPEG. Similarly, if you need to share your recordings online, you may want to use a format optimized for web playbacks, such as MP4 or WebM.
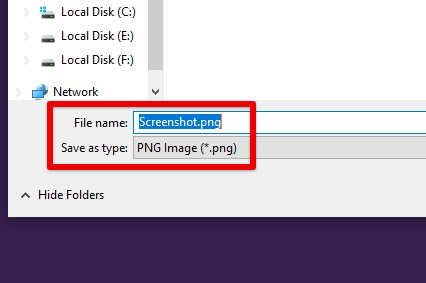
Selecting the right format
Using a good microphone: If you’re recording a screencast with audio, it’s essential to use a good microphone to capture clear and high-quality sound. A built-in microphone may not be sufficient, especially if you’re recording in a noisy environment. Consider investing in a high-quality microphone for the best results.
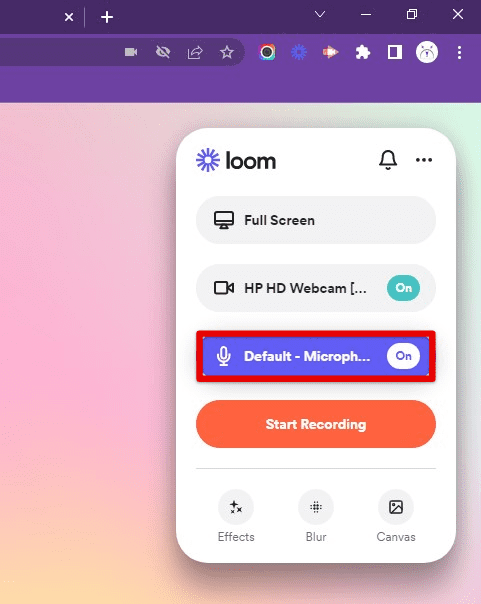
Using a good microphone
Closing unnecessary applications: To optimize the performance of your computer during the recording process, close any unnecessary applications that may be running in the background. This helps prevent lag or stuttering in recordings and ensures a smoother experience for you and your viewers.
Comparison between different tools
There are several options to consider for choosing a screenshot and screen recording tool for Chrome. This section will compare the tools discussed above, highlighting their strengths and weaknesses.
Lightshot is a free and lightweight tool that is easy to use. It provides basic editing features and allows users to save screenshots in multiple formats, including JPG and PNG. However, Lightshot lacks advanced features such as screen recording and video editing, which may be necessary for some users.
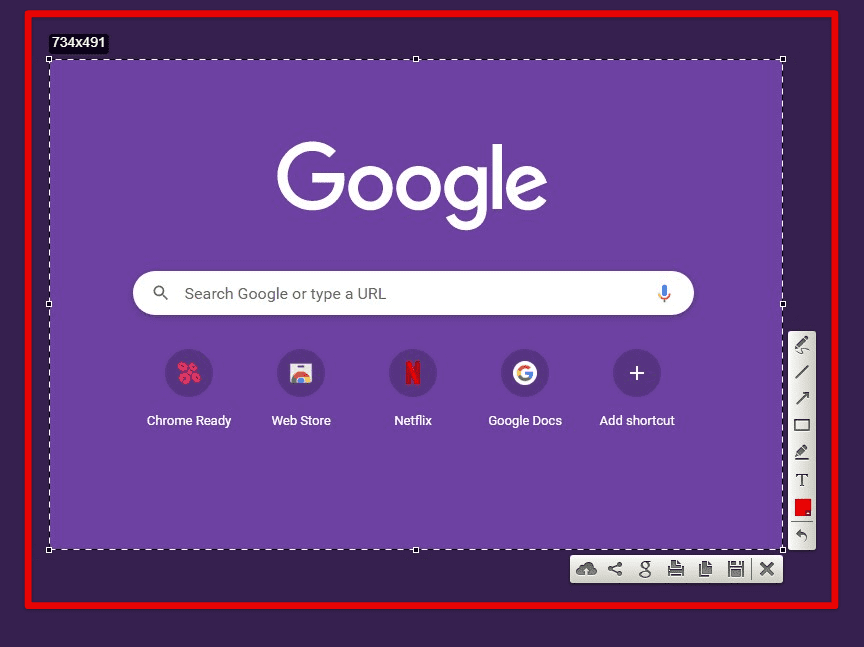
Lightshot screenshot
Awesome Screenshot is another free tool that offers more advanced features than Lightshot, such as screen recording and full-page screenshots. It also has a built-in image editor that allows users to annotate, crop, and add text to their screenshots. Although, the free version of Awesome Screenshot adds a watermark to all screenshots, which is undesirable.
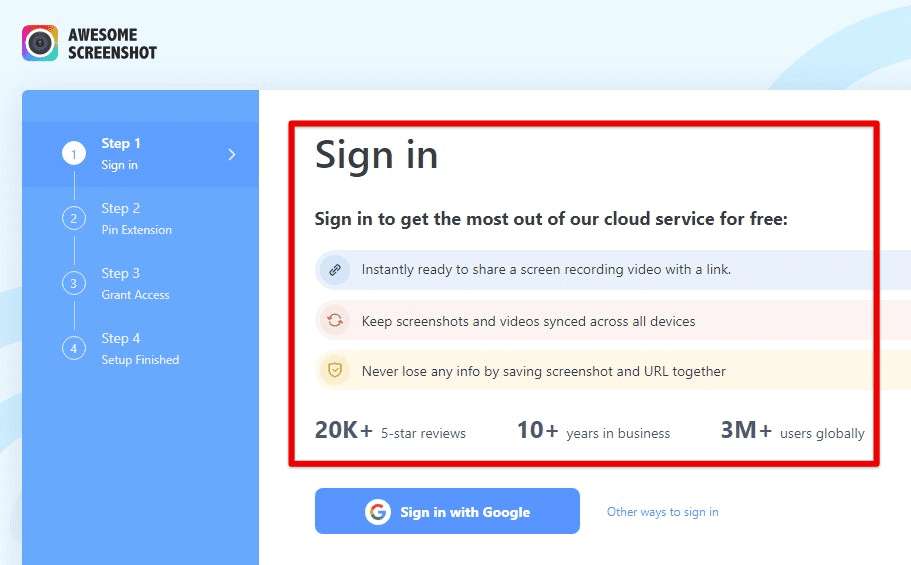
Awesome Screenshot & Screen Recorder
Nimbus Screenshot & Screen Video Recorder offers both screenshot and screen recording capabilities. It also has advanced editing features such as blurring and highlighting. Additionally, Nimbus allows users to save screenshots and screen recordings to their Google Drive or Nimbus account. However, some users have reported issues with the tool crashing or freezing.
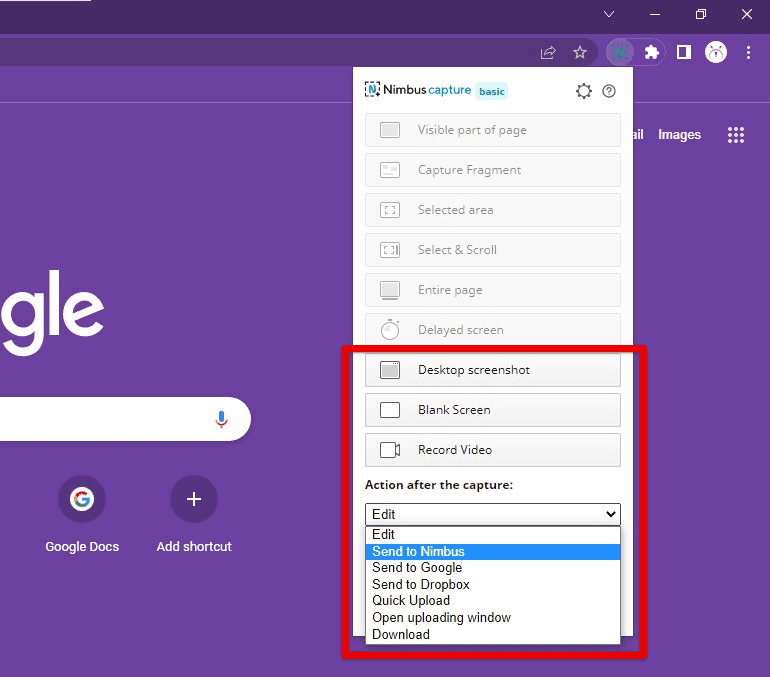
Nimbus Screenshot features
Loom is a popular screen recording tool that is easy to use and offers free and paid plans. The free version allows users to record and share unlimited screen recordings up to 5 minutes in length, while the paid version provides additional features such as HD recording and custom branding. The free version, however, will not allow you to download recordings, which is a critical drawback.
Conclusion
While Google Chrome does not have a built-in screenshot or screen recording feature, many third-party tools can fill this gap. We have explored some of the most popular and highly-rated tools, including Lightshot, Awesome Screenshot, Nimbus, Loom, and Screencastify. We have provided detailed step-by-step guides on downloading, installing, and using each application.
We have also provided tips and tricks for optimizing the quality and performance of screenshots and screen recordings taken with these tools and a comparison outlining the vital pros and cons. Thanks to the Chrome Web Store and Google Play readily offering their services to ChromeOS users, there’s no shortage of high-quality screenshot apps to look into on that system. Here is the ultimate guide to taking screenshots on a Chromebook in 2023.
