If you’ve been meaning to find out how to use the Google Photos backup functionality on ChromeOS, we’ve got your back. You may have found it confusing that the web-based version of Photos does not offer users this type of feature, so you’re left wondering on your own as to what to do from here on out.
Little do many know that Google Photos does let you back your photos up to the cloud on a Chromebook, but not from where one would usually expect. Read on as we uncover the ins and outs of the matter at hand and teach you a simple way to keep your confidential data safe and stored in the cloud.
Let’s dive into the write-up straight away.
- Find the answer to this burning question: Is it safe to delete photos from your device after backing up to Google Photos?
What to know before getting started
Google Photos is one of the main constituents of the Google Workspace program, which is basically Google’s desktop productivity software suite built to rival Microsoft 365 and Apple iWork. Now, each Google account is entitled to 15 GB of free cloud storage, and this data is shared across Google Drive, Gmail, and Google Photos.
If your use case requires more storage, consider looking into the various paid options provided by Google One—an all-in-one membership that unlocks additional space and a bevy of other perks and advantages for low monthly or annual fees.
Google One plans start at 100 GB more space for users and continue up to 2 TB from there on out. Depending on our region, the service prices may differ, but it’s usual to find the annual plan offering users a discounted deal for subscribing to Google One yearly. Find out more using the linked web handle above.
Therefore, to avoid losing your data and ensure that all your essential photos get backed up to the cloud safely, be wary of the space in your Google account. If you see yourself going past the free 15 GB limit, consider purchasing extra storage in advance.
Some other benefits of upgrading to the “Basic” membership tier are extra Google Photos editing tools and functions, shareability with up to 5 more people, and even additional member benefits. Therefore, more storage isn’t the only incentive by Google to help users in their stride.
Now that you know the basics, let’s get right into the backup side of Google Photos and go over the essentials of that. In the meantime, consider checking out our tutorial on using Google Photos to turn images into cinematic 3D photos.
Using Google Photos for backup on a Chromebook
To enjoy seamless backup on Google Photos for the coming days, use the Google Play Store version of the Photos app on your Chromebook. Note that the web-based iteration of the program does not help in any way to back up your photos, so it’s pointless trying to make sense of this functionality there.
Instead, we’ll be detailing what you need to do in a step-by-step fashion, so there’s no stone left unturned from now on. The gist of it is that we first need to grab the Photos Android app from the Google Play Store and then operate it so the program starts backing our photos up. Let’s shed more light on both of these measures ahead.
Step 1. Install the Google Photos Android app on your Chromebook
The Google Play Store was added to the feature set of Chromebooks back in 2016, alongside the Crostini Linux terminal. All Chromebooks manufactured after 2018 come with Google Play as an in-built feature, but devices made before that year do not guarantee that. This is where you have to be diligent on your end.
- Check out our guide on Chromebooks that run Android apps for likely results if you haven’t used Google Play on your device before and you suspect that it might not just be there.
With that said, let’s jump right into the installation steps of Google Photos on ChromeOS.
1. Get started by opening the Play Store app on your Chromebook. Then, use the “Search” key or the launcher area if you have to.
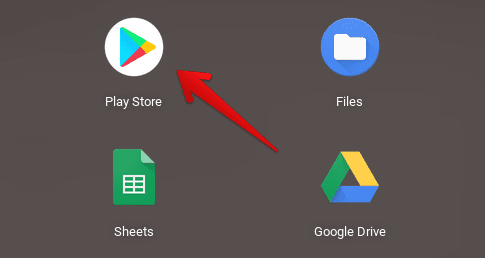
Opening the “Google Play Store”
2. Utilize Play Store’s in-app search bar to look for Google Photos. Type in the app’s name and press the “Enter” key to quickly get to the next step.

Searching for Google Photos
3. You should be taken to the Google Photos official app page. Click on “Install” to begin the download.

Installing Google Photos
4. Look for the Google Photos app in the launcher area when the download finishes, so you can affirm that the installation was a success.
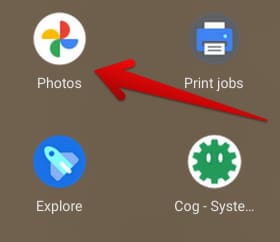
Google Photos installed
That’s all there is to know about installing Google Photos via the Google Play Store. Now that you have the application up and running, it’s time to shift gears and talk about the second step of the whole operation.
- Related read: The beginner’s guide to Google Photos on ChromeOS.
Step 2. Commence the Photos backup process
After installing the Photos app, launch it on your end and sign in with your Google account to move forward. The program will ask for your access permission as soon as you do that. This is a necessary permission that will allow you to back up your photos to the cloud. Select “Allow” to move to the next step.

Allowing Google Photos to access your Chromebook’s storage
You should now be able to visualize another overlay on the screen, asking you whether you’d like to “Turn on Backup” right away. You know what to do here. Choose the option relevant to us to get going ahead.
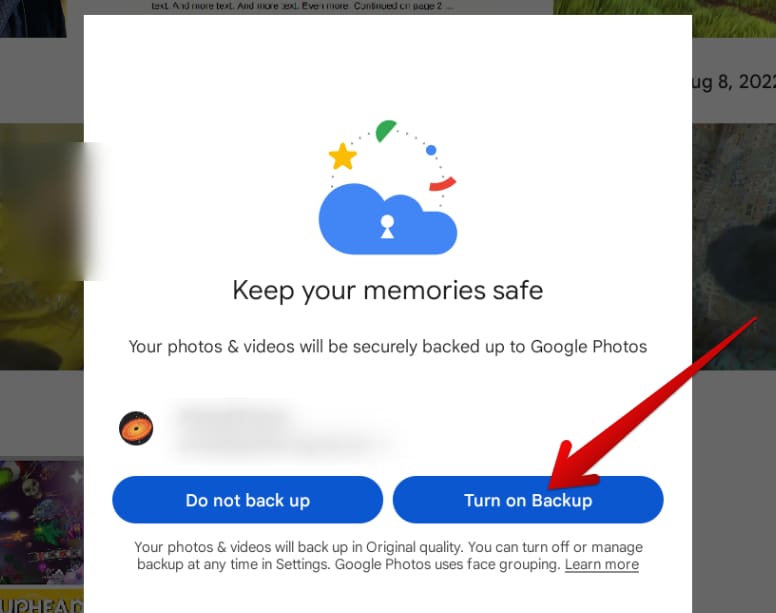
Enabling “Backup” on ChromeOS
After you enable the backup feature, your Chromebook will automatically start supplying the Photos app with images and folders stored in the “Files” section. To control what gets backed up and what does not, tap “Utilities” on the sidebar to the left side of Photos’ main UI.
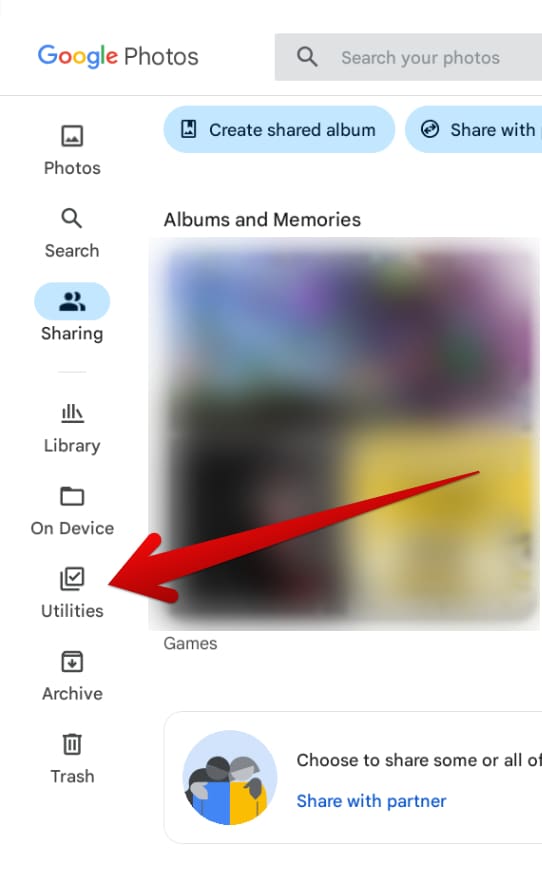
Choosing the “Utilities” section
Next, as you enter the “Utilities” area, click on the “Device folders” area to reach the end.

Clicking on “Device folders” next
You will now be taken to a section comprising all the image-containing folders on your device. It’s now possible to choose which folders to back up to Photos and which ones to leave out. Use the toggle to achieve this—present right beside the name of the folder. You can quickly reference the content of these folders by heading to the “Files” app.
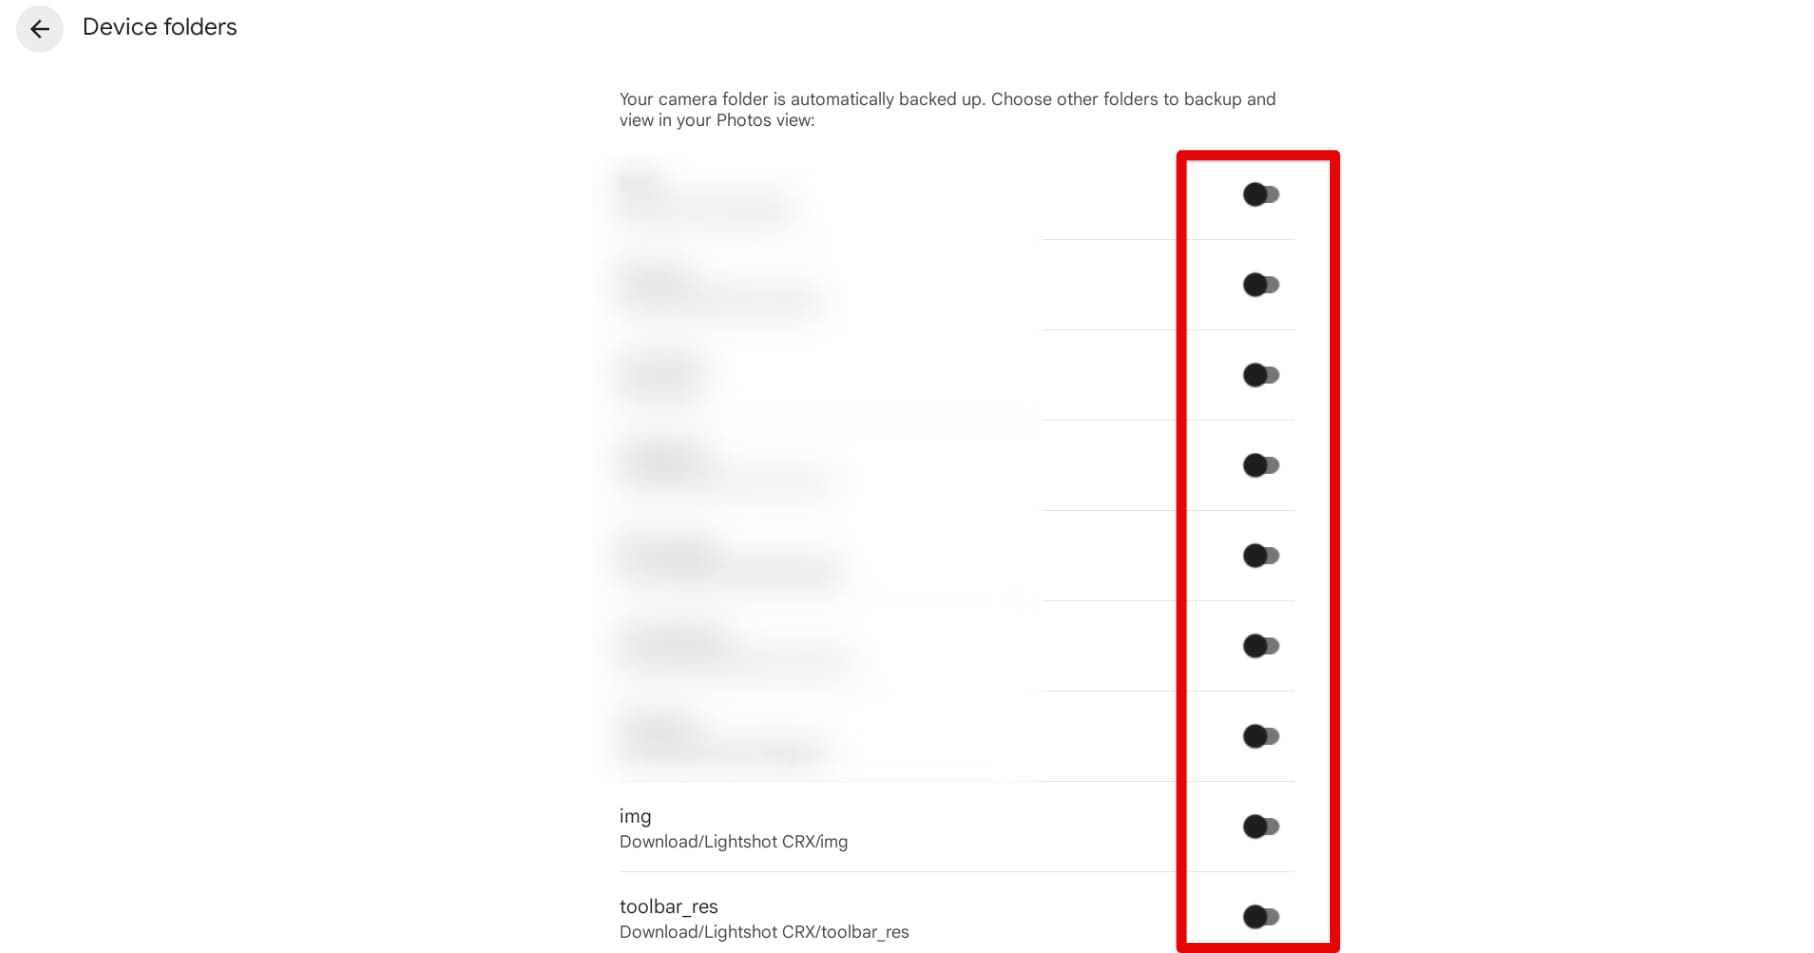
Enabling or disabling image folders to backup with Photos
To verify the backup status, go back to the main interface area of Photos and tap on your profile picture in the top-right corner of the screen. That should make a menu surface on the screen, allowing you to perceive the backup progress easily.
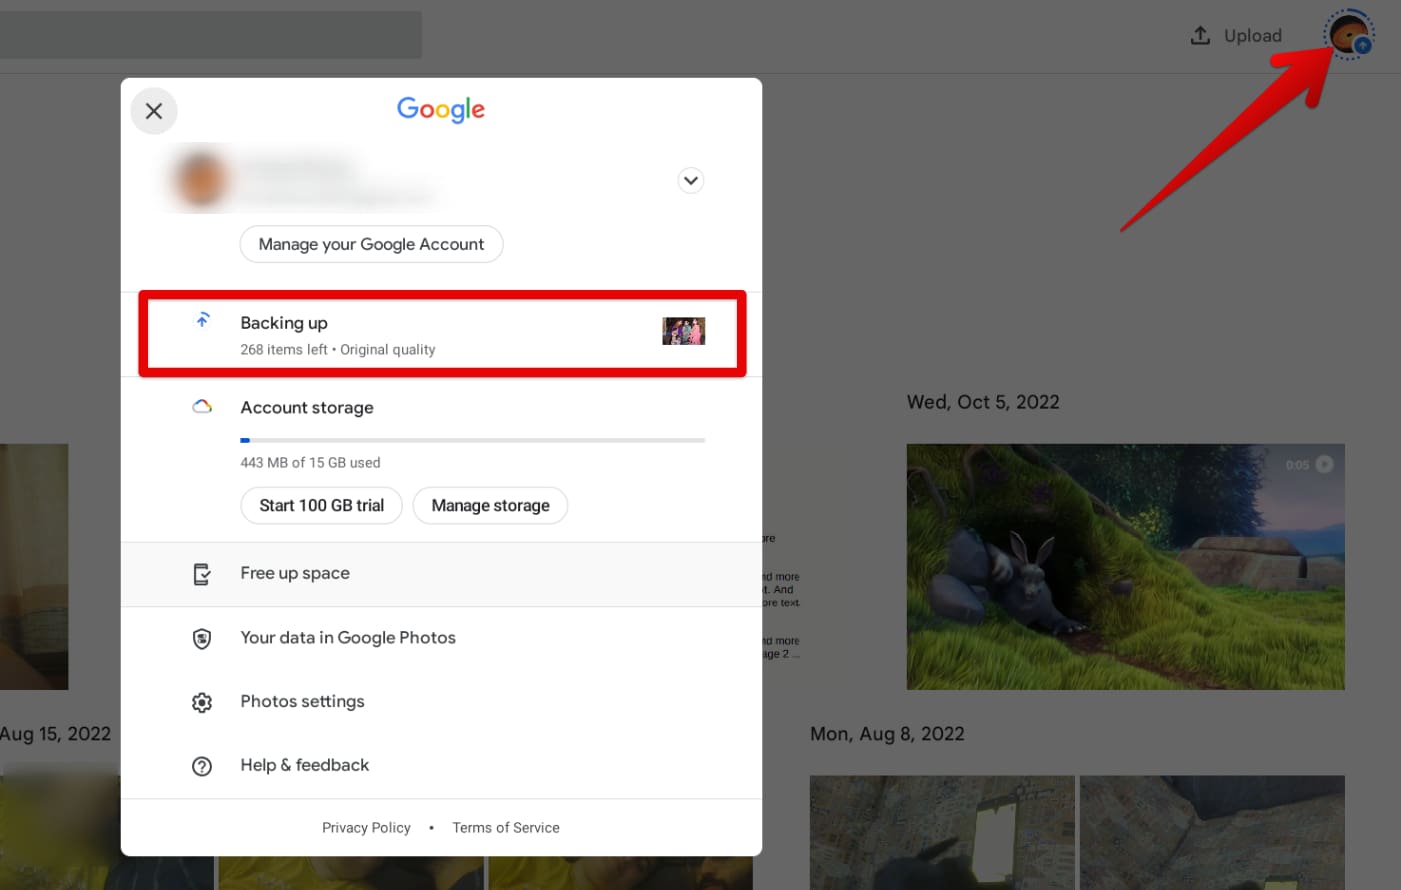
Backup progress in Google Photos
Last but not least, you should be wary of ascertaining the quality of the backup in the Photos app. This is the quality with which your photos will be stored in the cloud. Two options are available for you in this regard, which we’ll be getting into shortly. For now, tap on your profile picture again, then select “Photos settings.”
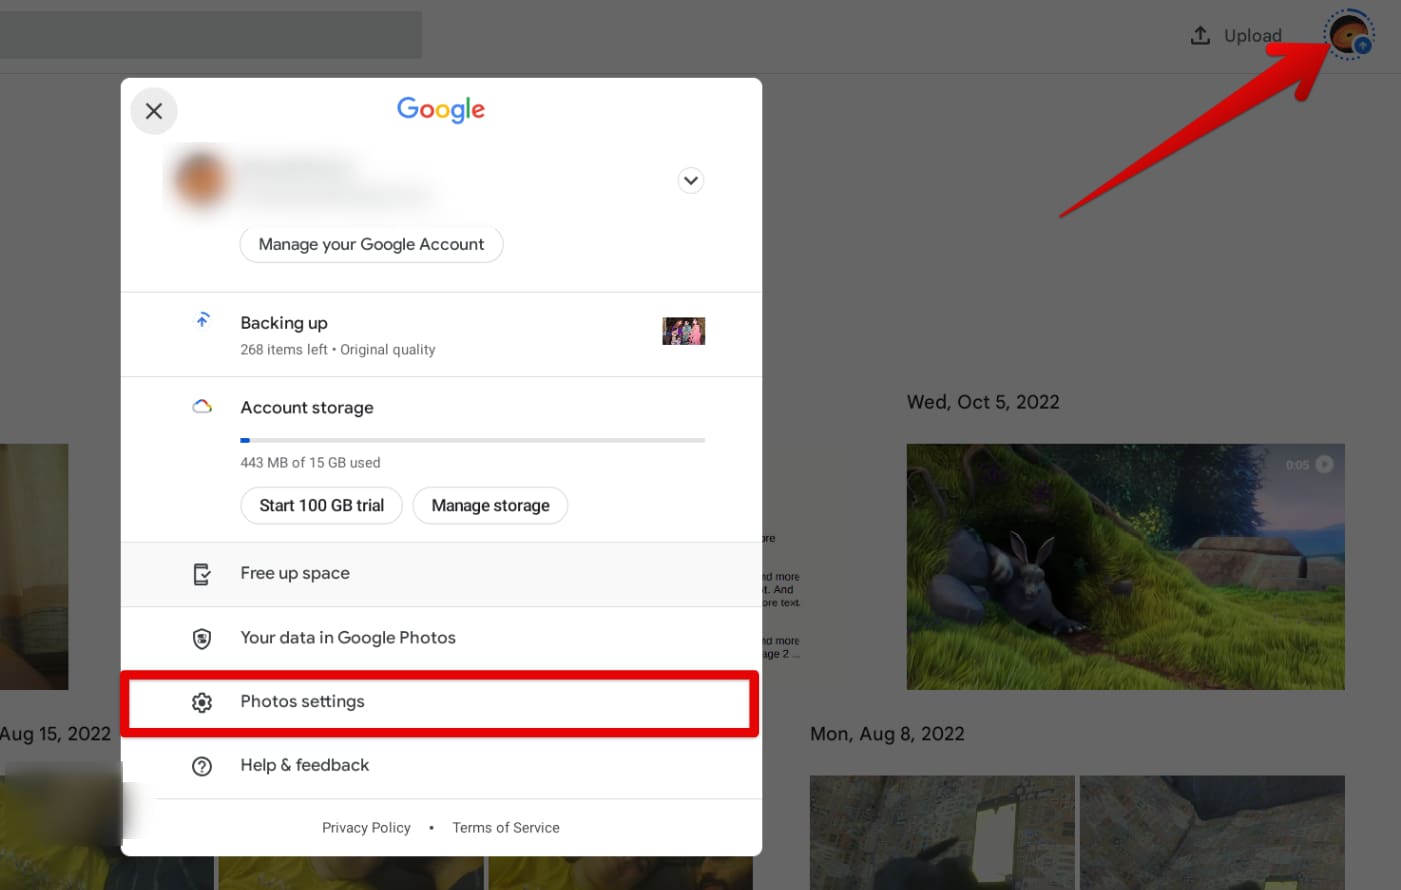
Accessing “Photos settings”
Choose the first option, “Backup,” to reach the next step. There are other sections to look into here, so feel free to fully explore at a later time, perhaps, what the settings area of Photos offers.

Selecting the “Backup” option
As you’re taken to the “Backup” section in Google Photos, focus on the section underneath “Settings” and tap on “Backup quality.”
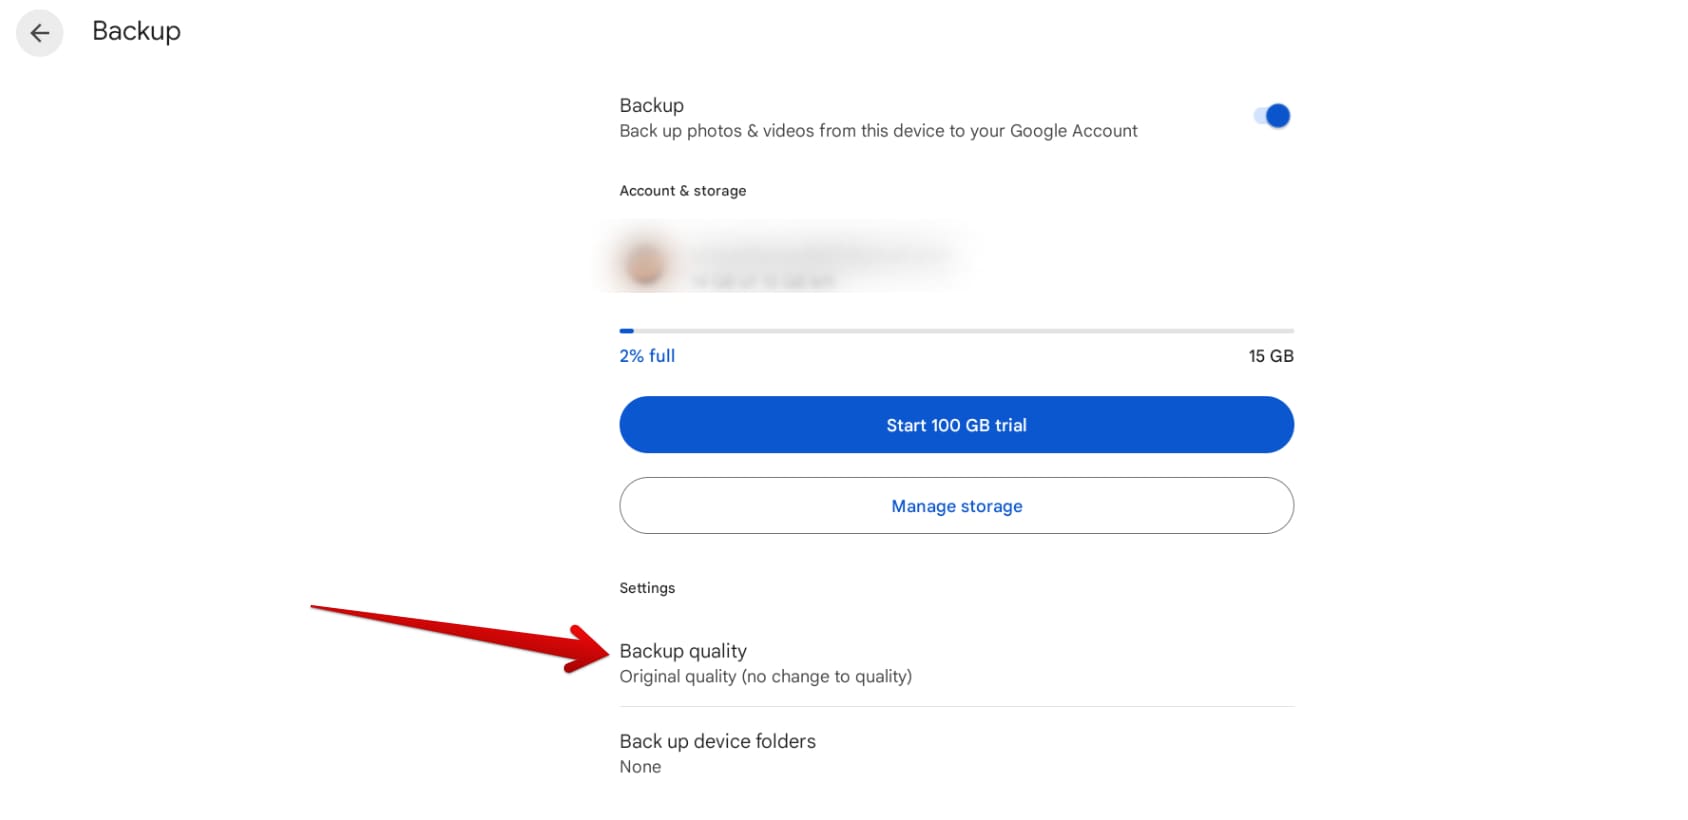
Clicking on the “Backup quality” option
You can now easily switch between “Original quality” and “Storage saver,” whatever bakes the cake for you. The latter is geared toward storing more of your stuff, no matter if the quality has to be reduced for some time, while the former prioritizes quality over the rest of the parameters.

Choosing a backup quality for photos
That’s about it for backing up photos with Google Photos. It’s high time to conclude the article.
Conclusion
Chromebooks are some of the most effective machines on the planet, known for their speed, security, and simplicity, all bundled together within one package. Since its inception in 2011, ChromeOS has seen nothing but growth, now arriving at a point where programs such as WordPress and Kali Linux are easily installable.
Besides third-party apps, Chromebooks work great with exclusive Google programs, such as Google Photos. By downloading the Photos Android app, you can enable a backup feature to painlessly store your important pictures and other relevant media in the cloud.
In the comments section ahead, let us know whether you found the helpful guide. As always, Chrome Ready wishes you good luck!
